Welcome, I’m Mique!
(Like Mickey!) I started 30days several years ago as my idea file. After 14 years and thousands of ideas, I realize I’ll never be able to check them all off my list.
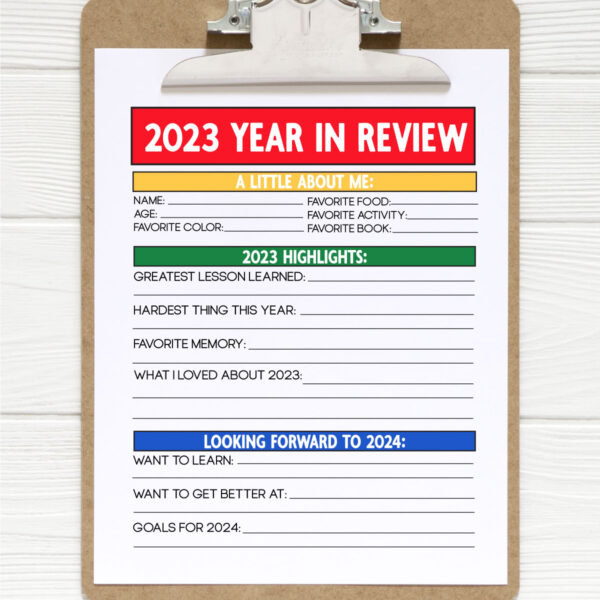


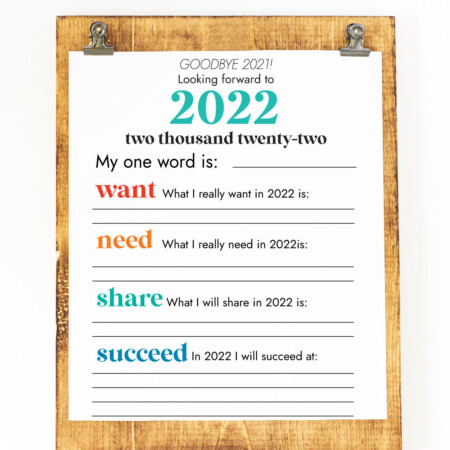
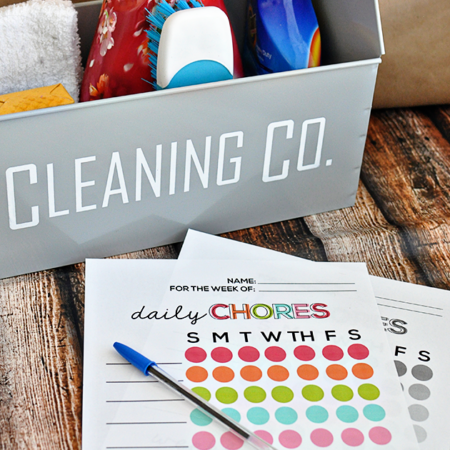
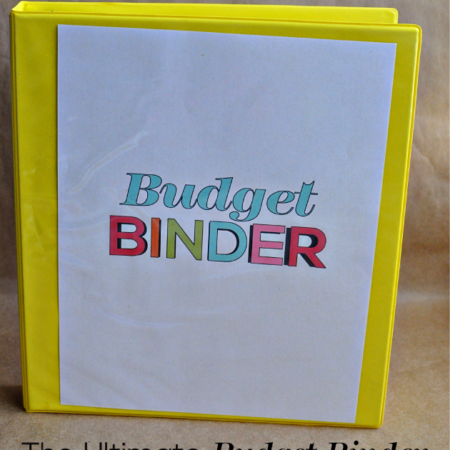
Free Printables
Download, print and enjoy – printables of all kinds. To get organized, to have fun and to help you out a little bit at a time.

Organizing Tips
If I can get organized, ANYONE can get organized. Let’s do it together!
-

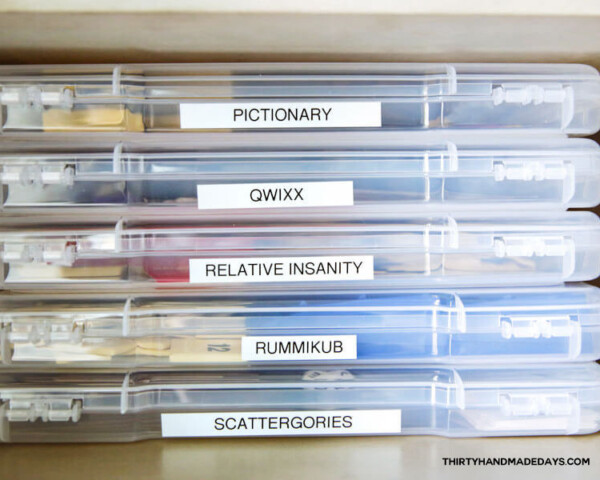
How to Organize Family Board Games
Sick of having family board games all mish mashed and a mess? Try the method that I found to clean it all up and make those games easy to find. As I have mentioned a few times before, our family loves games.
-
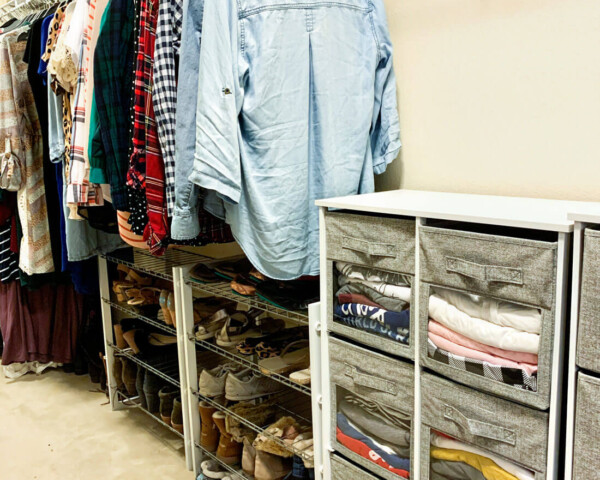
Closet Organization Ideas
Need some closet organization ideas? I’m here to show you that if I can get our master bedroom closet organized, ANYONE can! Being in quarantine came with some extra motivation to declutter and organize my house. It’s been a lifelong struggle for
-
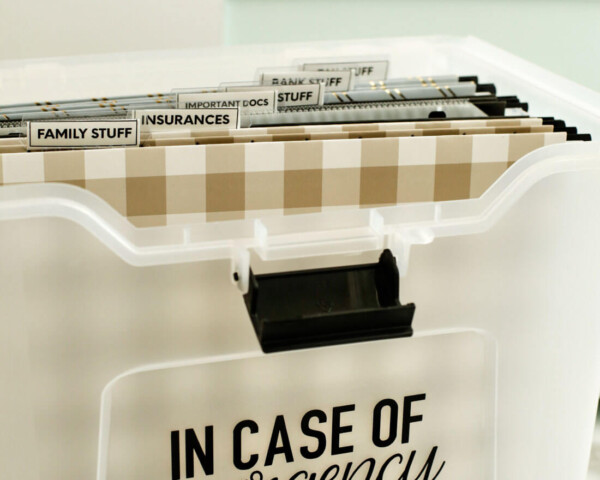
Emergency Box with Cricut Explore Air 2
The possibilities with a Cricut Explore Air 2 are literally endless. But I’m sharing 5 reasons why I love mine and why I think you’ll love it too! Take a peek at what you can make with it. This is a sponsored
Trending Recipes
Quick, easy recipes that taste great – are what you can expect from me.
-
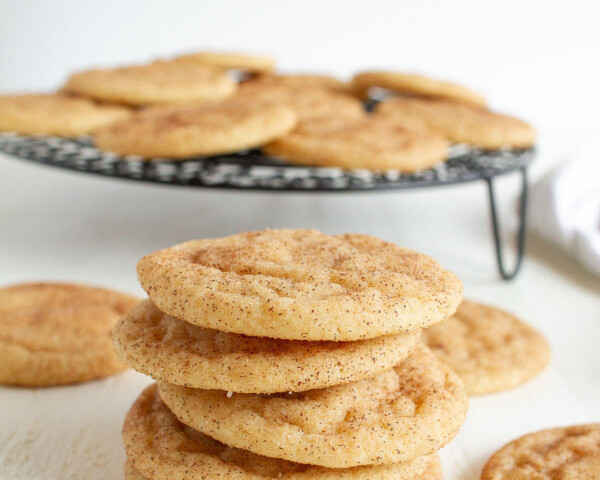
The Best Snickerdoodle Cookies I’ve Ever Had
I’ve tried a lot of cookies over the years and I’ve made a lot of cookies over the years. This recipe for Snickerdoodle Cookies is the best one I’ve ever had. Hands down. Snickerdoodle Cookies I am a vanilla and caramel girl.
-
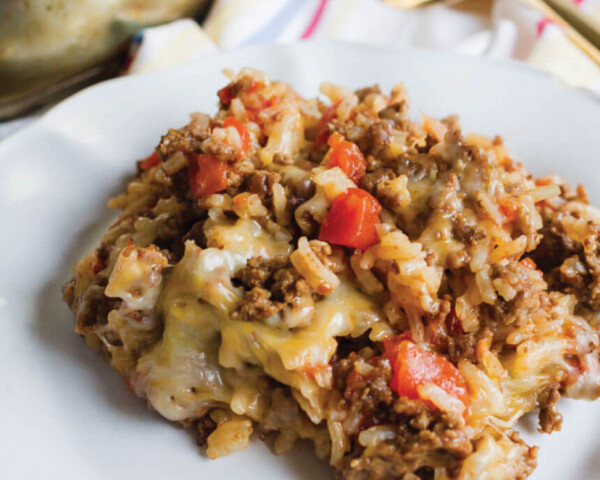
Easy Dinner Ideas: Porcupines in a Skillet
Easy dinner ideas are my favorite. If you are looking for an easy main dish that your family will love, I’ve got just the thing, Porcupines in a Skillet. Easy Dinner Ideas I am always looking for easy dinner ideas and this
-
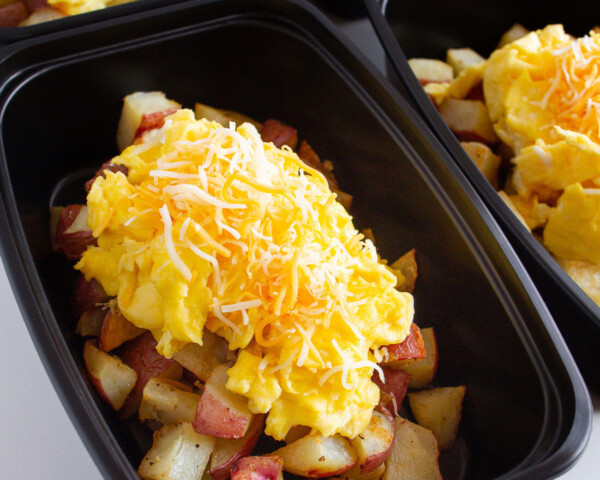
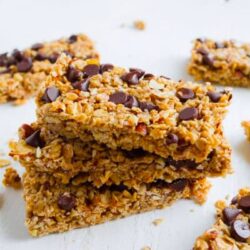
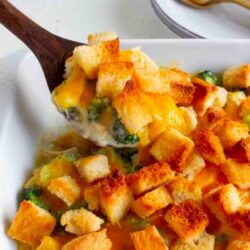
Make Ahead Breakfast Bowl Recipe
This breakfast bowl recipe is full of healty, hearty food, are delicious, and are so easy to make ahead of time! Just grab, reheat, and go! What do you do when you have to be gone all weekend but want to make