
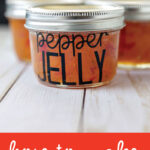
Learn how to make pepper jelly with this easy recipe! Plus create labels using Cricut to deliver as gifts.
#ad This post is in partnership with Cricut. I am beyond thrilled to work with a company I absolutely love!
My mom has dabbled in gardening for as long as I can remember but I’ve always been a little bit intimidated. This year I finally, after moving into our new home that had a spot created for a garden, I decided that I would finally learn. Because Josh loves spicy things, he picked out all kinds of peppers including bell, jalapeño, serrano and habanero. Making pepper jelly seemed like the perfect use of some of those peppers!
What is Pepper Jelly?
It’s just as it sounds, jelly with peppers in it. It became popular in the 80s as people started making it to add to sandwiches, and as an appetizer served over cream cheese with crackers.
How to Make Pepper Jelly
To make this recipe, you will need the following:
- canning pot – this is the one I have
- canning set – this is the one I have
- jars – I’ve used several different kinds but for this recipe, I used these
- bell peppers – red, yellow, green
- jalapeño pepper
- apple cider vinegar
- powdered pectin
- sugar
Note: If you do not have a canner, you can use basic pots using this method.
Follow these steps for this jelly:
- Start with washing all jars, lids and bands in hot, soapy water.
- Place jars in boiling water for 5 minutes to make sure there is no bacteria or germs.
- Remove from water, lay in a dry, clean area.
- Move on to the recipe — (actual recipe card below) chop all peppers.
- Using a large pan, place peppers over high heat.
- Add apple cider vinegar and pectin.
- Stir continuously until it reaches a boil then remove from heat.
- Add sugar and stir through.
- Place over high heat again while stirring constantly.
- Once it boils, continue to stir for one minute and then remove from heat.
- Stir constantly and let it reach to a rolling boil. Once it reaches a rolling boil, remove from heat.
- If there is foam, skim it off the top.
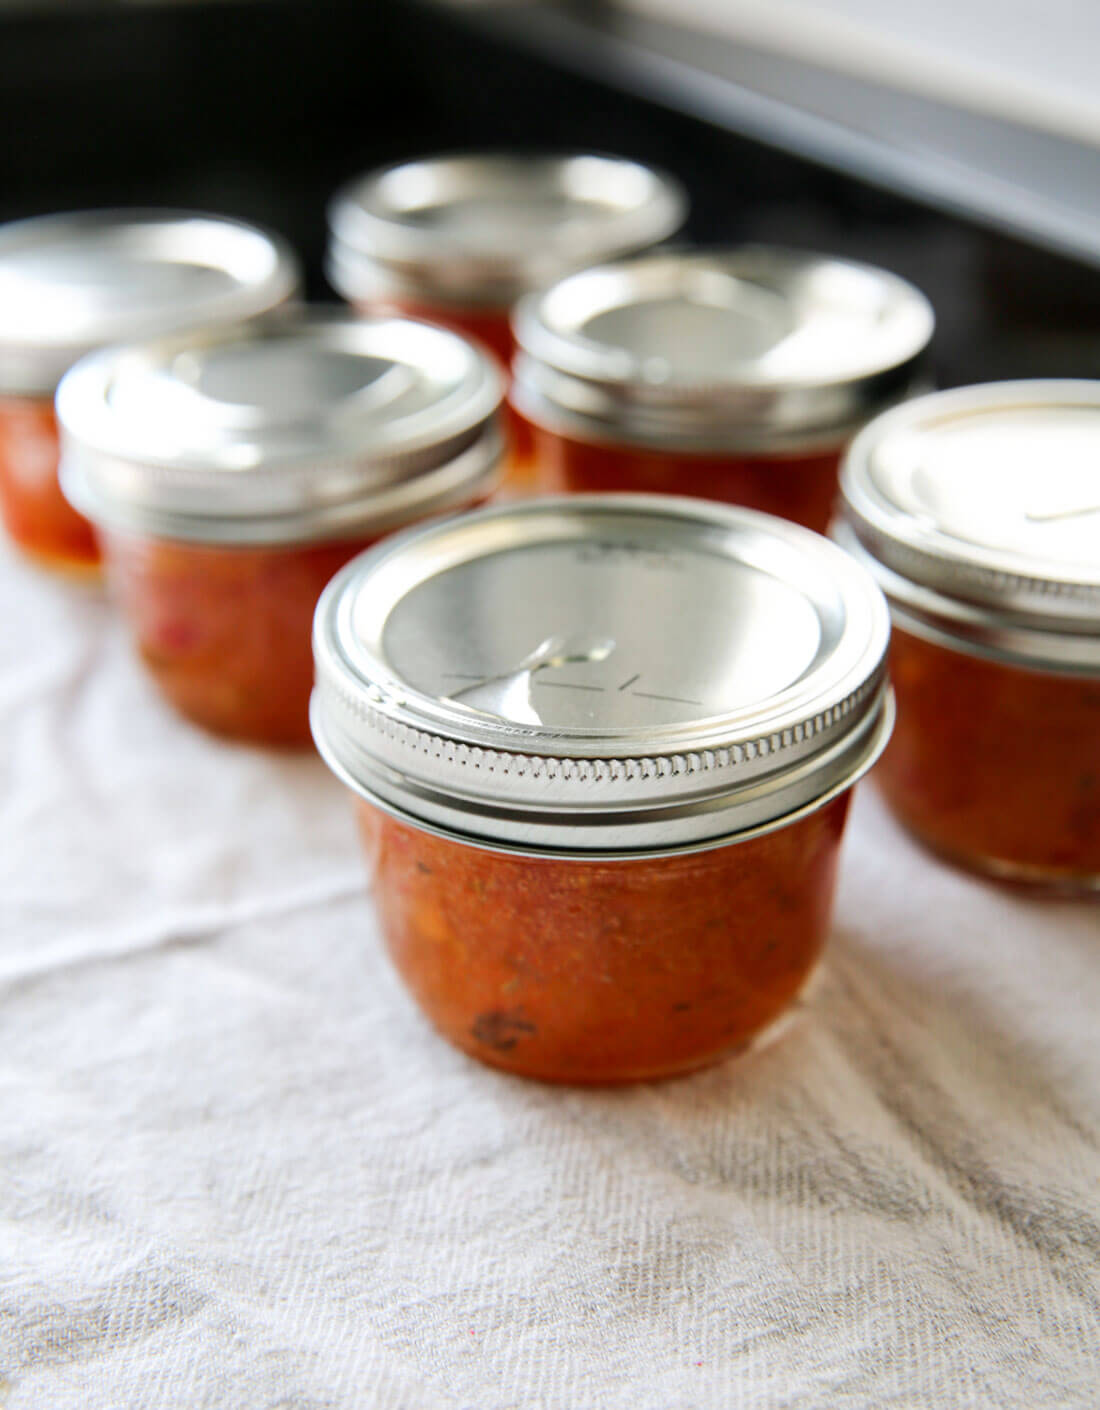
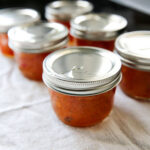
- Fill 8 oz jars with jelly to 1/4″ from the top.
- Place lids on and screw tightly (if they aren’t tight enough, they won’t seal properly).
- Add jars to canner, making sure that they are covered with water.
- Bring to a boil and process for 5 minutes.
- Let cool. Don’t move around, just let them rest until they are fully cool.
Pepper Jelly Recipe
With this recipe, there is an abundance of pepper jelly. It’s the perfect excuse to gift friends, family and/or neighbors with something sweet and delicious. This would also make a great gift for the holidays – something that not everyone is giving out!
Jalapeño Pepper Jelly
Equipment
- canner (canner doesn't have to be used but it is convenient)
Ingredients
- 1 red bell pepper seeded finely chopped
- 1 yellow bell pepper seeded finely chopped
- 1 green bell pepper seeded finely chopped
- 1 jalapeño pepper seeded and finely chopped
- 1 c apple cider vinegar
- 6 TBSP powdered fruit pectin (1.75 oz. package or 6 TBSP)
- 5 c sugar
- 6 8oz canning jars
Instructions
- Start with washing all jars, lids and bands in hot, soapy water.
- Place jars in boiling water for 5 minutes to make sure there is no bacteria or germs.
- Remove from water, lay in a dry, clean area.
- Seed and finely chop all peppers and add to a large pan over high heat.
- Mix in apple cider vinegar and fruit pectin to pan, stirring constantly.
- Stir continuously until it reaches a boil then remove from heat.
- Add sugar and stir through.
- Place over high heat again while stirring constantly.
- Once it boils, continue to stir for one minute and then remove from heat.
- Stir constantly and let it reach to a rolling boil. Once it reaches a rolling boil, remove from heat.
- If there is foam, skim it off the top.
- Fill 8 oz jars with jelly to 1/4" from the top.
- Place lids on and screw tightly (if they aren't tight enough, they won't seal properly).
- Add jars to canner, making sure that they are covered with water.
- Bring to a boil and process for 5 minutes.
- Let cool. Don't move around, just let them rest until they are fully cool.
- You should hear the jars start to "pop" which means they have properly sealed.
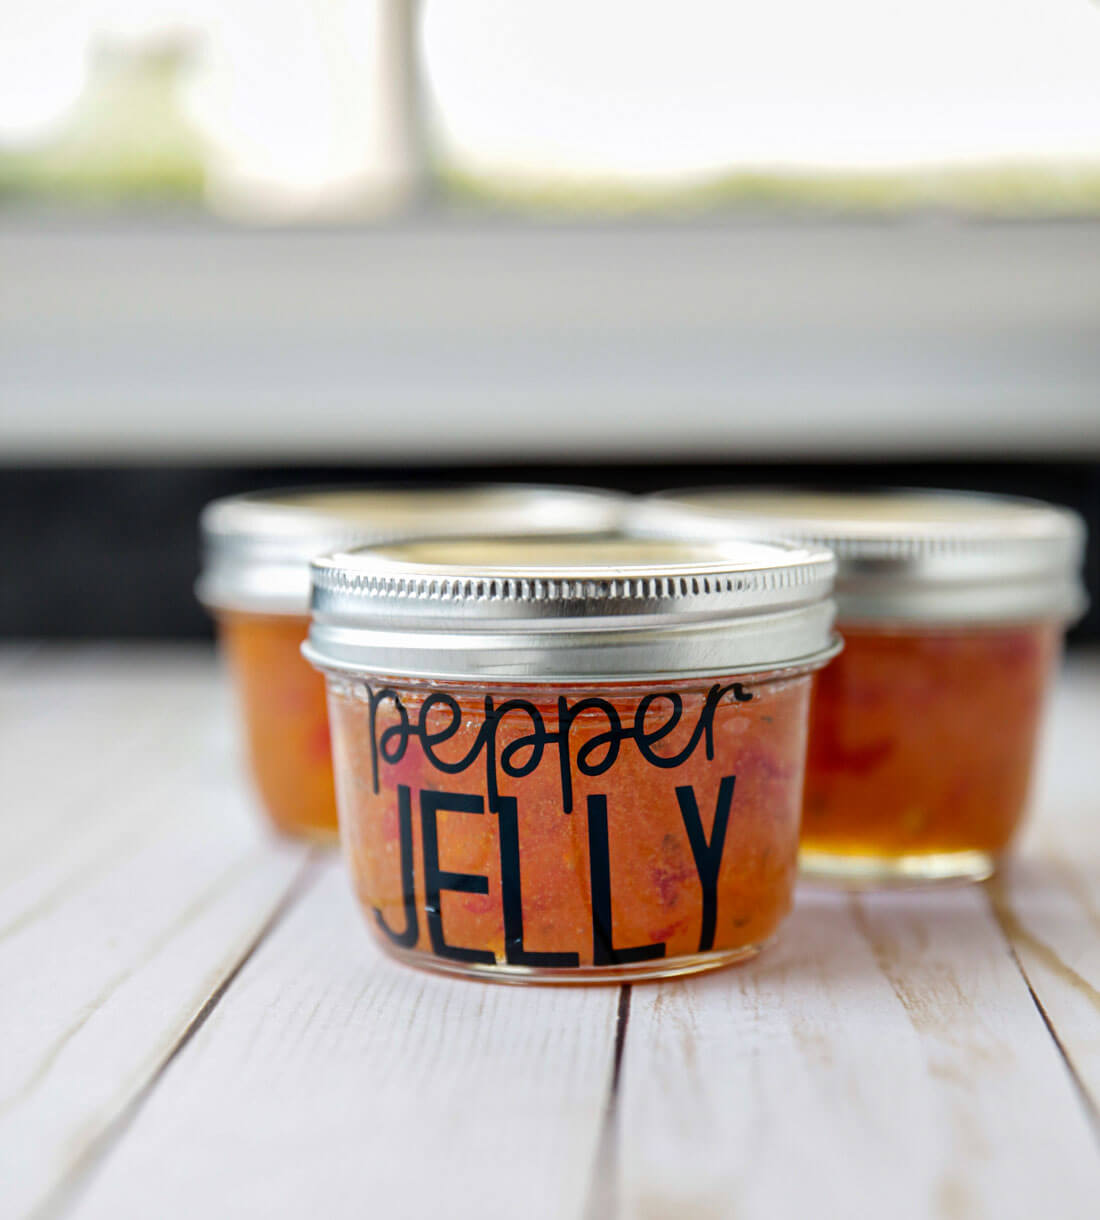
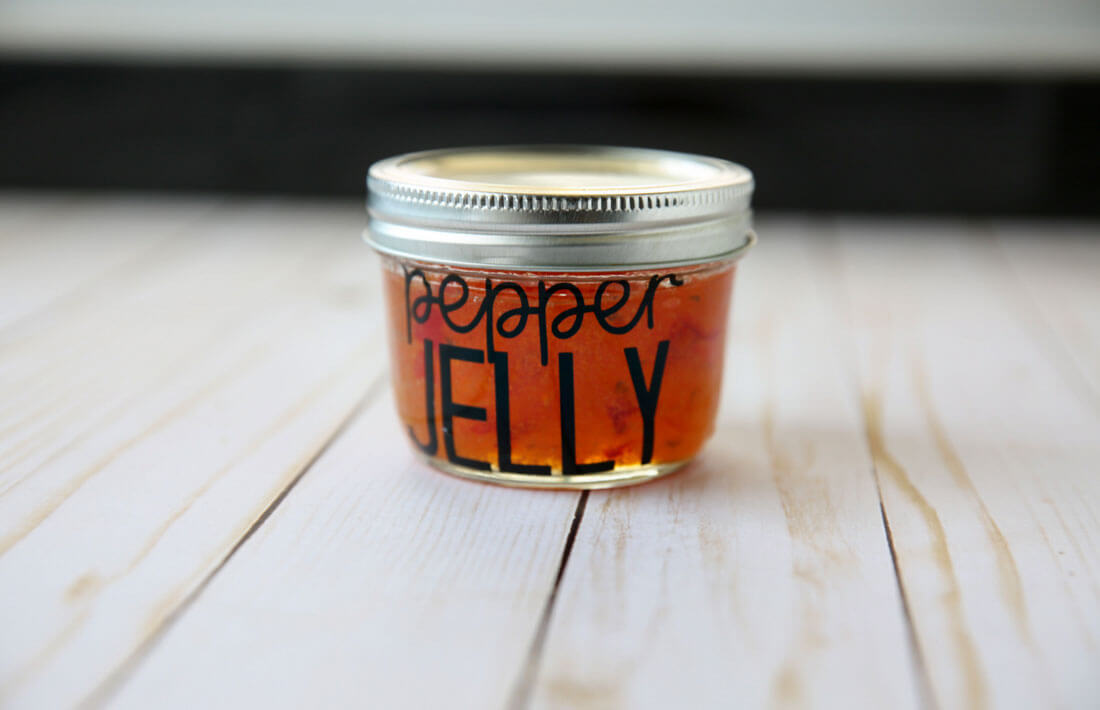
Allow for jars to sit for up to 24 hours to ensure they are properly sealed (though with these small jars, they should set within 1-2 hours). Then apply labels for added cuteness!
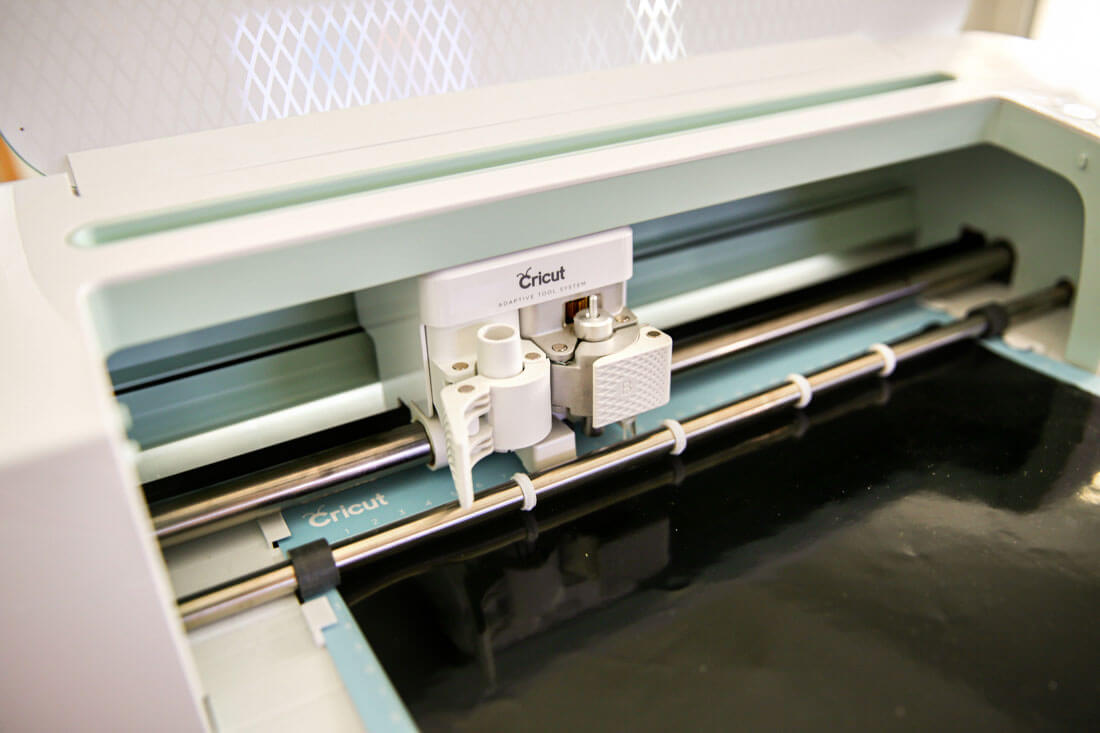
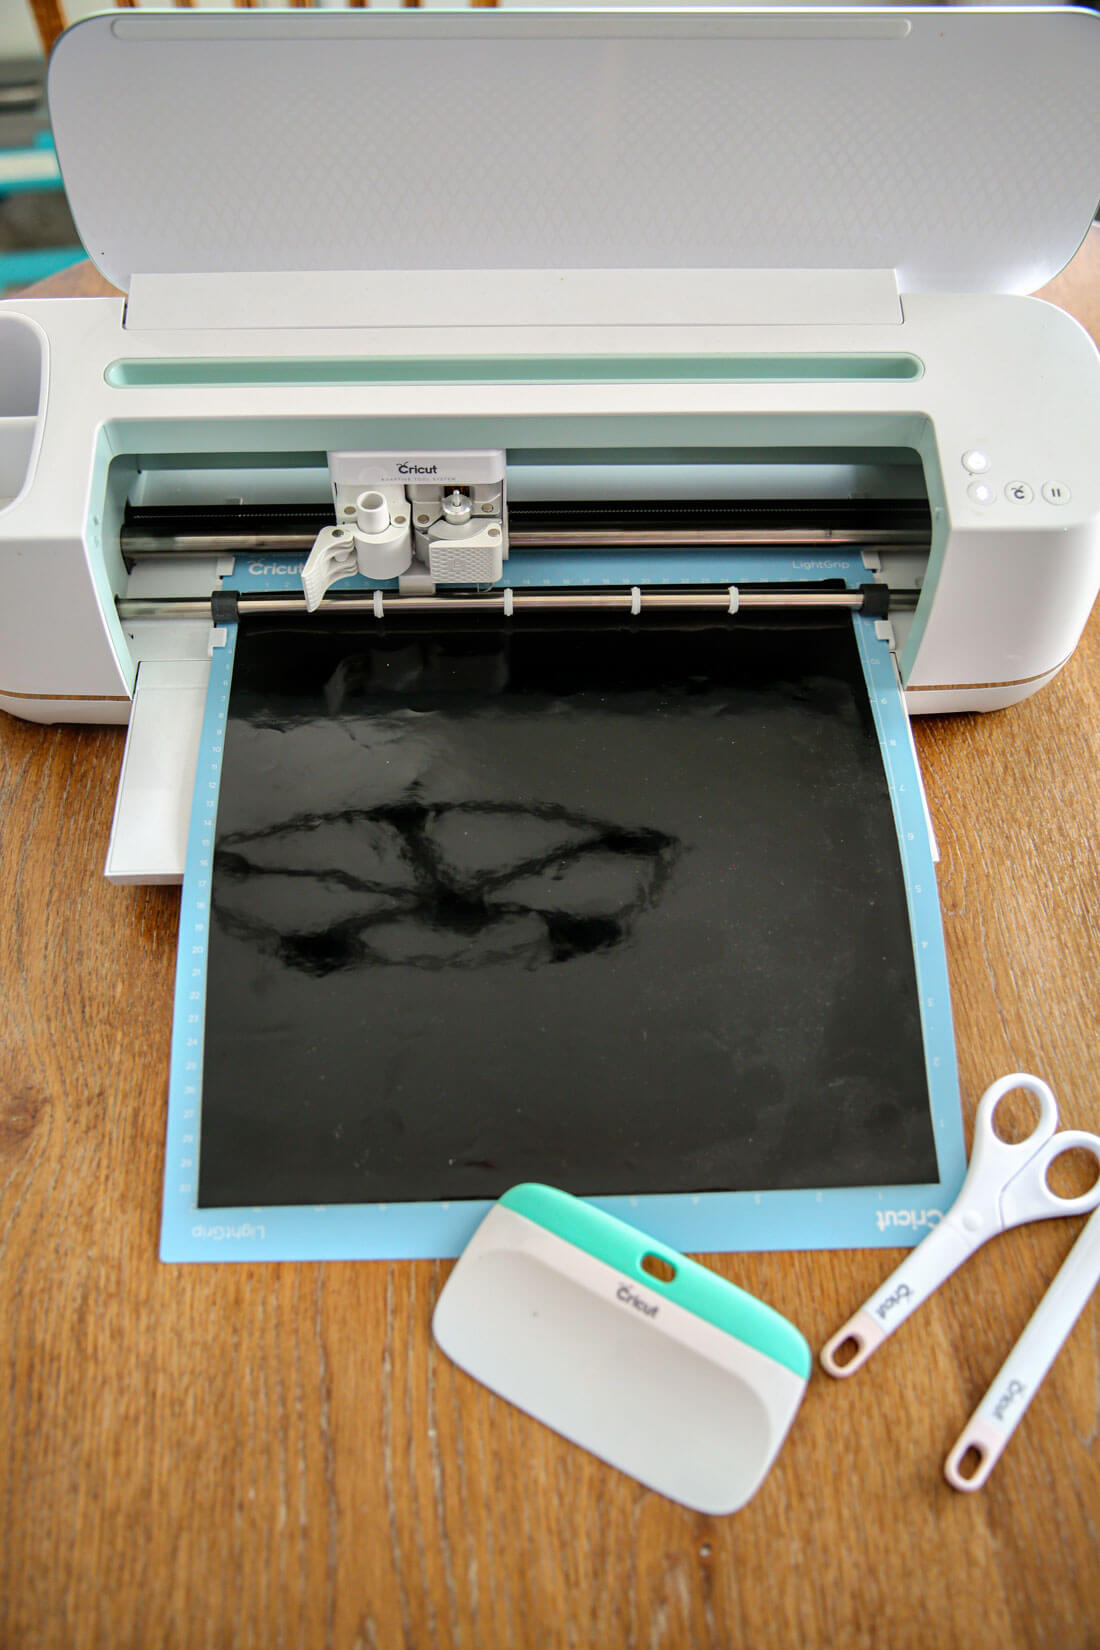
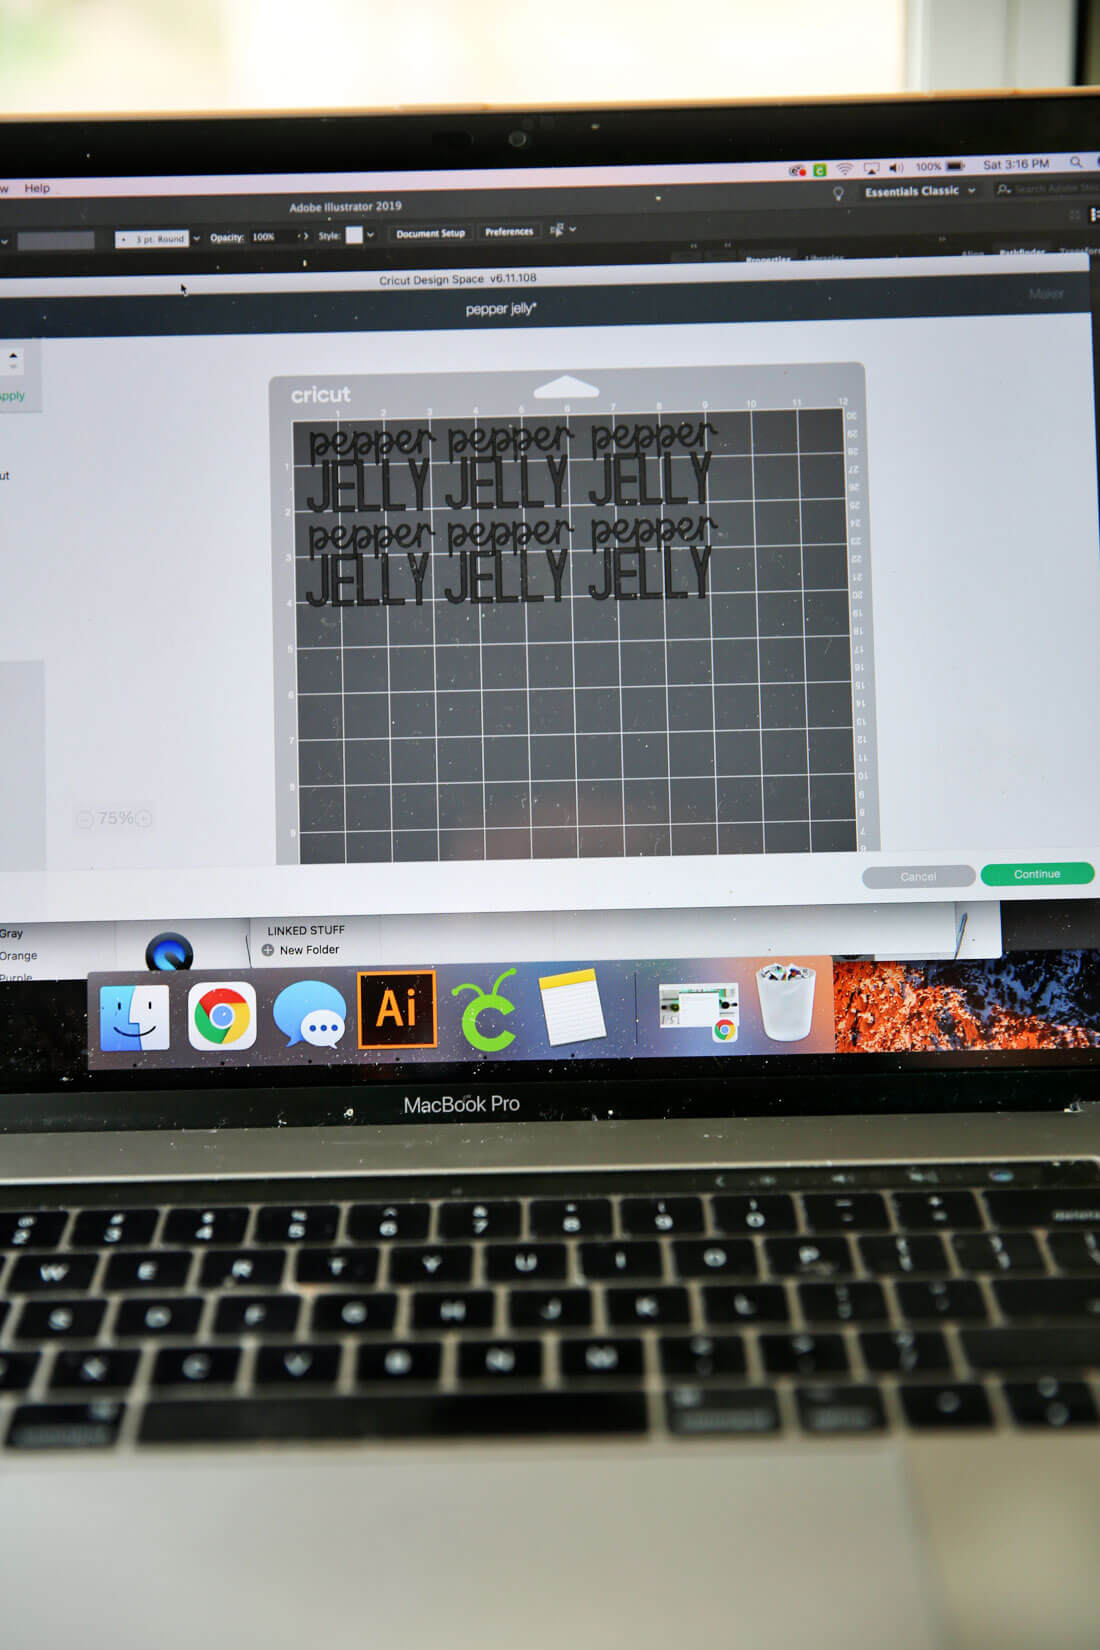
To create labels for my jelly jars, I used my Cricut Maker. This is my go to for all kinds of gifts and labels.
For this project, you will need:
OR you could get the tools kit
The basics of creating labels for pepper jars:
- Design labels in Cricut Design Space.
- Load vinyl into Maker.
- Make design and unload.
- Weed the design.
- Add transfer tape over the design.
- Apply to jar, using scraper to adhere well.
- Remove transfer tape.
If using these as gifts, attach a tag to a final touch!
Since I have so much canning stuff, I create a bin (yes, another bin to add to my collection of bins) for a place to store it all. It is nicely labeled and easy to see:


