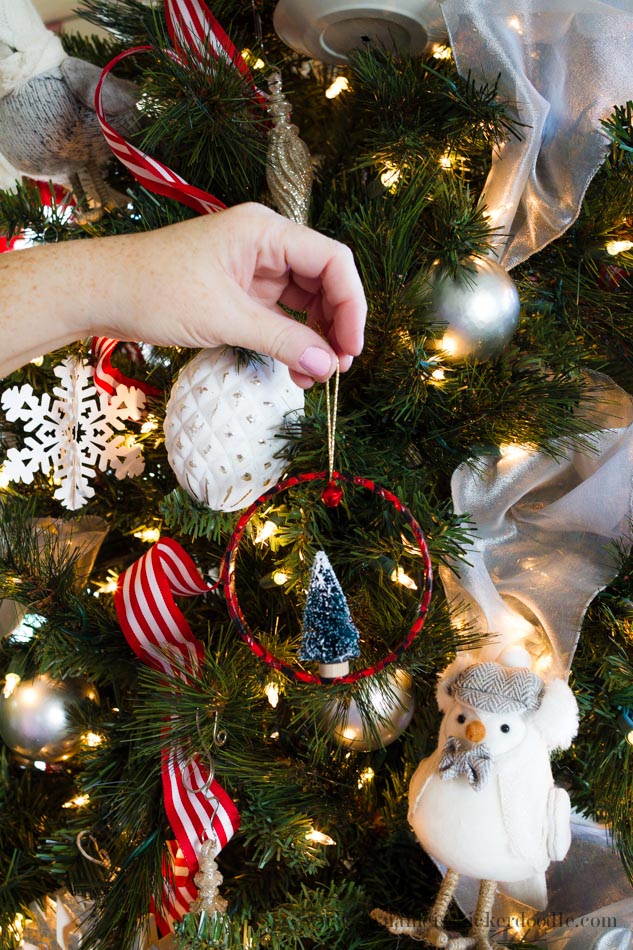
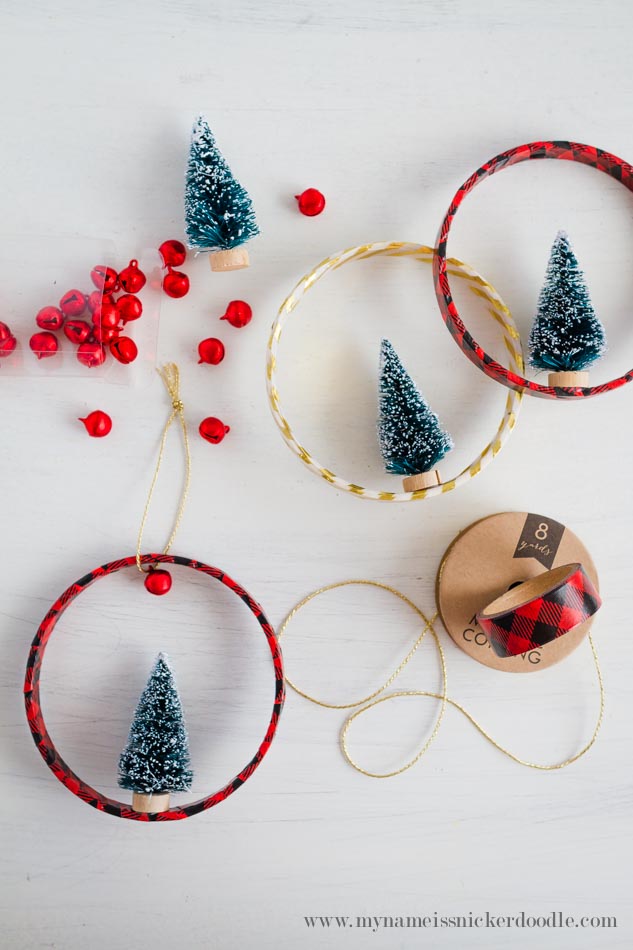
This year’s Bake Craft Sew is pretty amazing and I’m super excited to be sharing these adorable Christmas Tree Ring Ornaments from over at My Name Is Snickerdoodle! These are super easy to make and I picked up most of the supplies from Target’s Dollar Spot. You truly could use whatever supplies you had on hand and get crazy with your color choices.
With using the embroidery hoops as separate rings, you instantly get two ornaments out of it. You could easily glue a a bow over the front of the claps or use it as is. These are for unique and can be made completely custom.
I made these with my young kids in mind. It’s something they could put together and not have trouble finishing. With a little help from me with the hot glue gun, we could make a dozen of these and have a whole tree full of them!
And am I the only one who’s been late to the bottle brush trend?! I’ve fallen in love with them and have tried to use them most of my Christmas decor. So adorable!
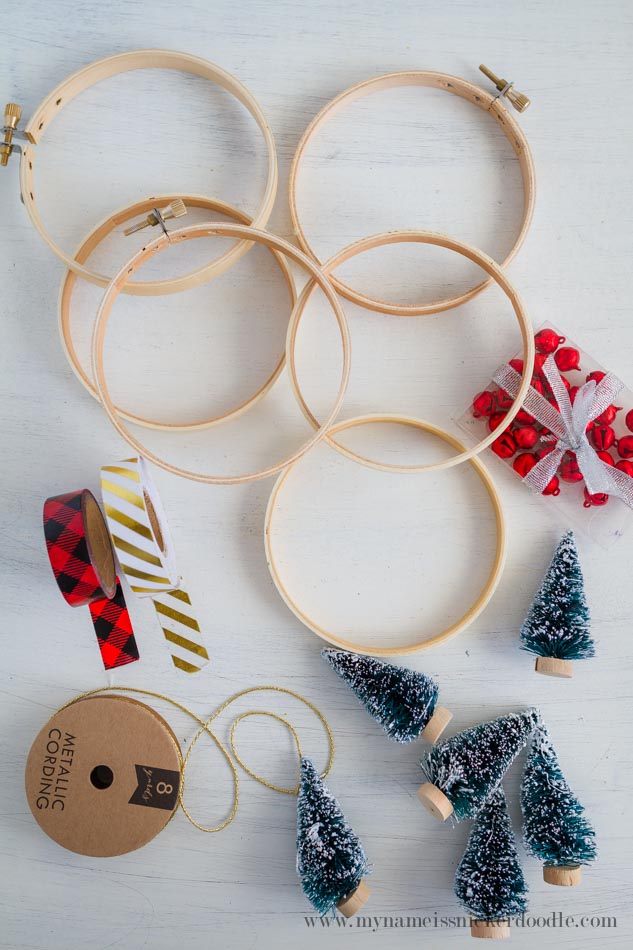
Here are the supplies and tools you’ll need to make these Christmas Tree Ring Ornaments:
4″ Embroidery Hoops
Washi Tape
Small Bottle Brush Trees
Small Bells
Metalic Cording or Twine
Scissors
Hot Glue Gun and Glue
- Remove the inner ring of the embroidery hoop.
- Wrap washi tape around the ring and make sure to completely cover. I did a wrapping in and out motion.
- Place a dab of hot glue in the inner center of the ring and gently press a tree on top. Hold it in place for about 1 minute while glue cools.
- Cut about 6 inches of the cording and string a small bell onto it.
- Loop the cording through the ring and tie a knot to secure both ends of the corning.
- Center the bell in the middle of the cording and over the top of the tree.
- Hang your new adorable ornament!
It’s as easy at that! With all the washi tape patterns and colors, just imagine the possibilities! Make a few fancy ones for your self or get the kids involved and make some new memories!
Make sure to check out my tutorial for this festive Kid Hand Print Wreath!


