Hello again 30 Handmade Days readers! I hope your summer is off to a great start. I am so excited to be back sharing another fun DIY project with you; today, I am going to show you how easy and budget-friendly it can be to make custom artwork for your walls using paper!
As a military family who moves a lot, I am constantly on the lookout for easy and inexpensive ways to decorate our home, especially the walls. My latest obsession is coming up with creative ways to use paper! Not only does it come in every color and texture imaginable, it’s inexpensive, easy-to-find, and endlessly versatile. Combine colored papers with an e-cutter, and the possibilities really are endless!
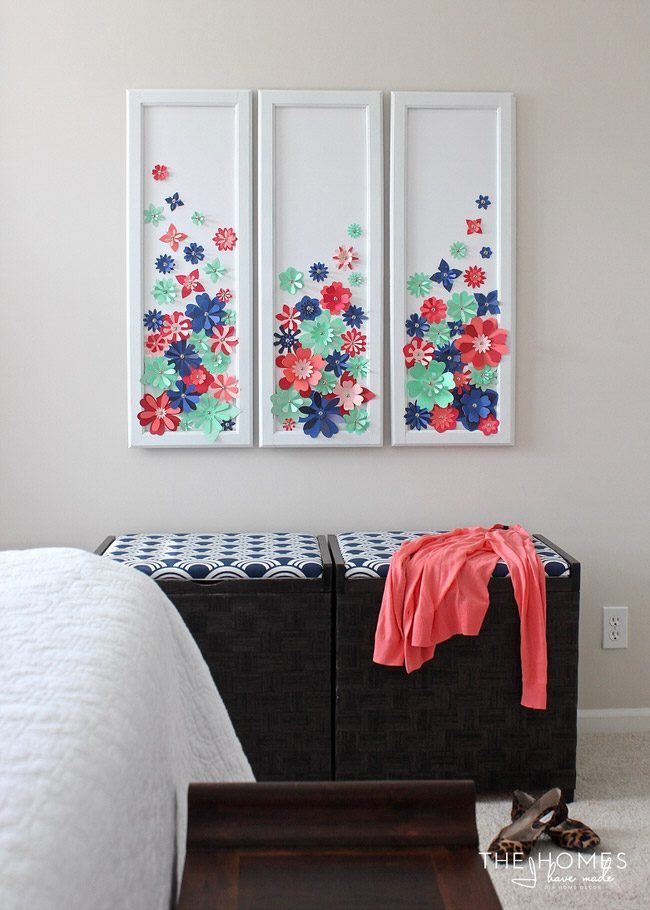
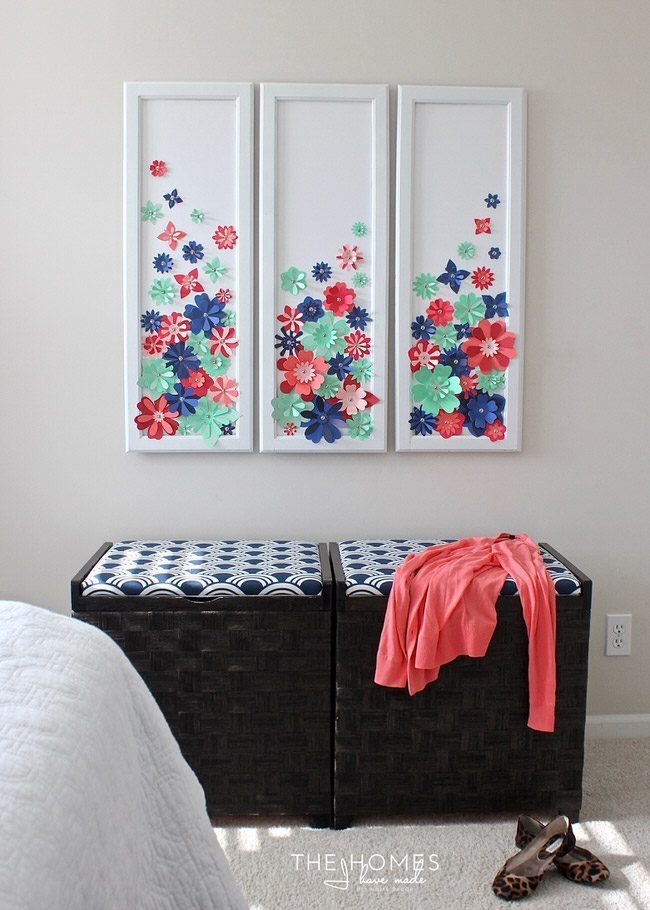
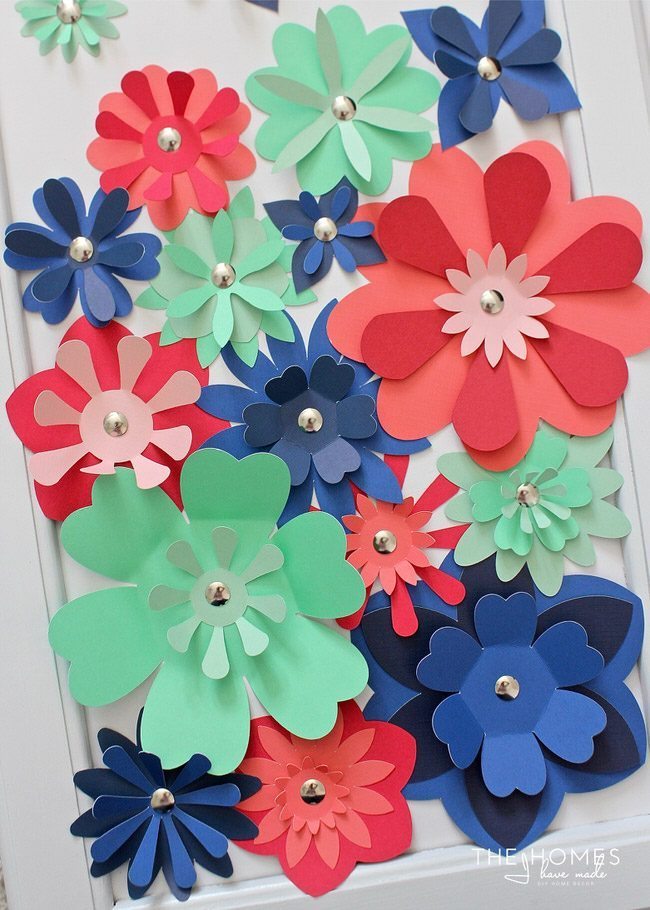
This art project is super impactful not only because of the ombre shades of papers used, but also because the paper flowers are layered and bent to create a 3D display! The overall effect is fun and vibrant, and certainly looks much more complicated than it is!
This flower art project is made quick and easy by using an e-cutter. I used a Cricut Explore (with the Flower Shoppe images) but a similar version can be achieved by using any other e-cutter or die-cut machine available. If you don’t have an e-cutter, you can still do this project…it will just require a lot more time and cutting!
(To do this project without an e-cutter, find and save a bunch of flower shapes on Google Images. Print them at different sizes onto your cardstock and cut them out with scissors!)
To make your own version of this paper flower artwork, you will need:
- Cardstock – in various colors and shades
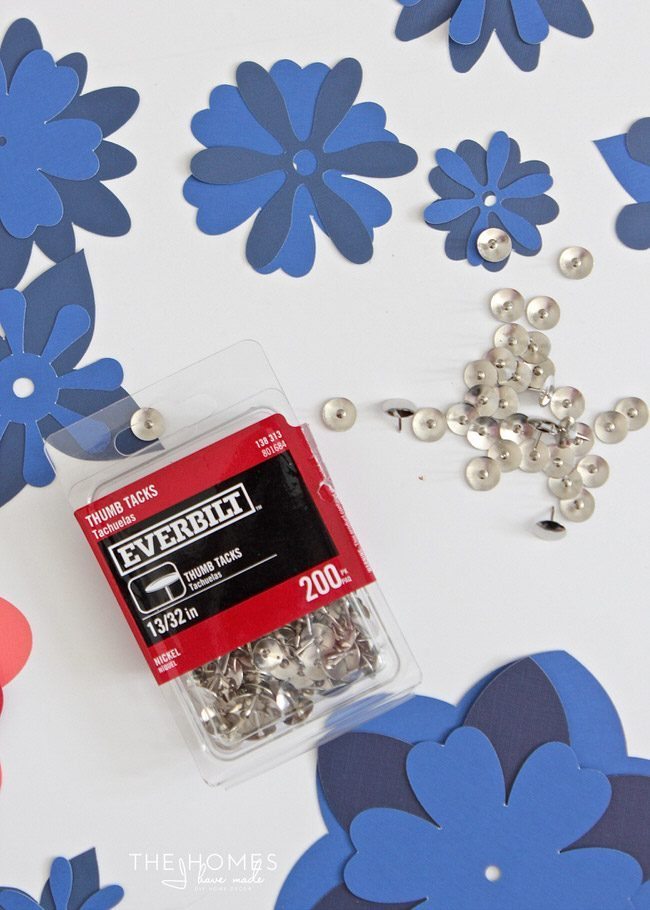
- Thumbtacks – in the color of your choice
- Foam core – cut to fit your desired frame(s)
- Frame(s) – in the size and shape of your choice
- E-cutter or die-cut machine with various flower cut images
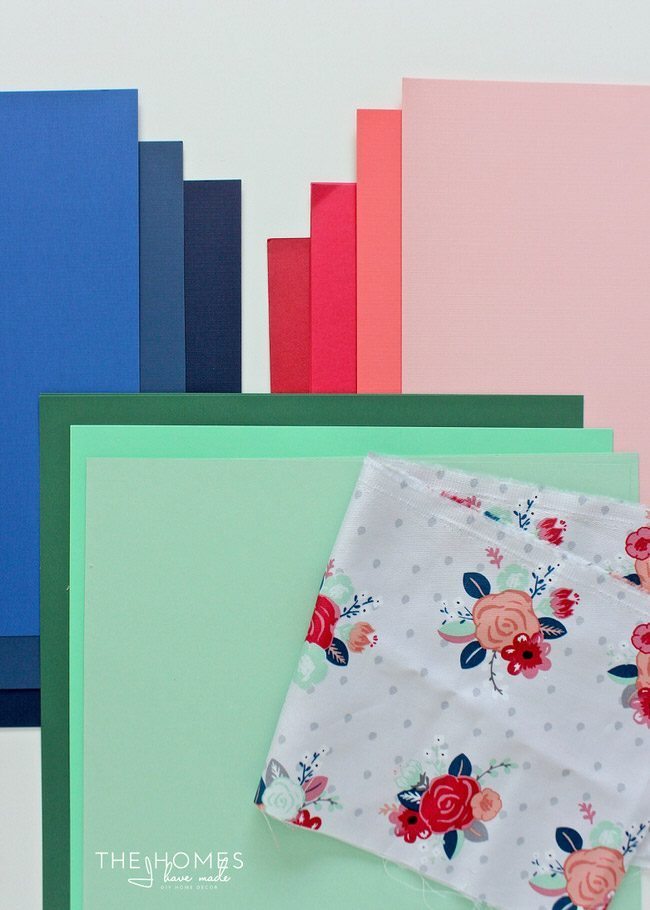
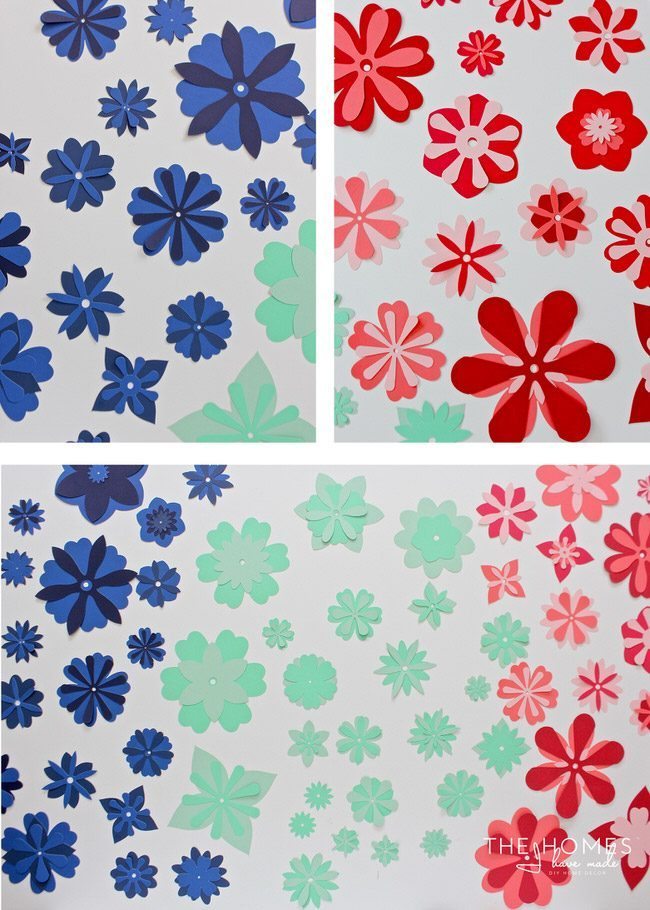
Start by picking out your cardstock colors, and be sure to include various shades of each color. Take into account any colors you need to match to your current decor. I chose these blues, reds, and greens to match the fabric on my bedroom pillow shams.
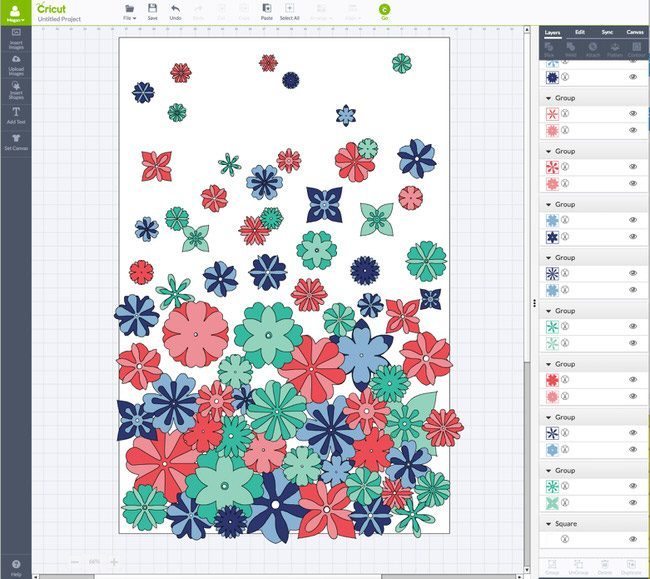
This next step is optional, but it sure makes putting the final artwork together a bit easier. If your e-cutter has an online design program, set a canvas size that matches your frame size. Then fill your canvas with flower cut files in all shapes and sizes. Play with the colors, sizes, and amount of flowers until you are satisfied with the arrangement. You don’t have to replicate this design exactly as you assemble your artwork, but pre-planning it will ensure you have enough flowers cut in the different sizes and colors.
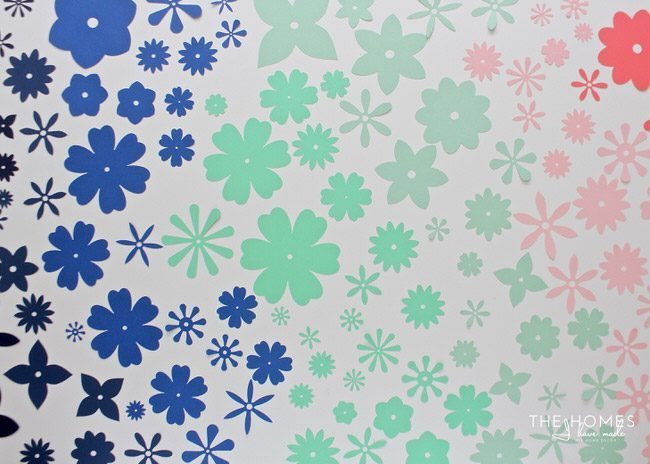
The next step is to cut out all the flowers you just designed across the various shades of paper. Ensure you use different colors for the center flowers versus background flowers.
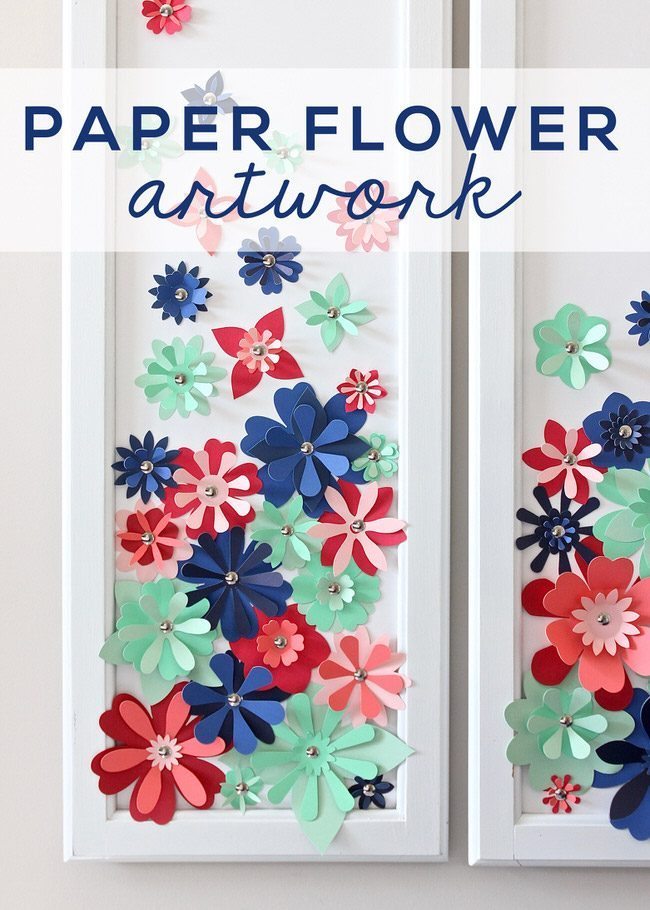
With the flowers cut in all the different shades of paper, start to layer them in ways that enhance the overall shape of the flower and play up the color variations. Don’t worry about replicating your original design, but do try to layer at least two to three flowers if possible. If your flowers have holes pre-cut in them, ensure the flower on top has a small-enough hole to catch the thumbtack in it.
Next, use an X-acto knife to trim down a sheet of foam core to fit inside your selected frame. If you want a different color other than white for the background, paint the foam core sheet or cover it in patterned paper before inserting it into the frame. If necessary, use a staple gun to secure the foam to the inside of the frame.

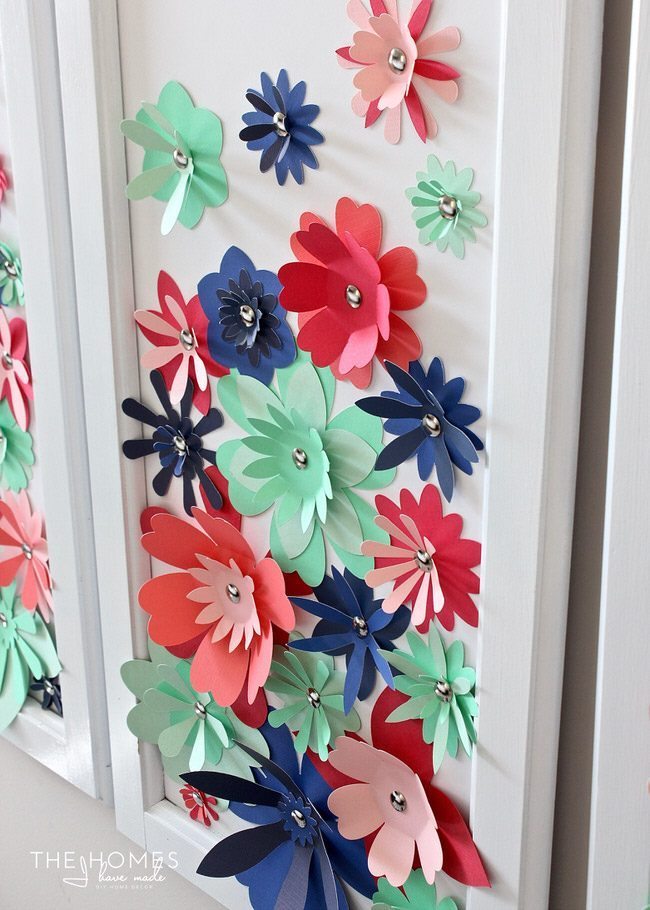
With the foam core sheet secure, it’s time to add the flowers! No glue or tape is required; all you have to do is use thumbtacks. Not only do the thumbtacks hold the flowers secure in the foam, but they look like shiny centers on each flower!
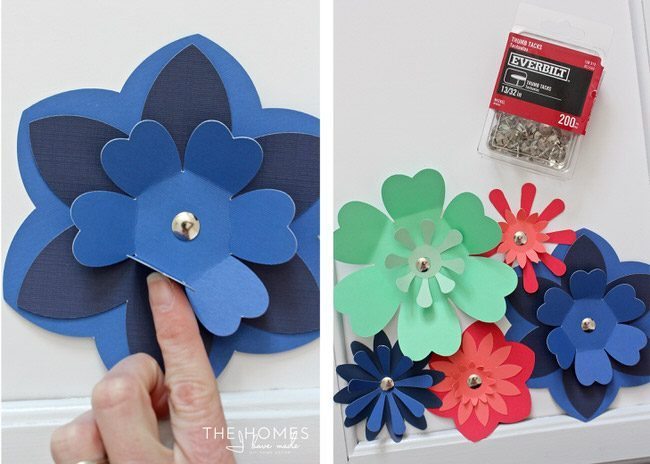
To attach the flowers to your foam core, hold the various layers together and put a thumbtack through the center. Gently push the thumbtack into the foam core wherever you want the flower to be…
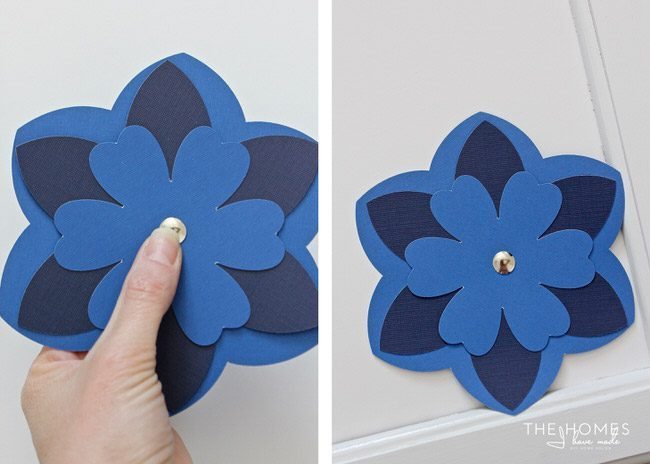
…and then carefully bend up the top layer of petals to achieve a 3D look. Continue to layer the flowers tightly together to fill up the frame, taking care to vary colors and sizes as you go.
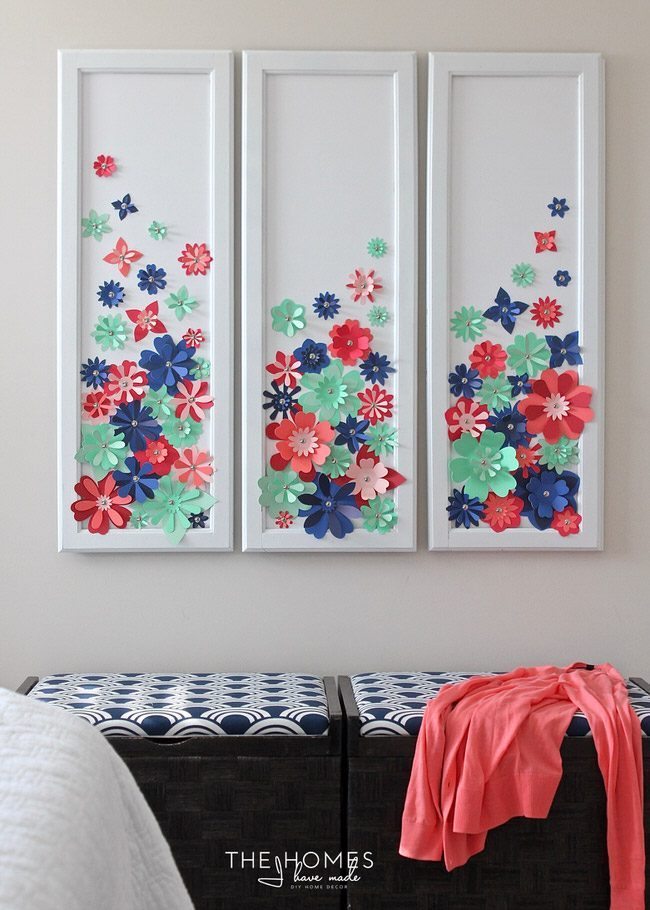
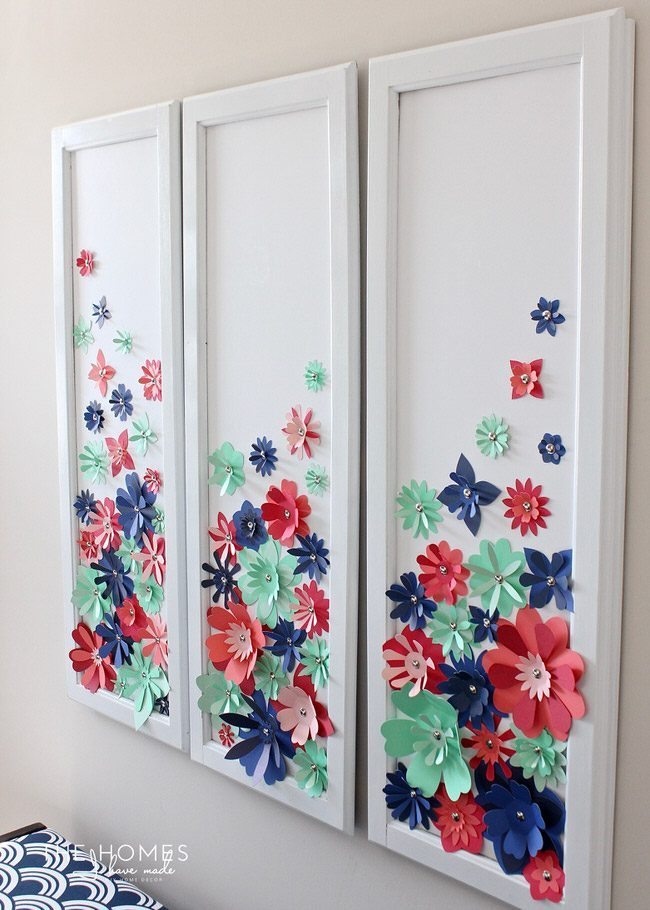
You can fill your entire frame with flowers or choose to make a flower-drop effect by staggering the flowers closer to the top.

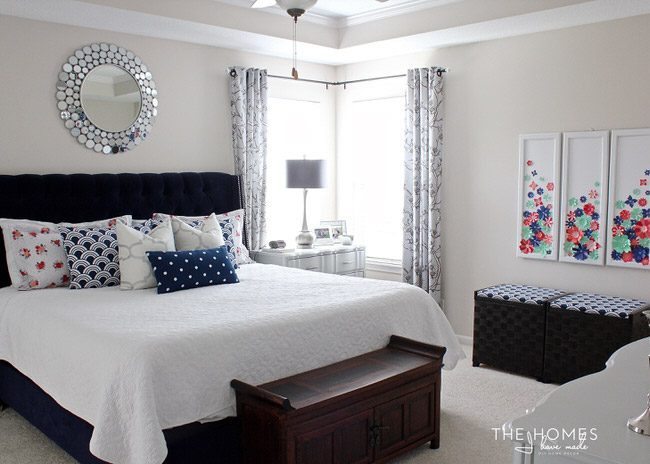
Once you fill your frame(s) with flowers, it’s time to hang your frames on the wall! Instead of one large frame, I chose to hang three identical frames side-by-side to look like a unified display.
This project cost about $20 (I already had the frames on hand) and turned out to be a really fun, fresh, and budget-friendly way to fill up a big blank wall in our master bedroom!
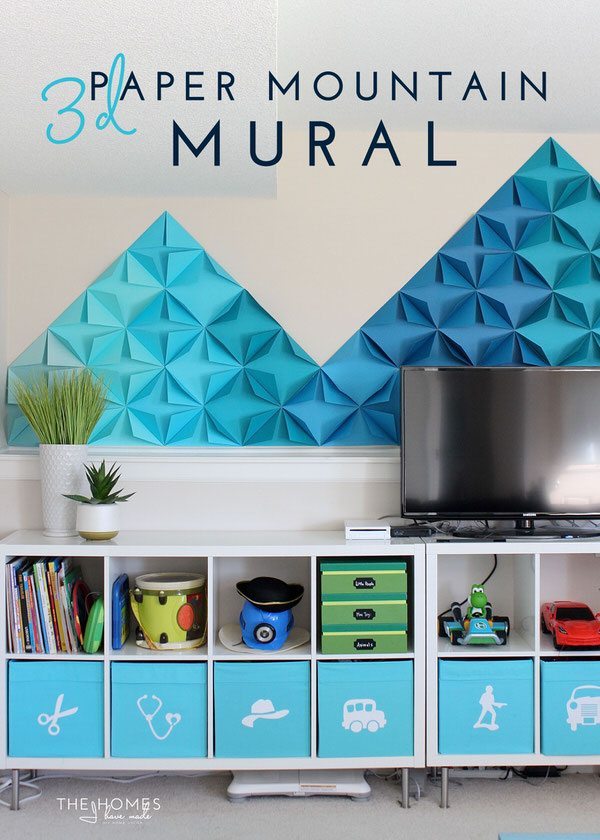
I never cease to be amazed at what can be accomplished with paper. If you need more ideas, be sure to check out my 3D mountain mural and 3D wall flower display!

I hope you feel inspired to try some new projects with paper for your home! I’d love it if you came over to The Homes I Have Made to say hi, and I’ll see you back here next month!