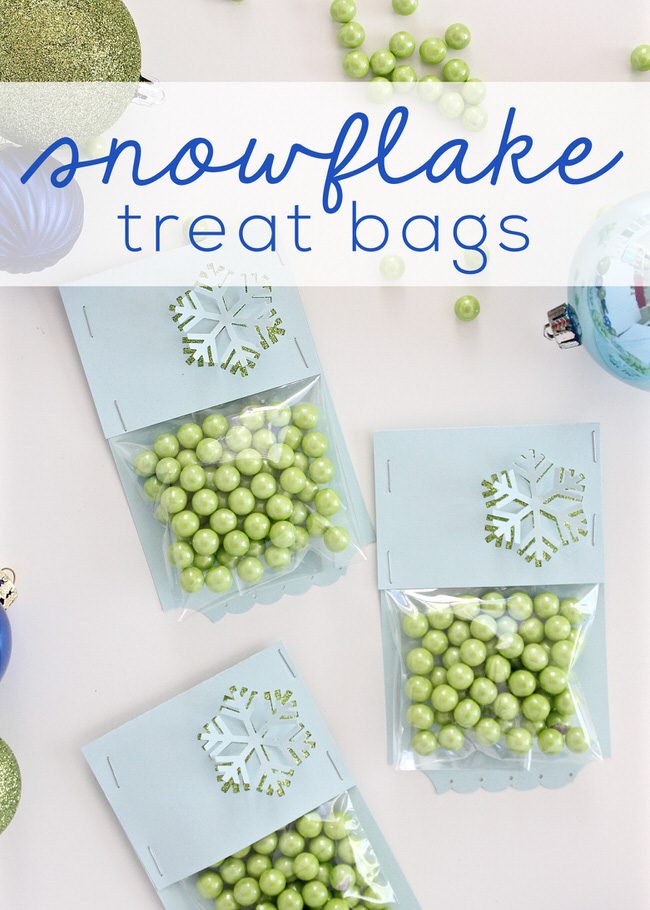
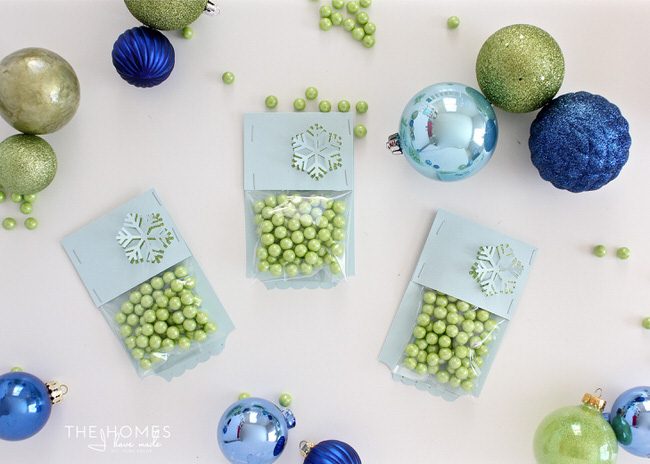
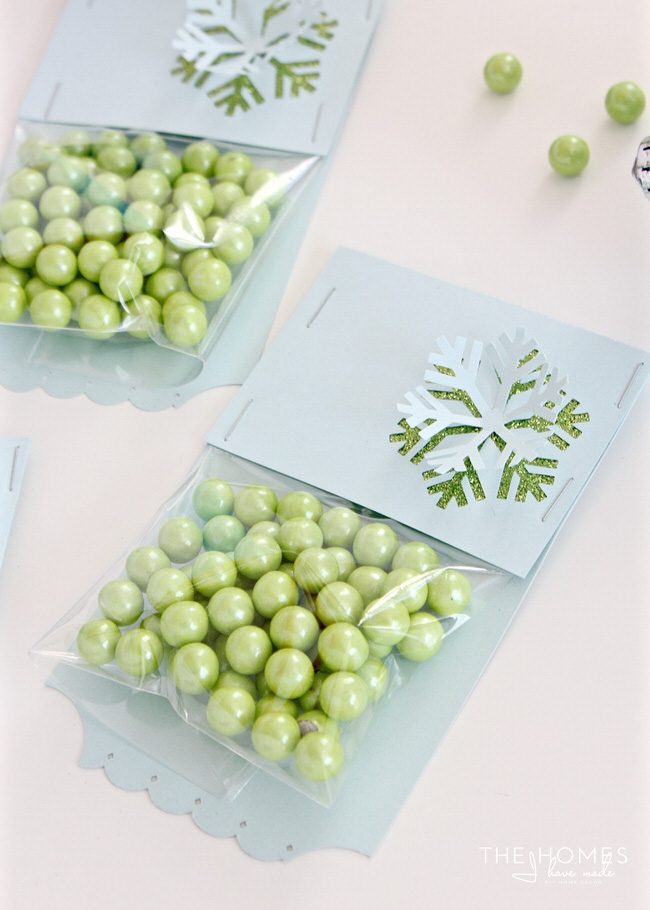
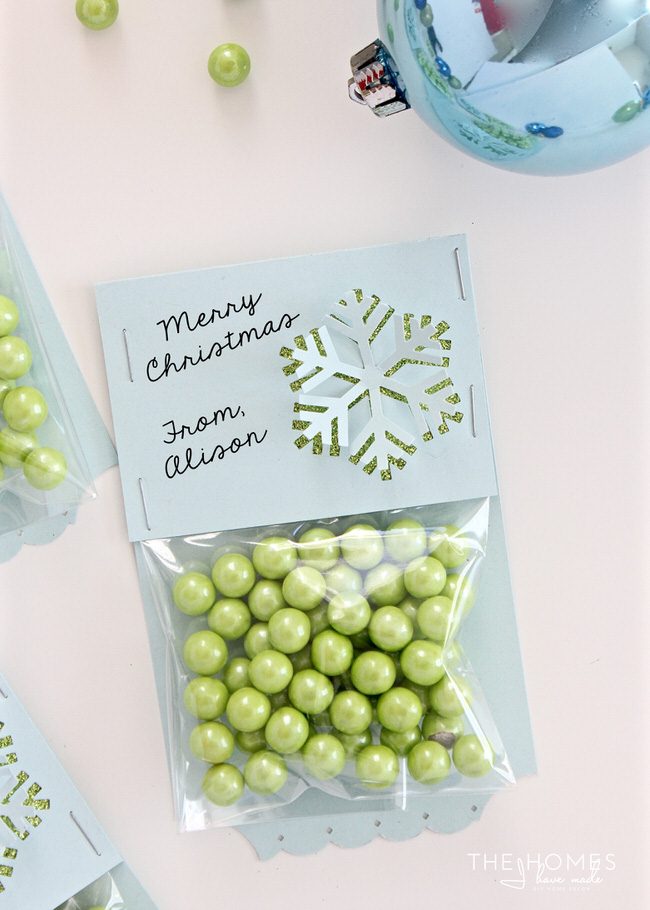
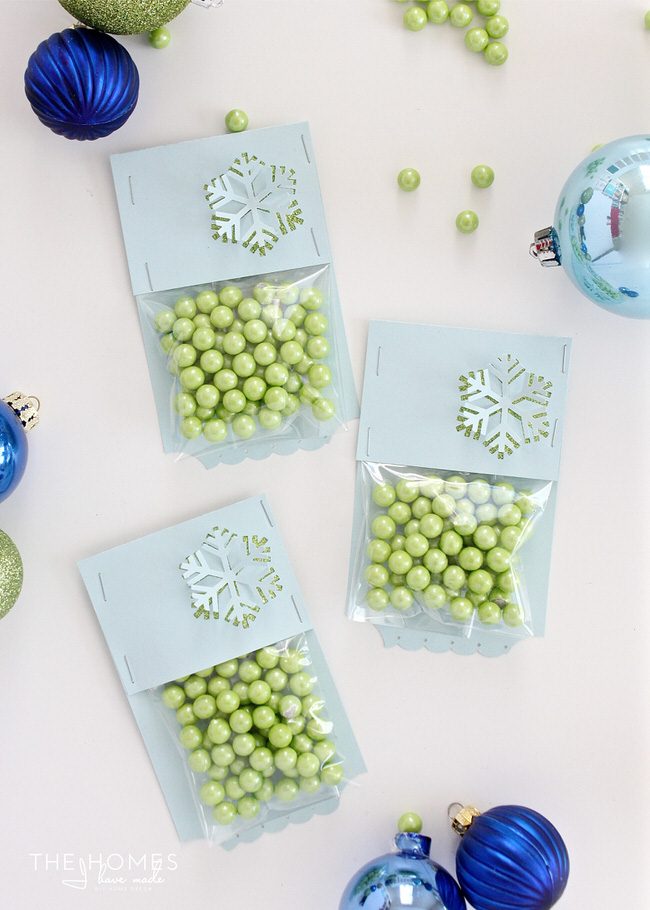
‘Tis the season for needing gifts…lots of them! From co-workers to neighbors, classmates to teammates, and everyone in between, it doesn’t take long for your gift list to fill up and your holiday budget to bust! Whether you need a quick and simple idea for packaging up the latest batch of your homemade fudge or you just remembered that the class holiday party is tomorrow, these snowflake treat bags are super quick and simple to make and don’t require any fancy supplies! Combine this simple paper craft with your favorite edible treat, and you’ll have a thoughtful gift ready to go in no time!
These treat bags come together in mere minutes and can perhaps even be assembled using items you already have on hand! Look closely: heavy paper, clear bags, and staples are all you need to create these clever and thoughtful little packages.
These treat bags are also easy to customize! Change the colors and size based on what you’re gifting, or swap out the punch shape for your favorite holiday icon. This basic concept can be used to package up a variety of fun and yummy things!
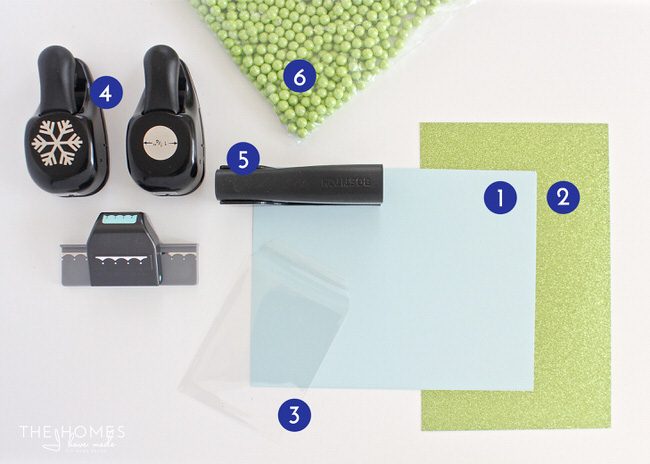
Here is what you need to make these simple Snowflake Treat Bags:
- 8.5 x 11″ cardstock in the color/pattern of your choice (1 sheet makes 3 bags)
- Contrasting cardstock or paper in the color/pattern of your choice
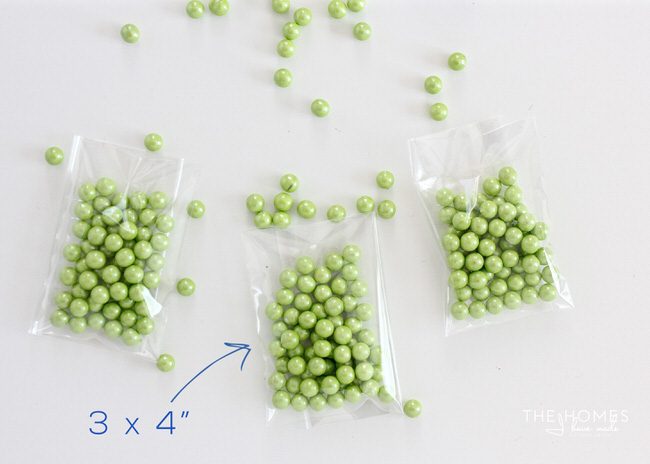
- 3 x 4″ clear cellophane bags
- Punches in whatever shapes you like and/or have on-hand
- Stapler with staples
- Candy, cookies, fudge, small toys, stickers, etc
Tools (not shown): scissors/paper trimmer, craft adhesive
NOTE: These directions/measurements are to create treat bags that are 3.5 x 5.5″ finished size. Please adapt your measurements to suit your items and/or preferences.
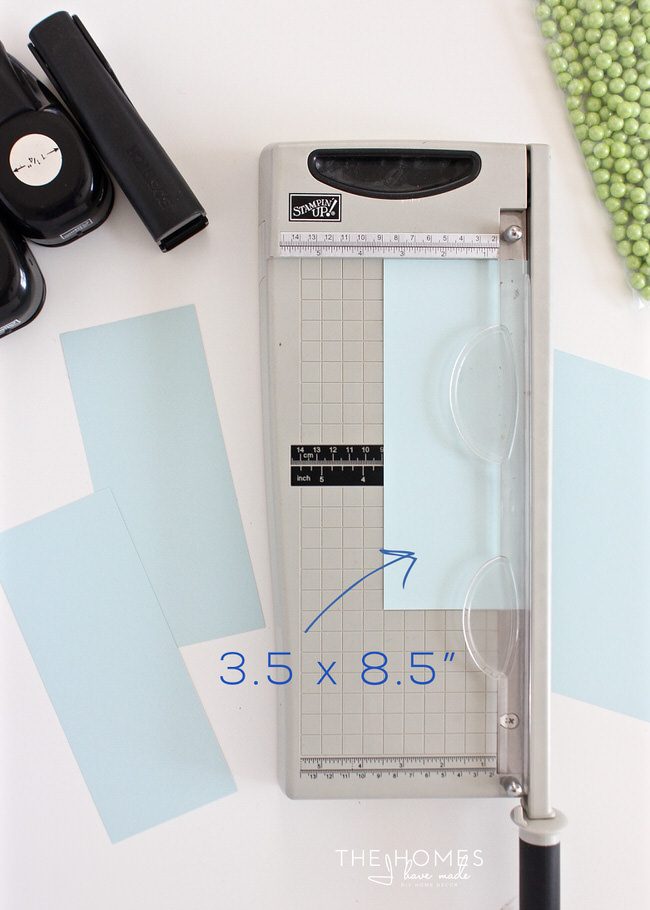
Start by using a paper trimmer or scissors to cut a single sheet of cardstock into three rectangles measuring 3.5 x 8.5″.
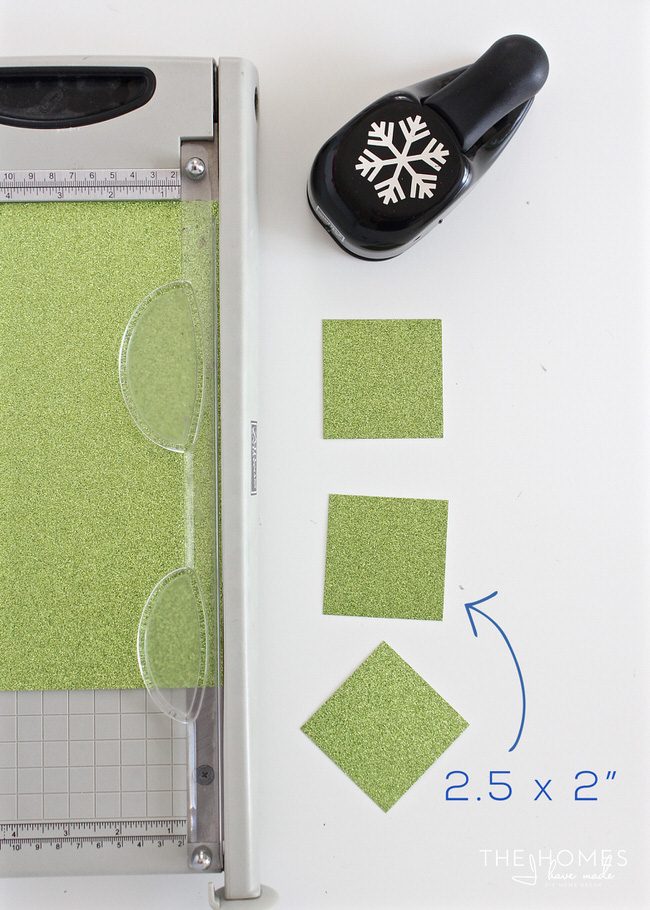
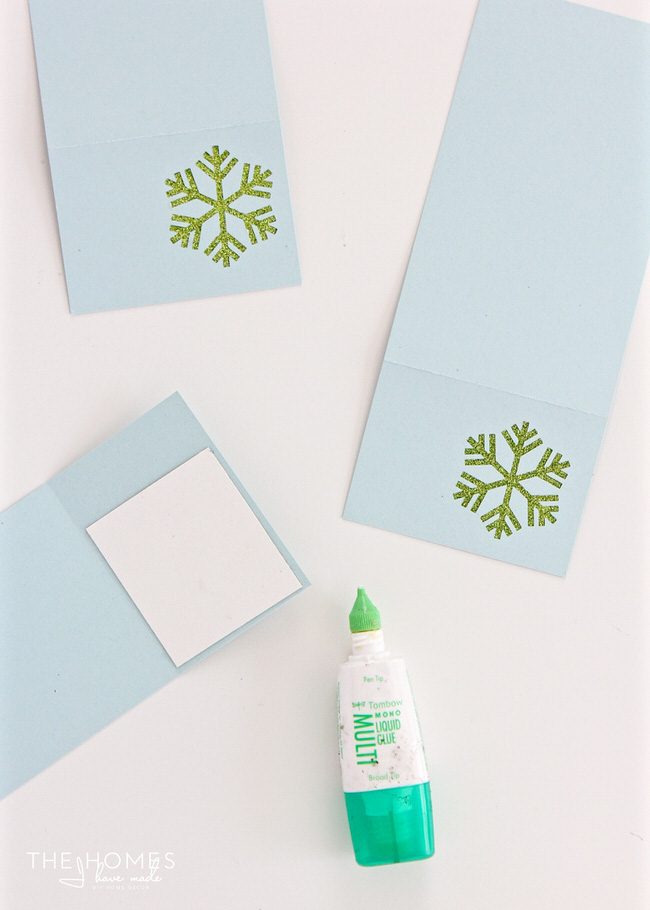
Next, trim down the contrasting paper to a size that matches the holiday punch. In this case, a 2 x 2.5″ square was the perfect size to match the snowflake punch.
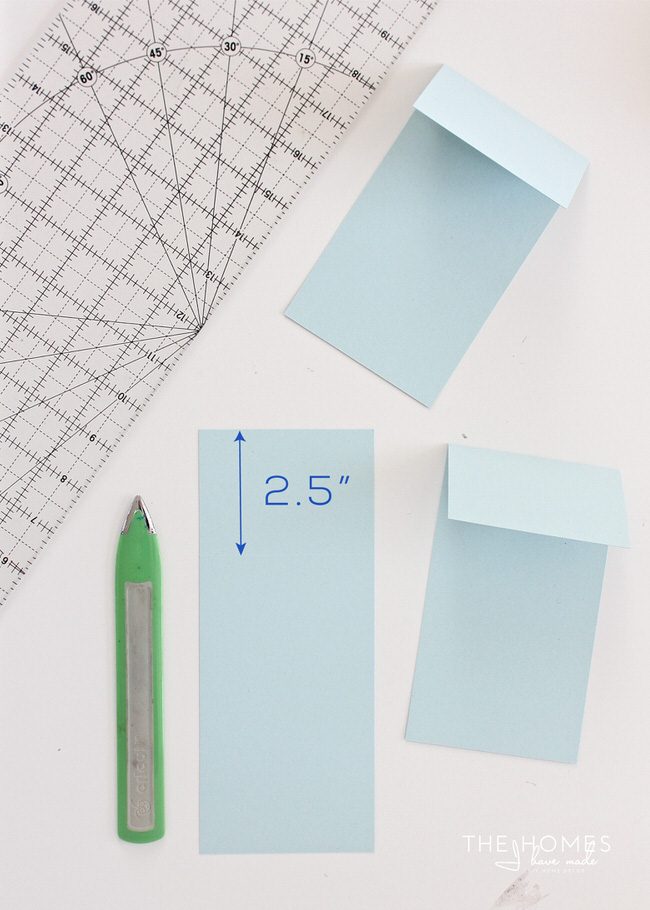
Using a scoring tool (optional), crease and fold one end of the cardstock down 2.5″ (or a length that best suits your punch size).
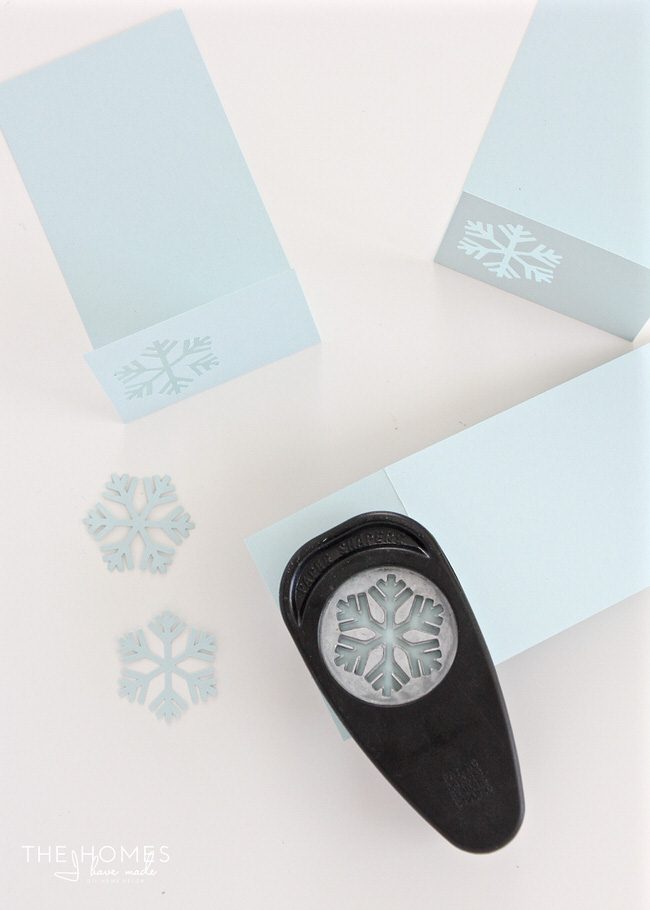
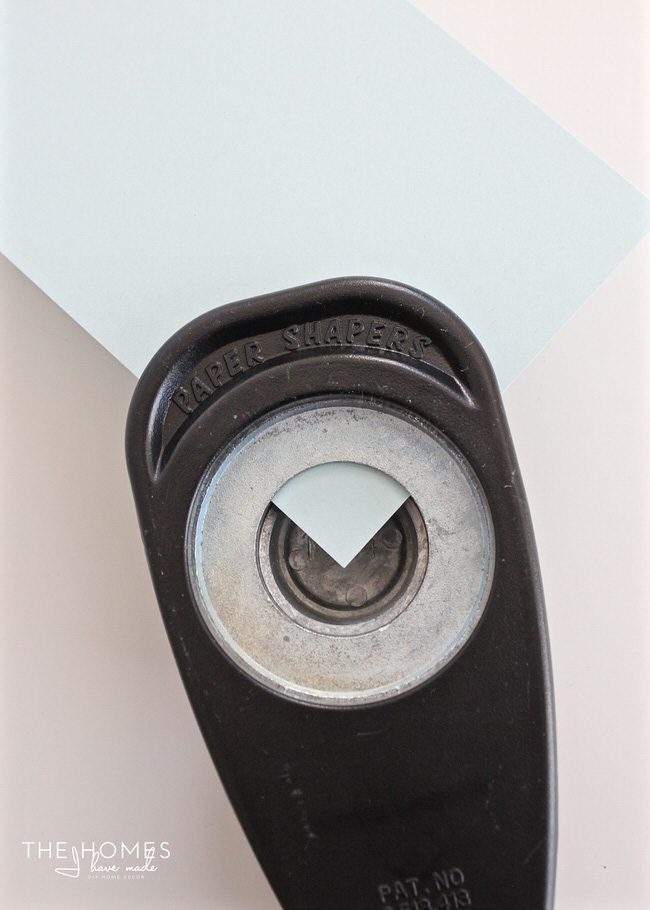
On the folded portion of the cardstock, punch out your holiday shape. If you want to be able to add a holiday greeting, punch on one side of the rectangle. Be sure to set the punched shape aside for later.
Using craft adhesive or glue, secure the contrasting piece of paper to the backside of the cardstock rectangle, making sure the pattern/texture is showing through the punched window.
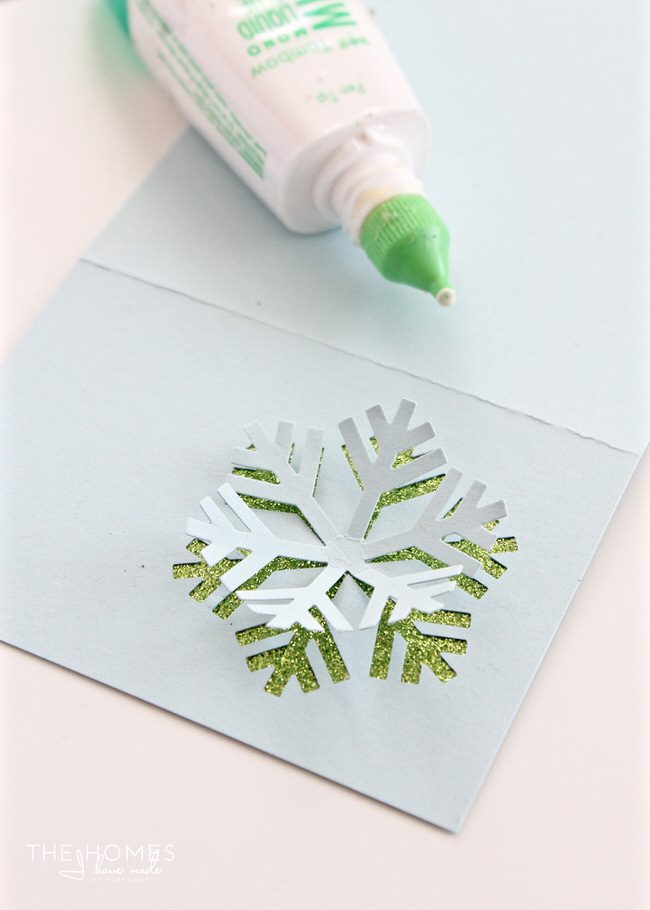
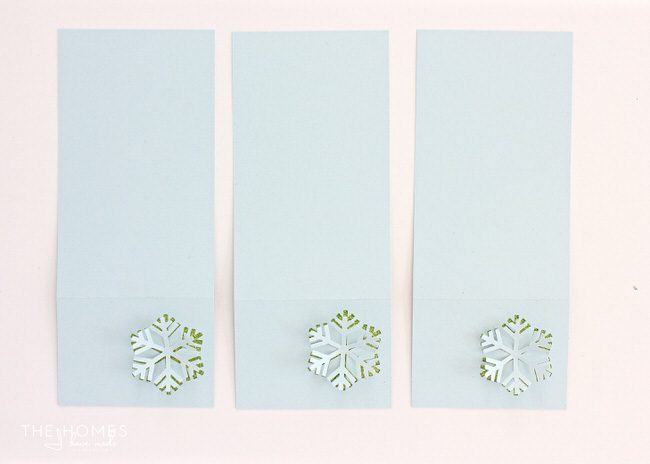
To give the treat bag some dimension and whimsy, fold up the punched shape to give it a 3D appearance and re-attach it on top of the punched out window with more craft glue. No matter what shape you use, most can somehow be folded to achieve the 3D look.
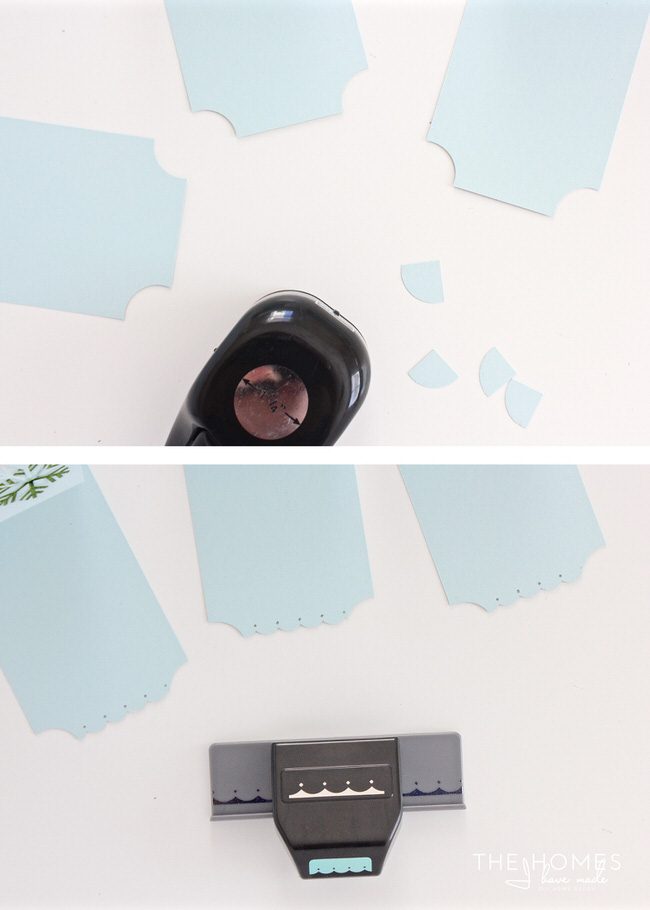
To give the treat bags a little more detail and character, use a combination of punches along the bottom. A circle punch can be used to make corner scallops and a border punch or patterned scissors can add even more interest.
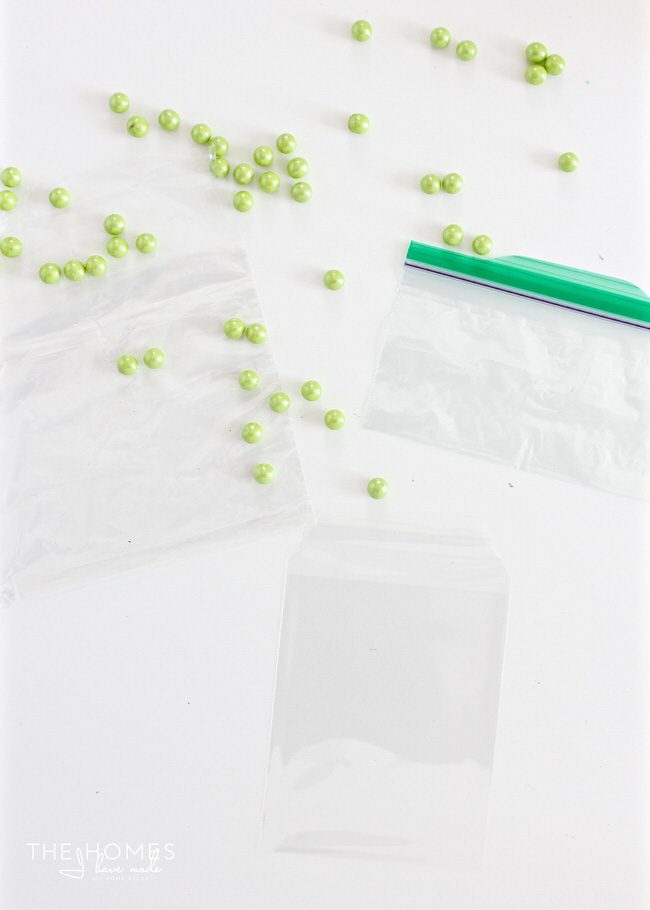
With the paper part of the treat bags ready to go, it’s time to fill up the clear bags with whatever you’re gifting. Even if you are making these last-minute and/or can’t find the exact size bag you need, don’t fret! Any bag, even basic plastic bags, can be folded down to whatever size you need!
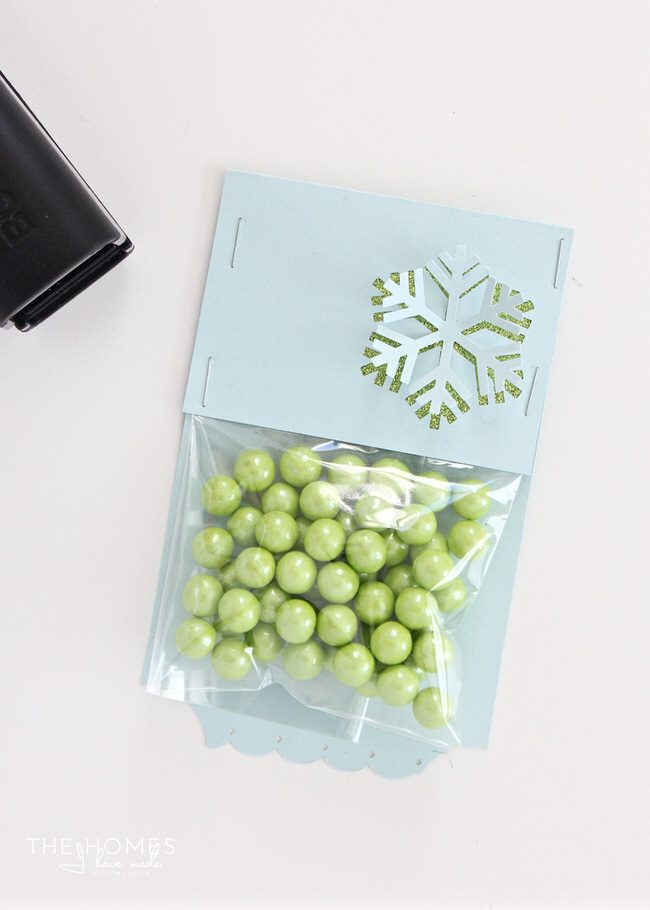
To assemble the treat bags, simply slide the cellophane candy bag between the rectangle and the flap and secure with staples along the sides. Be sure you catch the cellophane bag in some of the staples to prevent it from slipping out!
You can leave these as is or finish it off with a holiday greeting. TIP! If you don’t like your handwriting or have lots of these to make, you can run paper through your computer/printer to print the greetings before starting!
Thanks to some basic punches and the creative use of pretty papers, you can easily create a fun and thoughtful way to deliver your tasty gifts in just a matter of minutes! Have school-aged kids at home? This craft is easy enough for them to do while you bake/assemble the treats to go inside. While the treat is the star of the show, your gift recipients will surely appreciate the clever and festive packaging as well!
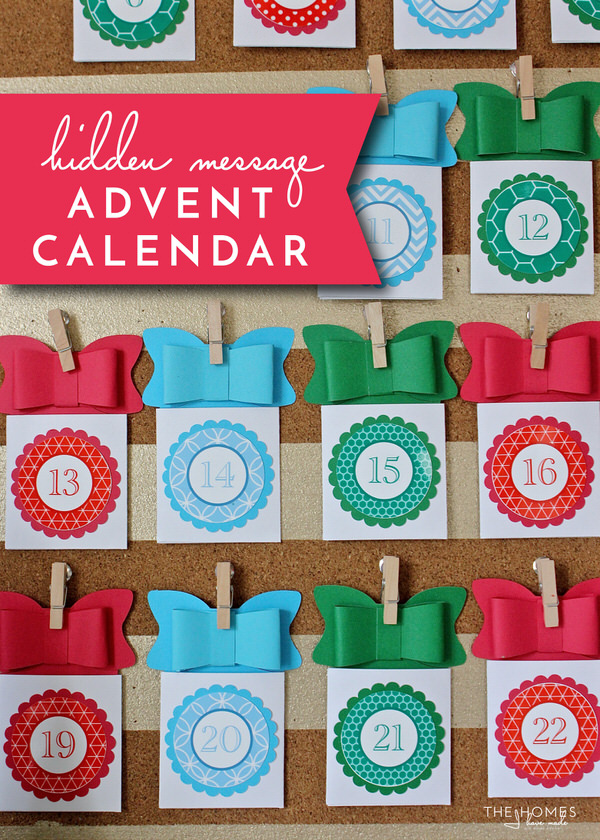
I hope you all have a wonderful holiday season! If you’re looking for more fun Christmas craft ideas, be sure to check out my Hidden Message Advent calendar…
And my no-fail 15 minute wreath…
Merry Christmas!

