
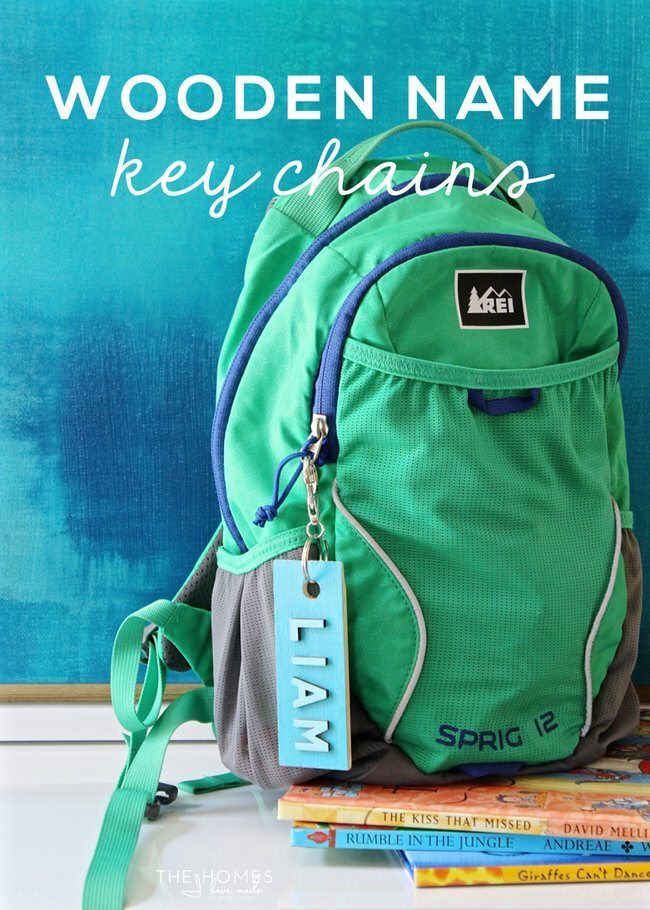
With the calendar flipping to August, who suddenly has back-to-school on the brain? I do, I do! Whether your kiddo(s) have just a few more days before heading back to school or a few more weeks, we are all in the home stretch of summer. If you’ve completely run out of ways to keep the kids busy until the first day rolls around, I am sharing the perfect craft project for you today! These wooden name key chains are inexpensive and easy to put together (even older kids can do it without much help!); and they are a fun way adorn and personalize backpacks, lunch boxes, pencil pouches, gym bags and more. Make them for the whole class, troop, neighborhood, carpool, or just a few select buddies to help ring in the new school year in style!
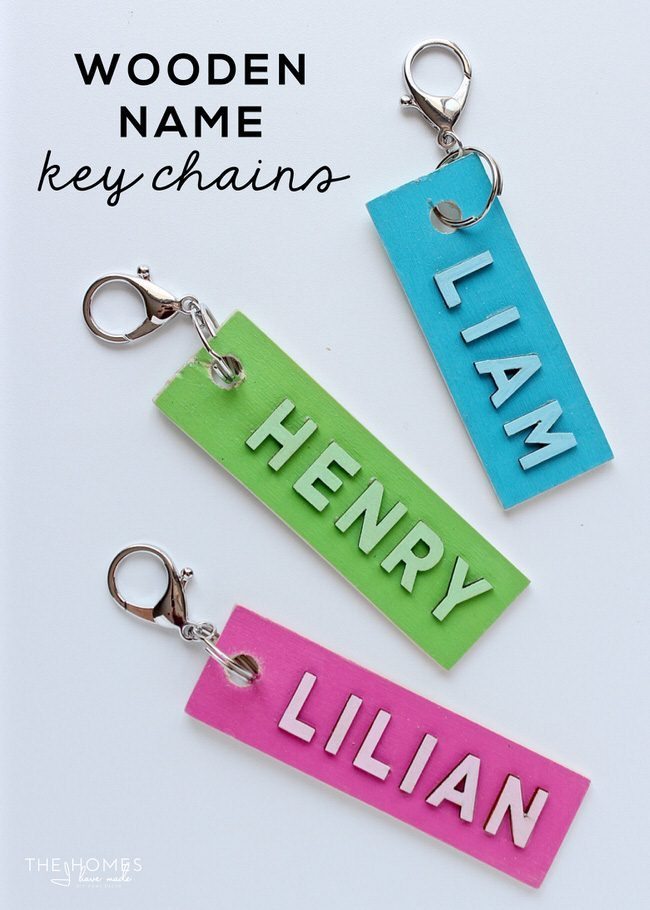
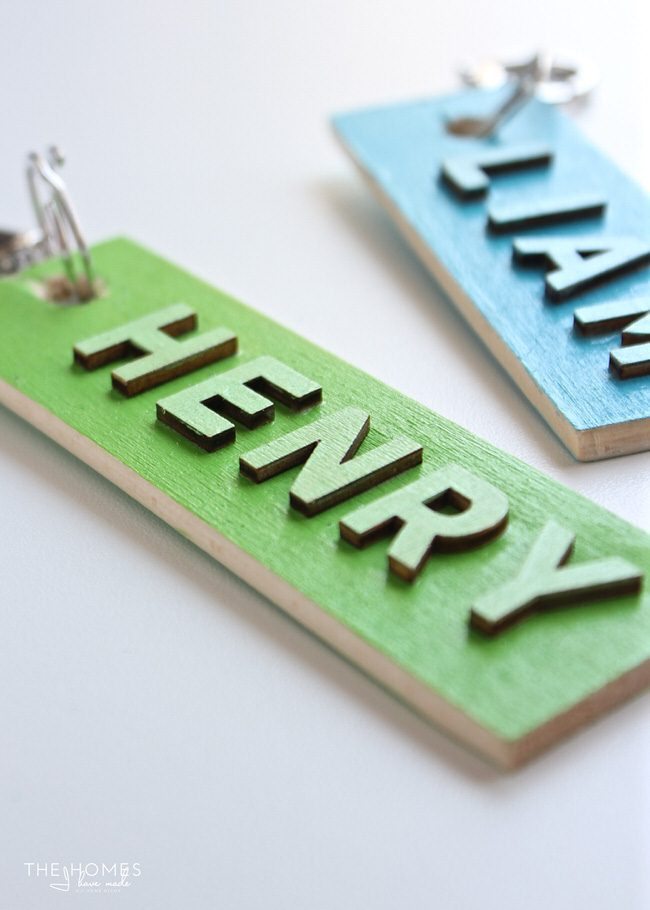
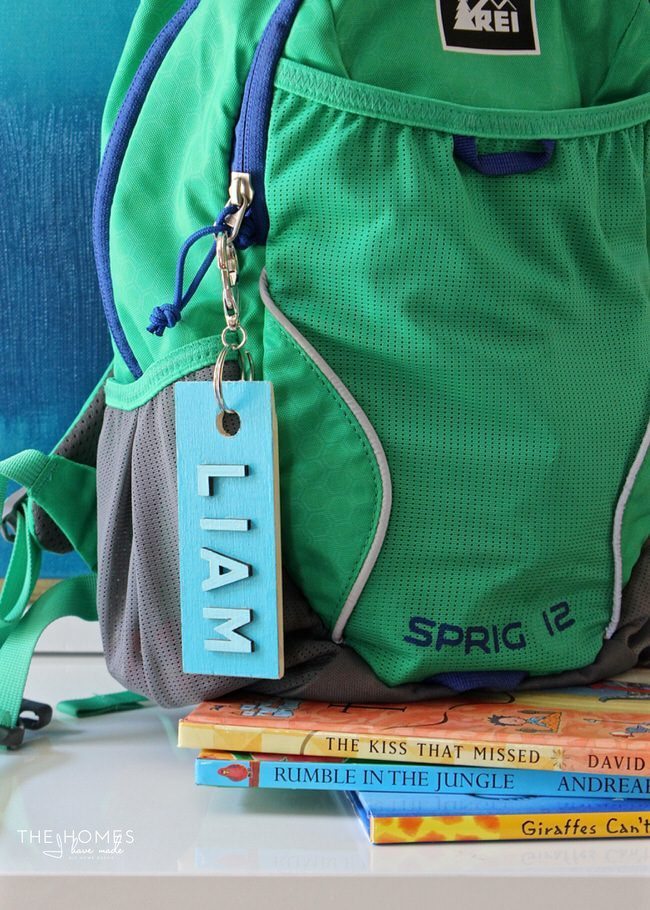
These key chains combine simple wooden slats and pre-cut wood letters to create a cool 3D effect. You can size them to fit any name and paint them any colors (try using school colors!) to truly make them unique and personalized gifts!
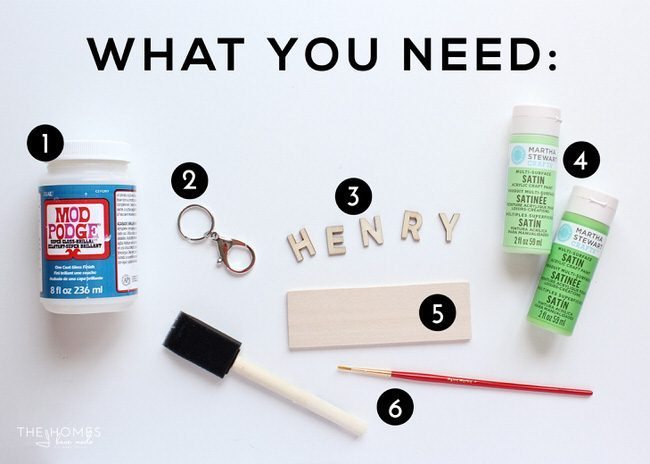
With just a few basic and inexpensive supplies from the craft store, these key chains come together in minutes! Here is what you need:
- Mod Podge (the outdoor or high-gloss versions are recommended so the key chains can stand up to the elements)
- Key chain hardware (typically found in the jewelry section of any craft store)
- Small wooden letters
- Acrylic paint (in the colors of your choice)
- Wooden slats (cut from a Basswood board from the craft store)
- Paint brushes (both a sponge brush and a detail brush come in handy for this project!)
- Tools: X-acto knife, cutting mat, drill with drill bit
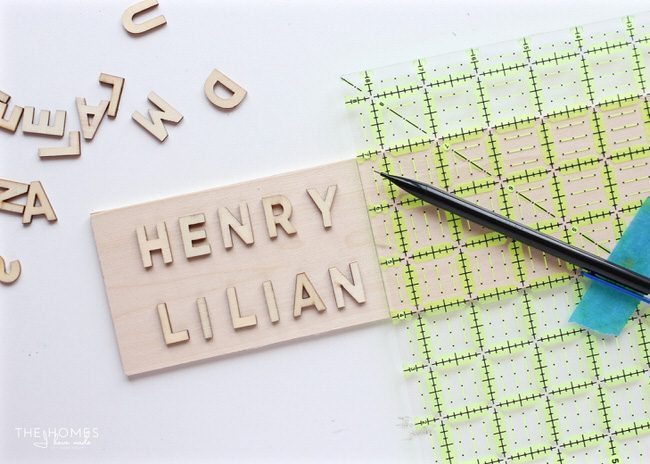
It can be tricky to find slats of sturdy wood that perfectly fit the names you are trying to make! So that you can create perfectly-sized key chains, I recommend buying a length of Basswood board from the craft store and cutting it down to size…don’t worry, no power tools are required!
Start by laying out the letters you need and play with the spacing until you get the look you want. Be sure to leave some room on one end of the key chain for the hole and hardware. Use a pencil to mark the dimensions on the wood.
Using an X-acto knife and ruler, cut the wood down into your desired dimensions. Make sure you use a very sharp knife (insert a new blade if you need to) and a good bit of controlled pressure to make the cuts. After a few passes with the knife, the wood should break apart cleanly.

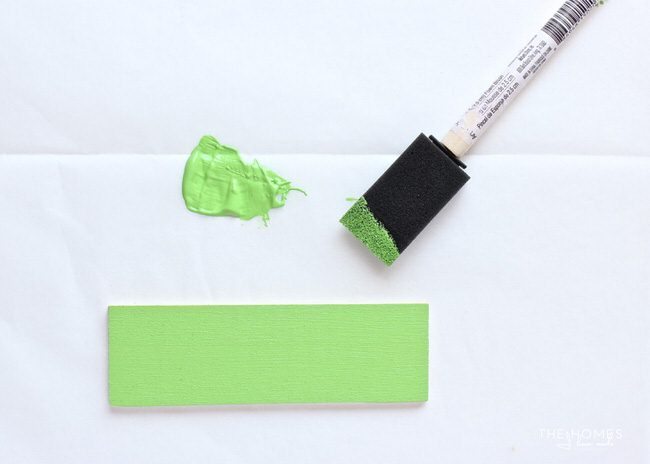
Next, paint the front and back of the wooden slats the darker of your paint colors with a sponge brush, allowing the first side to dry before doing the other. You may need to do a few coats to get saturated color. I chose to keep the edges of the key chain raw, but you can also paint the edges if you prefer.
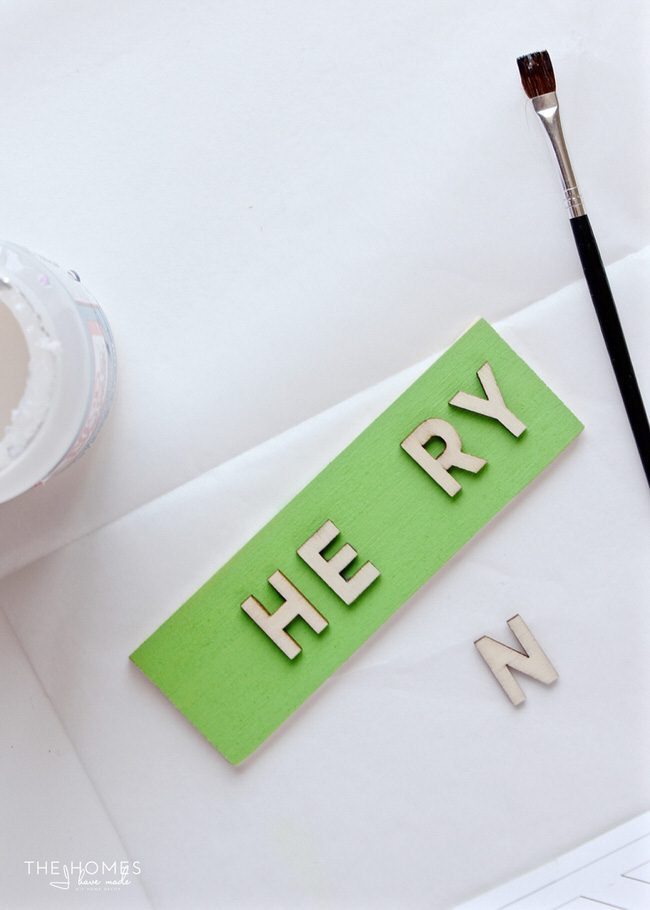
Once the paint is dry, line your letters up on the wooden slat and play with the spacing until you get it exactly as you want. Using a small brush and some Mod Podge, secure each letter (one at a time to maintain your spacing) to the wooden slat.
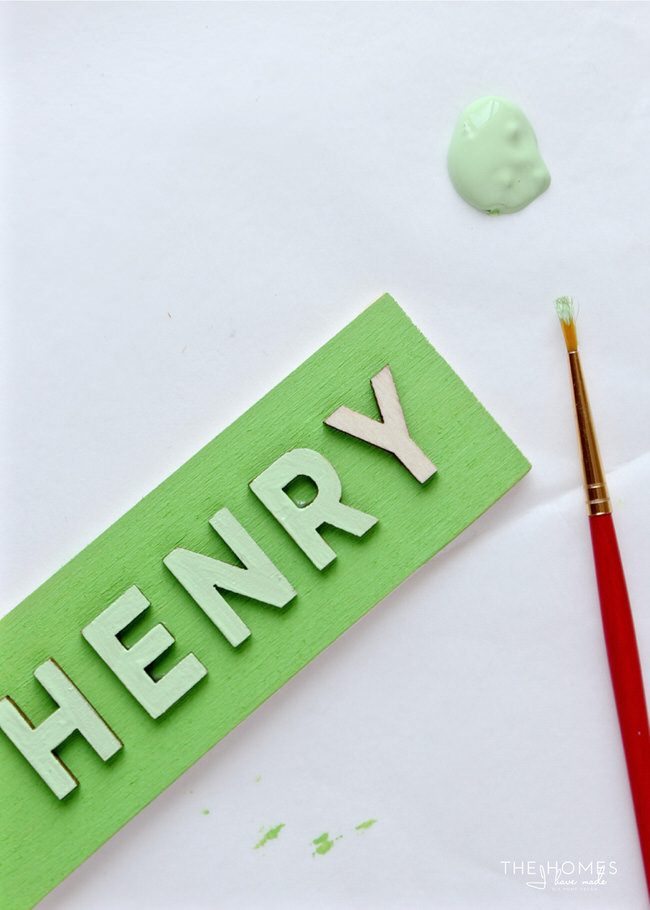
Once the glue on the letters has dried, use a small detail brush to paint just the tops of each letter a lighter or contrasting paint color. Again, I chose to leave the sides of each letter raw, but with a careful hand, you can also paint the sides if you like.
If necessary, clean up the rough edges and any spill over paint on the wooden slat by lightly sanding the edges with a sanding block…
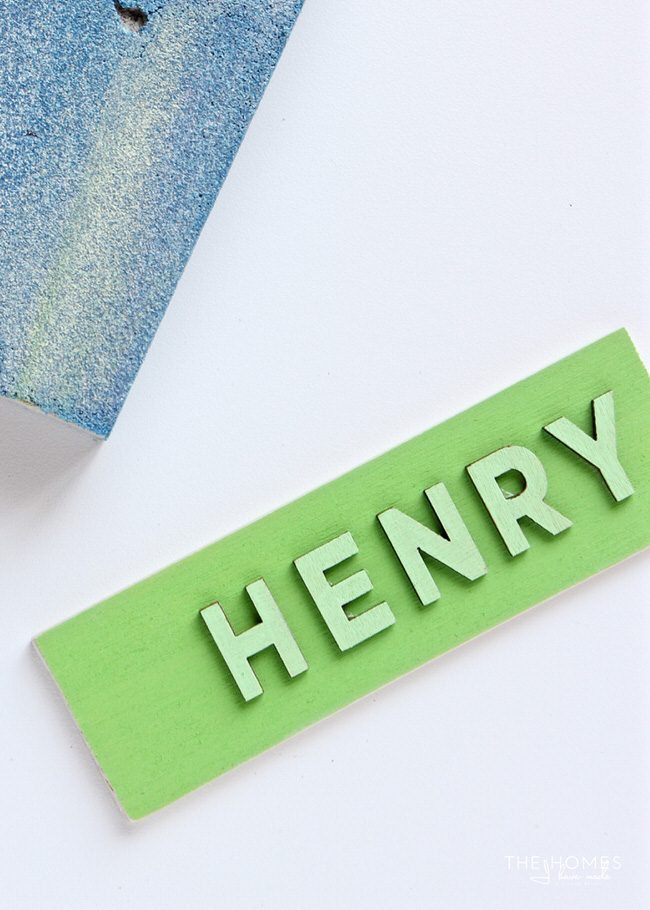
…then seal the entire key chain with one more light coat of Mod Podge. Once dry and cured, the final step is to drill a small hole into one end of the wooden slat and add the key chain hardware!

And just like that, you can make quick and simple “Welcome Back to School” gifts for all the students in your life!

Thanks to easy-to-find and budget-friendly supplies, these charming wooden name key chains are an inexpensive and easy-to-make surprise for any kiddo heading back to school! Customize the key chains by swapping out colors, letter fonts, and key chain shapes…and don’t hesitate to embellish them even more with pretty papers, hand-drawn doodles, glitter, stickers and more! Have a lot of key chains to make? Tackle them assembly-line style and you’ll have them done in an afternoon. No matter the kid or the grade, most kids will happily kick off the new year with a hand-crafted surprise made especially for them!
I do hope everyone’s school year gets off to a great start! A big thanks to Mique for having me stop by to share this fun craft with you all today; and I’d love it if you popped over to The Homes I Have Made to say hi! See you back here next month!

