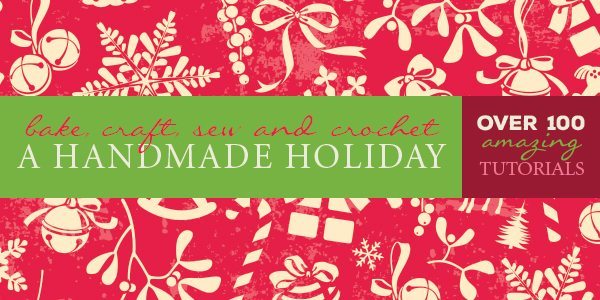
Sarah from Bombshell Bling has a cute idea for the holidays – how to make a felt ball statement necklace! Are you following my Holiday Bake Craft & Crochet Series? By the end of the month Skip to My Lou, Your Homebased Mom and I will have shared over 100 fabulous handmade gift tutorials.
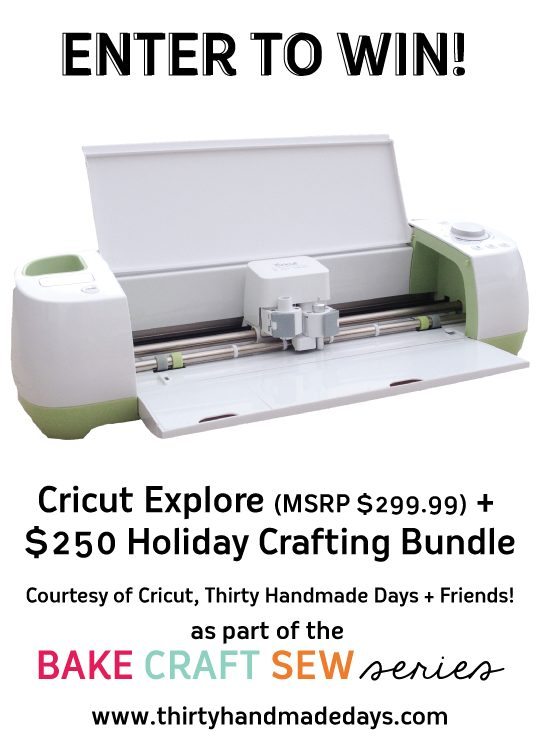
Each day be sure to visit the guest poster’s blog for a chance to win BIG! Up for grabs is a Cricut cutting machine, a Blendtec blender, a Baby Lock sewing machine and a $300 Michaels gift card! Grab a new entry every day! Enter to win the Cricut Machine and Holiday Crafting Bundle! Take it away Sarah…
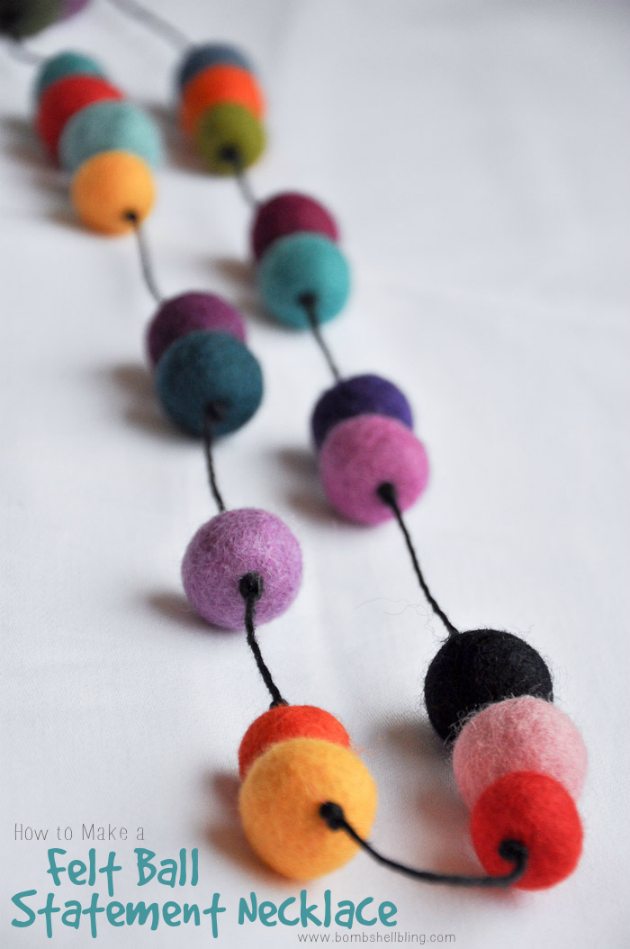
Good morning! My name is Sarah McKenna, and I blog at Bombshell Bling. My blog is just like me – a scattered creative mess of ideas! I blog about everything from sewing and holiday to recipes and kid crafts. And, of course, all things BLINGY! I make and sell jewelry, so handmade jewelry has become my go-to gift for all of the women in my life. Today I am going to show you how to make one of my all time favorite necklaces. Not everyone is brave enough to wear these felt ball necklaces, but I can tell you this much: every single time I wear mine out several strangers stop me to compliment it and ask about it. They also happen to be the top selling necklace in my Etsy shop, Bombshell Bling Jewelry. I probably shouldn’t be sharing my secrets, but it’s the holidays and I am feeling generous, so here goes!
You are going to love how simple this necklace is to make. It really doesn’t take any technical jewelry making skills whatsoever. It’s more of a sewing project, really.
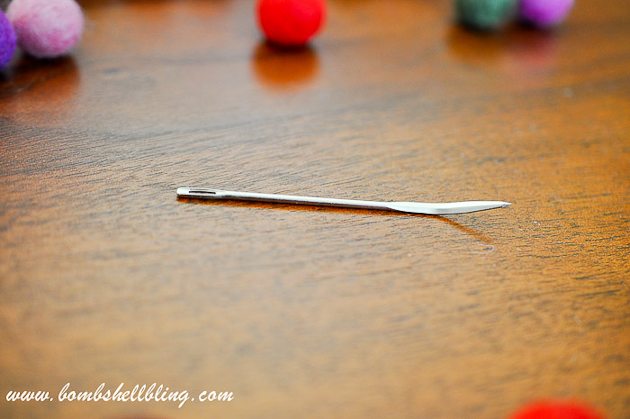
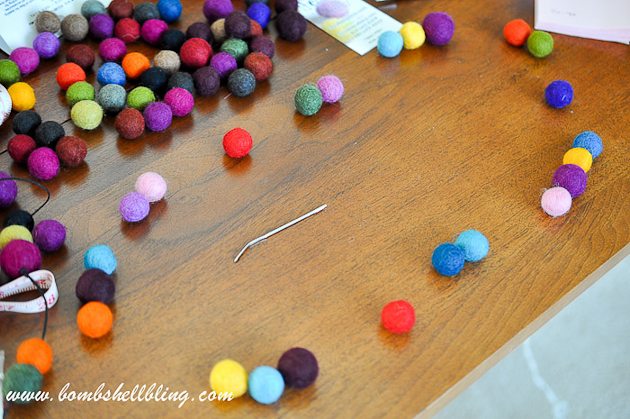
In order to make it you will need 20-25 felted wool balls. I order mine from HandBEGH Felts, and I get the two smallest sizes in variety packs. You will also need their special needles. They have a flat nose that pushes through the balls a MILLION times better than a regular needle! Finally, you will need hemp cord, which you can find at any craft store, as well as a tiny bit of super glue.

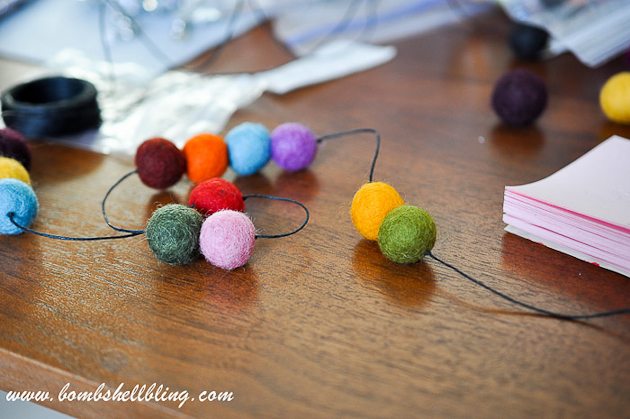
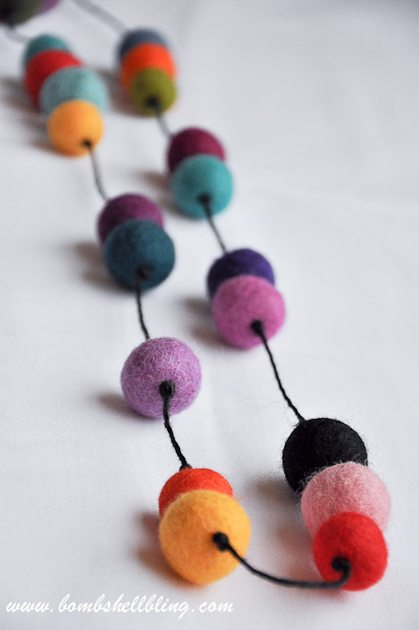
Start by laying out your necklace. RANDOM is the word of the day, folks. Keep it fun, keep it funky, and keep it RANDOM. No pattern or matchy-matchy stuff required. Lay it out and rearrange until you like the way it looks. I usually use 20-25 balls per necklace, in a variety of grouping from 1 – 4 balls, all varying in size and color.
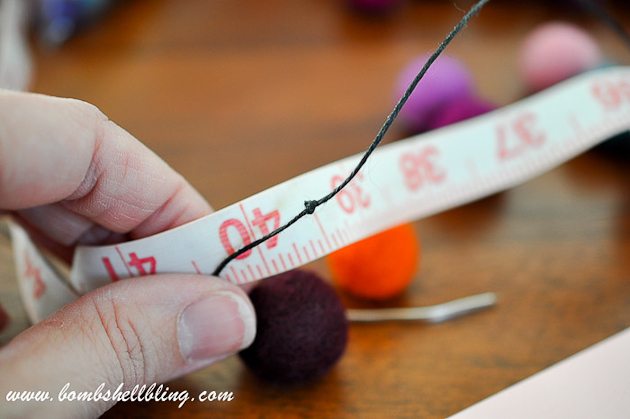
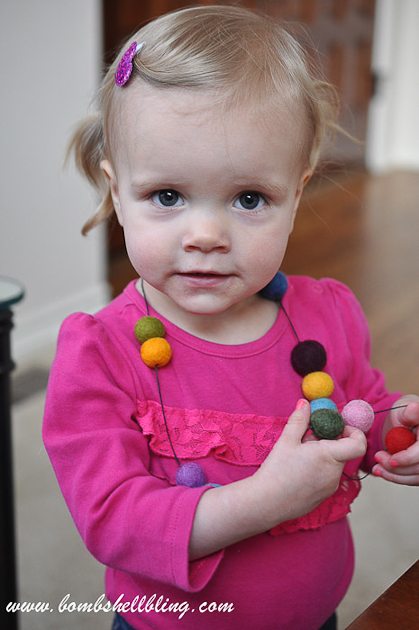
Time to measure out your hemp. Be generous. The stuff is cheap and you do NOT want to have to start over. Most of my necklaces range in length from 32-46 inches. (I usually wear a short and long one doubled up, as you will see at the end of this post.) I wanted this one to be on the short side so my toddler could wear it. I measured out and tied the first knot at about 40 inches. I did not cut it off of the hemp roll, because you never know how much you will need at the end, so you might as well wait.
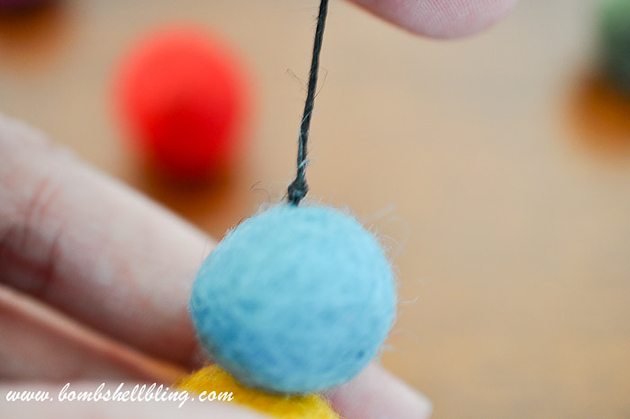
Thread the hemp through your needle and get ready to really get started! Grab a book or pad of paper or something, because it is hard to push the needle through the balls, so I usually end up putting the end of the needle on the paper and shoving hard, and I don’t want to put little dents in my table. Now pick a grouping of balls and shove them through the needle and onto the hemp.
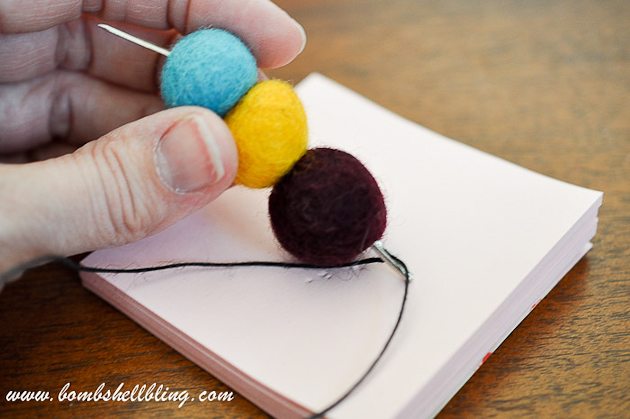
Once your felt ball grouping is onto the hemp and pushed all the way to the knot, you will need to tie another knot, this time on the needle side of the balls. This will keep them in place on the necklace.
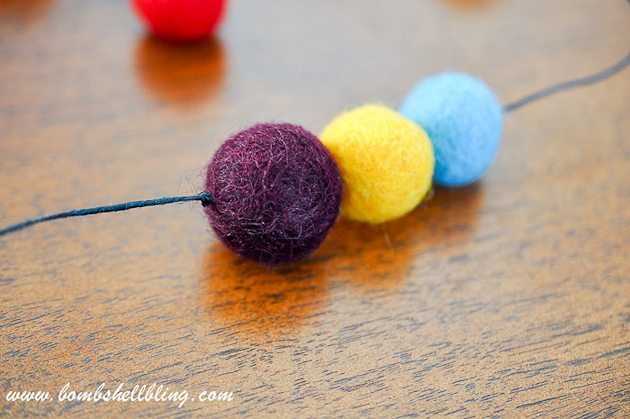
Leave a bit of space and tie another knot in the hemp. it doesn’t have to be an exact length. Remember — RANDOM is the name of the game today!
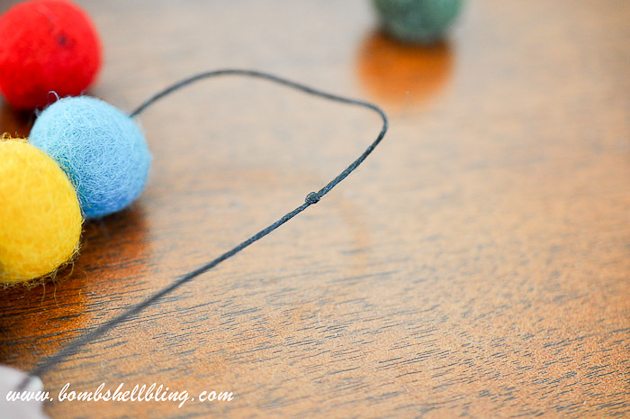
Repeat the process of threading the balls onto the hemp and tying the knots, over and over and over.
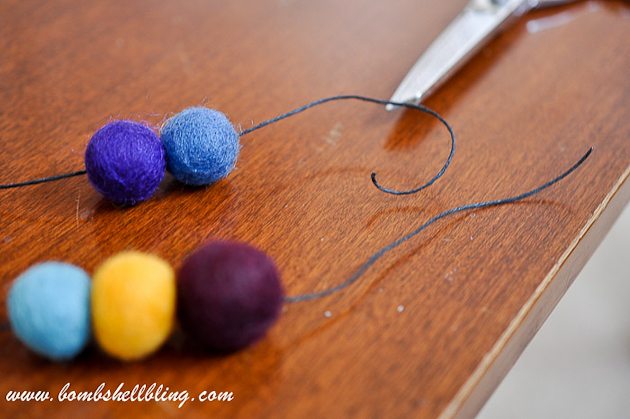
Time to finish up! DO NOT tie the knot to close off and secure your last felt ball grouping. (If you already did it’s not the end of the world – you’ll just have a big knot here.) You are now going to cut the other end of the hemp so that it is long enough to allow the space that you need to distance the two groupings so that it sticks with the feel of the necklace. Leaving that length, tie that end in a knot with the other end RIGHT NEXT to the final felt ball, as shown below. Trim off the excess and put a dot of super glue on that final knot.


Ta da! You are done!
You now have a super fun necklace that, by the way, is BABYPROOF!! My babies have chewed on them, tugged them, worn them, and more, and they have held up flawlessly. After chewing or a spit up incident I just quickly hand wash it in the sink and lay it on a towel to dry. Gotta love babyproof jewelry!
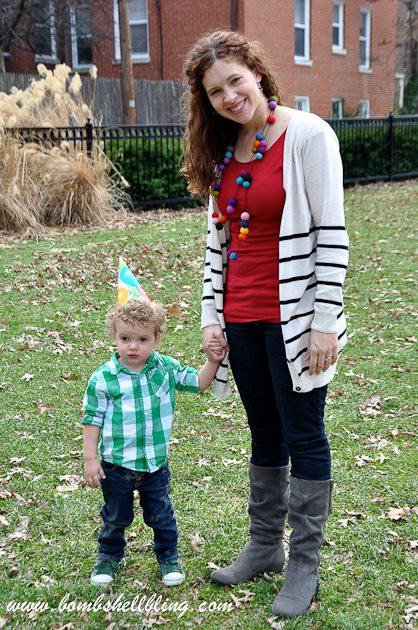
I usually wear two of these necklaces at once, a shorter one and a longer one. I love the chunky, bold look of them, and I am always stopped by strangers who want to touch the balls and ask me questions about the necklaces. I let them because I am touchy feely like that, even with strangers. :) Here are the necklaces three years ago in action at my son’s birthday party. (Yes, I have been wearing them that long. I wore them before they became trendy in Anthropologie-esque decor. The one time in my life I have been ahead of a trend!)

If you want to mix up the look of these necklaces it is very simple to do so — just change up the hemp or felt ball colors! My fall color version is always very popular in my shop when autumn rolls around.

I hope that you enjoyed this tutorial and that you are inspired to use felt balls to create! You could use this exact same process to make a garland for your tree or mantle! I have been wanting to do that for years, but I haven’t yet because of the expense involved in buying all of those balls. But WOW would it be a great statement piece!
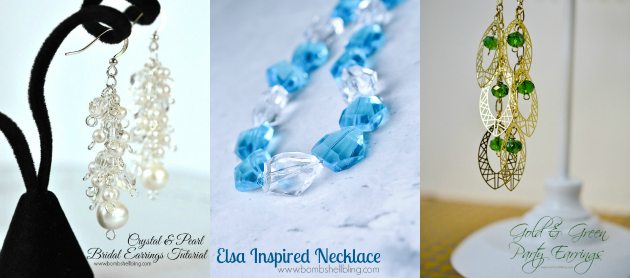
If you liked this tutorial you then might also enjoy some of my other jewelry tutorials. Check out my Crystal & Pearl Bridal Earrings Tutorial, Elsa Inspired Necklace, and Gold & Green Party Earrings.
Thank you for having me, and have a BLINGY day!