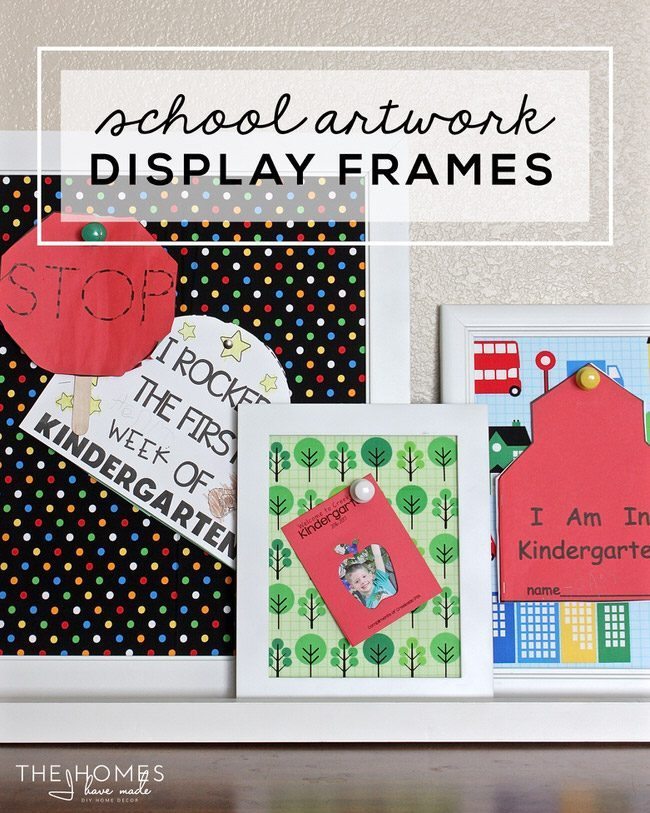
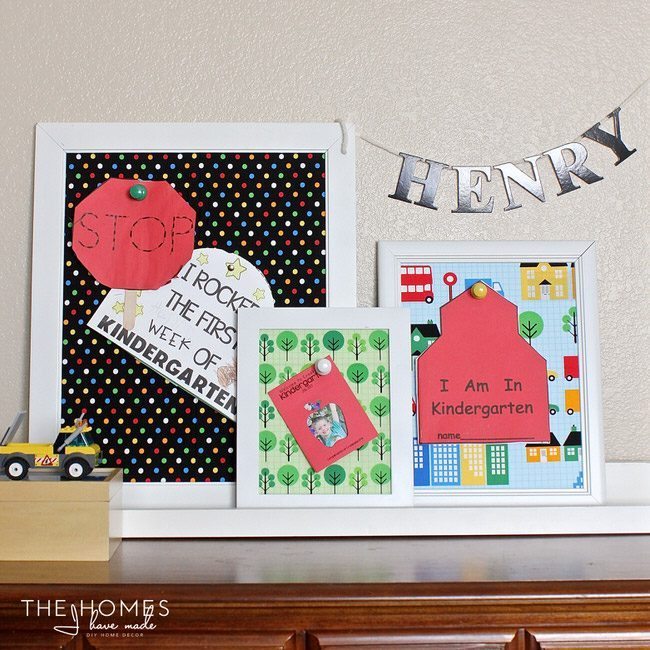
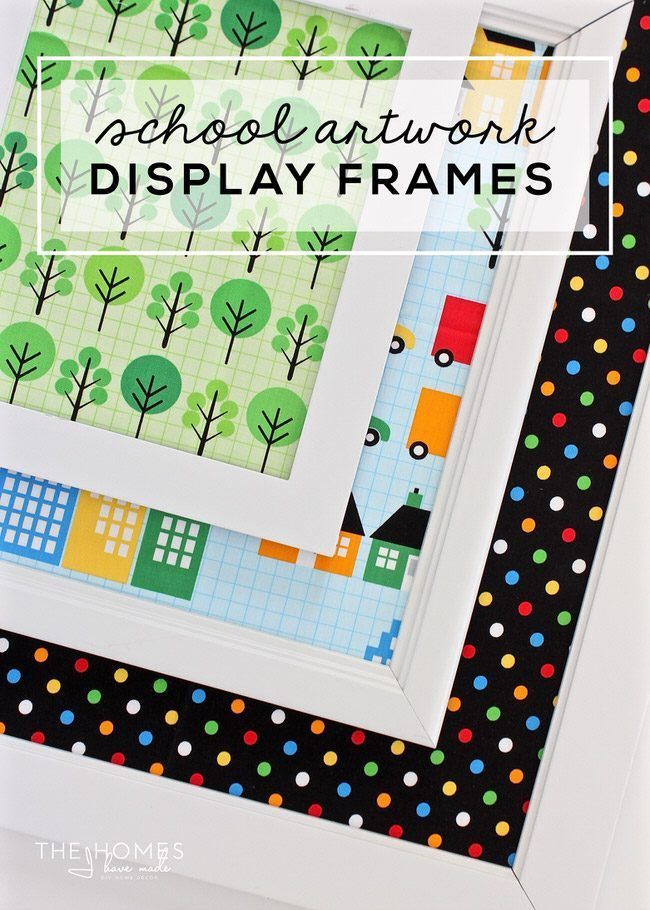
Happy New School Year, Thirty Handmade Days readers! I hope you and your kiddos are either off to a great new school year or are getting ready to go! We’ve been in school for over 2 weeks now, and it sure didn’t take long for the papers, slips, forms, and projects to start trickling home. Before I became completely overwhelmed with piles of brightly colored art, I hustled to identify a system for displaying it! The result of my efforts are these school artwork display frames…an inexpensive, fun and easy solution for showing off your kiddos’ best work!
It seems like we’ve tried everything from huge bulletin boards and refrigerator magnets to clips and folders to sort, store and display the artwork and papers that come home from school. This time around, I thought I would put some of the old frames we had collecting dust in the garage to good use by transforming them into art that holds artwork! By coordinating the old frames with paint and fabric, I achieved a fun looking and oh-so-functional way to display the latest and greatest art that comes home!
Besides that it’s super quick and easy to swap out artwork, what I really love about this system is that the frames really show off a special project or great test score (instead of those special things getting lost on a busy bulletin board)! Make a whole set to fill an entire wall or make one for each kid in the family. Either way, your kiddo(s) will love having a special place to display their favorite projects.
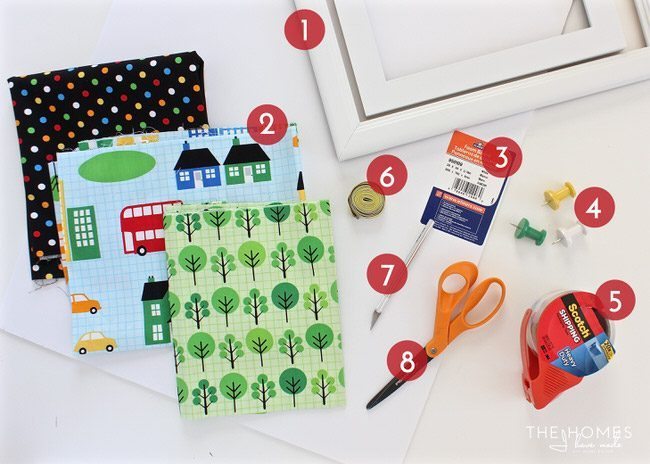
These school artwork display frames really couldn’t be any easier to make and require just a few basic supplies! Here is what you need:
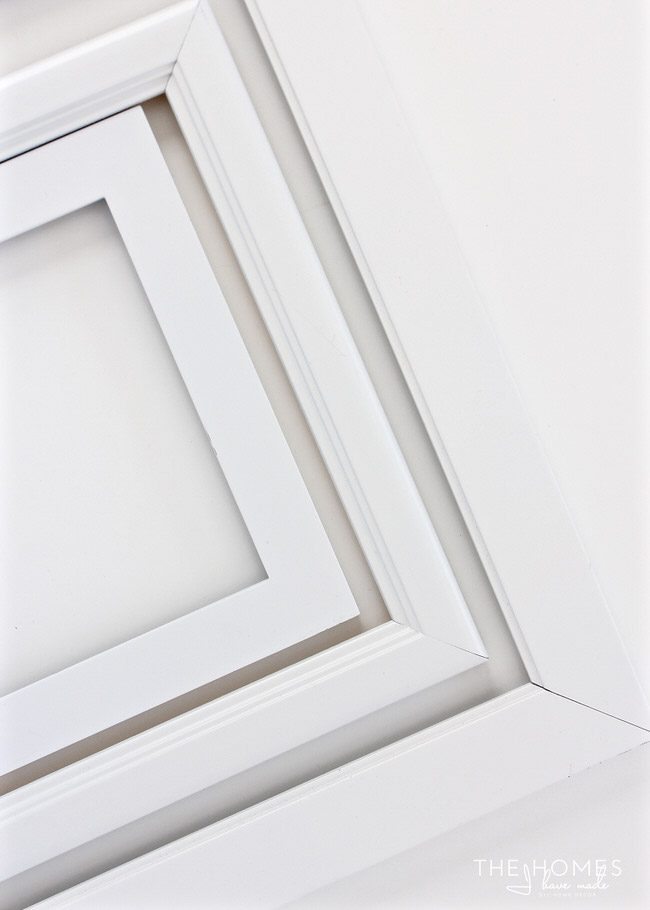
- Old frames
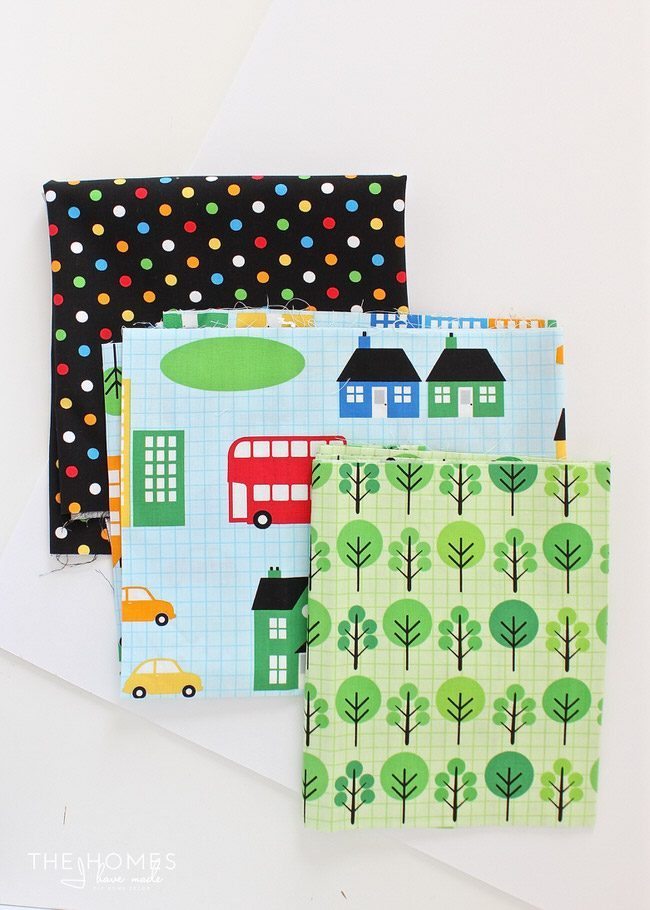
- Fabric
- Foam Core Board
- Push Pins
- Packing Tape
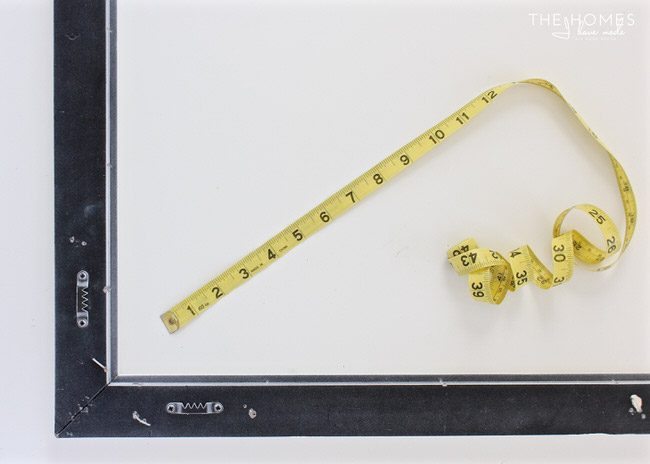
- Measuring tape
- Craft knife
- Scissors
Not shown: cutting mat and ruler
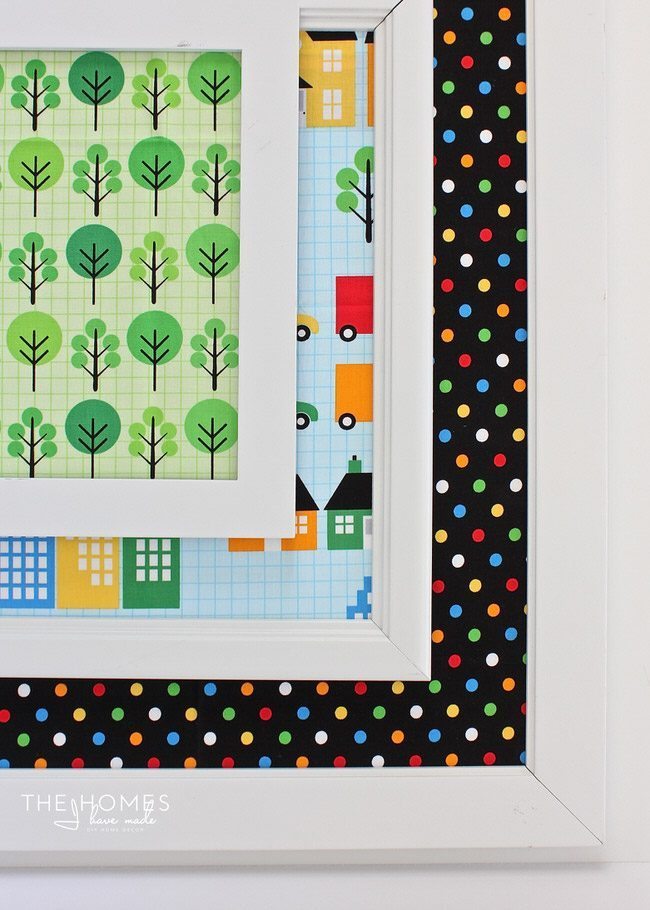
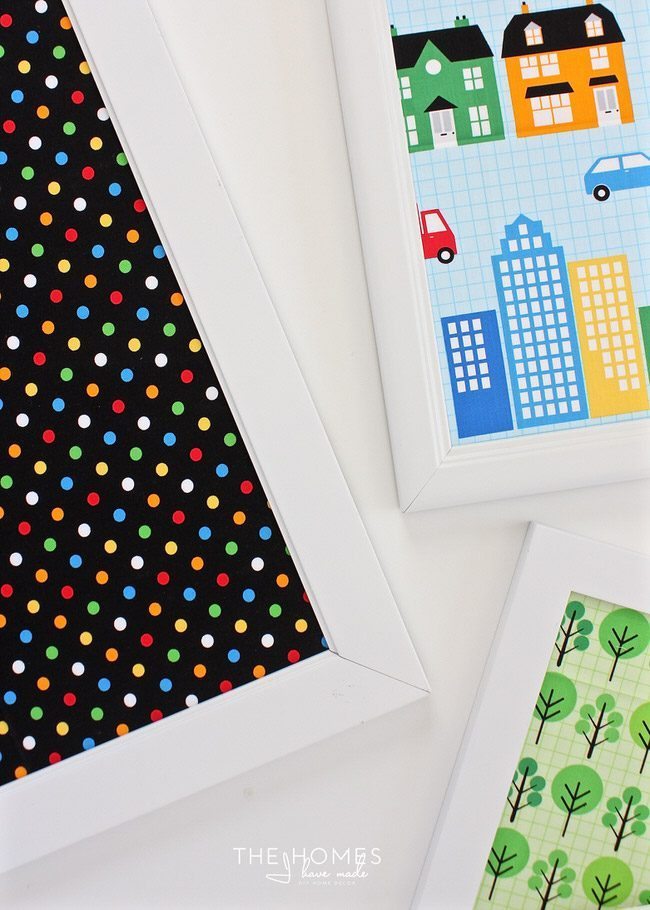
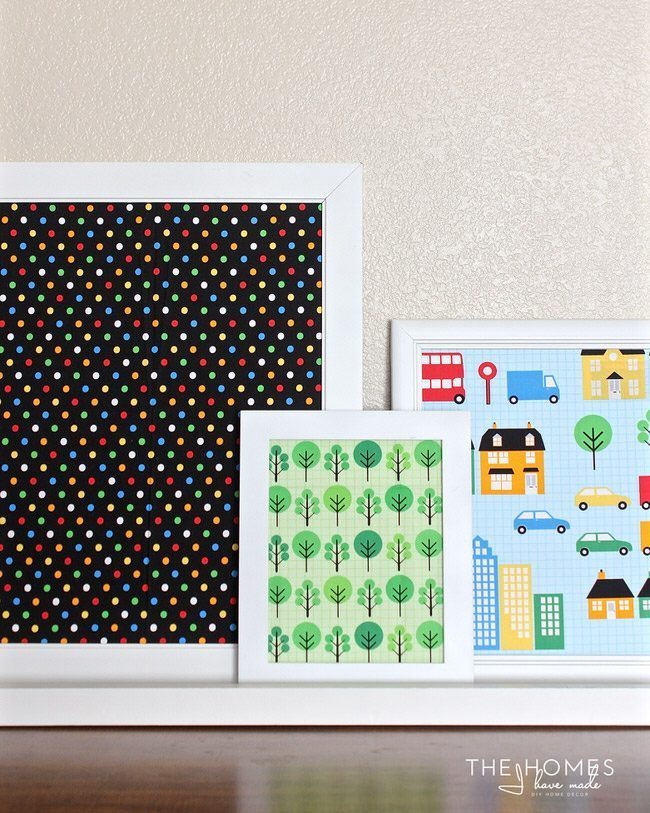
This project is ideal for using up old frames that have broken glass, no backing, or are mismatched. You can tailor your display for your home by determining how many, what color, and what size frames to use, as well as changing up how they are displayed. I chose to use three random frames in three different sizes, all coordinated with bright white spray paint.
One of the most fun steps of this project is picking out fabrics to use in your frames. You don’t need much – just enough to fit inside the frames (plus a few extra inches), so fat quarters and scraps are ideal for this project. Look for fabrics that work with your décor or house color scheme. Also, consider choosing fabrics that coordinate or are part of a bundle to ensure they all work together in your final display.
Start by removing everything from the frame if there is anything in it (i.e., the glass, artwork, and backing). Next, use a measuring tape to determine what size art fits into the frame.
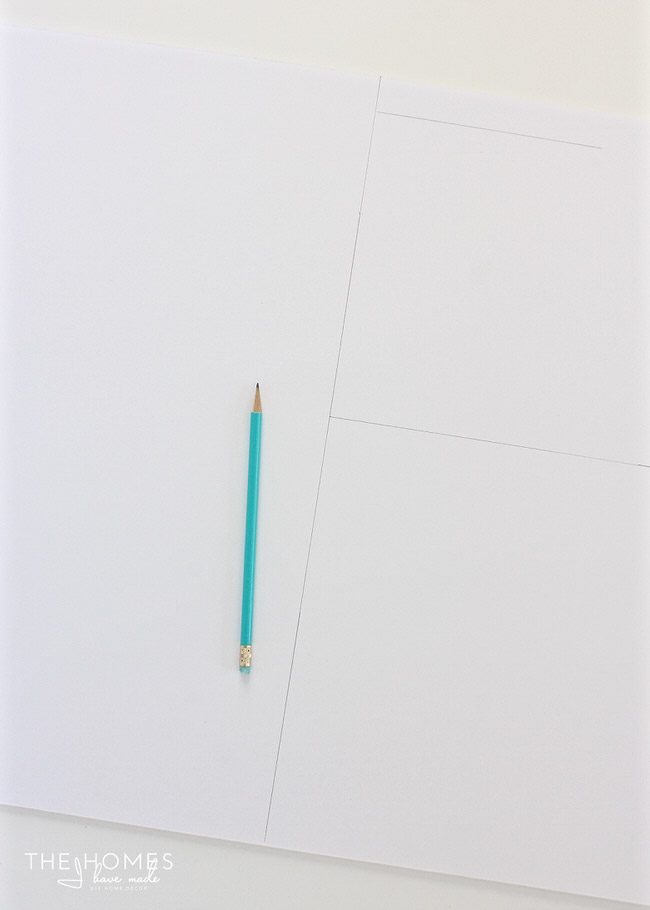
Transfer the measurements to a sheet of foam core. For example, my frames held 16×20”, 11×14” and 8×10” pieces of art/photos so I transferred those exact measurements to a single sheet of foam core board.
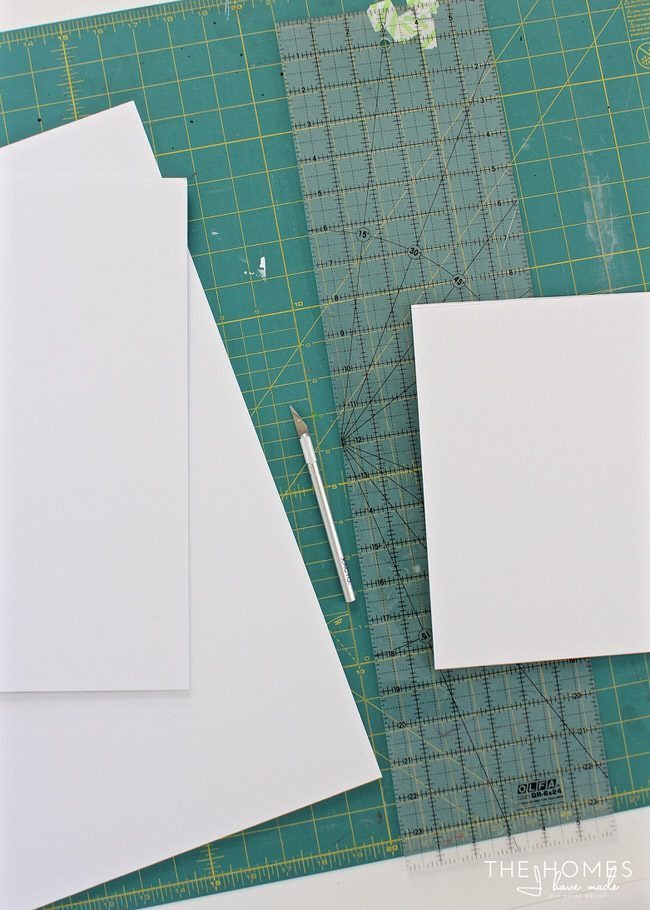
Using a sharp craft knife, ruler and a self-healing mat, trim down the core board into the correct dimensions for your frames.
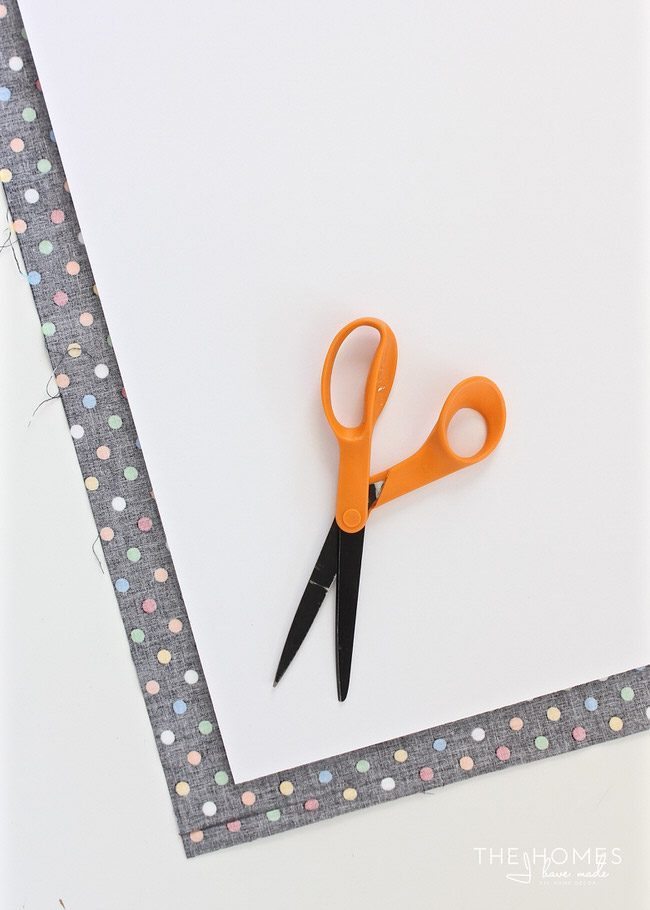
Using the sized foam core sheet for reference, cut down a piece of fabric that is large enough to cover the board (with an extra 1-2” on each side for wrapping).
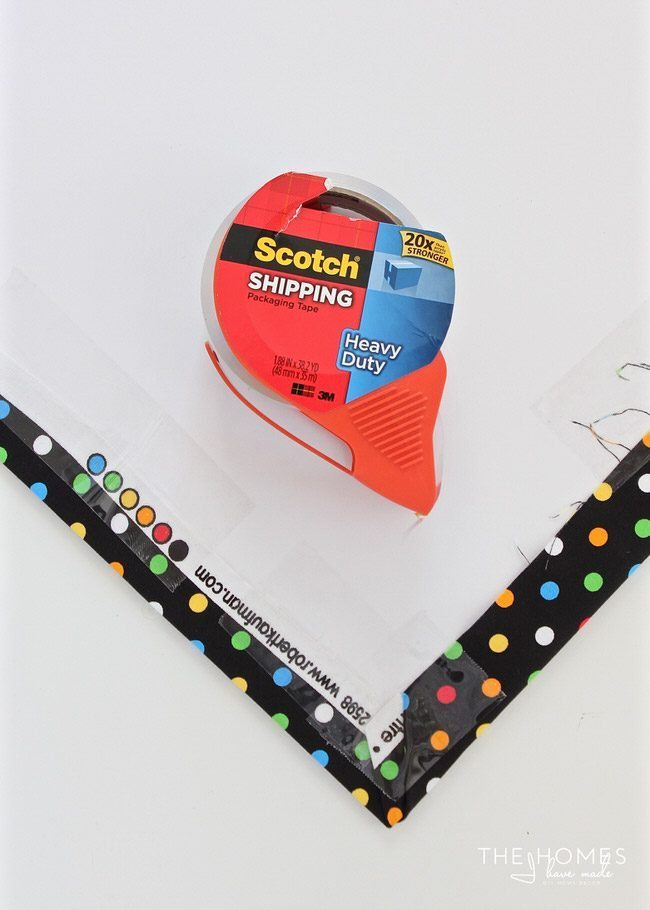
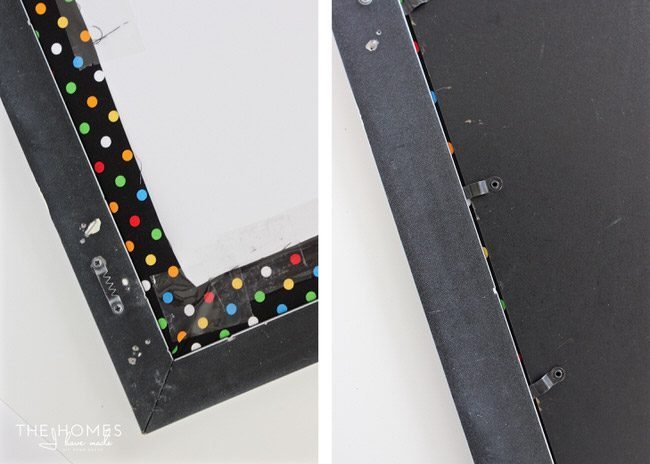
This next step is optional, but I found that it helped to keep the fabric taught when loading the boards back into the frames. Using strong tape (I like packing tape), fold the fabric over the edges and secure to the back of the foam core sheet. Take care to pull the fabric taught and smooth, and fold the corners in neatly. Use as much tape as you need to hold everything tight.
With the fabric secured to the foam core sheet, load it into the frame (without the frame’s glass). If your frame has a backing, load it in behind the foam core and secure it shut. If your frames don’t have backings, you can use a staple cut to carefully secure the foam core sheet to the frame.
Continue the same process to make as many frames as you want or need! Keep the same fabric for a more streamlined look, or swap out fabrics for a whimsical and kid-friendly display!
Next, determine where and how you’d like to display your frames. They can be hung on the wall in a gallery-like display or you can load them onto a bookshelf or picture ledge.
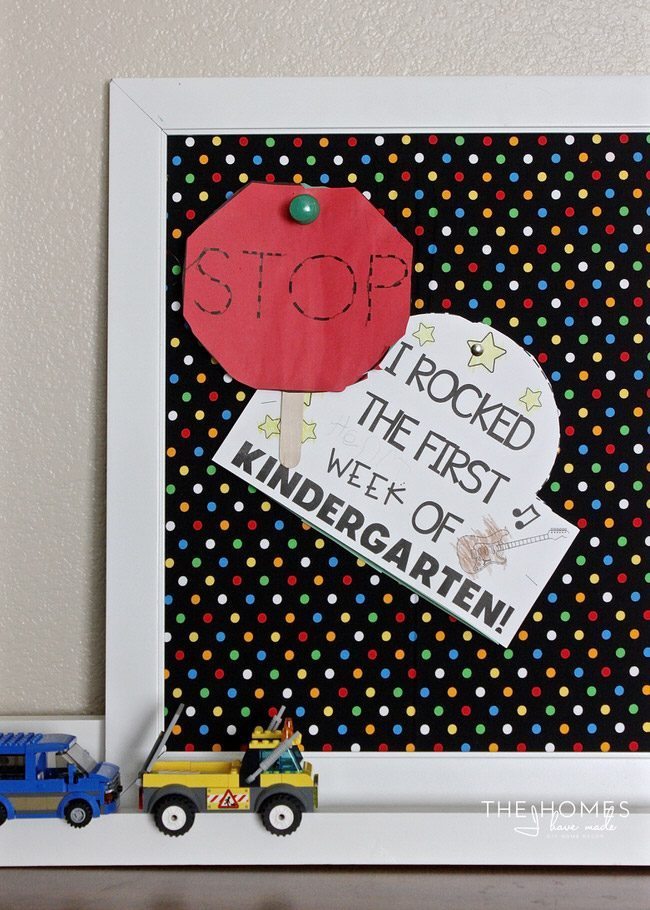
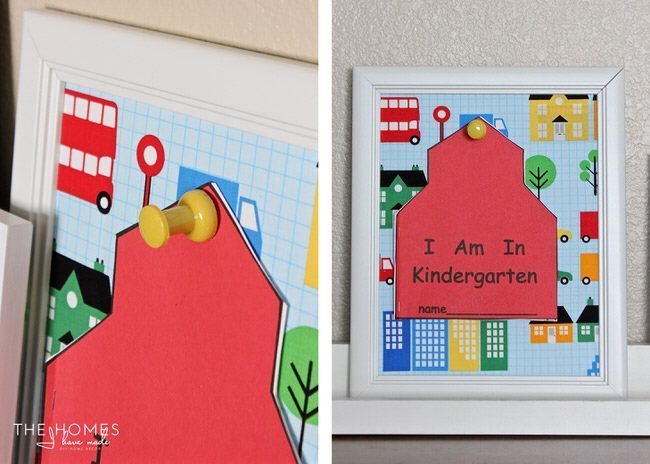
As the art starts rolling in, have your child pick which one(s) they’d like to display. Use push-pins to secure the art to the foam core boards…these extra-large ones are super fun and a little easier for kids to manage! As more art comes in, move older art to binders, files, or the trash and replace with the newer, more seasonal projects!
These frames are a fun and easy way to show off your kid(s)’ best artwork! They are quick to make (each one took about 10 minutes!) and can be easily customized to your décor or the season (swap out for Halloween fabric once October rolls around!) Not only will kids love picking out what to display next, but you will get an easily managed and fun way to decorate the walls, bedrooms, or play space!
Again, I hope your school year and Fall are off to a great start! Be sure to come over to The Homes I Have Made to say “hi” and see what other back-to-school and organization projects I’m tackling next! See you next month!

