
This post is in partnership with Faultless Premium Starch. I’m thrilled to work with a brand that I truly believe in.
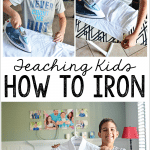
As my kids get older, my time gets shorter to teach them important life skills. Up to this point, they’ve had no clue how to iron. But it’s one of those things that they’ll need to know long after they leave my home. (sad thing to think about!) I spent some time going over tips and tricks.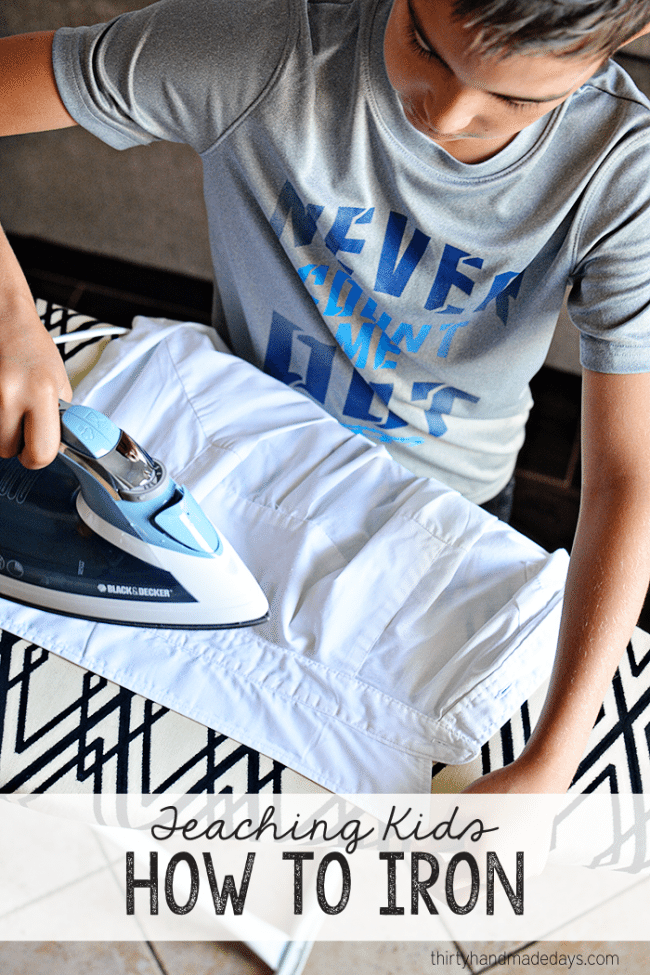 Unfortunately I’ve set a horrible example of ironing. We have gone with a “throw in the dryer with a damp towel” kind of approach over the years. My Mom is probably cringing reading that.. sorry Mom! But it’s time to change that. So we got to work showing how to get it done. My 10 year old, Drew, was in charge of ironing his button up shirt for church.
 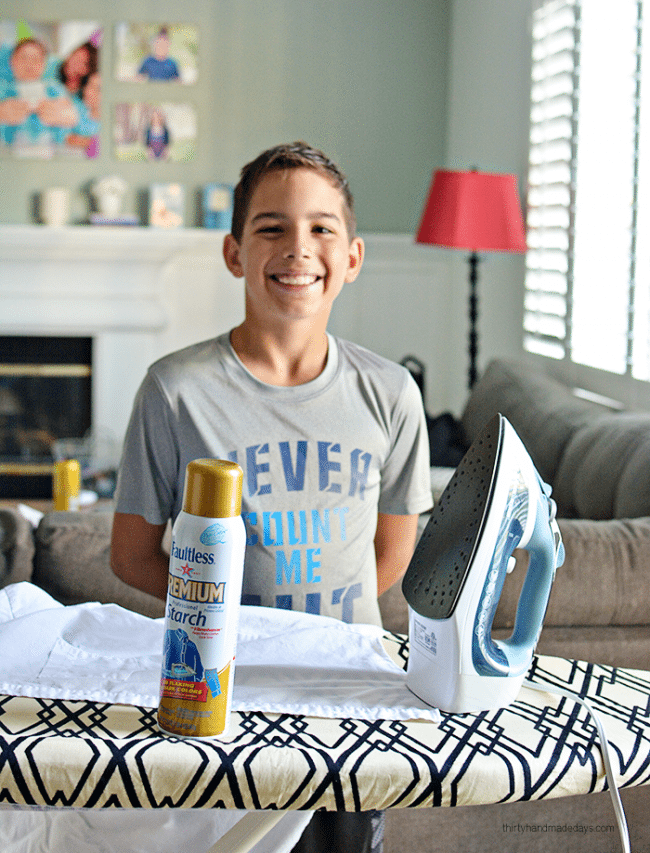 He looks pretty happy to be given this job, doesn’t he? He actually likes learning new things and takes them on as a challenge. Works for me!
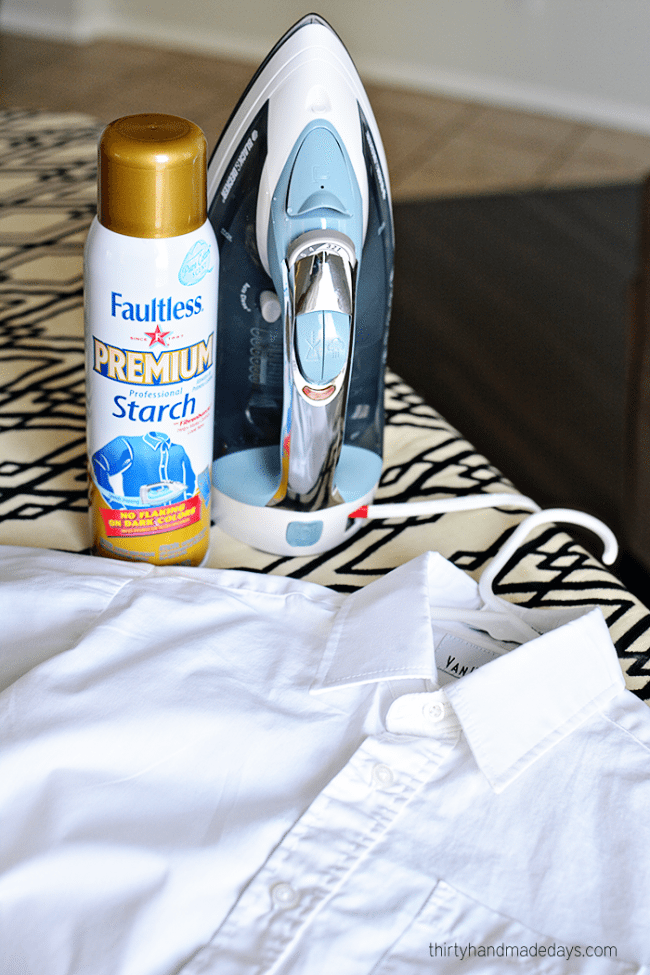
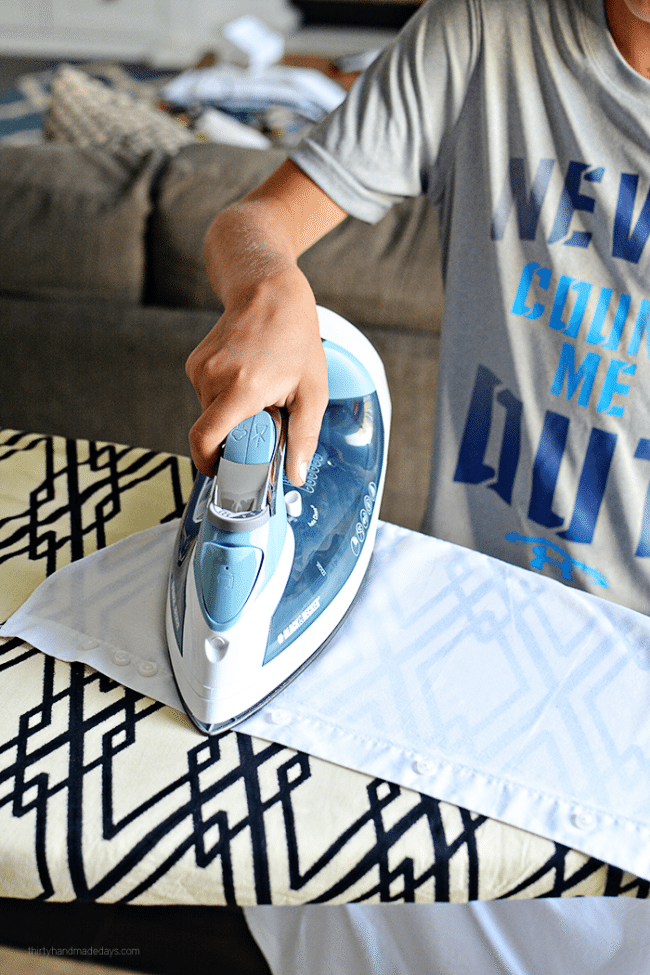
 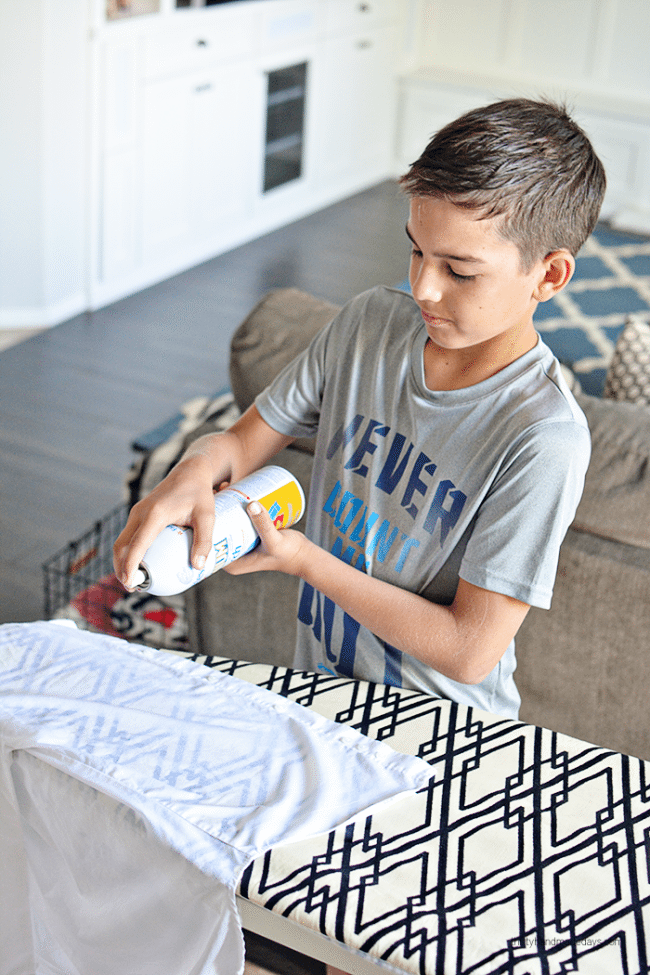 One of the key things to making this process easier was using Faultless Premium Starch. On the first side of the shirt, Drew sprayed a lot of starch. But as he worked his way around and we showed him to use a gentle press, he got it down. Faultless Premium reduces the ironing time so that’s helpful when teaching my kids how to do it. It also doesn’t clog, flake or spot – which I’ve experienced with other brands in the past. You can buy it in the laundry aisle or use the Faultless Find a Store tool.

And bonus- I have an instant coupon to try it out.
 Although there are different ways to iron different types of clothing, here are the steps we used to iron a dress shirt: Make sure to spray with starch before starting and throughout the ironing process. Have the correct tools on hand – ironing board, iron, starch, and hanger.
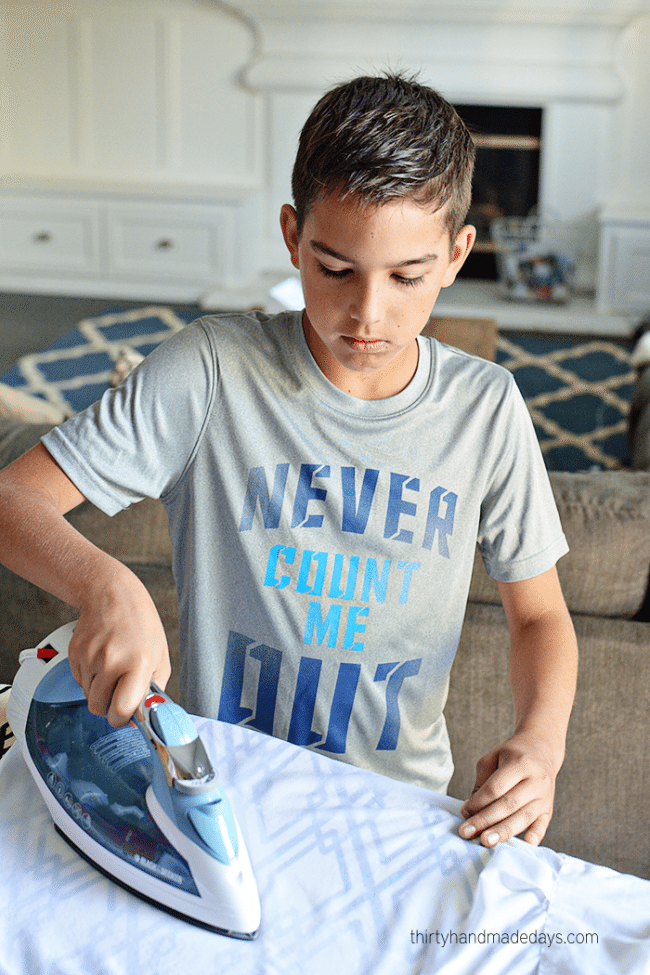
- Iron the collar: Start the center of the underside of the collar and work towards the edge. Then move back to the center and towards the other edge. Turn the shirt over and repeat on the outside of the collar too.
- Iron the shoulders: Use the narrow part of the ironing board (the pointy part) to drape the yoke of the shirt. The yoke is the point where the collar meets with the arm and the body of the shirt. Iron one shoulder and then the other. Repeat on the other shoulder.
- Iron the cuff and sleeves: Place one sleeve on the board with the buttons facing up. Iron inside the cuffs and then flip them to iron the outside. This can be tricky with smaller shirts as there is not as much surface space. After ironing the inside, iron the sleeve starting with the front side. Do the same to the other sleeve.
- Iron the front and back: This is the easier part of the job. It’s a lot of space to work with. Iron both front panels, then flip the shirt over and iron the back.
- Iron between the buttons: Make sure to iron in between the buttons. If you iron over them, you can break them, melt them, or hurt your iron.
You can also use Faultless Premium Starch’s Tips and Tricks too.
 At one point, Drew got a little bit frustrated so Josh jumped in to help him. Is there anything cuter than a dad helping his son like this? I think not.
 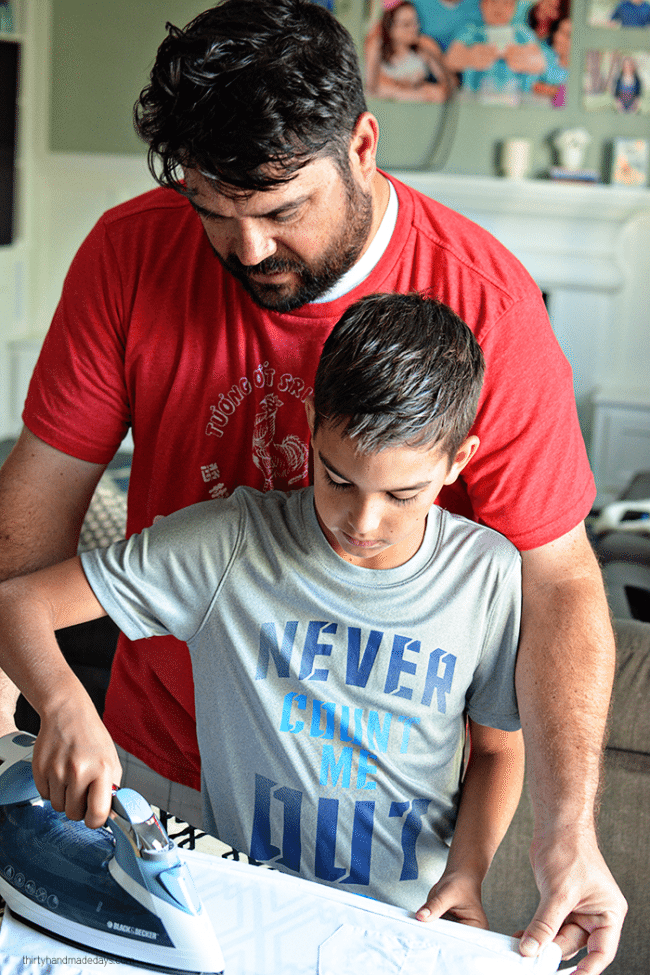 Josh served a two year mission for our church and was required to wear a white button up dress shirt every single day for those two years. He might know a thing or two about ironing!
  We reminded Drew that learning a new skill takes practice. The more he does it, the better he’ll get at it. We tell our kids this a lot as they often say things like “I can’t sweep because I don’t know how to!!” They know that I am always going to say “How will you know how to do it? You have to practice.” They want to be good at everything right away (the apple doesn’t fall far from the tree on that one!). Sometimes I get frustrated too because the learning process can take awhile. But I have to remind them and me that practice makes progress.
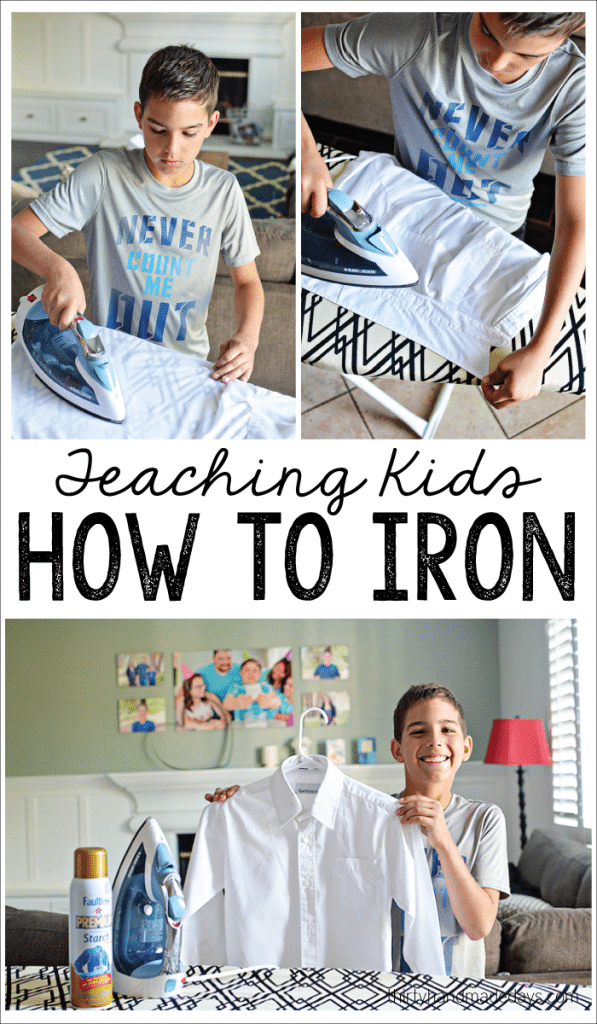
This is a sponsored conversation written by me on behalf of Faultless Starch. The opinions and text are all mine.

