
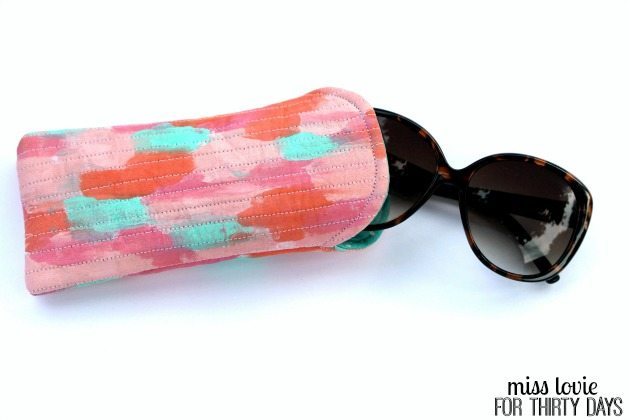
Hello, 30 Days Readers! I’m Allie from Miss Lovie and today I’m here to share a really cool idea with you, my Abstract Art Sunglasses Case DIY! I’m kind of obsessed with abstract art. I think it can be so pretty and I’ve been playing around with making my own lately using this tutorials for inspiration: How to Make Gold Leaf Abstract Art. I am not an artist and I can’t claim to be good at it, but painting is really fun and relaxing. I’d been wanting to make a sunglasses case for awhile, but I couldn’t find fabric I liked so I thought, you know what, I’ll just make some!
Painting the fabric was fun and the end project turned out pretty cute. It’s a very quick and easy project and would make a great gift!!
Ok Let’s make an Abstract Art Sunglasses case!
You’ll need the following materials:
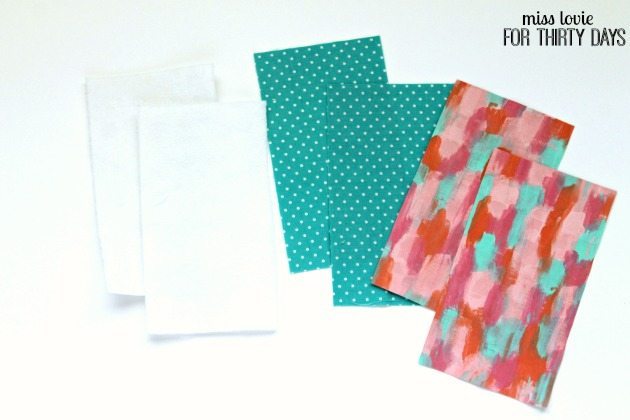
white fabric (cheap is fine!), fusible fleece, coordinating lining fabric, acrylic paint, fabric medium for the paint (optional), small paint brushes, sewing machine and notions.
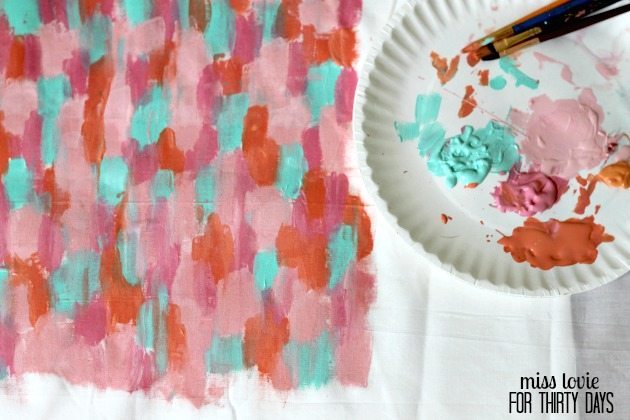
First you have to paint your fabric. Be sure to line your table with plastic of paper before you paint because it will run through the fabric onto whatever surface you are painting.
** A note about the acrylic paint on fabric: I just love the look and rough texture of the acrylic paint on the fabric, but if you want yours to be a little more flexible (and a little easier to wash later!) you can use a fabric textile medium in with your paint. Most would recommend this. I would have used it for my project, but I didn’t have any at the time and was wanting to get started. For more information on using acrylic paint on fabric and the textile medium go here. **
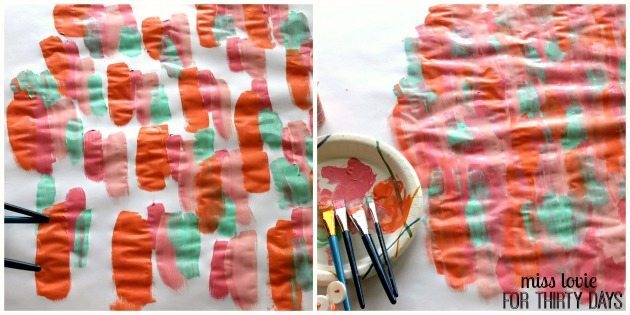
You can pretty much do whatever you want when you paint. Seriously. I tried out the technique I wanted to use first on paper as you see above. I did things a little different than some of the other tutorials I’ve read so I’ll briefly go over it here. Pick a set of colors. I found it was good to pick a few colors that were somewhat close to each other (like a pink in varying shades + a coral/orange) and then a contrasting color to go with it (the mint-y turquoise). I stuck with 4 colors only and so it didn’t get too crazy. You could go even simpler than that and just do varying shades of blue/turquoise and it would be beautiful. Once you have your colors chosen, get a brush for each color. I had varying sizes in brushes, but it doesn’t really matter. Start with one color and make vertical thick brush strokes spaced apart, then add another color next to that one and mix it in as you go. It’s good to have quite a bit of paint on the brush so you have some excess left on the fabric to mix together with the next color. On the picture above in the left you can see I started with orange, added in the darker pink, then the light pink, then turquoise. If you have empty spaces like I did (on the left) fill in spots as needed with whatever color you like. Finally, just kind of run your brush lightly over what you have done to blend everything together. If most of your paint is already dry (that fabric really soaks up the paint fast), then lightly dip your paintbrush in a light color of paint and blend. This does not have to be precise. In the above painting, I tried to make all the colors evenly spaced, but when I did it on fabric (shown in the picture below), I didn’t care so much.
Here’s the one I did on fabric. I started with the lighter pink this time. I also didn’t make my lines as straight and sometimes carried the color over horizontally some to create different shapes instead of just straight lines. It’s such an easy and, surprisingly, a quick process. Just don’t think too hard about it and go for it. It’ll turn out beautiful. Once you have a decent size of your fabric painted (about a 10 x 10 area, give or take some), let the fabric dry. It would probably be best to peel it from whatever you used to cover your table and hang it to dry. I did not do this and it stuck to the paper I had down a little.
Technically you should wait 24 hours before going on to the next steps. I didn’t because I forgot and everything turned out fine, but if you don’t want to break the rules, you could probably wait the recommended time. Ha. Next, you’ll need to heat set your painted fabric by setting your iron to a medium high setting and press the fabric. Don’t let your iron sit for too long in one spot, though. You can place a thin cloth over the painted side and iron on top of that so you don’t ruin your fabric or the front or your iron.
Now let’s get to sewing.
Cut your painted fabric, your lining fabric, and your fusible fleece into 8 x 4.5 inch pieces. These measurements may need to be adjusted some depending on the size of your sunglasses. Fuse your fusible fleece piece to the wrong side of your painted fabric. Again, you may want to protect your ironing board and iron from the paint with an old cloth or towel, just in case, however the paint should be totally set at this point.
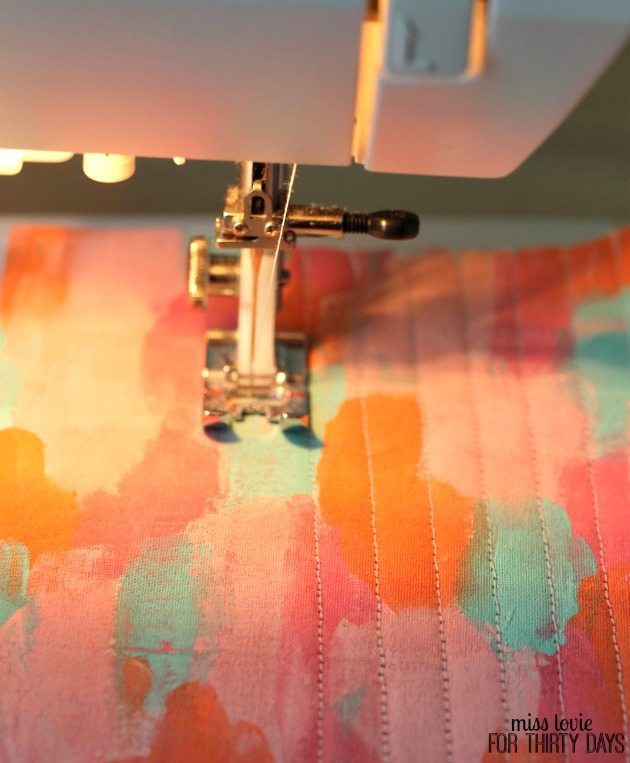
This next part is totally optional. I thought this fabric could look totally cute quilted, but I couldn’t decide whether to do it or not, so I actually just quilted one piece. I made that piece the front of my sunglasses case and I left the back piece un-quilted. I did this to show you it’s beautiful both ways, but if you wanted to quilt one side (or both), do that now. Use the edge of your presser foot and line it up with the edge of your fabric and sew your first line of stitching vertically. Line up your presser foot with that line in order to sew your next line of stitching and continue sewing until the piece is quilted. It will be a very flat quilting since the fleece is already adhered to the fabric. Repeat with the other painted fabric/fleece piece (or be like me and only quilt one side). I liked the extra detail, but if you don’t care for it or don’t feel like it, just skip this step!
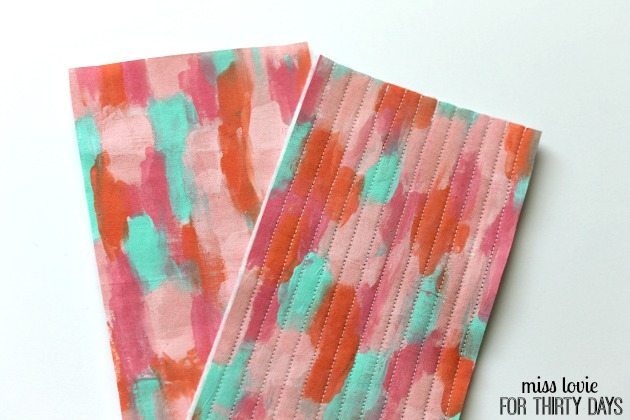
Here you can see the quilted piece on top which I used for the front of the case and the un-quilted piece I used for the back. Both are pretty! It was so hard to decide between the two!
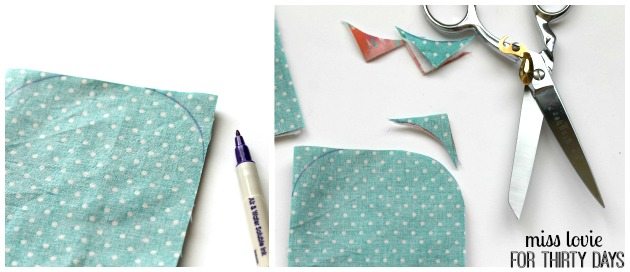
Next lay your lining piece on top of your painted fabric and use a rounded object (I used a cup) to trace lines and cut of the edges of one end (I cut both the lining and outside fabric at the same time). Repeat with your other piece.
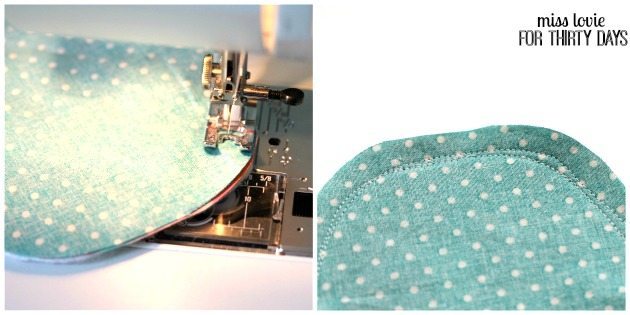
Now, we’re going to sew the curved edge that will be the opening of the sunglasses case. Sewing curves can be tricky, but just make sure you have the edge of the fabric lined up with the 3/8 mark on your sewing machine the entire time. And don’t be afraid to go back over your stitching if you got off track somewhere and need to straighten up your lines (like I did shown in the picture on the right above). Repeat with other piece.
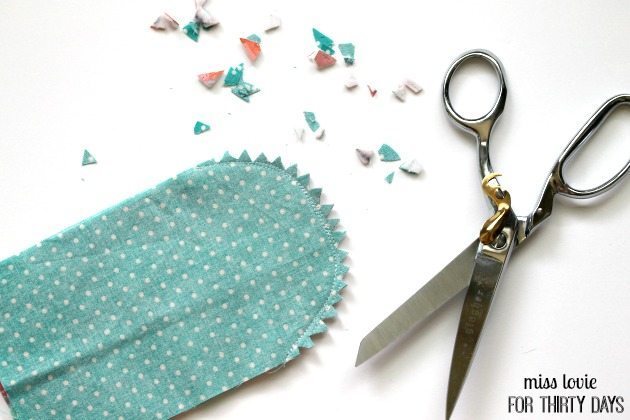
Use some scissors to make little notches along the curved seam so it will lay nice and flat when flipped inside out. Repeat with the other piece.
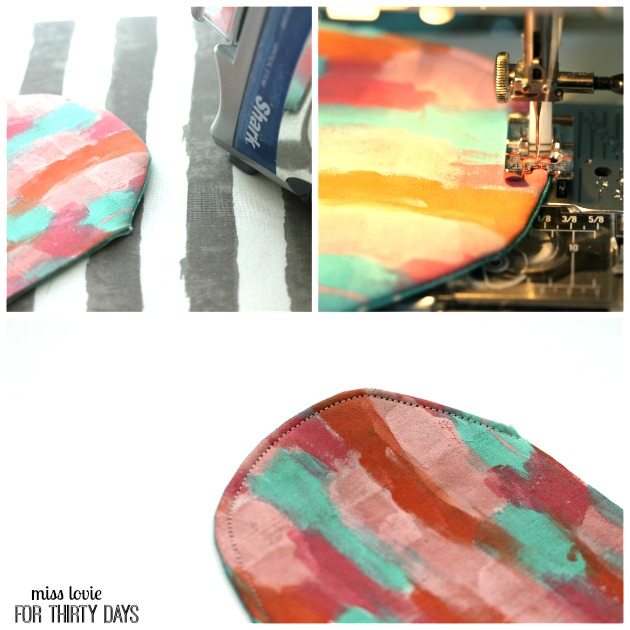
Flip each piece inside out, press and sew a top stitch along the curve only.
Now you will have two pieces of curved fabric with the painted fabric and lining fabric right sides out. We’re going to sew them together now to finish off the case. Put the painted sides together (right sides together) and sew all the way around the straight edges (not curved edge- this is your opening)

Then do a zig zag stitch to help prevent fraying and keep the inside of the case nice and neat (or if you’re lucky and have a serger, you can just serge it!). Clip the corners, as shown above, and then turn your case inside out and press. You’re finished!
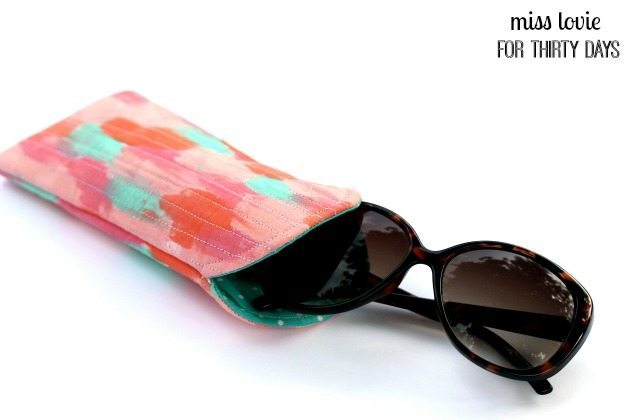
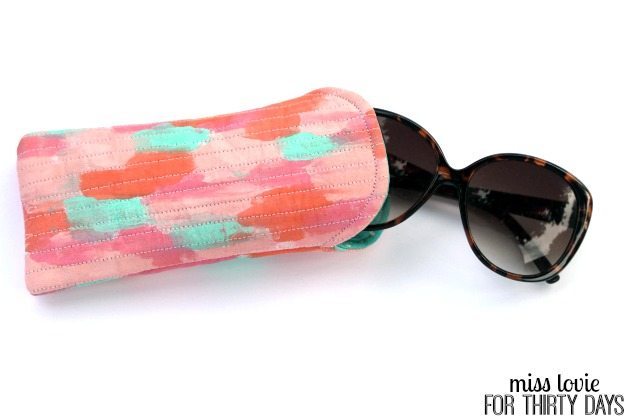
So cute right?! And perfect for summer.
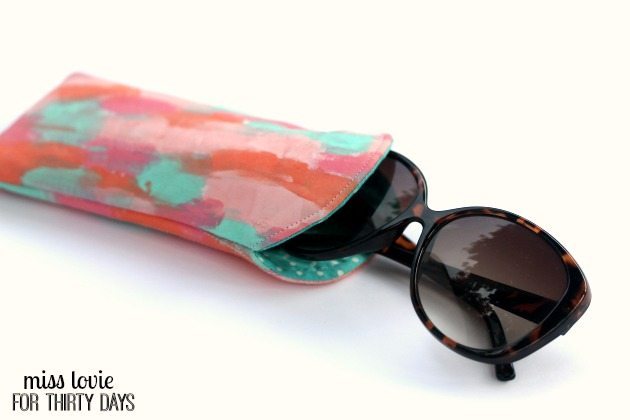
Here’s a picture of the non-quilted side of the case.
Thanks for reading and I hope you are having a lovely summer so far.
If you loved this post, be sure to check out my Spring Sketchy Dot Placemats, DIY Sewn Wedding Cards, and Simple Fabric Heart Coasters for more easy sewing ideas.
Happy creating!


This is the perfect thing for me to make for my trip to the beach in a couple weeks. Thanks for the great directions!
Love it! You get to paint your own design on the fabric then make the case. It is like a double DIY! haha