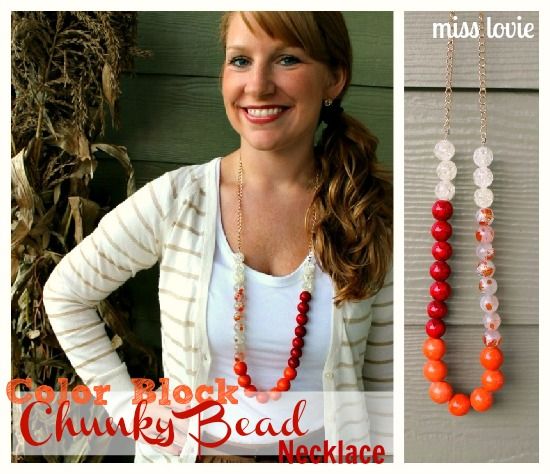
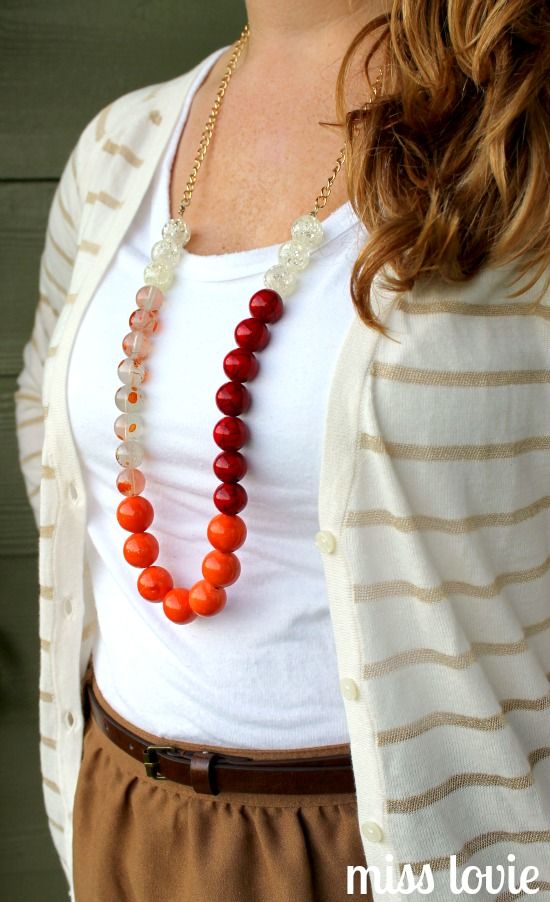
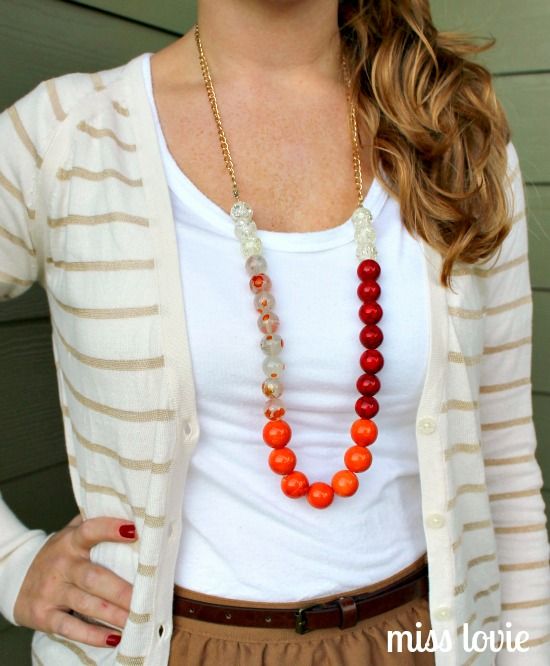
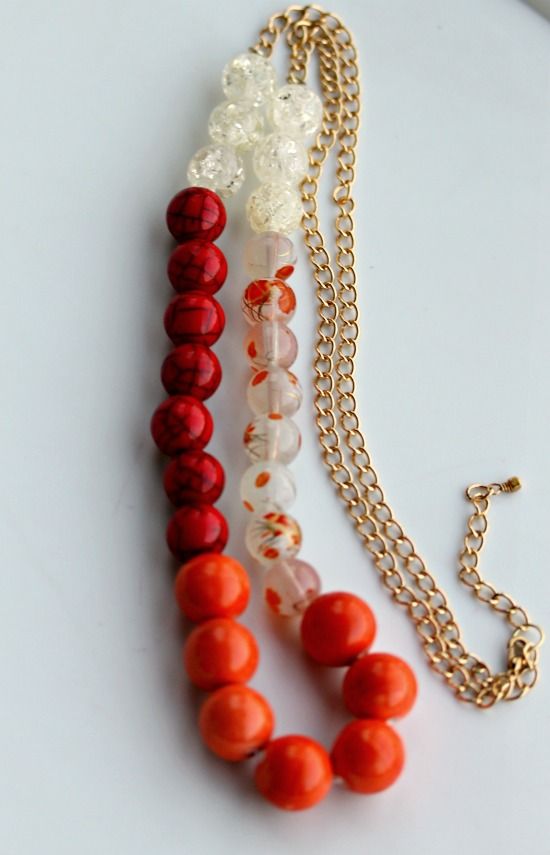
Hello, 30 Days Readers! I’m Allie from Miss Lovie and I’m so glad to be back with another fabulous jewelry tutorial! Today I’ll be showing you how to make this fun color block chunky bead necklace!
The color block trend is very in right now so I thought I might try it out in my jewelry. This necklace super simple to make so anyone who is willing to jump into a little jewelry-making can do it. The skill level is minimal! So let’s get started.
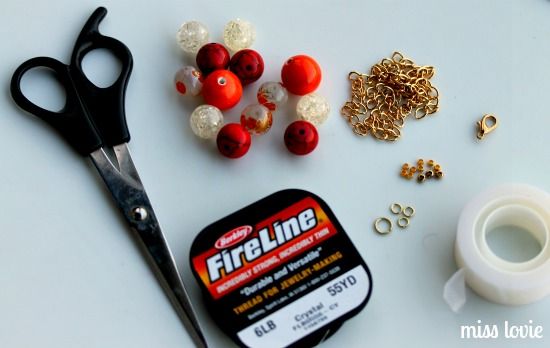
Gather Materials:
(clockwise from left)scissors, various shades of large beads, chain,1 lobster clasp, tape, 2 small jump rings and 1 large jump ring, 2-4 crimp beads, strong jewelry thread, and a needle (not pictured)
A super flexible wire may actually be better than the jewelry thread, but the thread is what I had on hand so it is what I used. From my experience, it usually works just as well as the wire.
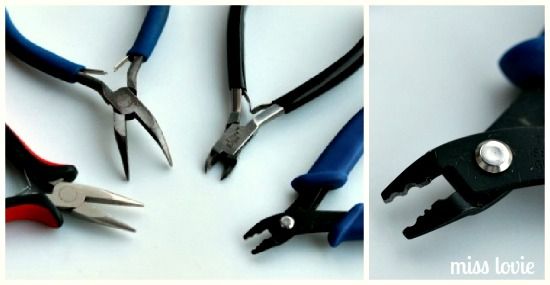
Jewelry Tools: (clockwise from left) flat-nose pliers, needle nose pliers, wire-cutters, crimping tool. There’s a close-up of the crimping tool.
First, create the strung beads part of the necklace.
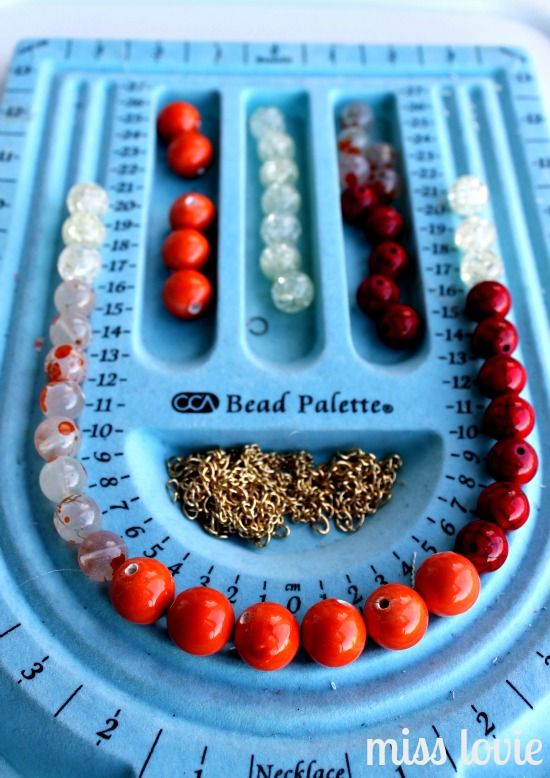
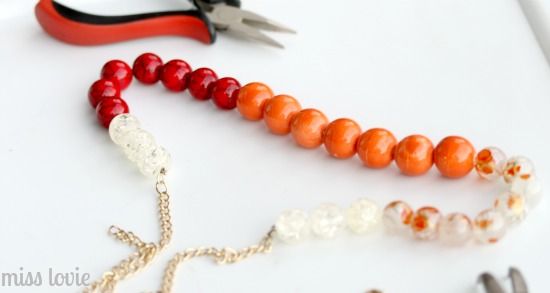
When making a necklace with strung beads, I sometimes also use this Bead Pallet to design my necklace. It keeps the beads in place and I can plan it out without measuring anything. I hate measuring. If you don’t have one or don’t want to buy one, you can totally get by without it. Just plan out how you want your beads and then thread them in that order. You can make the length of your necklace however long or short you want it, but for mine, I made the strung bead portion about 16 inches long and added about 9 inches of chain on either side. It was 34 inches long total.
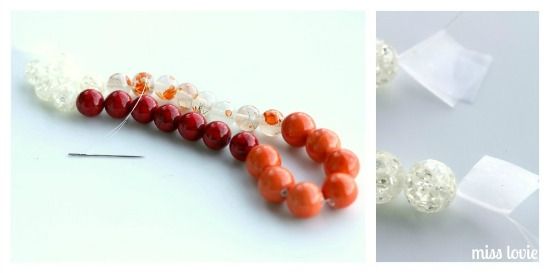
I double threaded my needle with the jewelry thread. This is not completely necessary, but I feel better about the necklace not breaking when I double thread. Make sure to cut a section of jewelry thread extra long so that there is about 8 inches of extra length than the actual strung beads. You will need 4 inches of thread on each end of the threaded beads in order to create the connecting pieces that will connect to the chain. Instead of tying a knot at the end, put some tape around the end of the thread so the beads stay in place. Thread the beads on with the needle.
When you’re finished threading the beads, make sure there is plenty of extra space on each end of the beads and place tape at both ends for added security if you need to get some other materials ready. You don’t want those beads sliding off if you knock it on accident (that’s not speaking from experience or anything).
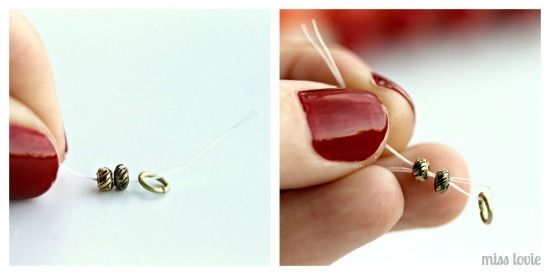
On one end of the threaded beads take off the tape and place 1 or 2 crimp beads first (I like to use 2 for added security, but it does create a little bulkier look) and then a small jump ring. Then loop the thread around the jump ring and thread it back through the crimp bead(s).
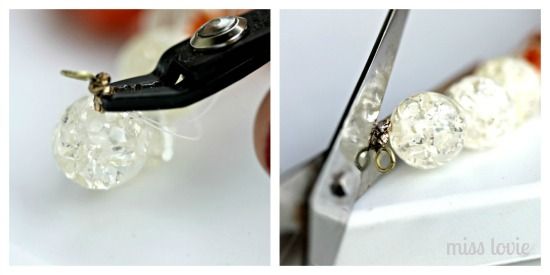
Pull the thread tight so the jump ring and crimp beads are flush against the bead at the top of your bead strand. Now crimp the crimp bead by placing the bead at the inside part of the crimping tool as shown in the middle picture above. Press down firmly and the tool will create a dip in the bead that will be the crease that allows the bead to fold in half in the next step. You can see what my crimp bead looked like after this step in the last photo above.
Move your crushed crimp bead to the outside part of the crimp tool and use it to fold the bead onto itself. Then snip of the extra thread.
Here are some super detailed instructions for using a crimp tool. I used these when I was first learning. I don’t follow these exactly, but I probably should :) They are definitely worth reading!
Do this again on the other side of your strung beads and you will have something like what is shown above.
Next, attach the strung beads to the chain.
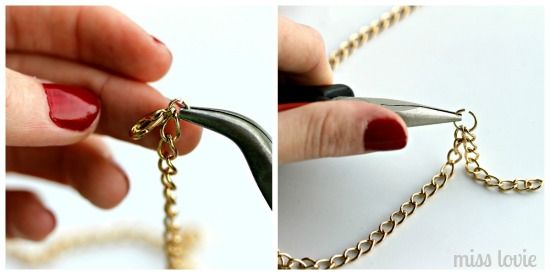
Cut a length of chain 18 inches long and then cut it in half. Attach chain to both sides of the strung beads by opening one link of chain and attaching it to the jump ring as shown above. Simply use your flat nose pliers and bent nose pliers to pull link apart and then push it back together again. Do this on both sides so the necklace looks like the photo below.
Next attach the clasp.
Open a small jump ring and slide it onto the end of one of the chains and slide a lobster clasp on as well. Close the jump ring. Open up a large jump ring and attach it to the other chain. Slide on another 3 inch section of chain if you want the necklace to be adjustable. Close the jump ring.
And you’re done! The colors in this particular necklace are perfect for fall, but you could of course use whatever colors you want. You could also use different kinds of chain- silver or antiqued bronze would be equally beautiful!
I hope you try it. It really is pretty easy. I’m already thinking of other color combos I want to make it with!
If you loved this tutorial, you should check out my Turquoise Pendant Necklace from last month, as well as my other jewelry tutorials on my blog!
You should also follow me on twitter, facebook, Pinterest, or on RSS to make sure you don’t miss any great ideas from me!
Thanks for reading!





I really liked how you did your color block necklace.
I would also like to know about the beads you used– like where do you even find them? I’ve been to a couple of stores and I can’t seem to even find beads that are the same size/style!
I am having the same problem. I was thinking they would be acrylic because glass beads are heavier, but I just looked through these pictures again and it looks like they are glass. I don’t know where you are located, but I have checked Michael’s and Hobby Lobby and Michael’s had a much better selection. And I don’t have a JoAnn’s where I live now, but their bead selection is even better than Michael’s. Good Luck!
Hi Allie! I have tons of beads that I could use to make this necklace, but I like the look of what you used here. What types and sizes of beads were used for this necklace?
Thanks Stephanie! They really are and I’d love to see yours if you do!!
these are so simple and fab! I’ve got to make me one.