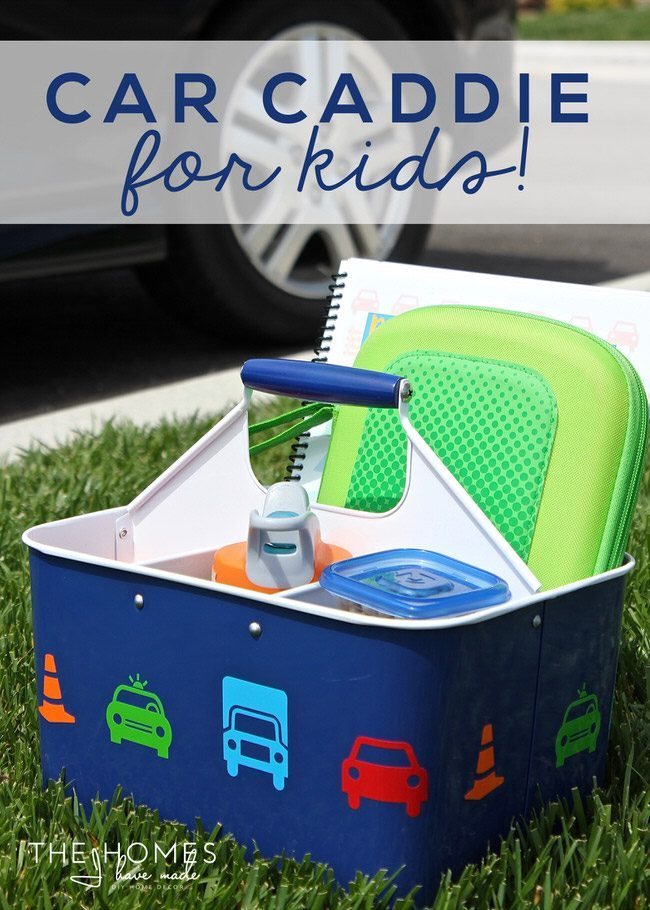
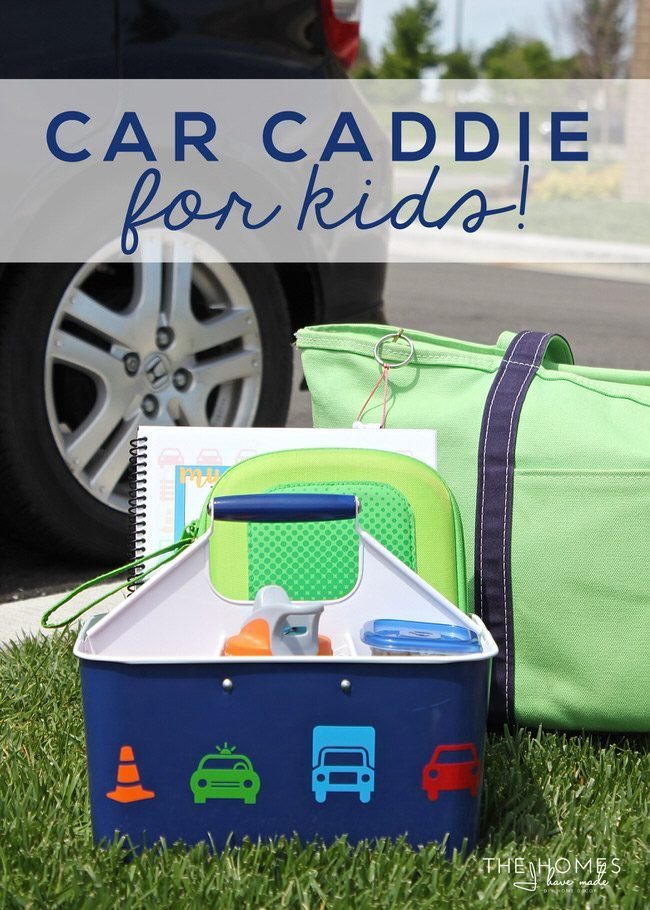
Happy June, 30 Handmade Day friends! I am so excited to be joining you again today with a quick, fun, AND functional project that will help keep your kids entertained and fed on your next road trip! Let me show you how easy it is to make a DIY Car Caddie for Kids!
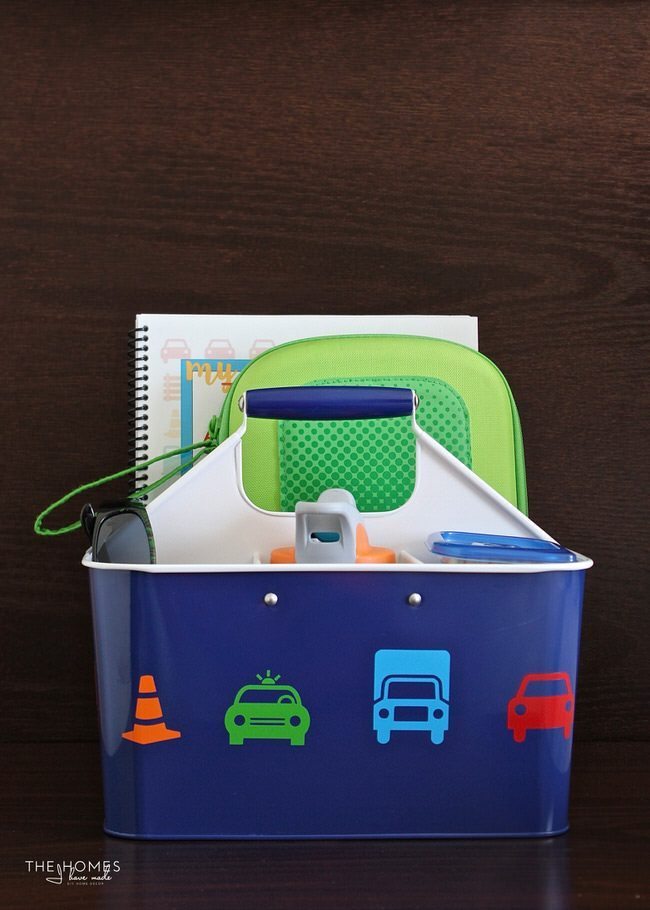
We are getting ready to embark on a huge 10-day road trip as we transition to our new home on the west coast. And although our 5-year-old is an awesome car companion, I really wanted to come up with a way to save me the hassle (and back ache!) of constantly passing snacks, toys, and entertainment back to him. Thanks to a few off-the-shelf products combined with some easy DIY touches, we now have the cutest and handiest car caddie ready for our trip!
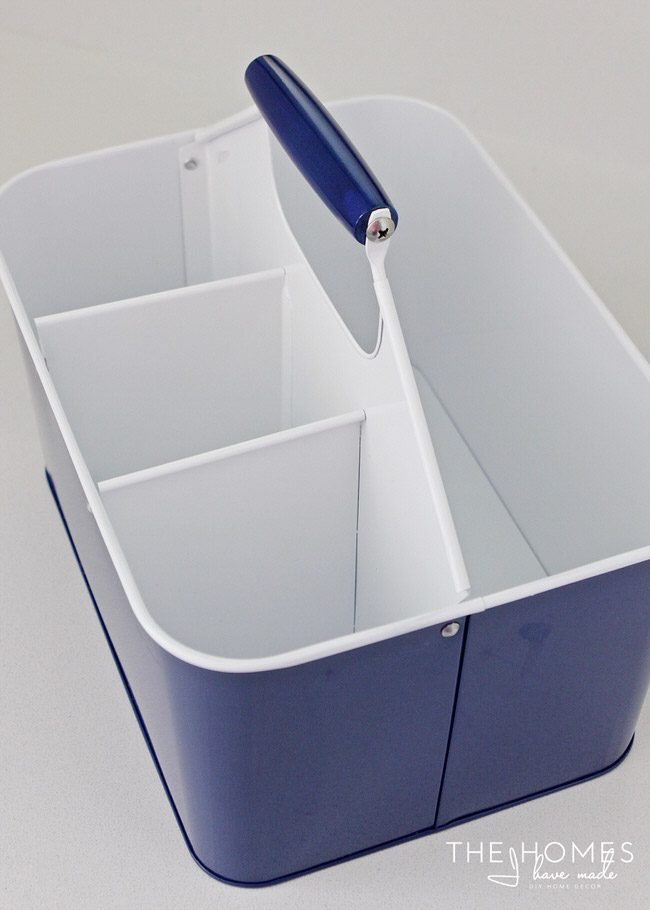
This car caddie is made from an inexpensive metal utensil caddie, but you can use any craft, utensil, or tool caddie you find and like. I specifically wanted one that was easily wipeable/cleanable, had a variety of compartments to hold different things, would fit comfortably on my car backseat, and was cute! I found this one just recently at Target in their summer/holiday section.
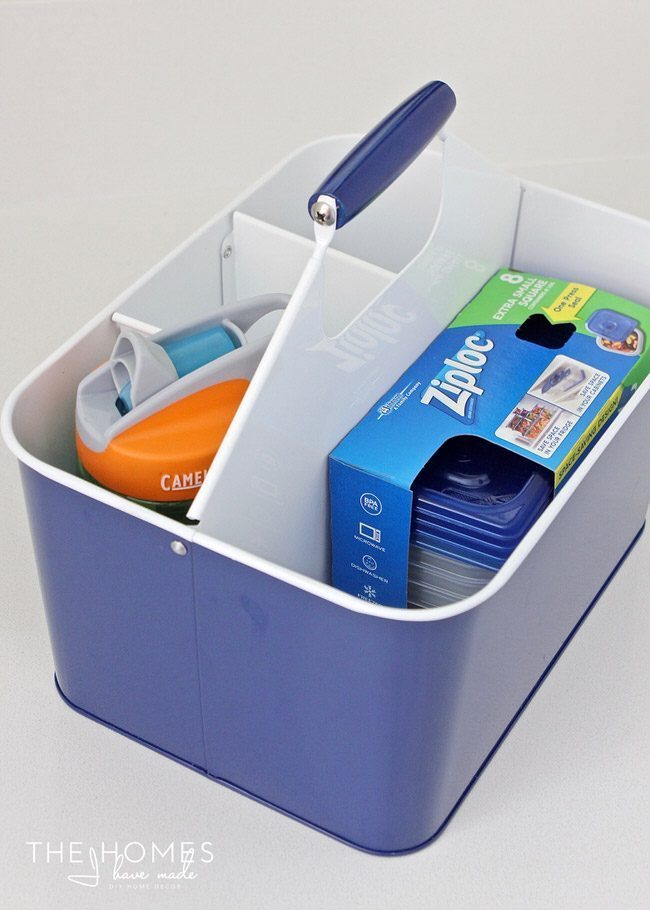
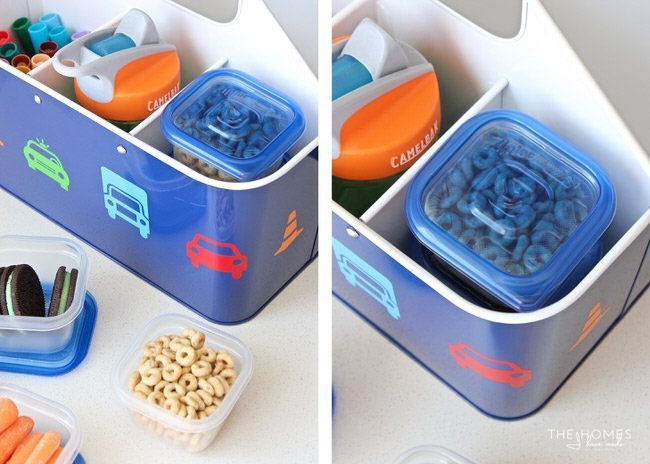
My goal for this caddie was for it to hold a variety of toys, entertainment and snack items in a single spot. In order to make the most of every inch in this caddie, I specifically looked for snack containers that fit the compartments perfectly. A child-sized camelback water bottle (which we already had) and the Extra Small Square containers from Ziplock were the perfect solution!
With everything gathered, it was time to decorate car caddie and fill it with all sorts of things for our road trip!
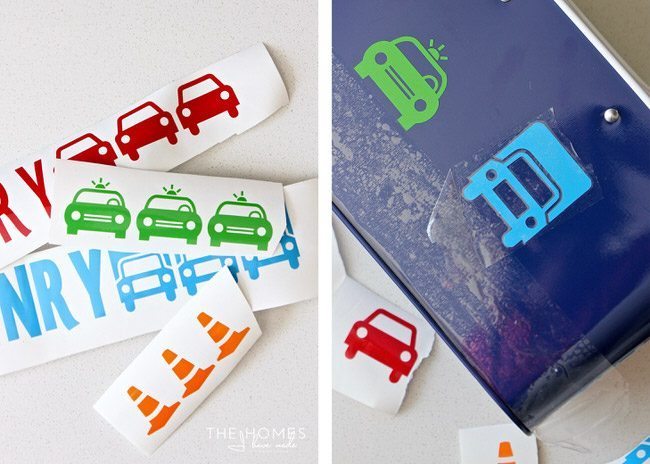
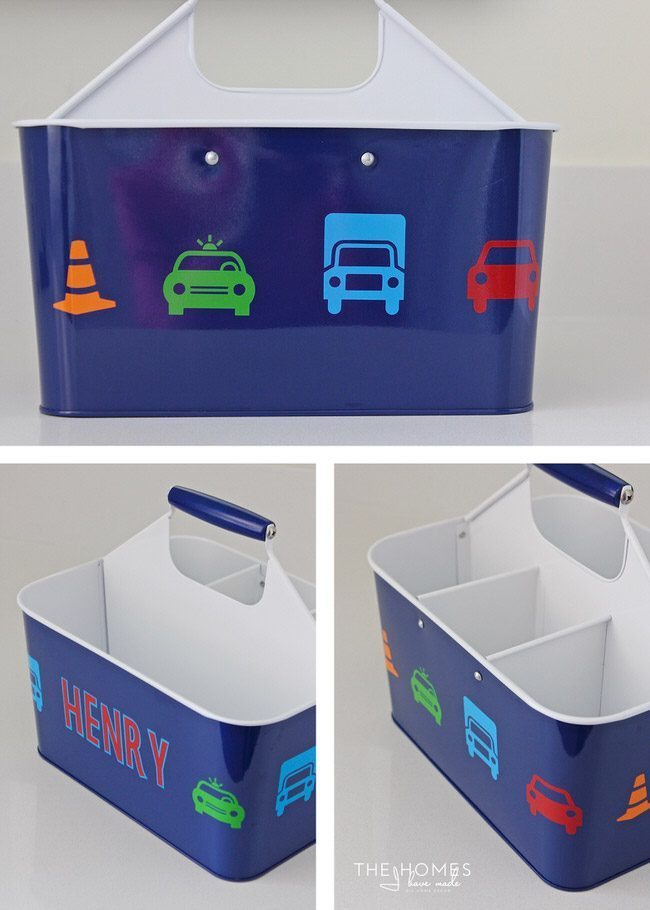
I started by cutting out a variety of travel-related images from green, blue, red and orange vinyl with my Cricut Explore. Then using transfer paper, I applied my son’s name and each image around the perimeter of the caddie. If you don’t have an e-cutter, you can achieve a similar look by using stickers and letters from the craft store.
With the addition of some simple stickers, this basic utensil caddie became a personalized travel accessory.
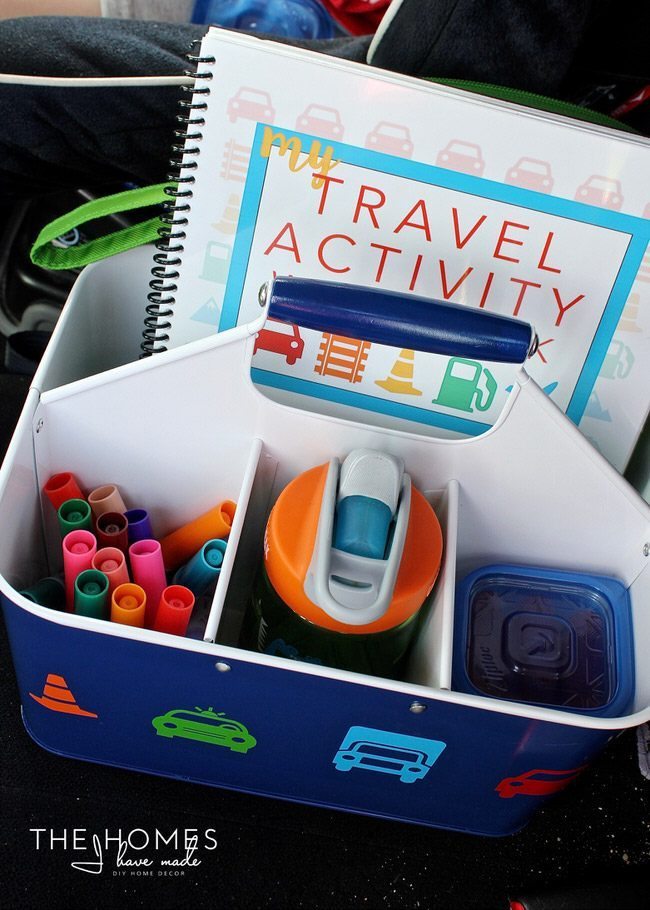
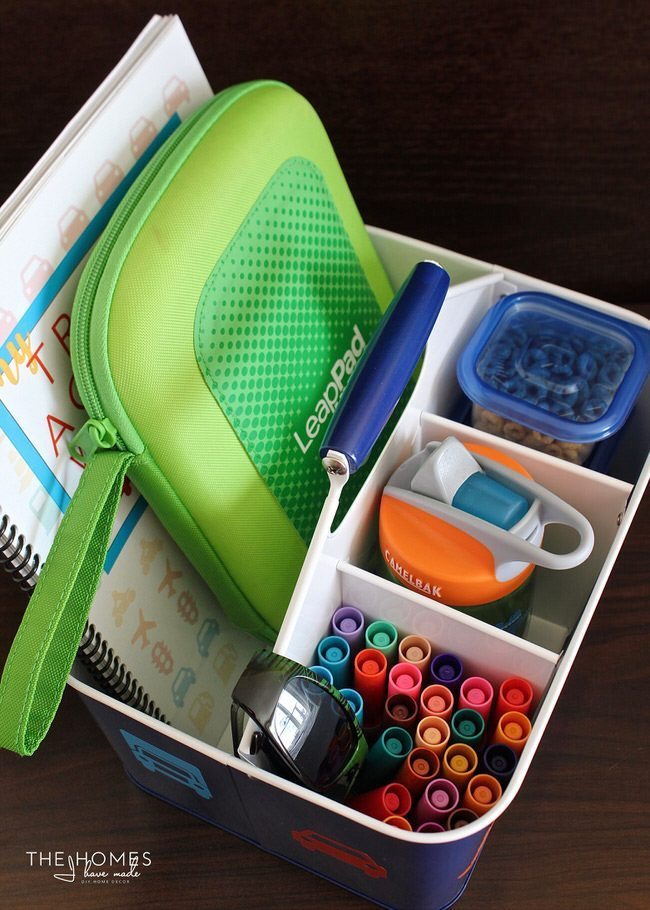
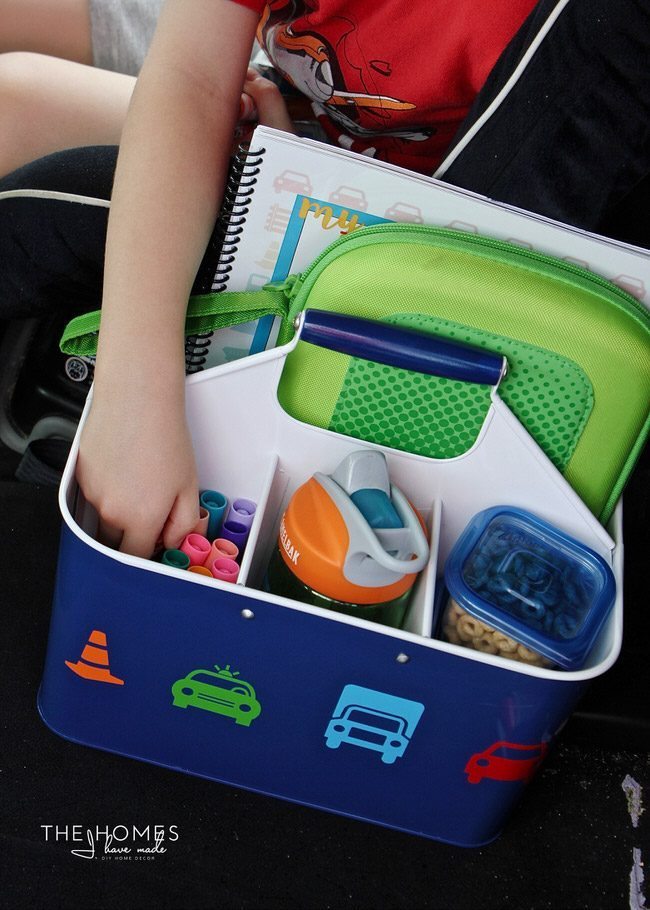
What you put in your Car Caddie will depend on your child and what he/she likes to do. Here’s a quick tour of what’s in ours’!
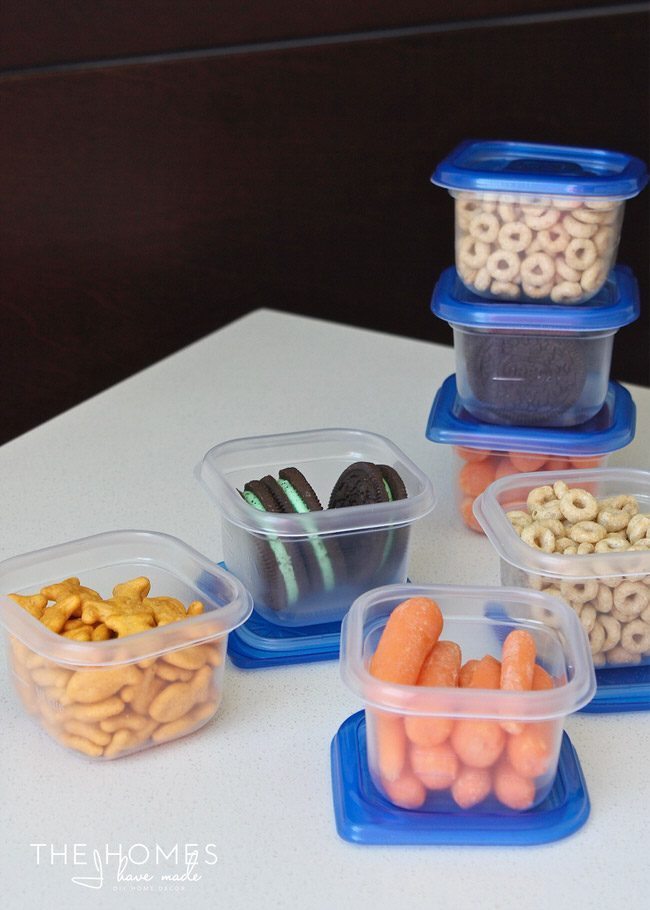
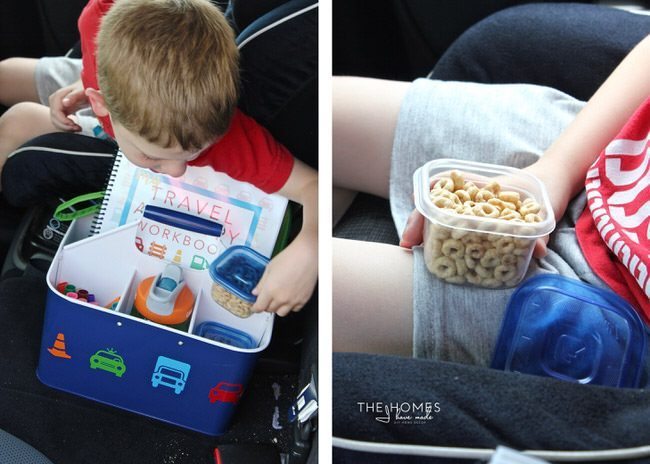
Is it just me, or are kids constantly hungry in the car? To avoid having to constantly hand snacks back, I filled the small plastic containers with my son’s favorite and car-friendly snacks. Not only do I love that these containers perfectly hold a single serving, but they are easy to open and stack great!
Three containers stack nicely in one of our caddie’s compartments; so when my kiddo is hungry, he can dig through (on his own!) and find just what he wants. I can also fill the other 5 containers and swap out and/or replenish as needed during stops.
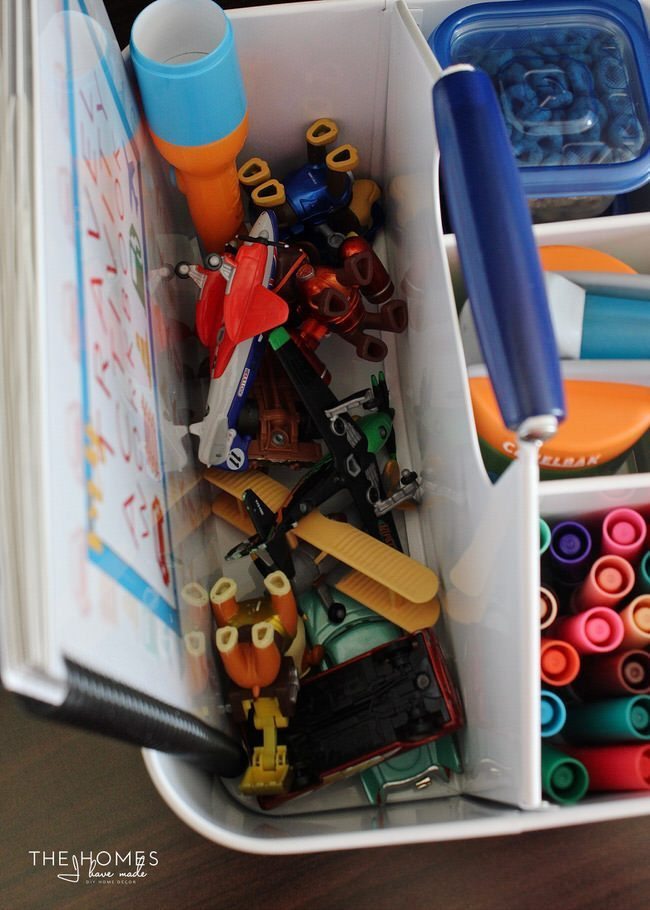
A caddie like this one is deep enough to hold the random “treasures” kids insist on bringing in the car. I love that this acts as a catch-all…easy in and easy out for little hands…and hopefully less things will end up on the floor!
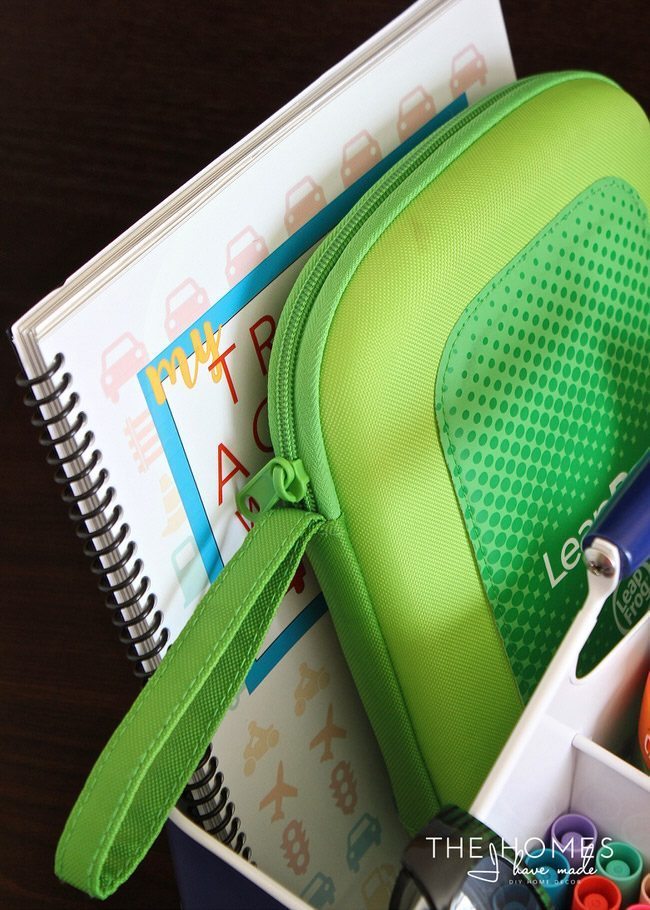
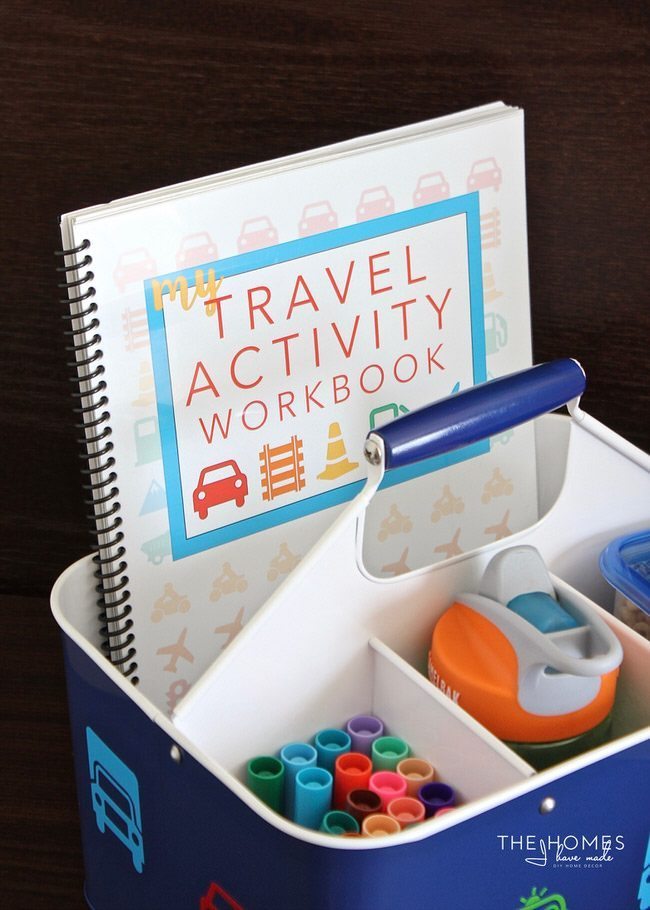
Besides being cute, affordable and having little compartments, the main thing I liked about this caddie was that it had a compartment wide enough for coloring books and a tablet. Books tend to fall deep into bags and can bend, so I love that our books can now stand on their end and are easily accessible!
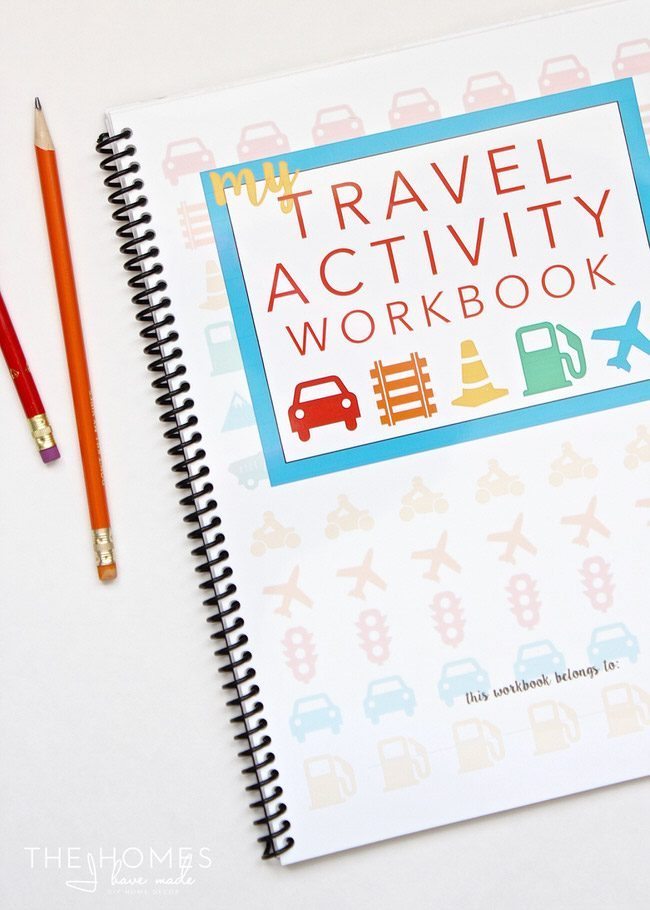
In addition to my son’s Leap Pad, this compartment also holds a super fun DIY Travel Activity and Sticker book I made just for this trip!
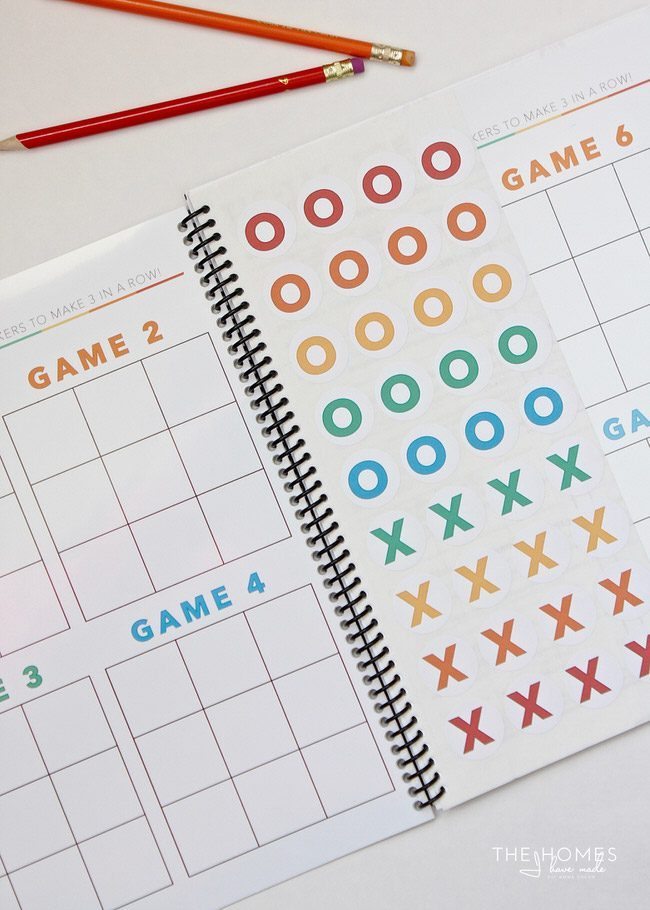
I absolutely love designing printables and knew an activity workbook would be a great way to keep my son entertained…especially when the novelty of the Leap Pad wears off. This activity book is also a sticker book, making it extra fun for busy hands!
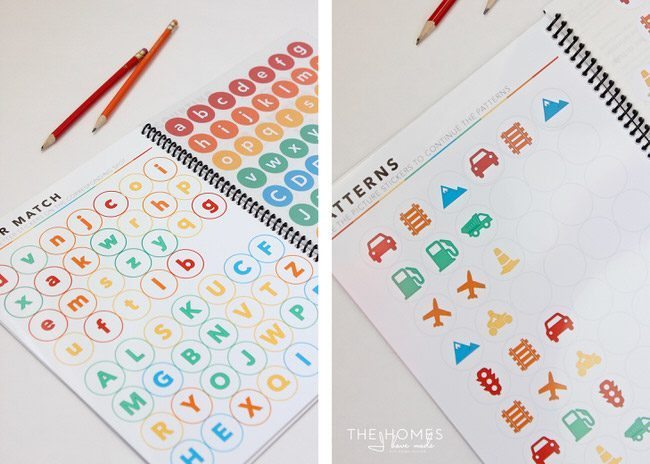
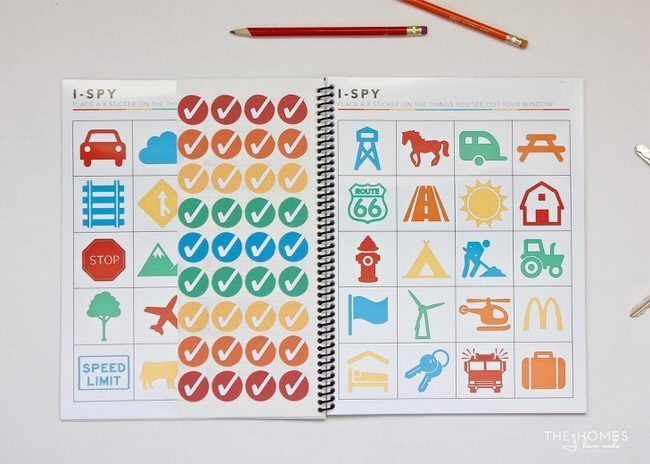
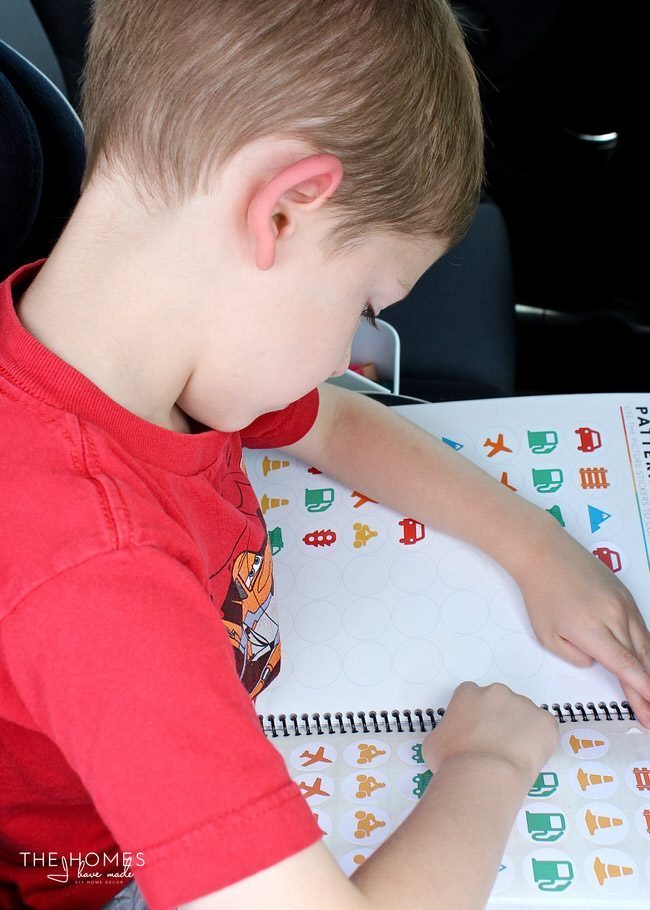
There are 5 different pre-school-level activities included in this workbook: Tic Tac Toe, Letter Matching, Counting, Patterns and I-Spy. Each activity has matching ready-to-print stickers allowing this to be a marker/crayon-free activity if desired!
I had all the printable pages and stickers bound into a single workbook at my local copy store so that nothing would get lost or out of order.
I have this 12-page printable file available for FREE over on my blog, The Homes I Have Made, right now! I’m also sharing all the details on how to put this workbook together so I hope you’ll come over and say “hi” and snag your free files!
With the addition of some markers, sunglasses, and a blank coloring book…we are ready to hit the road!
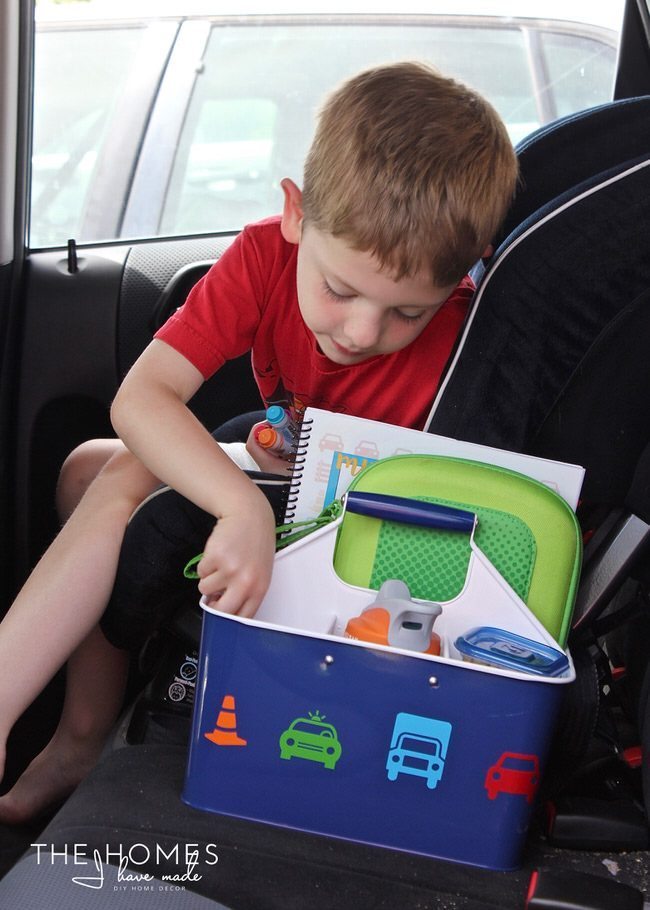
Sometimes projects are great in theory but don’t work out in real life. Boy was I excited to see how easily (and excitedly!) my son was able to access his new Car Caddie!
He wasn’t in his seat 1 minute before he started poking around for snacks and toys!
My son saw me working on this activity workbook for the last week and has been dying to try it out. He finally got his chance, and it worked just as designed! The size is just right for his lap, and the stickers make these activities fun, engaging, educational and hassle free!
With an investment of about $20 (between the caddie and the workbook) and just an hour or so of time, we now have a fun and easy way to keep our child entertained and fed on our upcoming road trip. I am sure I will be stocking and re-stocking this caddie throughout our trip as his whims change, but am thankful to have a dedicated place for items to land along the way!
If you have a road trip coming up this summer, I encourage you to give this fun and functional DIY Car Caddie a try! Find or re-purpose a craft or utensil caddie and personalize it with some simple stickers or other DIY touches. Fill it up with your kids favorite car trip items, and you’re ready to go! And don’t forget to stop by The Homes I Have Made to grab your FREE copy of the Travel Activity Sticker Book!
A big thanks to Mique for having me stop by today to share this project with you! Next time I’m here, we should be busily settling into our next home! Until then, have a great start to your summer!


I absolutely love this, so organized!!!