
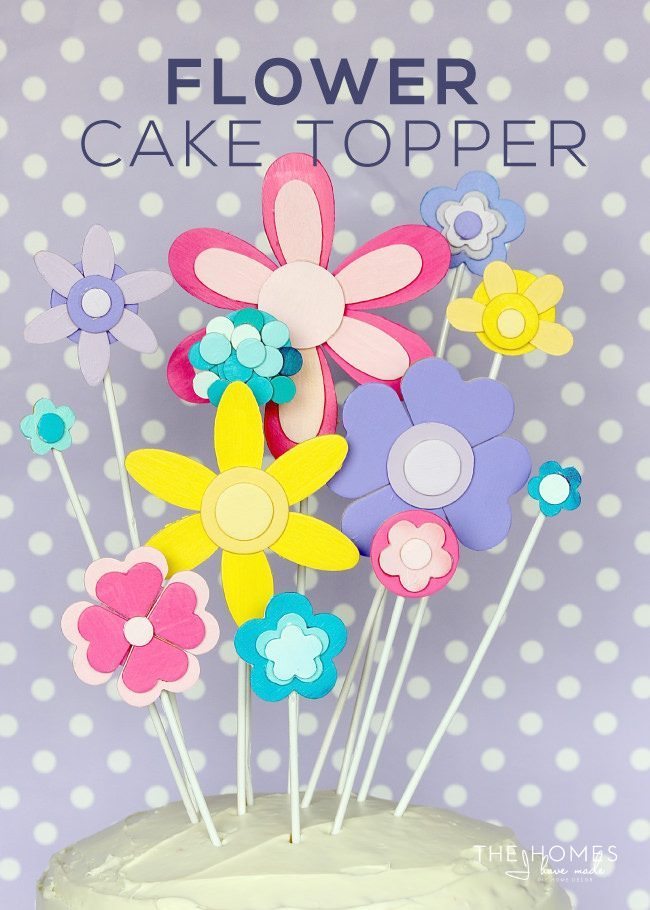
Simple wooden shapes are painted and glued to create an amazing cake-topper for any Spring soirée!
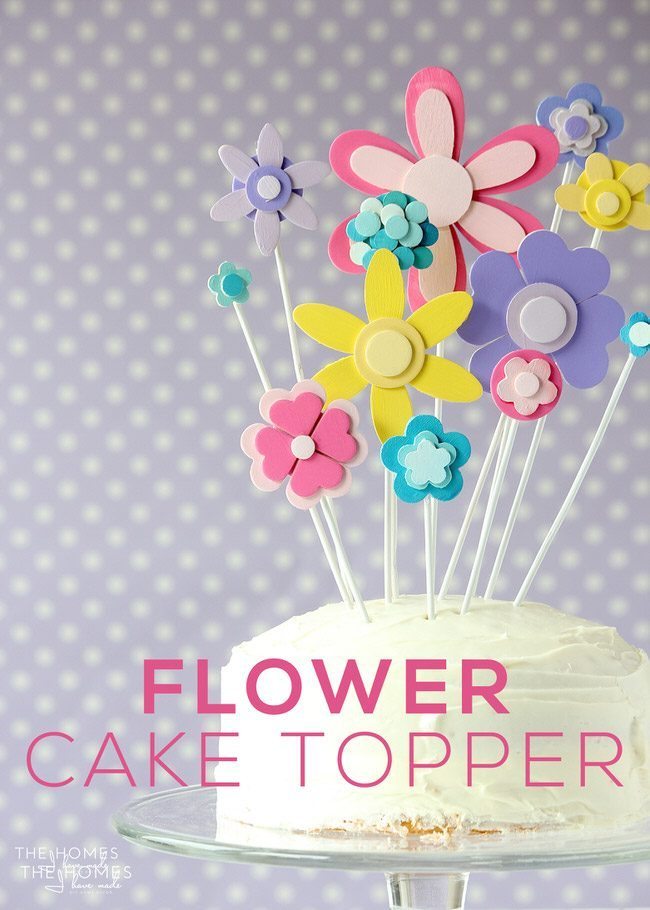
Greetings Thirty Handmade Days readers! My name is Megan from The Homes I Have Made; I blog a variety of home décor, organization, and DIY-related projects, all with a totally-temporary, renter-friendly approach because we’re a military family and we move A LOT! I am beyond excited to be joining Mique’s amazing team of contributors, and I look forward to visiting you here each month with a fun and easy DIY project! Today, I want to show you how fun and easy it is to create a one-of-a-kind, show-stopper cake topper that you can use for a variety of occasions in the coming months! From Mother’s Day to bridal showers, graduation parties and garden parties, these wooden flowers will make your cake the hit of the occasion!
These sweet wooden flowers are made by simply painting and gluing a bunch of wooden shapes (found at any craft store!) together in flirty and floral combinations! Paint them up in your favorite Spring colors or your party’s color scheme, and you will have an inexpensive, easy and perfectly tailored party accessory in no time!
To make your own Flower Cake Toppers, here is what you need!
- A variety of wooden shapes (hearts, circles, and oval shapes work best)
- A variety of acrylic paints (in whatever colors match your occasion)
- Wooden kabob skewers
- Glues – wood glue, hot glue sticks
- Tools: Paint brushes, hot glue gun
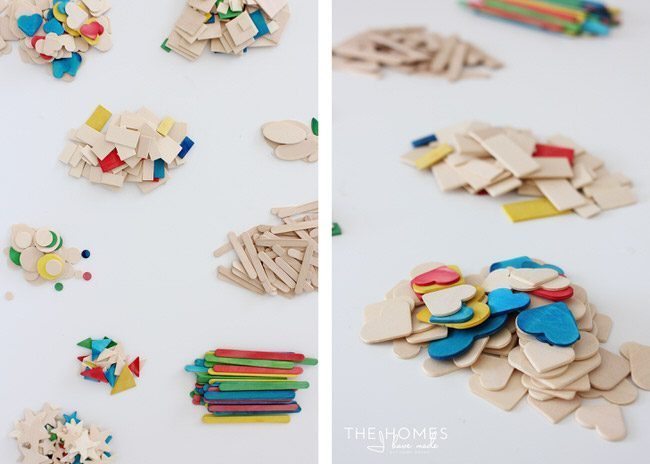
When picking out wooden shapes to make flowers, I found hearts, circles, and ovals work the best. Visit any craft store to pick up a variety of shapes and sizes; or grab a box of assorted pieces. This inexpensive box provided all sorts of fun shapes to choose from!
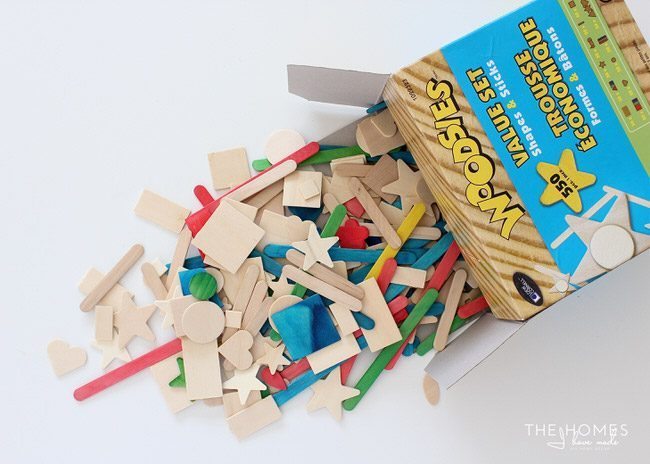
If you do start with a big box of shapes like I did, I highly recommend sorting the shapes into piles. It will make designing your flowers so much easier AND it’s a great way to get the kids involved!
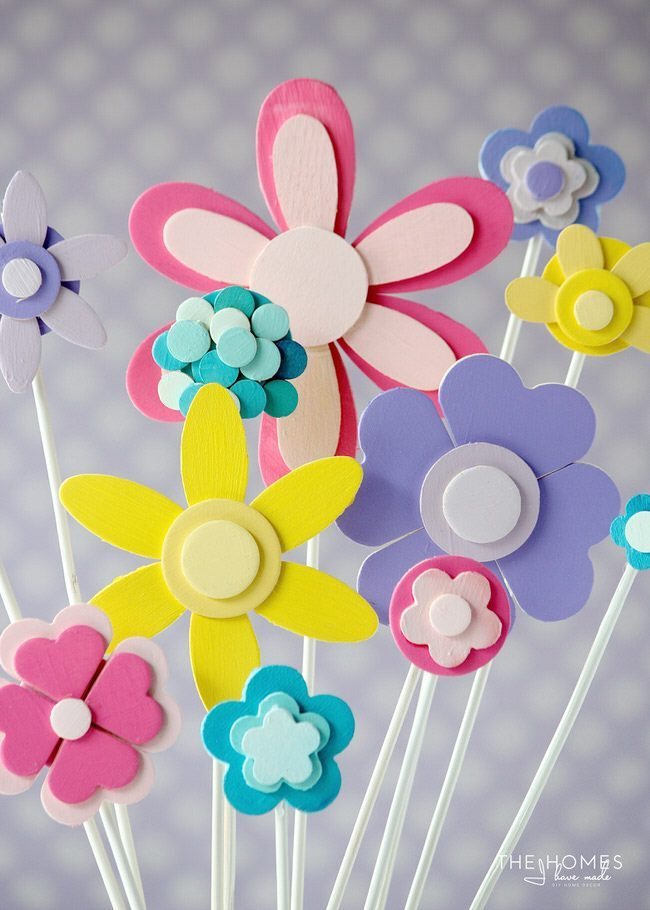
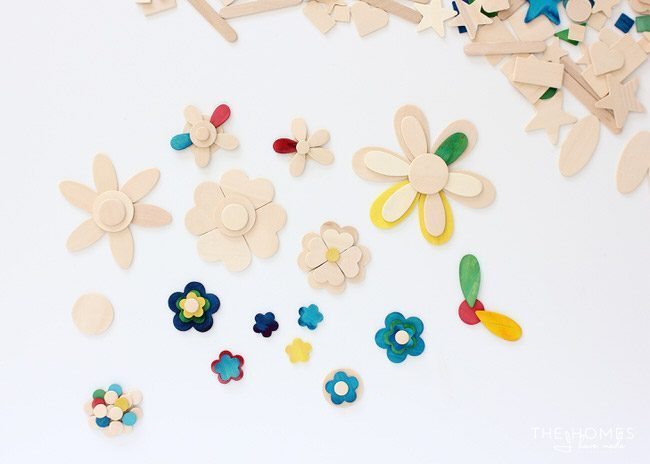
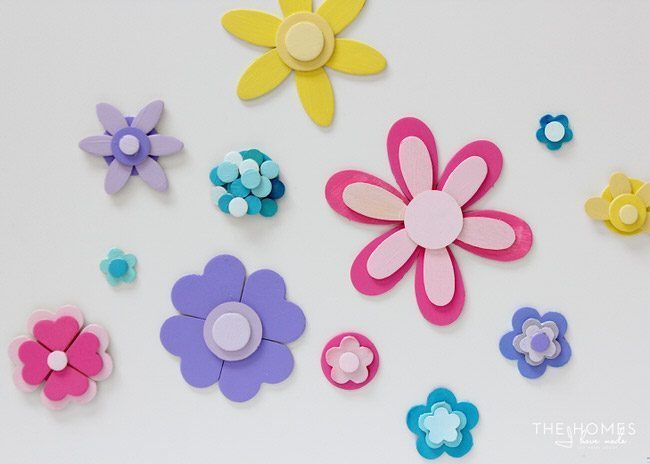
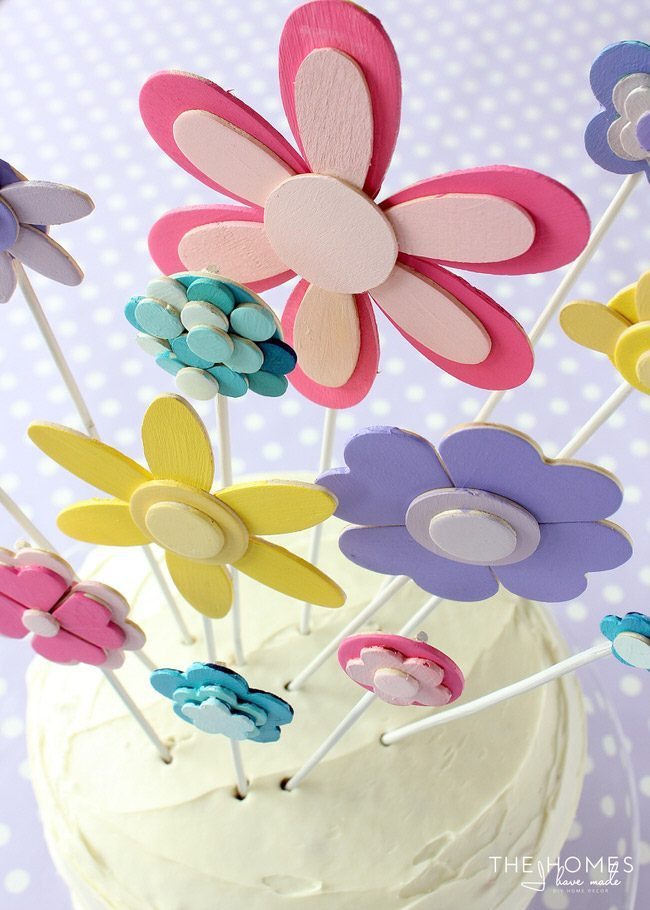
To design your flowers…just start playing around with all the different pieces! The most unique designs come from layering lots of different shapes on top of each other. Notice the larger flowers are just ovals, circles and hearts arranged and layered in interesting ways! Keep playing around until you end up with a variety of flowers in all shapes and sizes to fill up your “garden.”
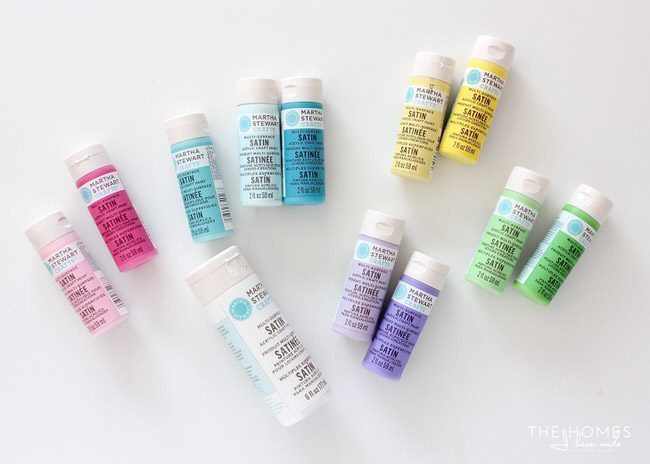
With the flowers designed , pick out a variety of paints to match your party scheme or occasion. Painting each flower in monochromatic colors enhances the sophistication of the display, so I recommend picking several shades of just a few colors!
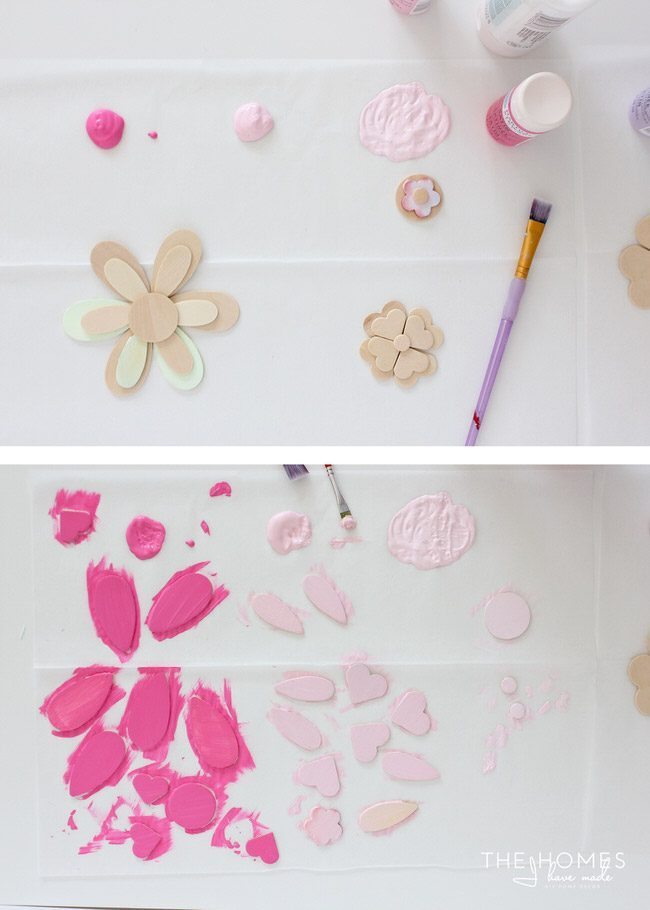
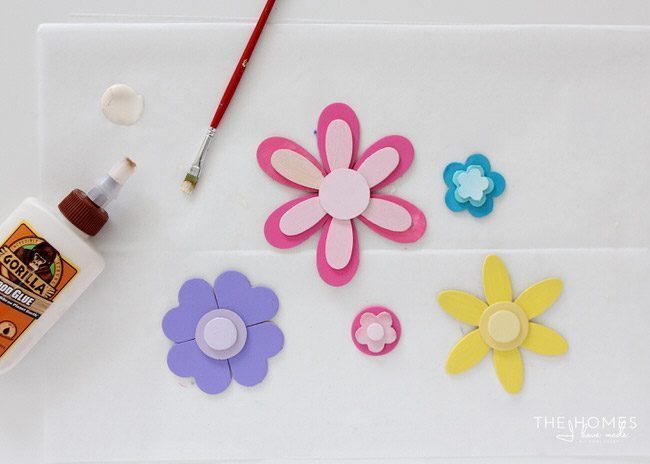
If you have three layers on your flower, use three shades of the same color to paint the different elements. Below, bright pink was used for the bottom layer, medium pink for the middle petals, and light pink was used for the centers of the flowers. Paint each layer of petals in whatever color scheme you choose and let dry between coats. Painting on top of wax paper makes for really quick and easy cleanup!
Once all your petals are painted (they may require a few coats to get saturated color) and dry, it’s time to glue them together! You can use any quick-drying glue you have on hand, but I found applying wood glue with a paintbrush was the quickest and easiest way to get the flowers assembled!
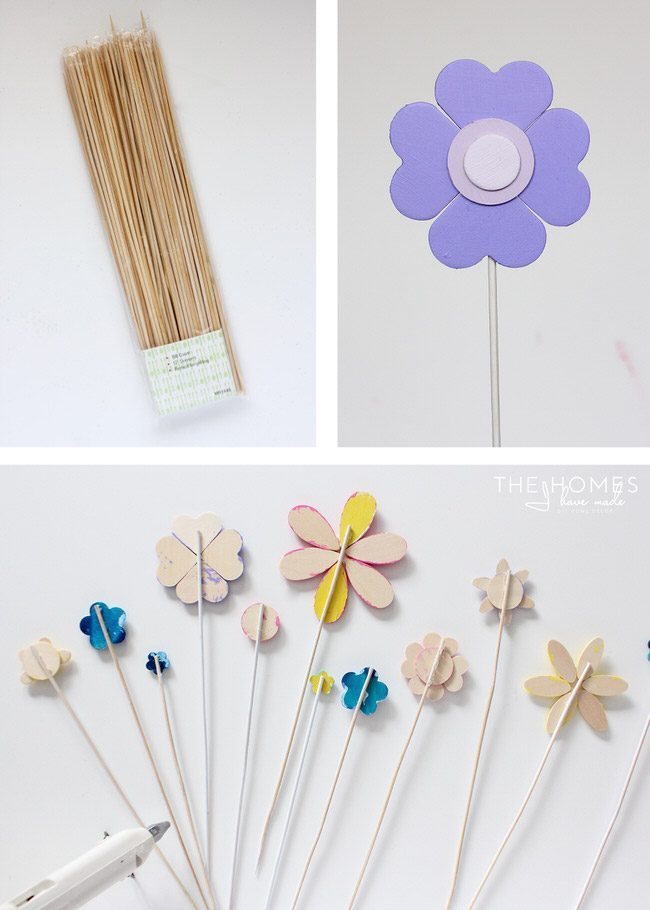
The final step is to turn your pretty wooden flowers into cake toppers. To do this, paint some kabob skewers white (optional) and secure them to the back of each flower with a hot glue gun.
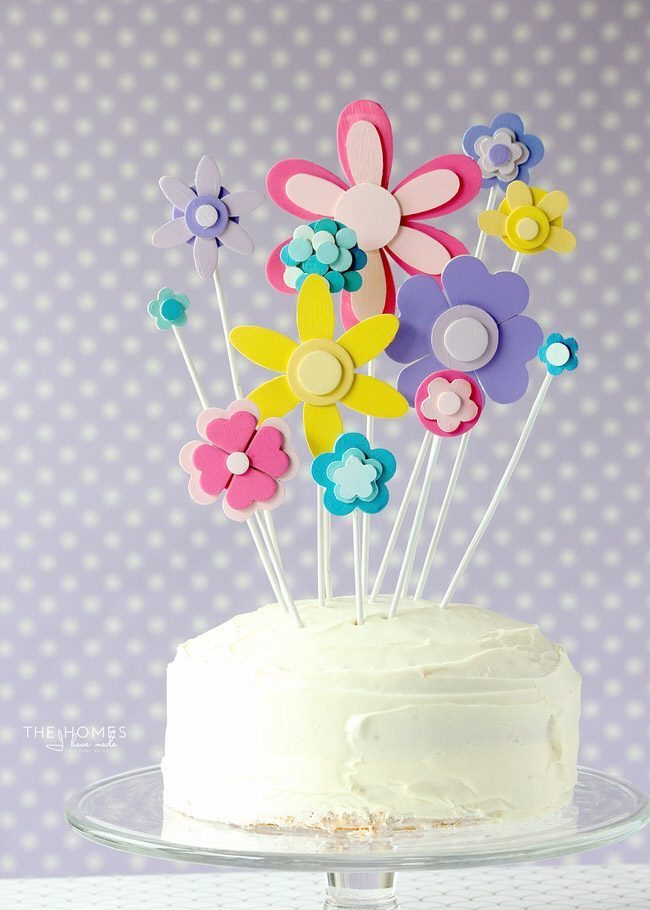
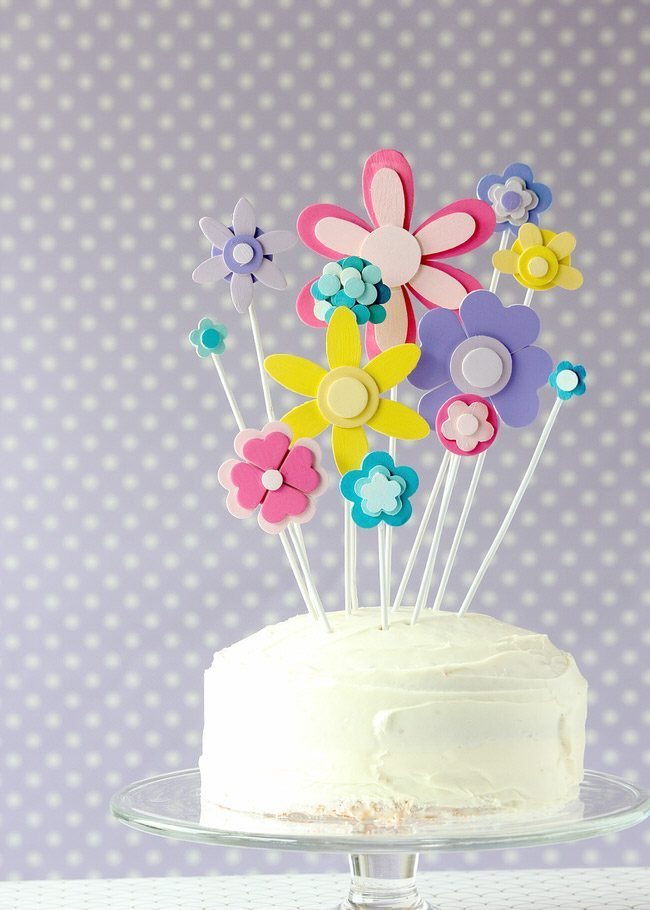
And like that, you will have an array of pretty flowers to add to the top of any cake!
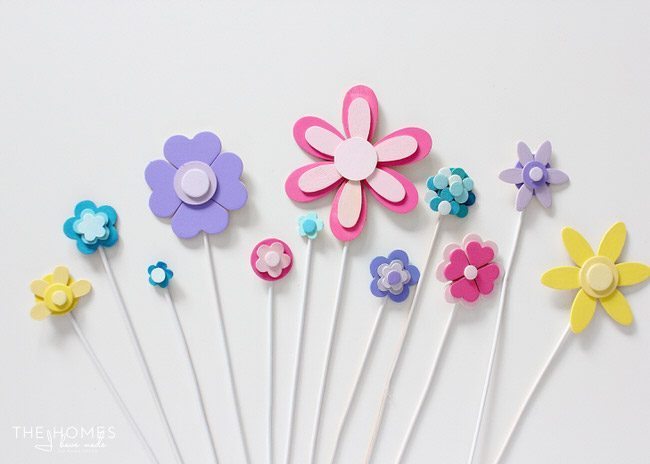
To arrange the flowers, I suggest starting with the larger flowers and then fill in gaps with the smaller ones. Don’t hesitate to trim off some of the wooden skewer to allow for different heights.
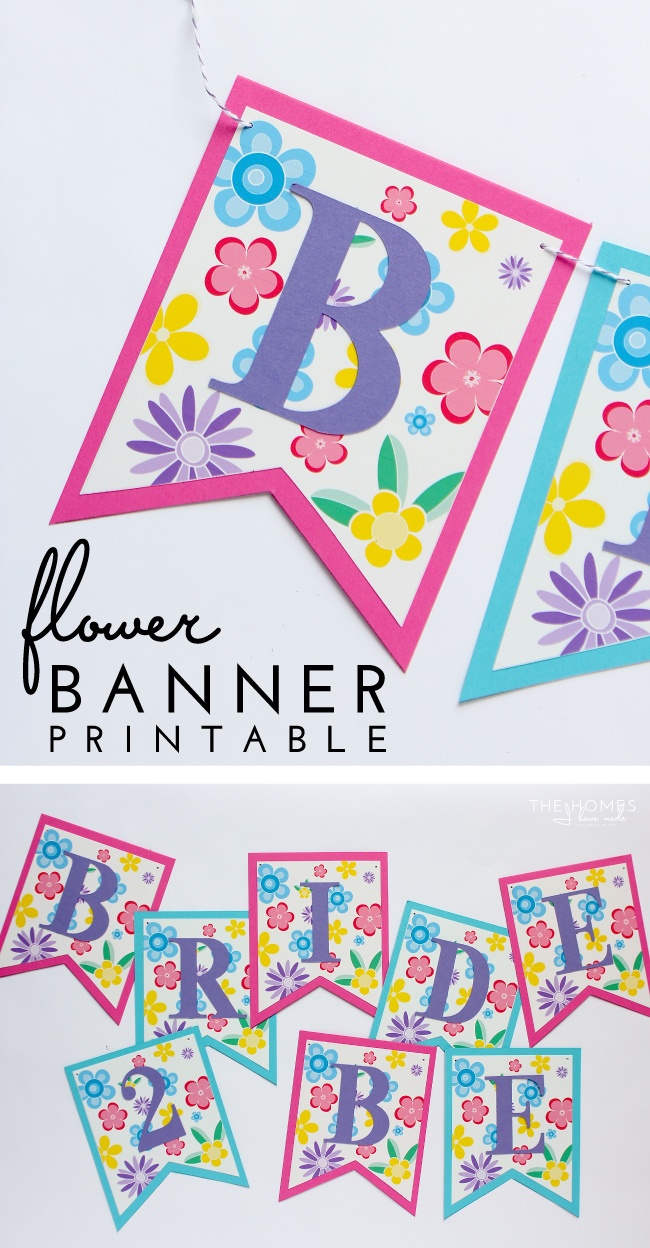
Lastly, no party is complete without a festive banner! To complete your display for any occasion, use this matching fresh and flirty printable banner. All you have to do is print, cut and add your own letters. This printable is available for FREE download right now over on The Homes I Have Made, as well as the step-by-step tutorial for putting it all together!
These wooden flowers are a fun and easy way to decorate a cake for any occasion! Simply swap out the colors and shapes for the season, or use wooden letters to spell out specific phrases or names! Wooden shapes are inexpensive and easy to find, and acrylic paint dries fast, so this is a quick, easy and inexpensive way to make eye-popping décor for your next soiree!


Love this!! So bright and happy. A great idea.