I love being a part of the Bake, Craft, and Sew event yearly. This year, they’ve added Crochet to the mix. Something for everyone! I’m Kim from Today’s Creative Blog and I’m a recovering gift wrap perfectionist wanna be. Because it rarely works out for me.
DIY Holiday Gift Wrap
Each year I vow to create beautiful embellished wrapped Christmas gifts and every year my dreams of being ultra organized go up in smoke. I may get a couple of packages all pretty and wrapped, but the rest rarely have a bow. Darn you Pinterest!
Luckily, I am perfecting the art of creating EASY adorable wrapping and not getting overwhelmed. I have found a couple of simple ideas, that also end up beautiful! And it’s pretty quick!
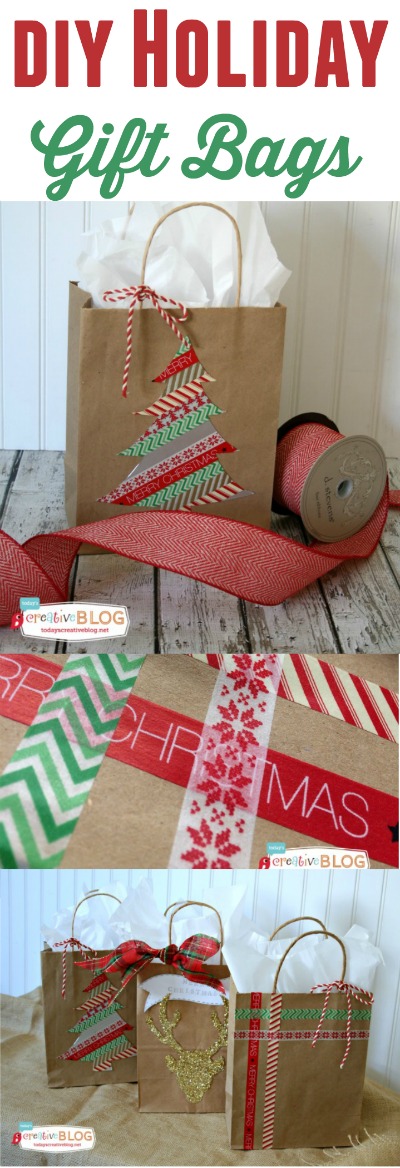
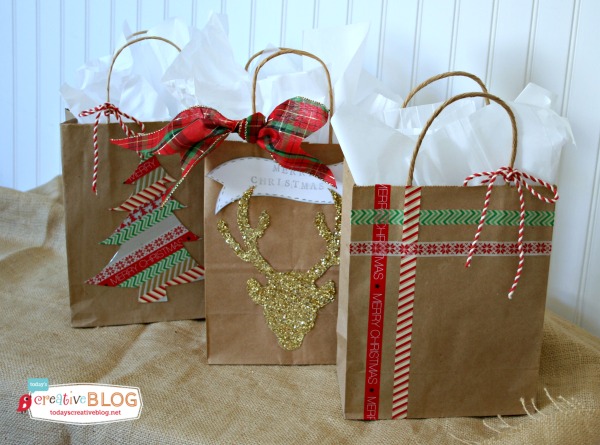
I love plain kraft paper gift bags. I’m actually a little obsessed with them, as you see hanging in my craft room. They can be dressed up in so many ways, as I’m showing, or just use them plain with a nice ribbon and sparkly tissue. Done and they look great!
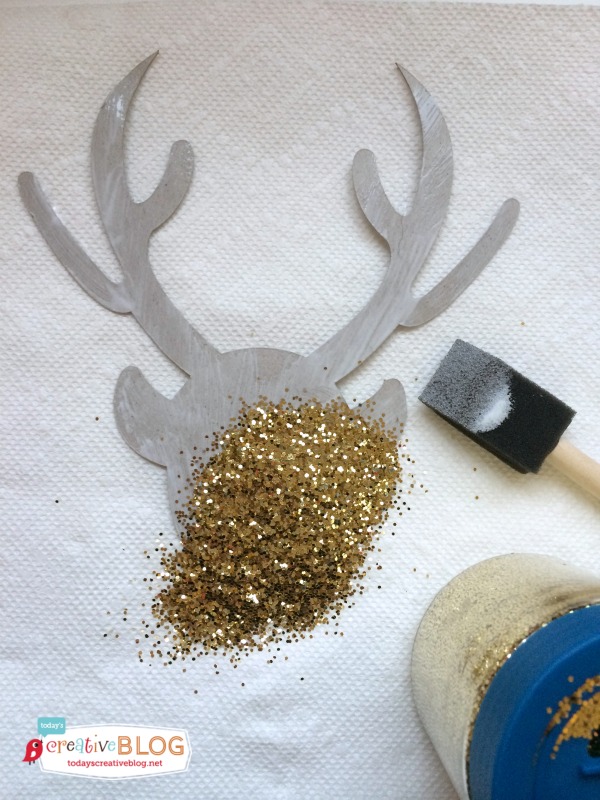
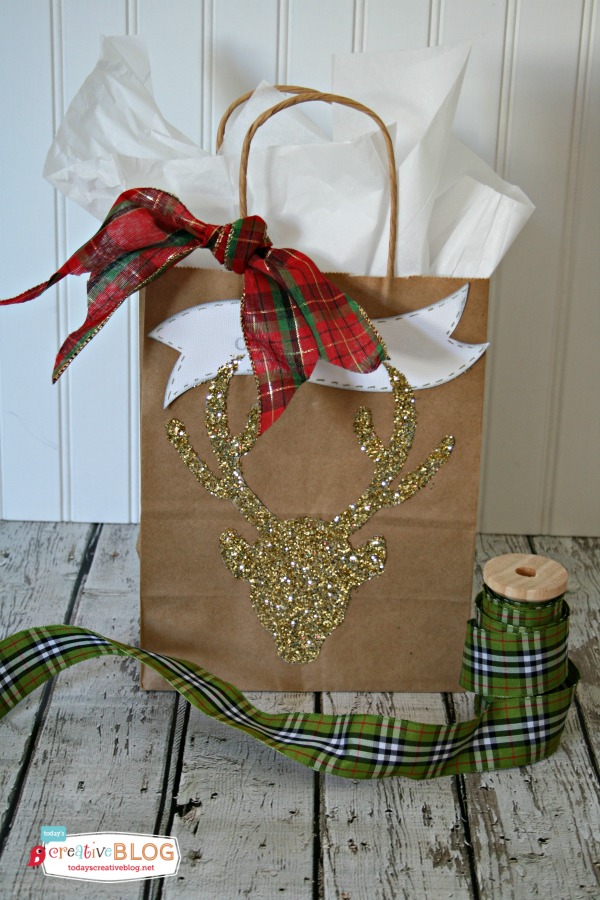
DIY Holiday Gift Bags – Glittered Deer
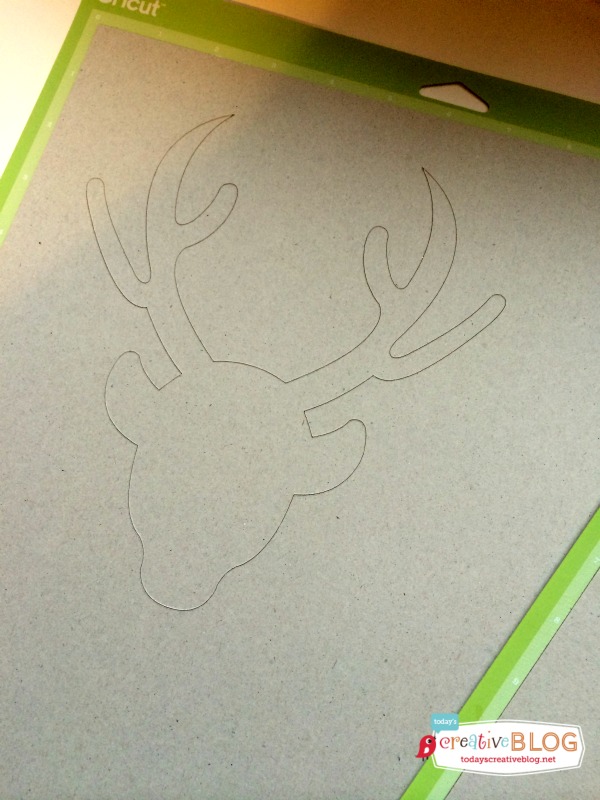
Since deer heads and glitter are all the rage right now, I had to try combining them both. Using my Cricut Explore cutting machine, I found a deer head design and cut it out using chipboard.
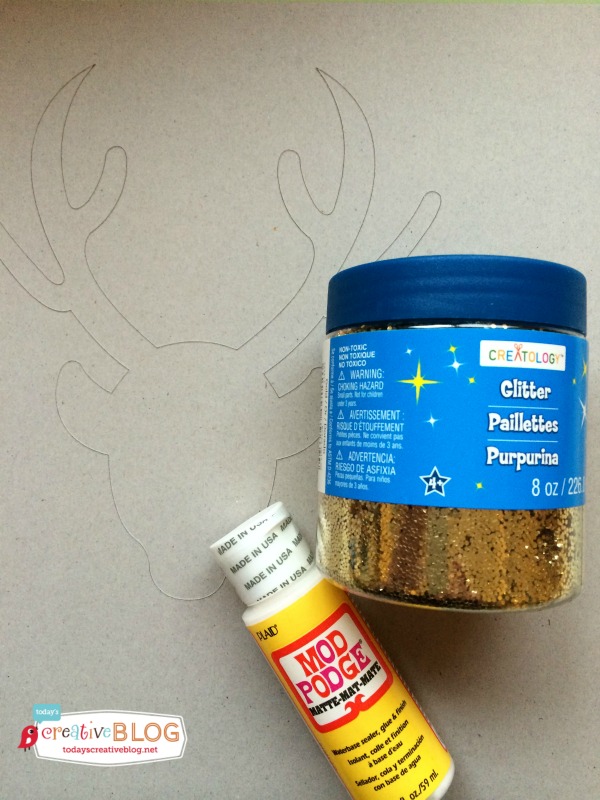
I set it aside to dry for a bit, before placing between waxed paper and a book to keep it flat. Sometimes when you wet chipboard, it will curl on you. No body wants a curly deer.
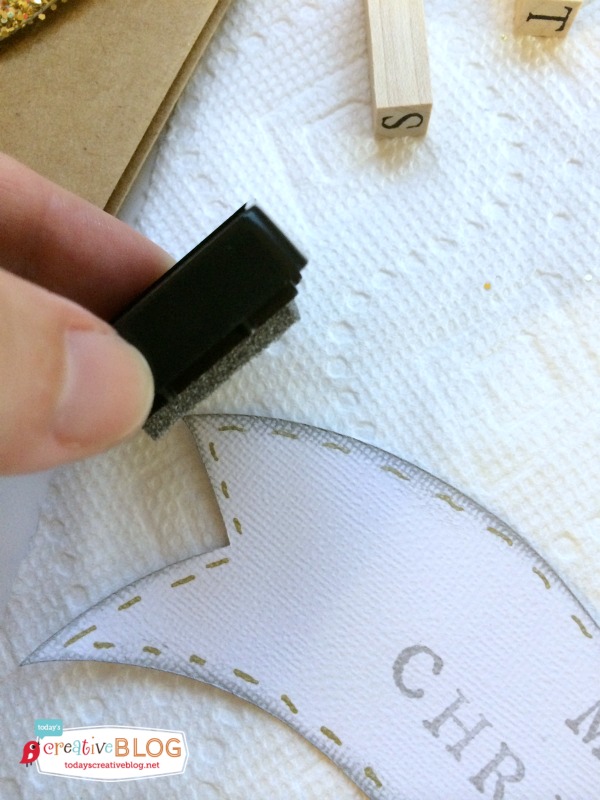
I also cut a cute banner to go with the glittered deer and decided to stamp “Merry Christmas” as well as distress the edges for dimension. A little stitching with a gold pen and I was completely transported back to my scrapbooking days!
Using an adhesive tape runner, I glued everything in place. Added a cute plaid ribbon and called it good. Pretty cute huh? And easy! If you don’t have a cutting machine, no worries, because you can just find an image online, print it out and trace it onto your chipboard. Chip board can be found at your local craft store. More deer stuff…….See Kim’s Easy gift idea with Deer Holiday coasters.
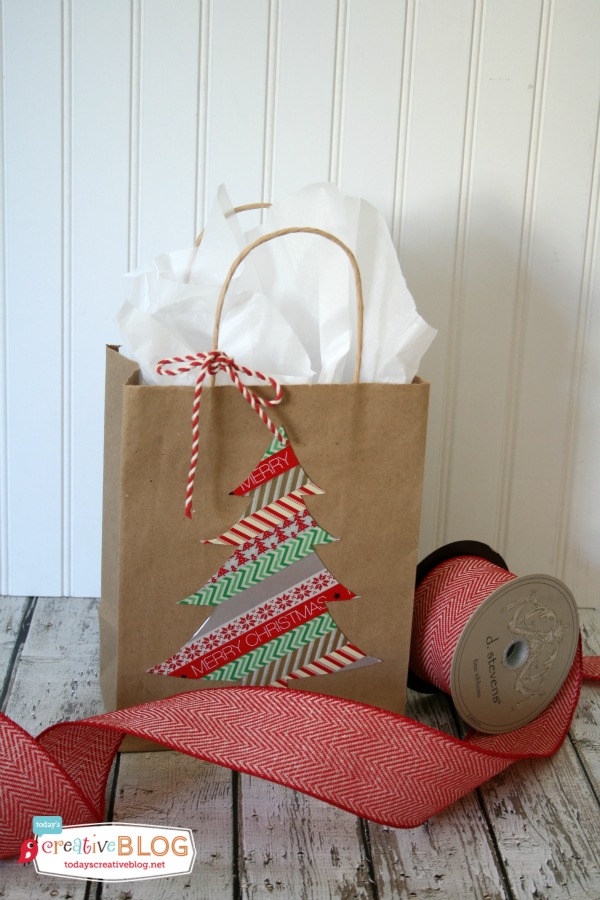
DIY Holiday Gift Bags – Washi Tape Christmas Tree
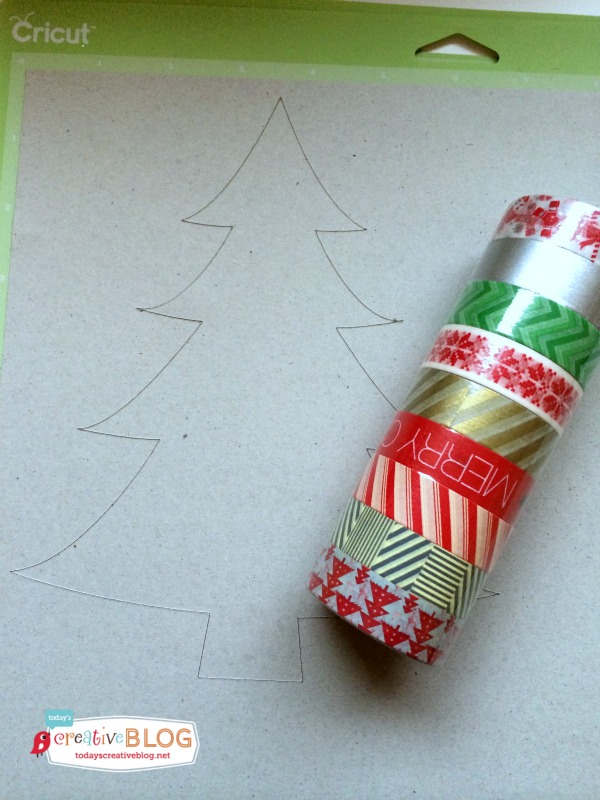
Again, I used my Cricut Explore to cut the tree I wanted right onto the chip board.
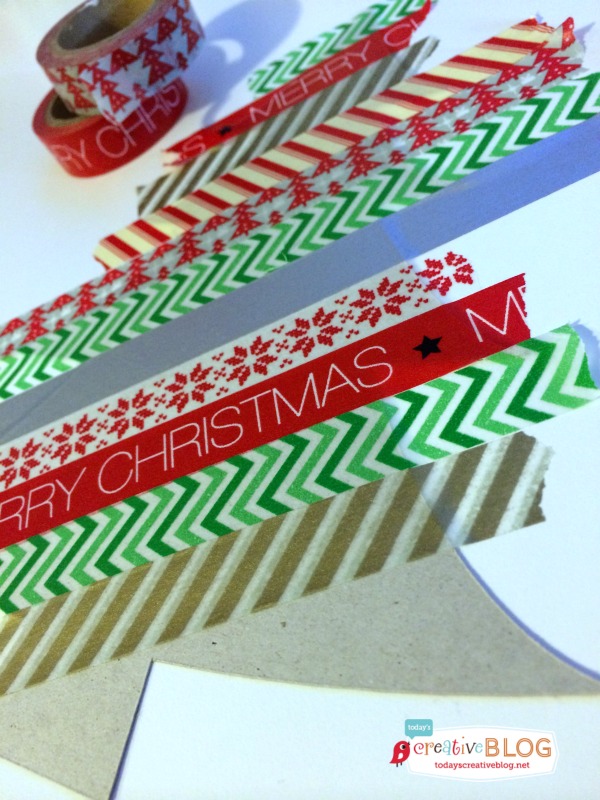
After pulling the tree design off the cutting mat, I laid it out and taped washi tape diagonally across the tree until covered. I gently lifted it up and trimmed the excess tape off, which resulted in showing the shape of the tree.
I used my adhesive runner and place it on my bag where I wanted it. Added a small ribbon to the handle and I was done. Easy and cute!
DIY Holiday Gift Bags – Washi Tape Plaid
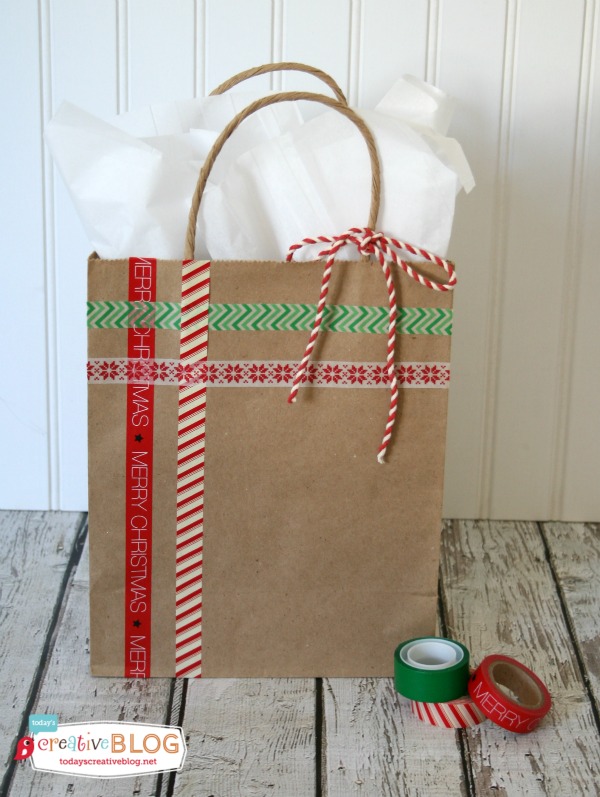
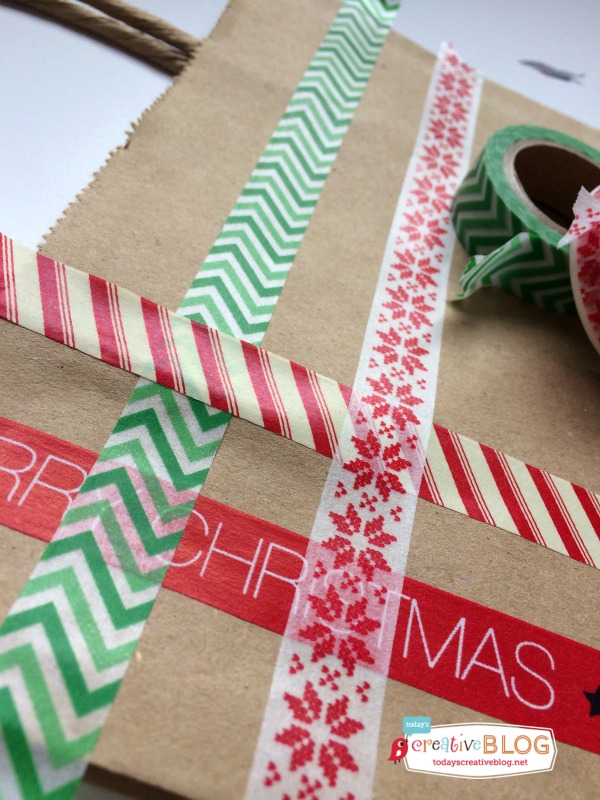
This was so fast and easy! I chose 4 holiday washi tapes and just chris-crossed 4 different patterns.
I trimmed the tape on the sides, added cute ribbon and I had myself another adorable gift bag!
No more boring bags! Of course these same techniques can be used on regular gift wrap too.
You can find more inspiration from Kim on Today’s Creative Blog, or submit your creative projects to InspirationDIY.com
- Kim on Pinterest
- Kim on Instagram
- Kim on Facebook
- Slow Cooker Sunday on Today’s Creative Blog





I love your bags!! You decorated them so pretty!! I love the glittered reindeer….so cute!!