I’m happy to have Pam here for Bake Craft Sew with her super cute DIY North Pole Sign!
Hey 30days friends! I’m Pam from www.overthebigmoon.com! Over the Big Moon is a place where I share lots of DIY’s, Recipes, Printables, Home Decor and more as I enjoy all phases of life with my cute little family!
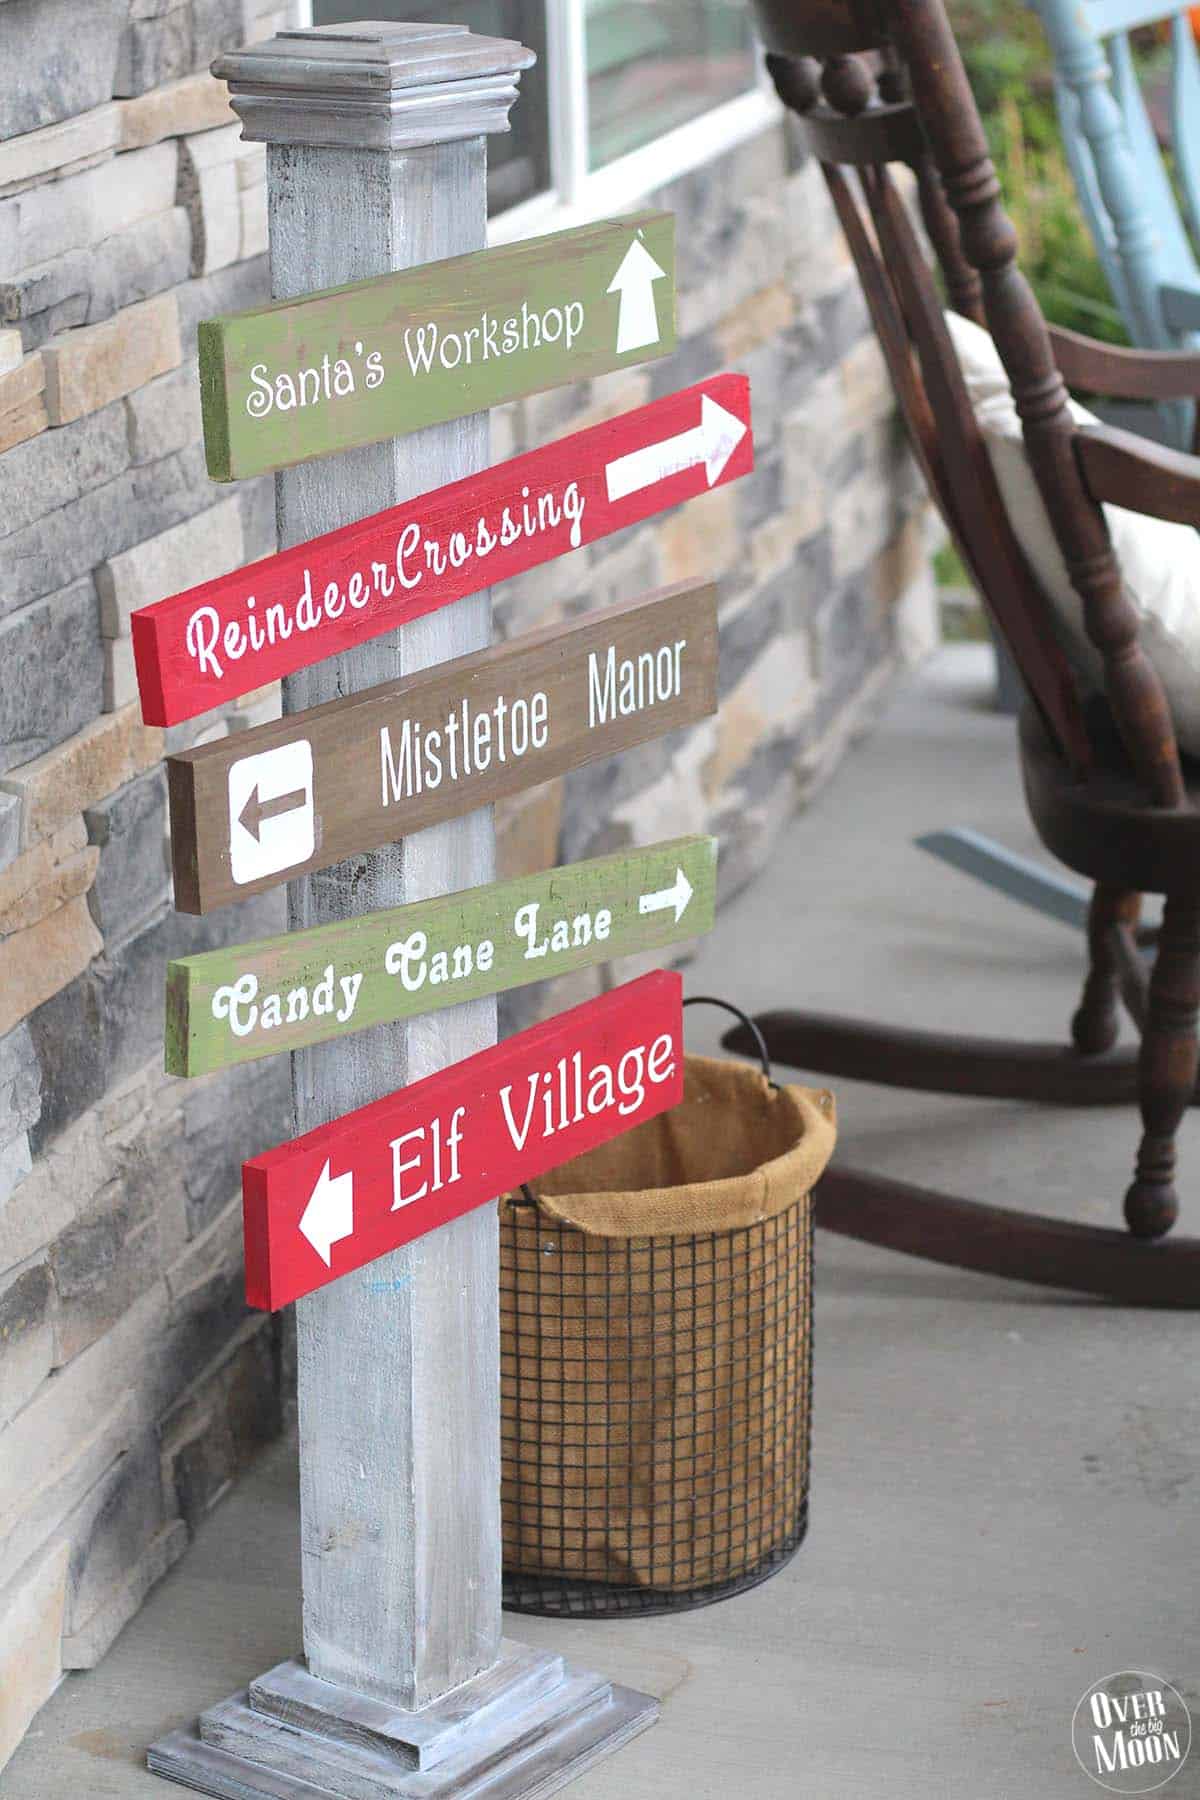
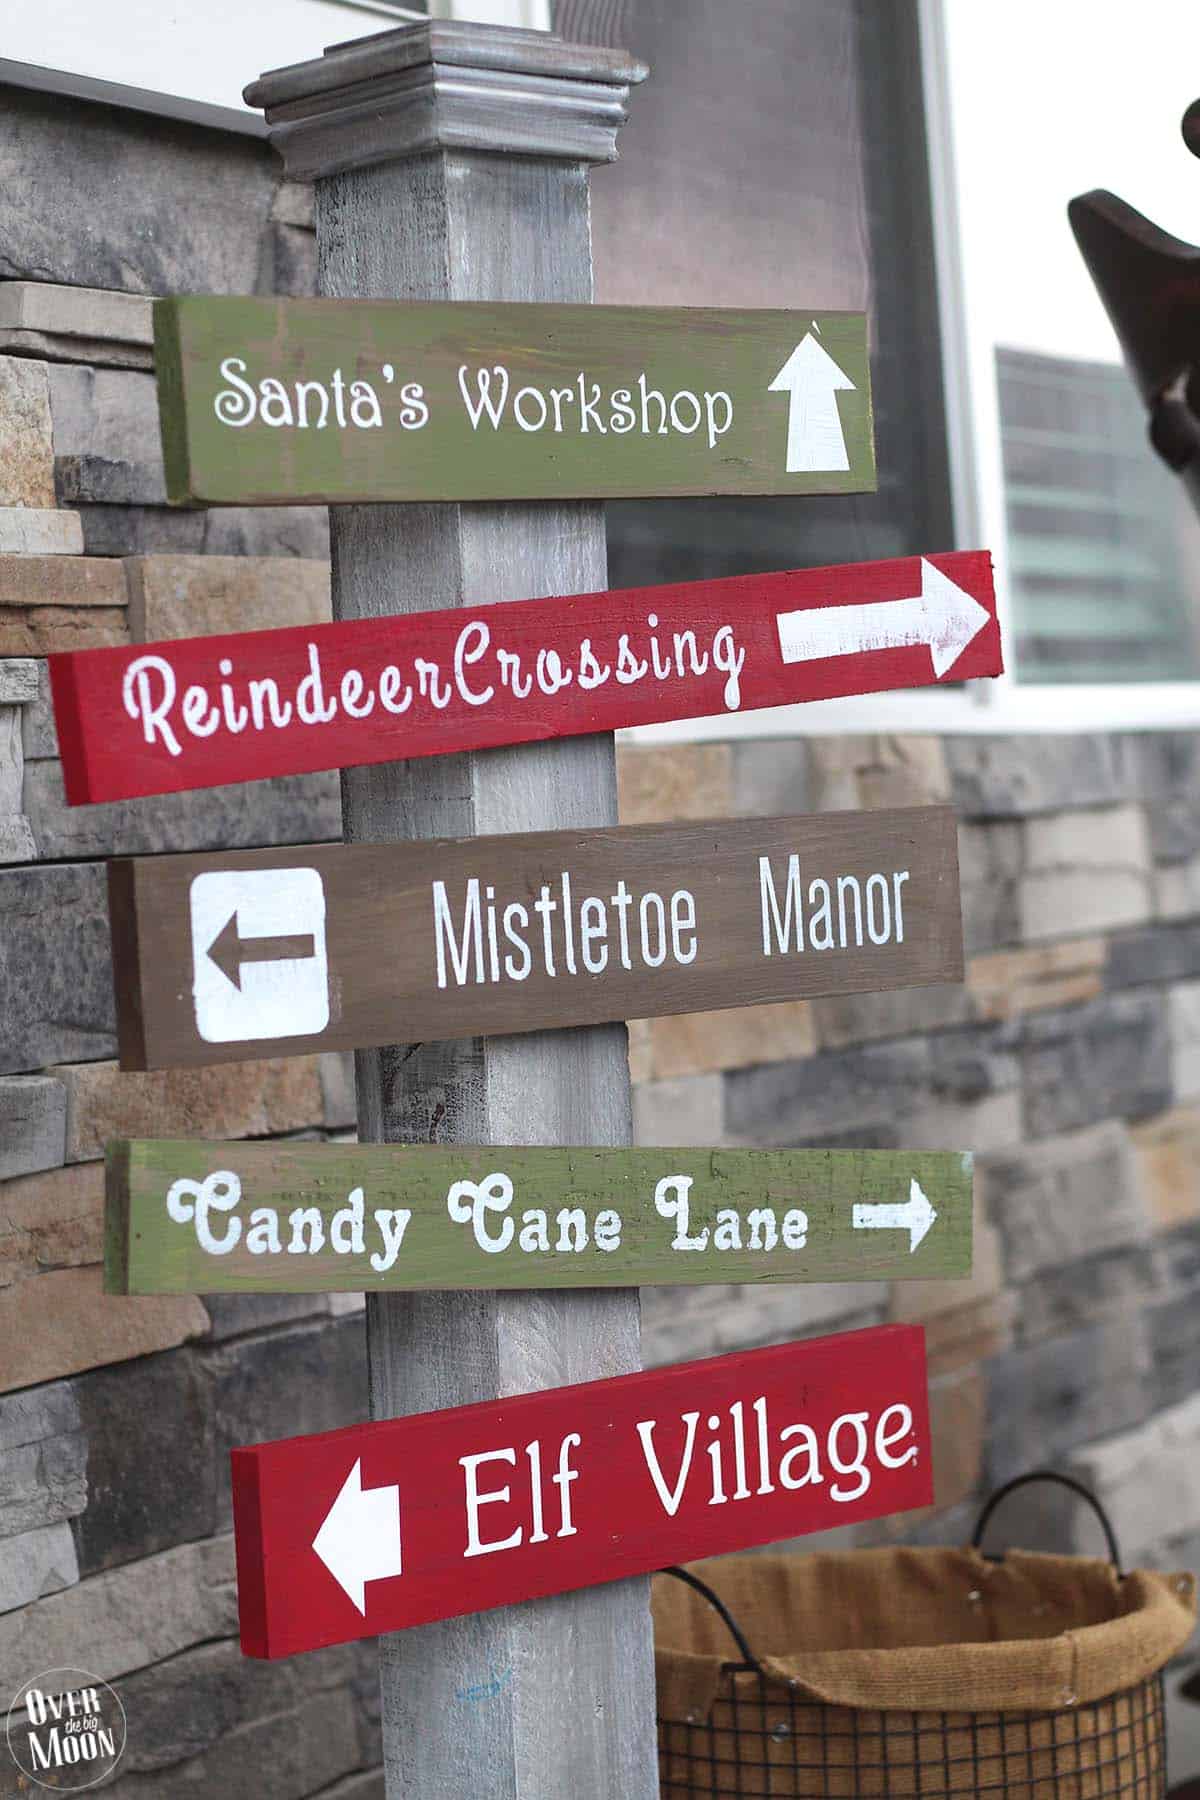
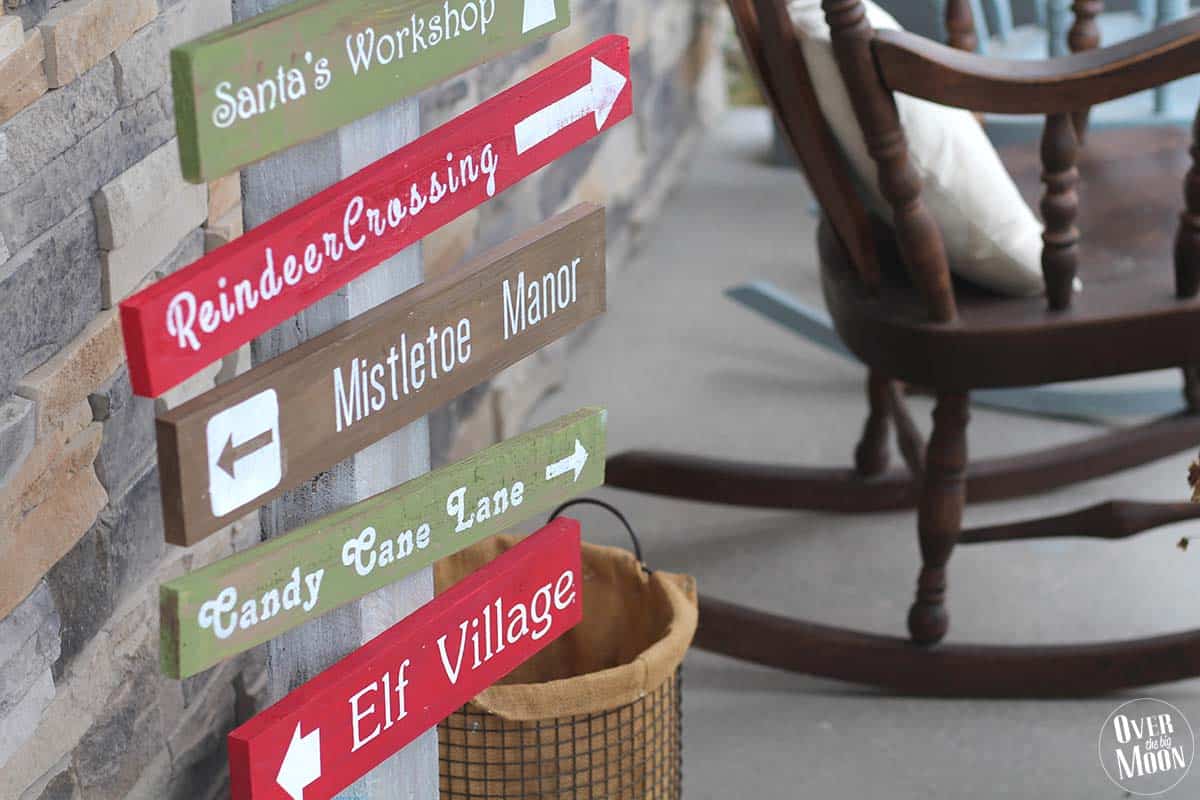
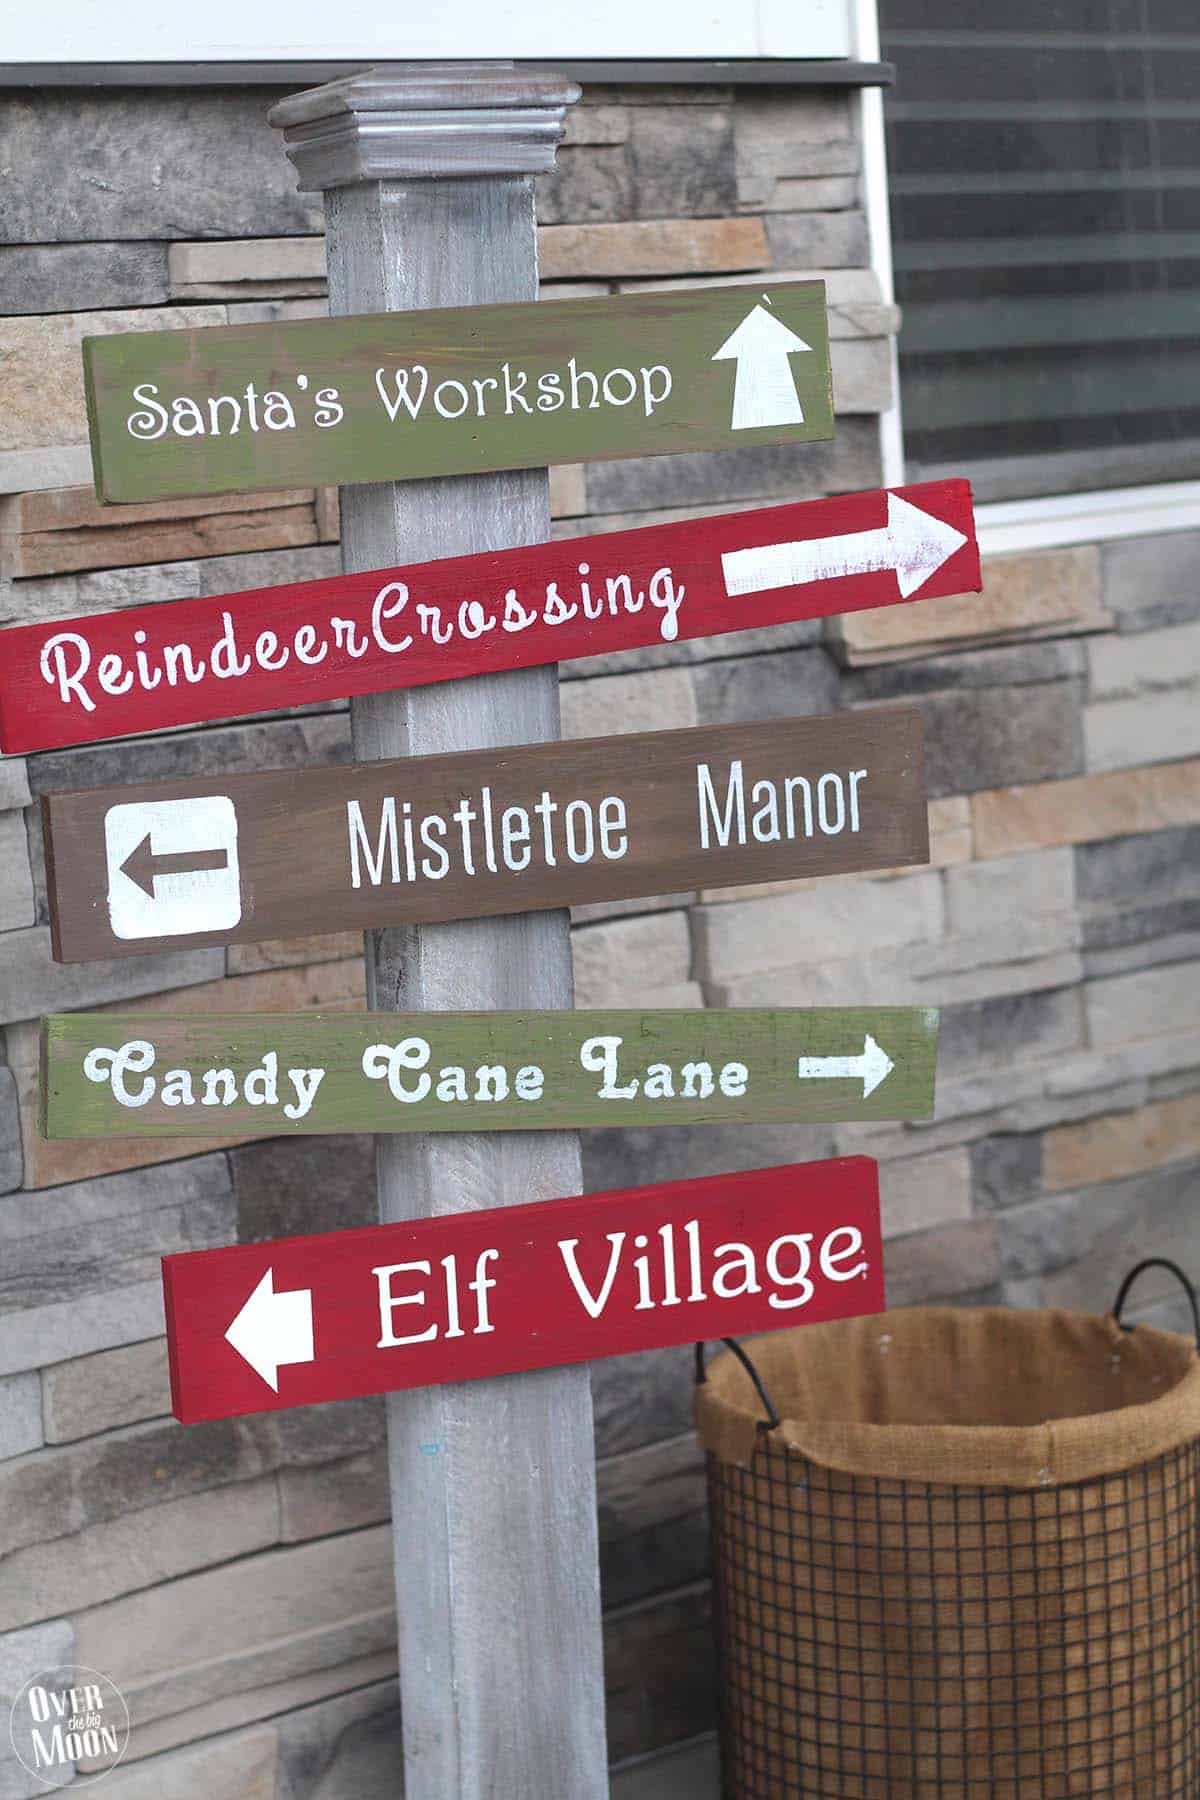
I’m so excited to be here with you to share this fun North Pole Porch Sign! My porch is hands down my favorite place to decorate! So naturally, with each new season it’s the number one place I start to decorate!
My Fall Farm Porch Sign is one of my favorite porch decorations that I’ve made! So, heading into this new Winter season I knew my porch needed a North Pole Sign!
What you need:
40″ Tall 4″x4″ Post
Post Cap and Base (Like this Post Cap and this Base – however you can buy more affordable at Home Depot or Lowes)
Base: Cut out of 3/4″ plywood
1 – 9″x10″
1 – 7″x8″
1 – 5.5″x6″
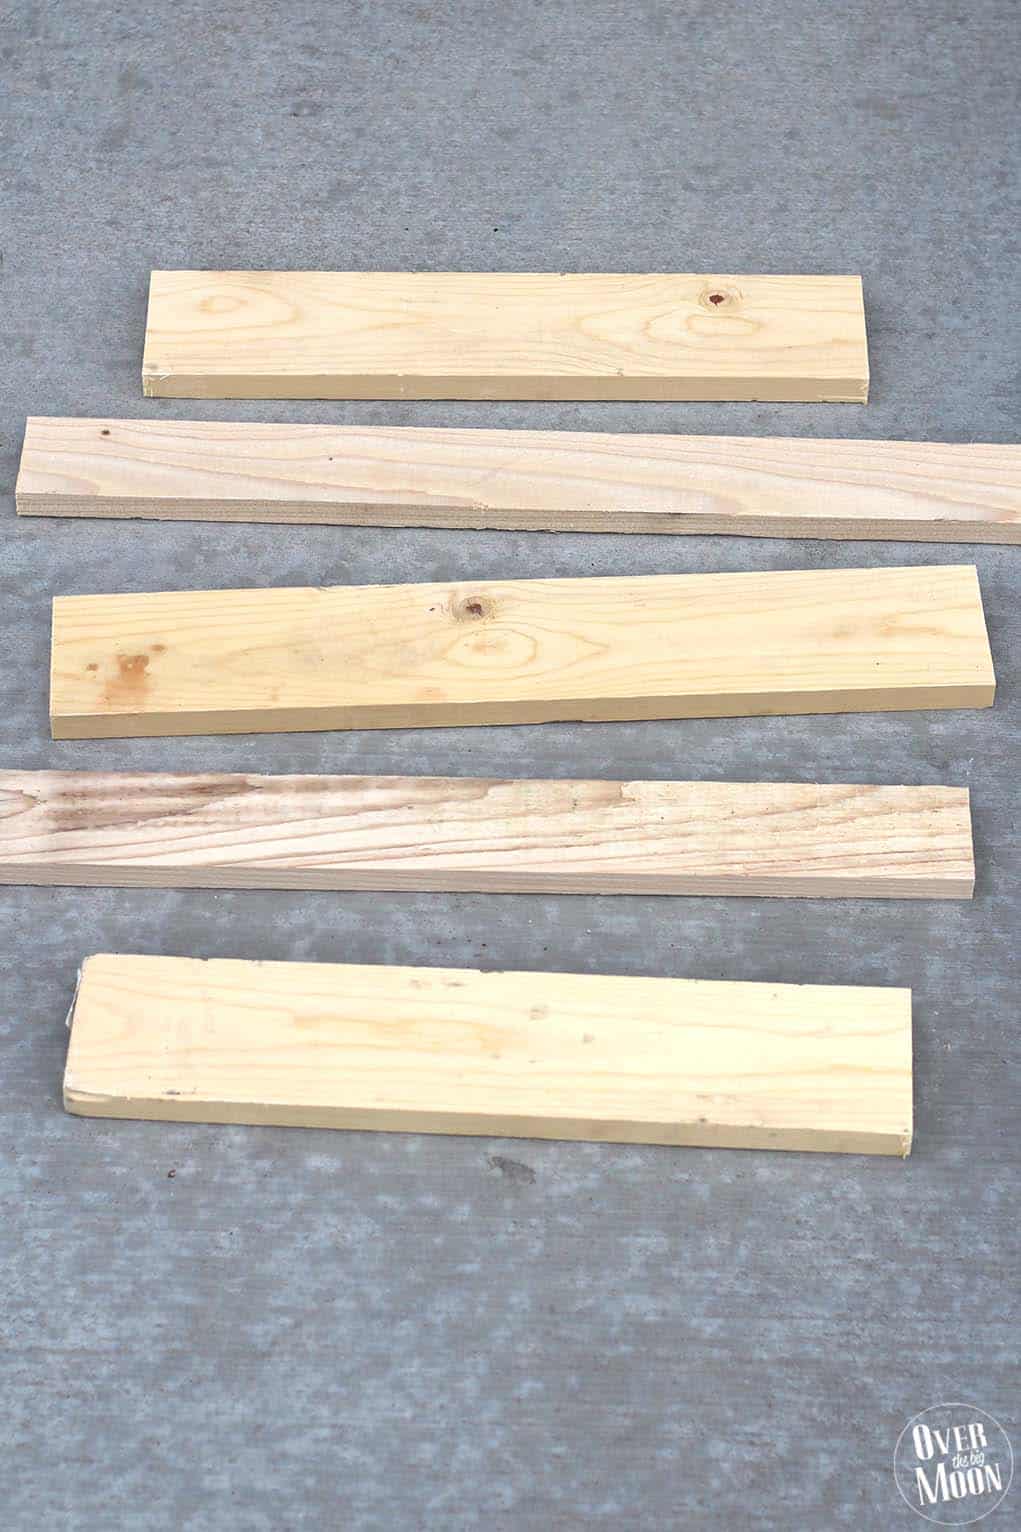
5 boards cut at random lengths and heights
We used all 1″ thick boards at the following dimensions:
- 16″x3.5″
- 21″x2.5″
- 20″x3.5″
- 22″x2.5″
- 17″x3.5″
Dark Walnut Stain
Paint in desired colors (I used Red, White, Green and Brown and light Brown)
Vinyl Stencils of words (Cricut files shared below)
Directions:
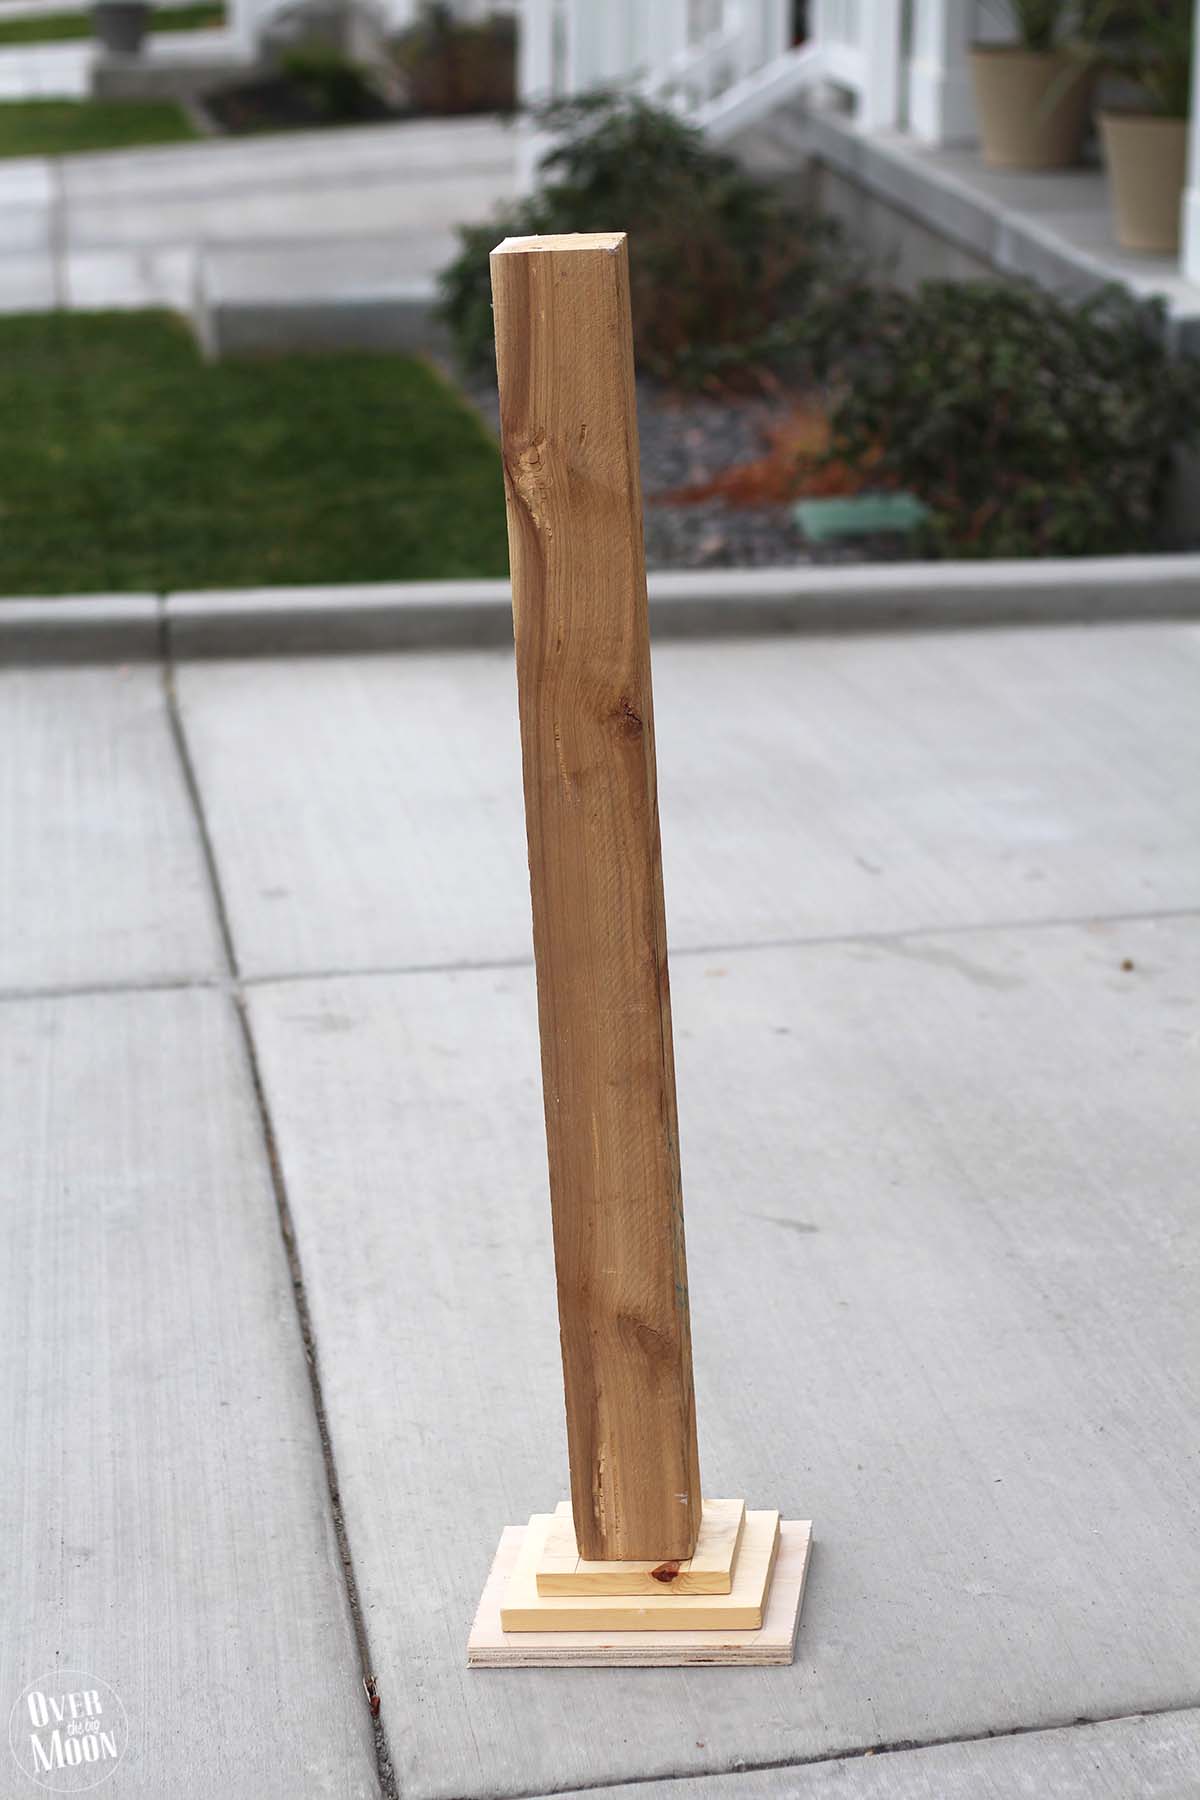
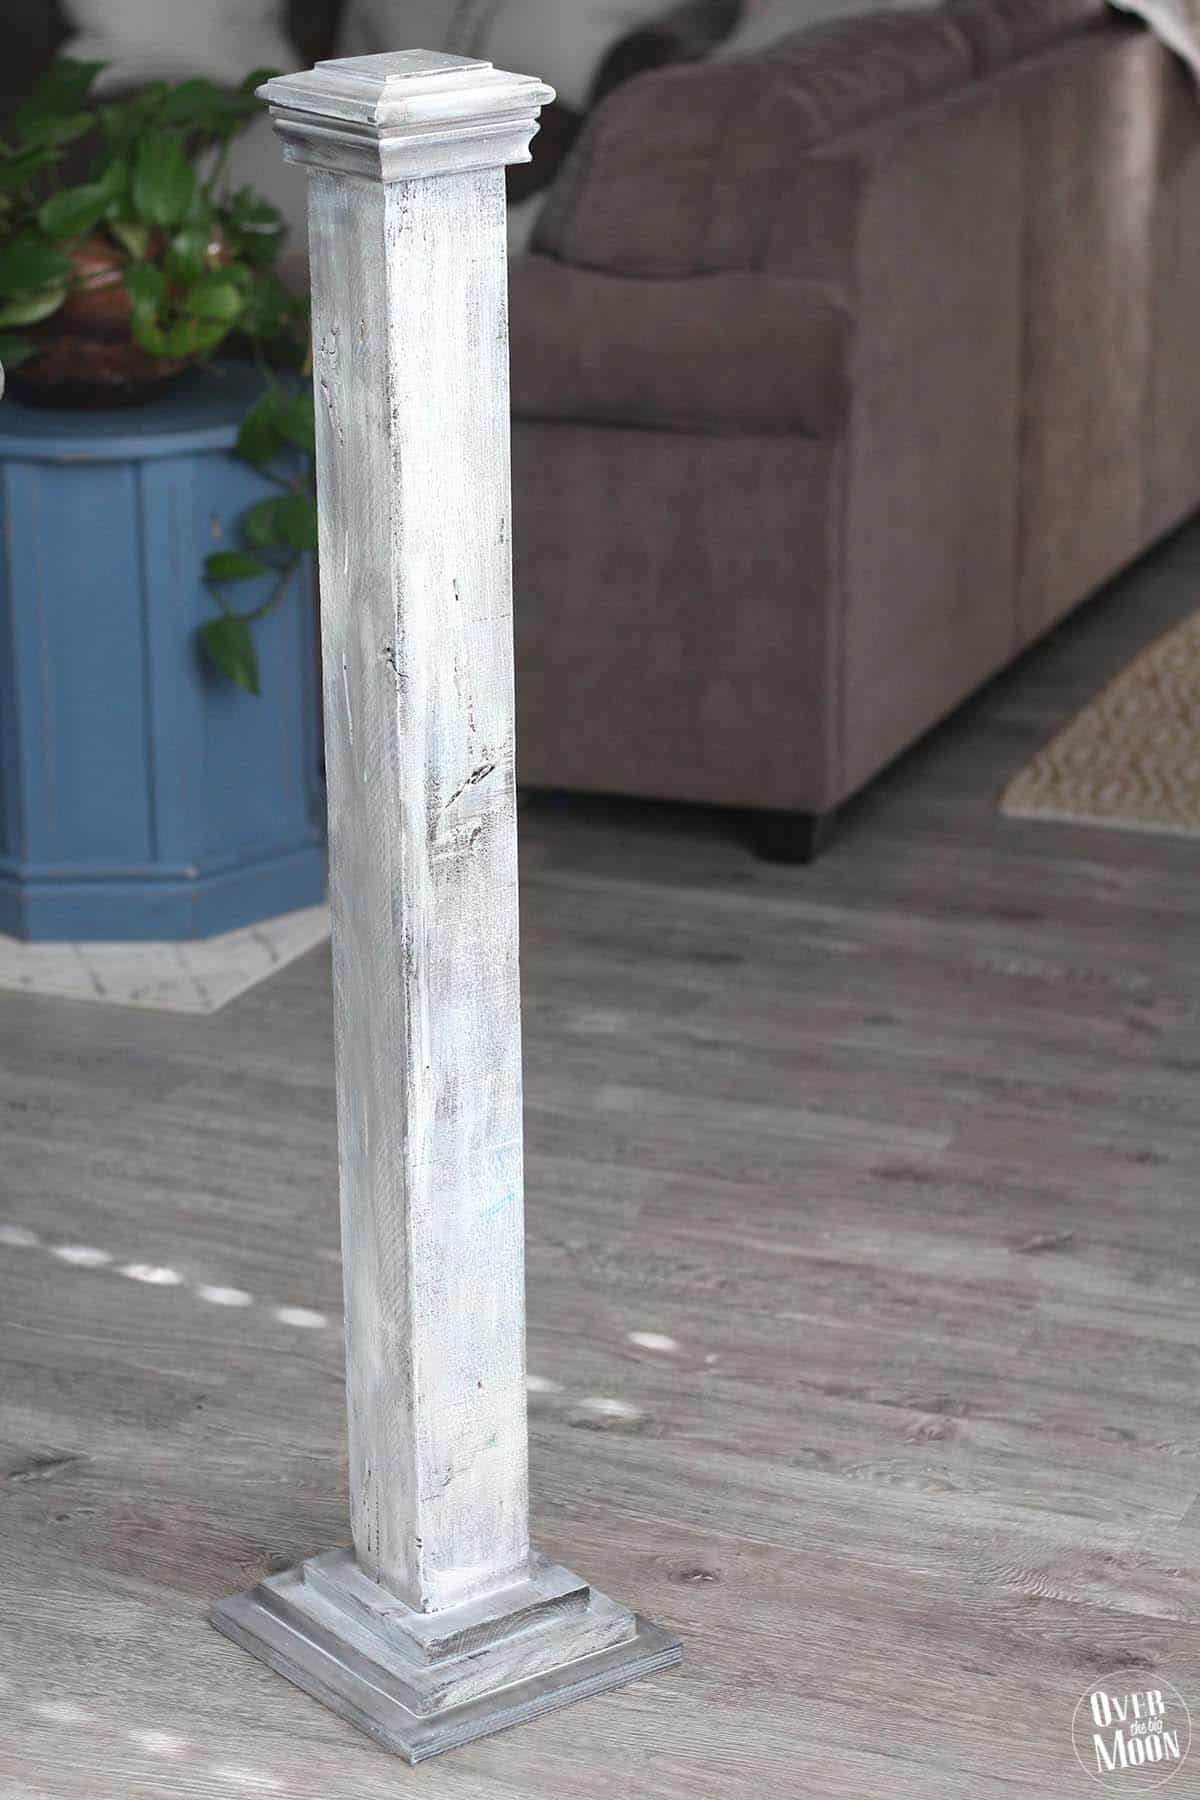
To start, you need to build the stand. For this you’ll need to cut a 4×4 inch post 40″ tall.
Next, you need to build the base for the post. To do this I nailed and (wood) glued 3 rectangle boards together. I started by cutting 3/4″ plywood into 3 rectangles.
1 – 10″x9″
1 – 7″x8″
1 – 5.5″x6″
Once the base was built I attached the post using my nail gun.
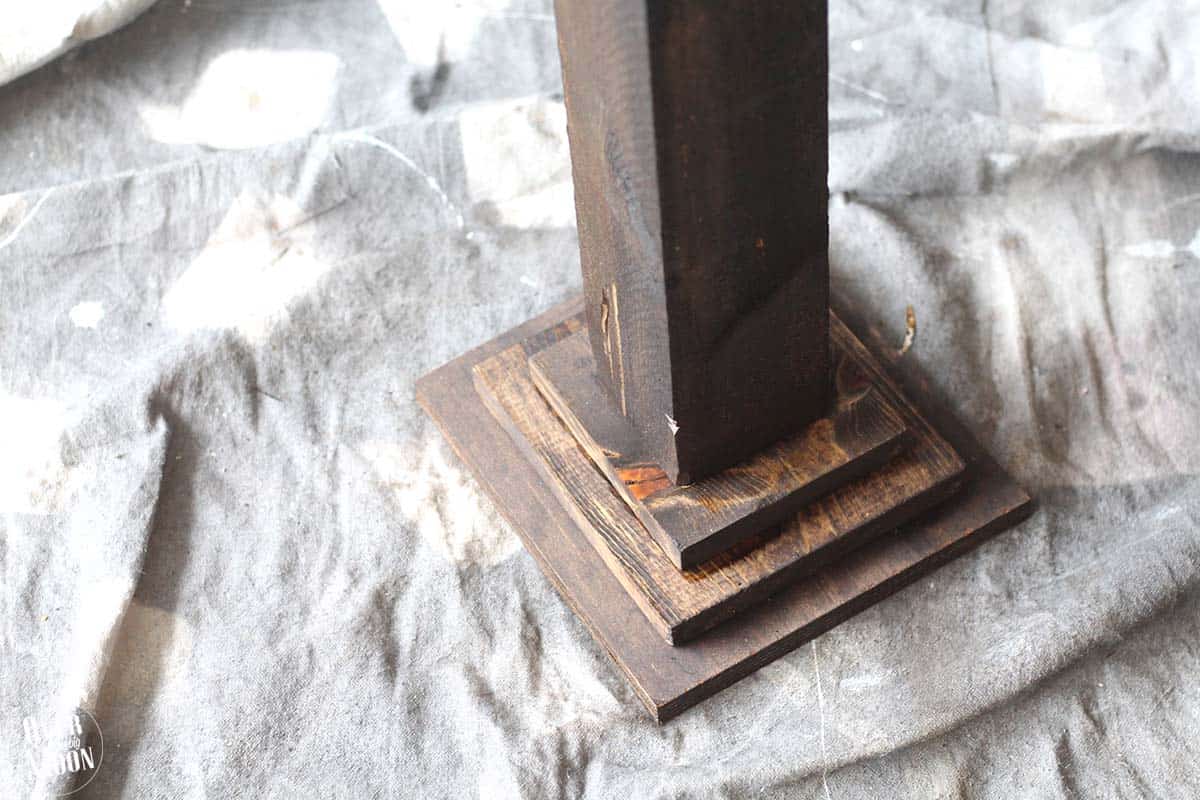
To finish the post, you just need a post cap. I bought the cap at Lowes and attached it using my nail gun! Then I went ahead and stained the whole post using a Dark Walnut stain.
Allow the stain to try for 12-24 hours.
While the post is drying, you can get working on your other boards.
Take your 5 boards that have been precut to the sizes listed above or whatever sizes you decided on and get them painted! I chose not to sand my boards, because I wanted them to look rough. But, feel free to sand your boards if you want a more smooth, clean, finished look.
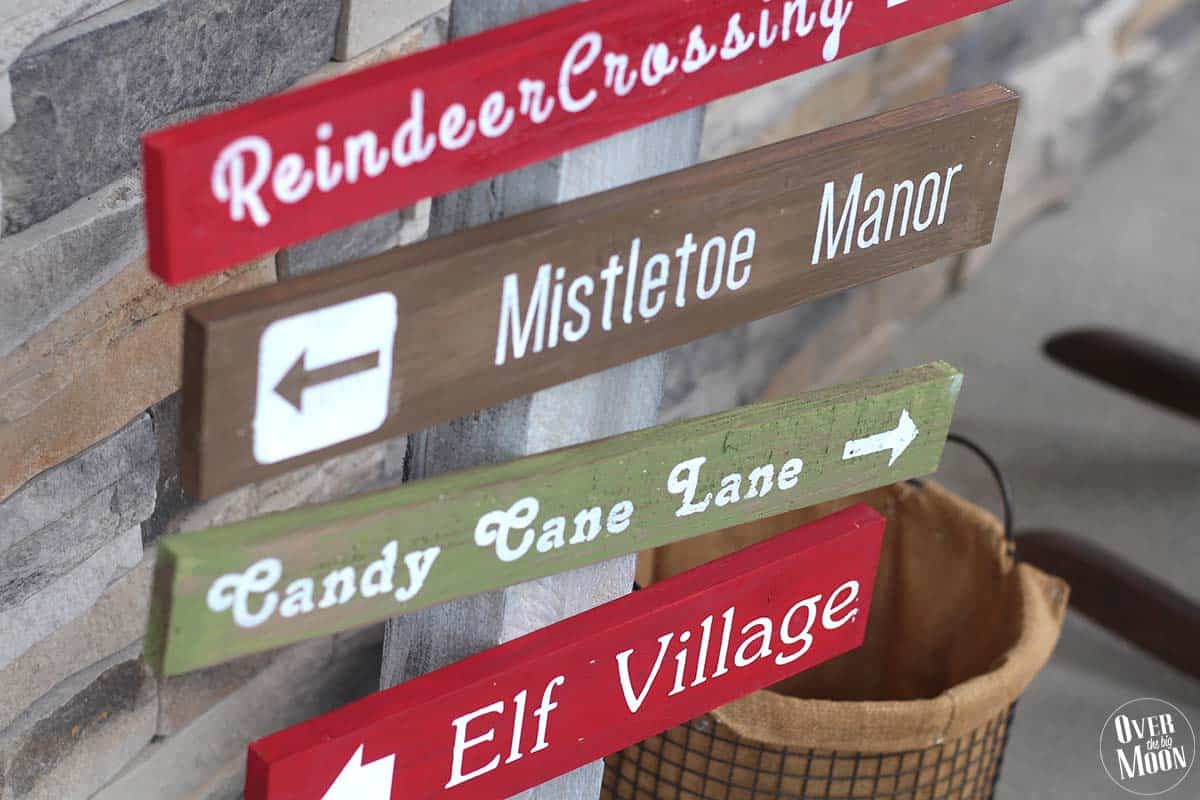
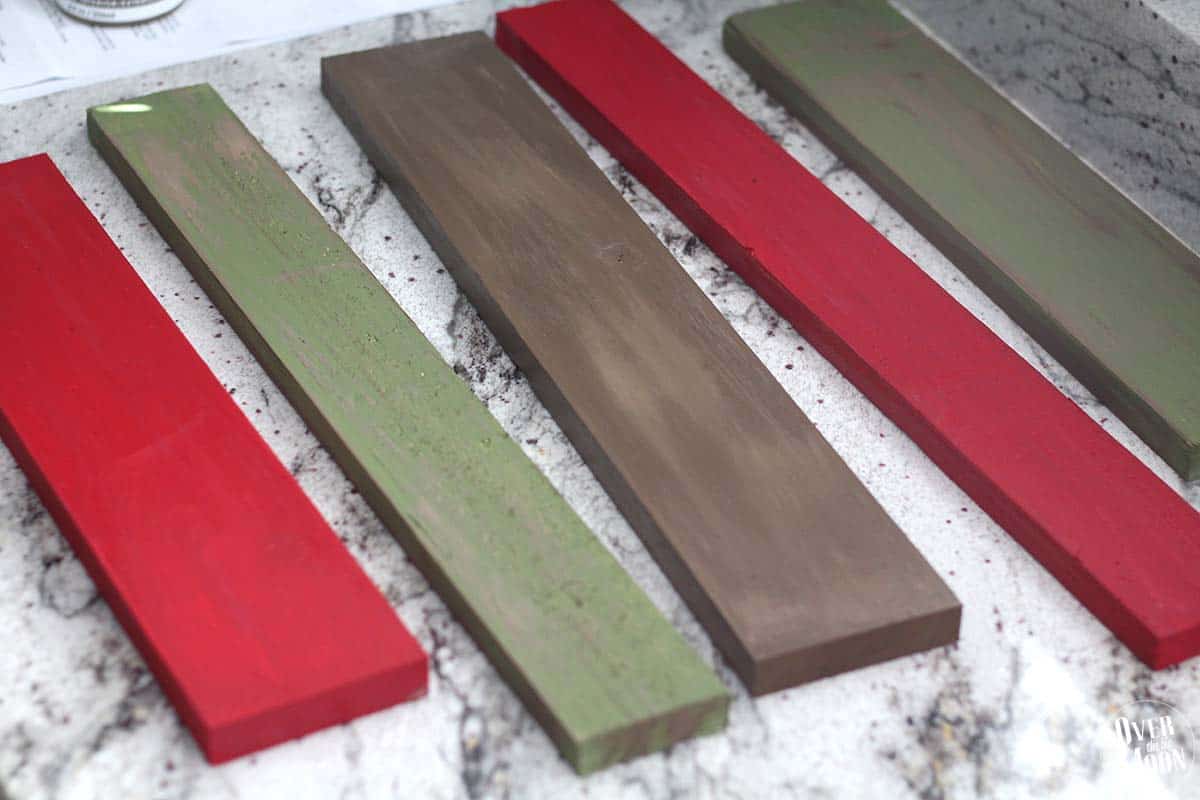
I chose to do 2 red, 2 green and one brown! I wanted to give them a bit of a worn look, so I brushed a little bit of a lighter brown over the dark brown and 2 green boards. I think it gave them a really fun look!
The next day, once the post was dry and the 5 boards were dry I went onto finishing the sign! It was raining, so I moved the project making indoors!
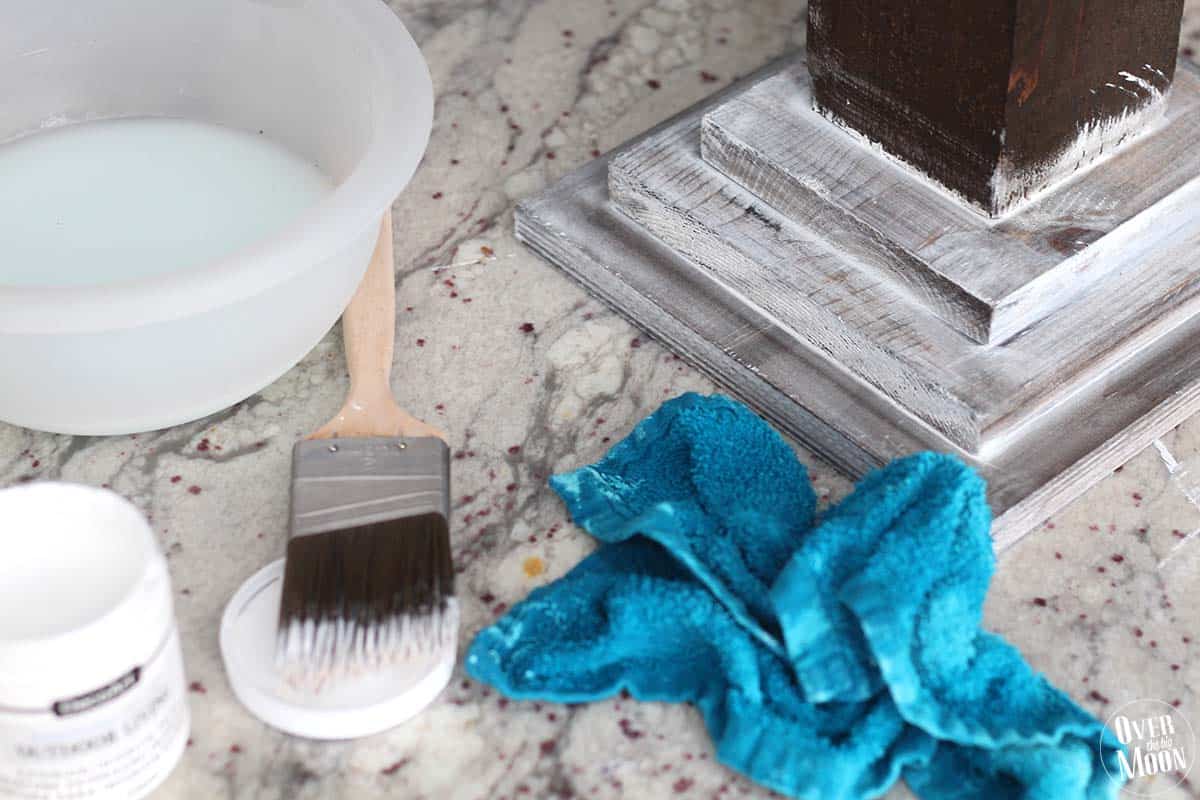
To start, I whitewashed the stained post. To whitewash, you just rough paint the area you want covered with the white paint. Then, take a wet rag and wipe it off until you reach the desired look you’re going for. I wanted a bit darker whitewashed look, so as you can see, I didn’t “wash” it a ton.
While that dries, let’s get your vinyl stencils cut.
If you have a Cricut Explore, then I have got the files for you!
If you don’t have a Cricut, then you’ll need create and cut your own! Make sure and measure the boards and cut the words to the appropriate size. Along with some arrows!
Once the files are cut, weeded and backed then you can place them.
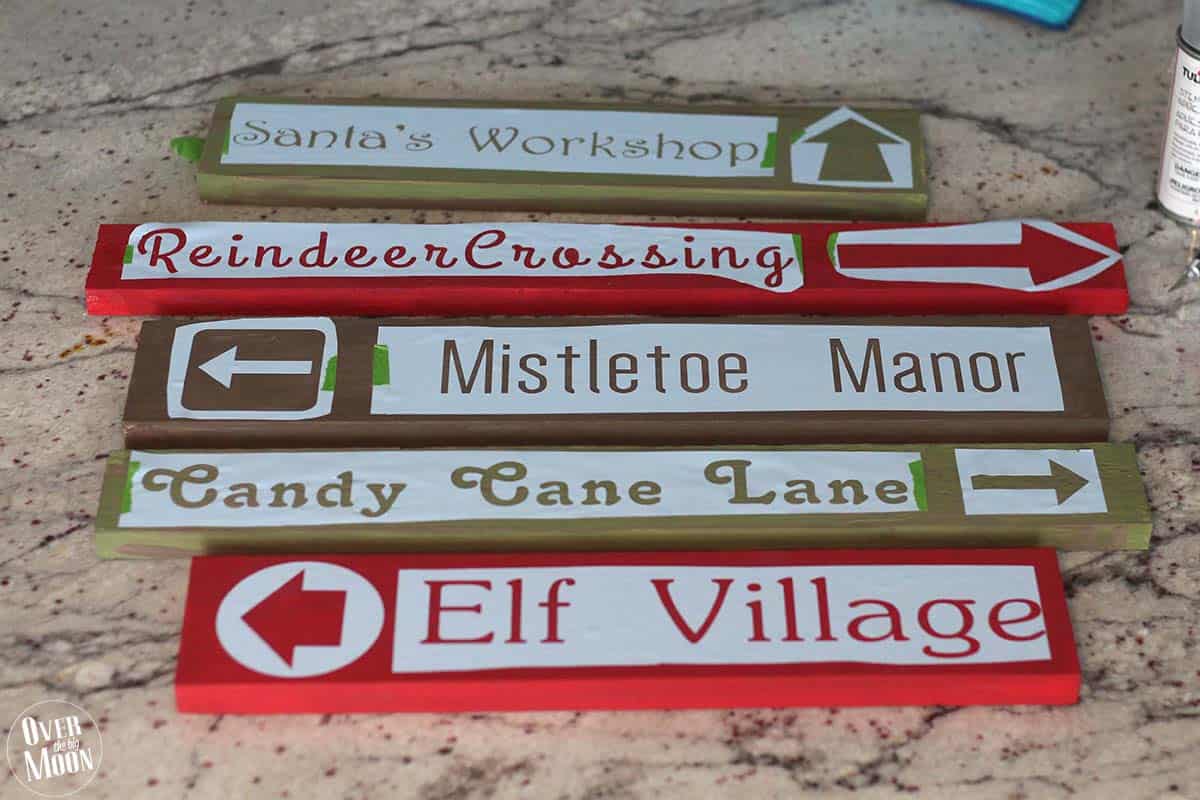
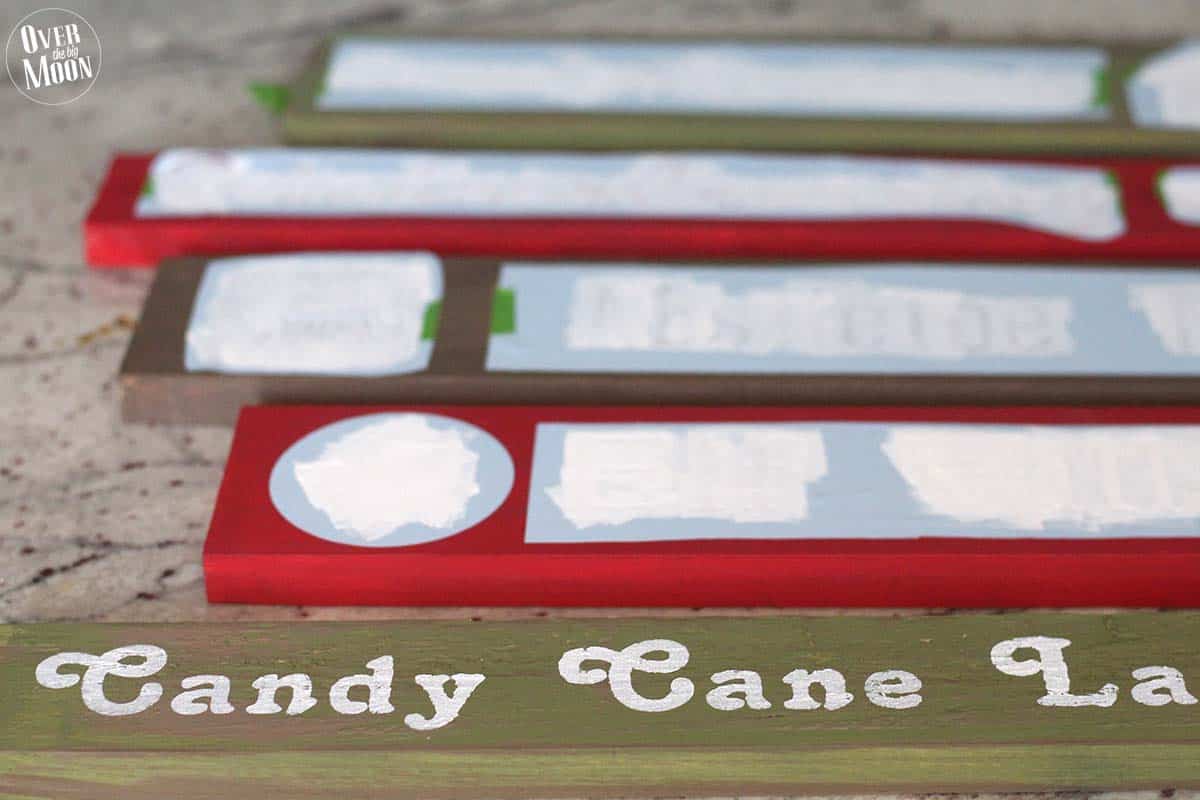
Once you know where you want them to all go, pull the backs off and apply the vinyl stencil. When applying the paint I applied it in different thicknesses, to give each phrase a different look. After the paint at partially tried, remove the vinyl stencil.
Allow everything to dry for a few hours.
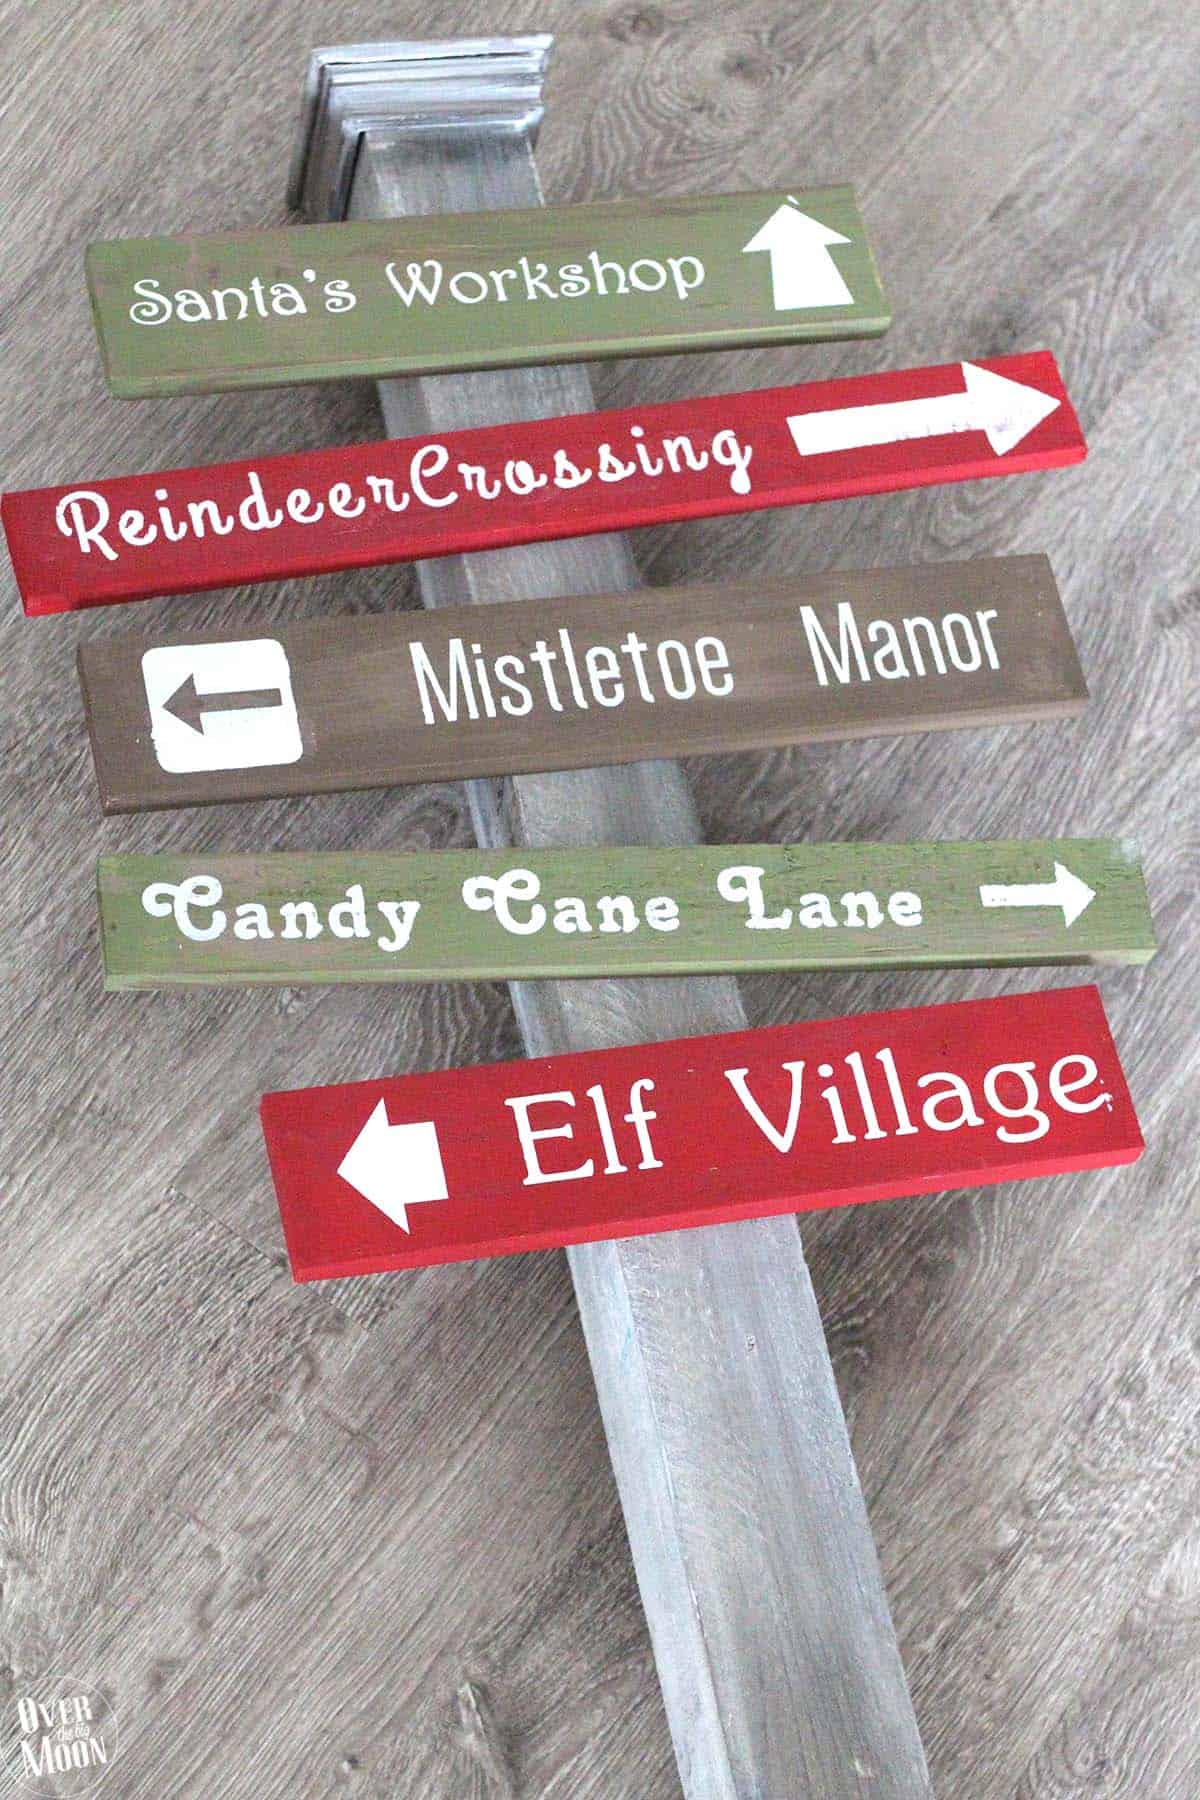
I then laid my post on the ground arranged the 5 boards how I wanted them and attached them using my nail gun!
Lastly, I sprayed clear sealant over the entire sign to seal it! And that’s it! You’re done!
Thanks so much for having me Mique!
If you loved this post, be sure and check out!
Elf Parking Sign || Ultimate Elf on the Shelf Ideas || Redbox Neighbor Gift Idea



So cute and ADORABLE! Thanks for the great idea!