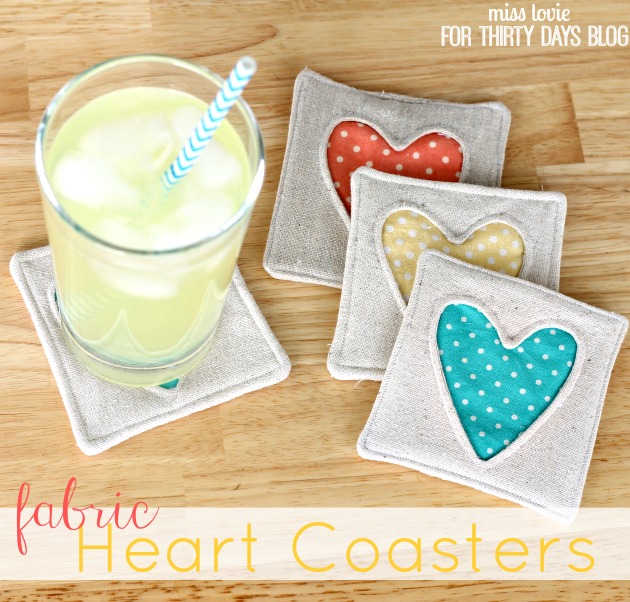
The cutest way to celebrate Valentine’s Day with these simple fabric heart coasters!
Hi 30 Days readers! I’m Allie from Miss Lovie and I’m here to share an easy sewing tutorial with you today, my fabric heart coasters! These would make a perfect gift for your mom, sister, or a friend on Valentine’s Day. They’d also be a great hostess gift any time of the year!
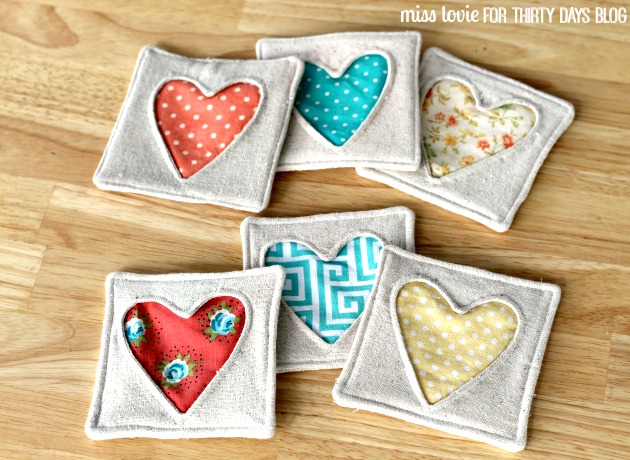
For these coasters, I used an inverse applique method I will show you. You could use this idea for hearts- or any shape that you like! This is a GREAT scrap-busting project. I’m pretty sure I used only scraps for the most part.
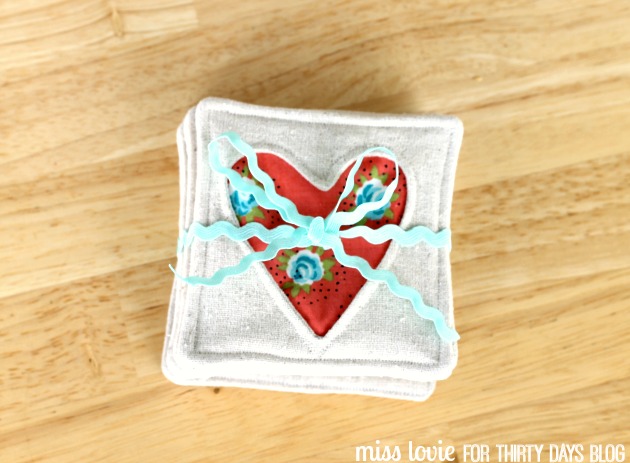
I love that these can be packaged up really cute and are the perfect little gift.
Ok let’s get started!
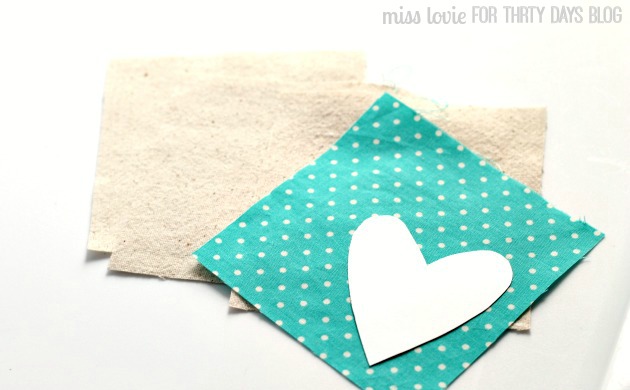
First, you’ll want to gather your materials:
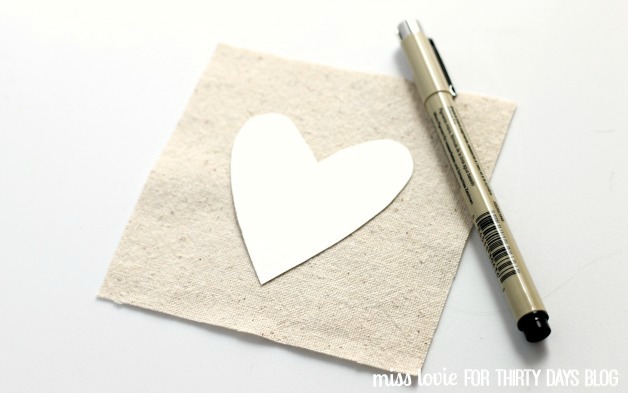
For each coaster, you’ll need 3 squares of whatever main fabric you choose (I chose a linen-looking muslin), 1 square of fabric for the heart, 1 square of batting-not shown here- (any thinner kind will do- I used a low loft cotton batting) all cut into 4.5 inch squares. You’ll also need a heart template, coordinating thread, a pen to trace the fabric (you can use a disappearing ink pen, but you don’t really have to), and a needle for hand sewing. Be sure to wash and press your fabric before cutting!
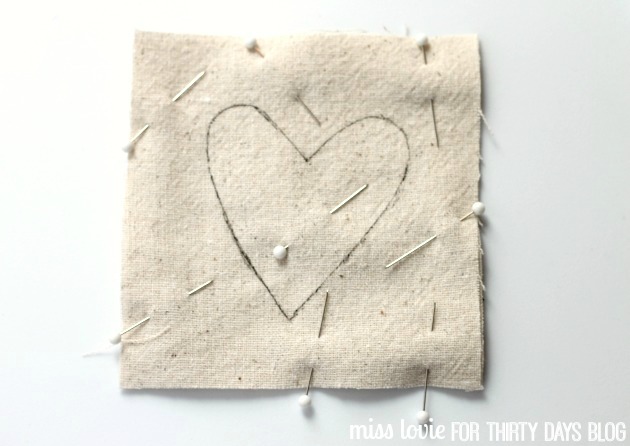
First trace a heart in the middle of one of the muslin fabric squares. You don’t have to use disappearing ink because you’re going to turn this inside out and you won’t even see it Here’s a template if you need it: heart template for coasters.
Pin one of the other muslin fabric squares to it.
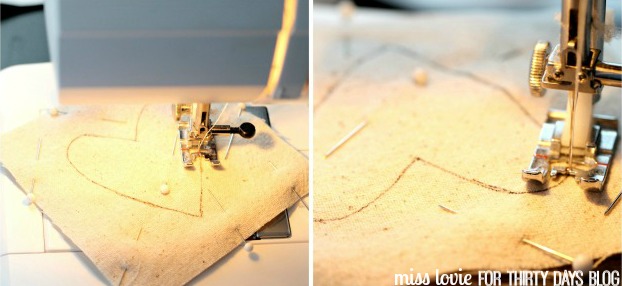
Now you’re going to sew right on top of the line you just drew. Set your stitch length to a pretty short setting (1 or 2). This will help you create a nice curve. I always start sewing the heart as shown in the above picture so I can begin sewing in a straight line which makes it easier to back stitch. When you get to the point of the heart, simply leave your needle down, lift the presser foot and turn it until it’s pointed in the right direction and continue sewing. On the curves, sew a few stitches, leave the needle down, lift your presser foot, and turn it until it’s pointing in the right direction, and repeat. If you look at the right photo above, you’ll see where I’ve pivoted my fabric to go in the right direction. The red line of the presser foot should always be right on the line of the heart. Take your time on this part. Sew all the way around, remembering to back stitch everything closed.
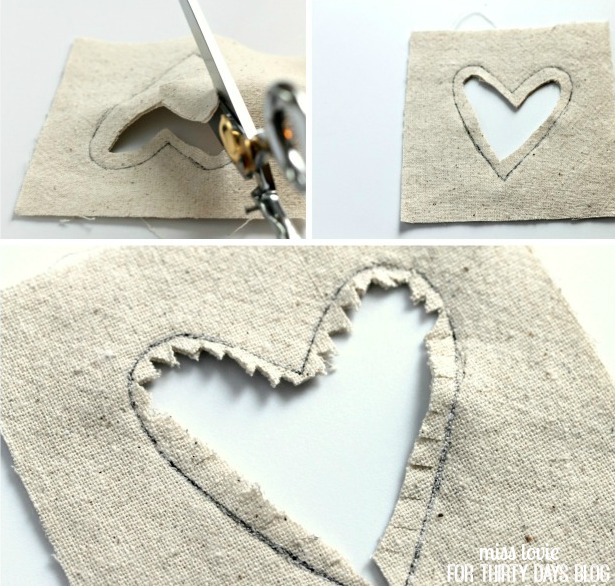
Next, you’ll cut out the middle of the heart leaving a small seam allowance next to the heart outline. Cut through both layers of fabric. Then clip and notch the curves. You can use pinking sheers for this if you like, but I just cut out tiny triangles with my regular fabric scissors because they’re more precise than the pinking shears I have.
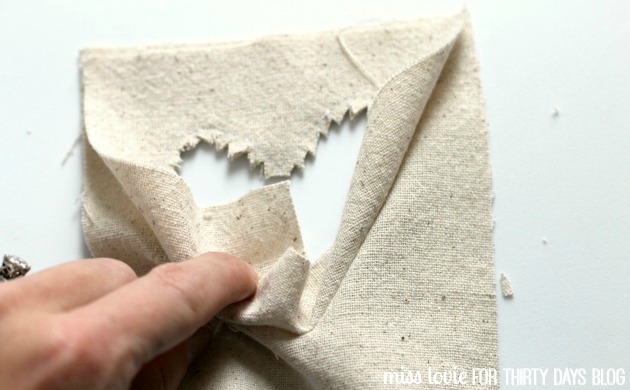
This is the cool part. Turn one of the layers of fabric inside out as shown above so that the seam is now hidden. Use a turning tool or a blunt pencil to poke out the top point of the heart. Once it’s turned inside out, press the seams open and flat. (Sorry- my picture for that step disappeared.)
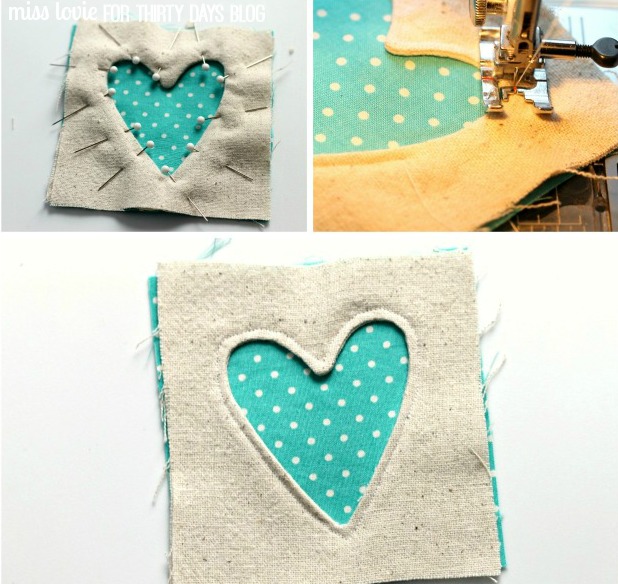
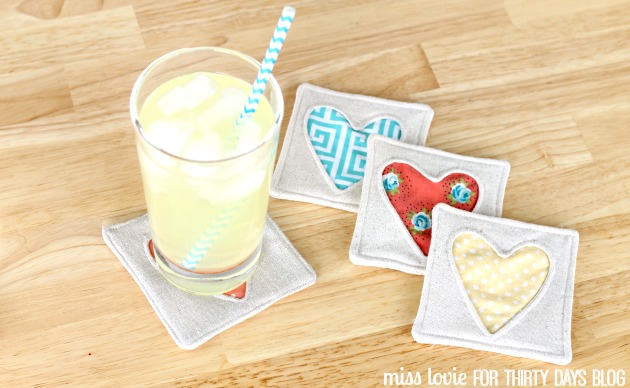
Your heart should look like the one in the top left photo below.
Next, you’ll pin your other fabric behind the heart and top stitch around the heart outline. Now you have the top of your coaster!
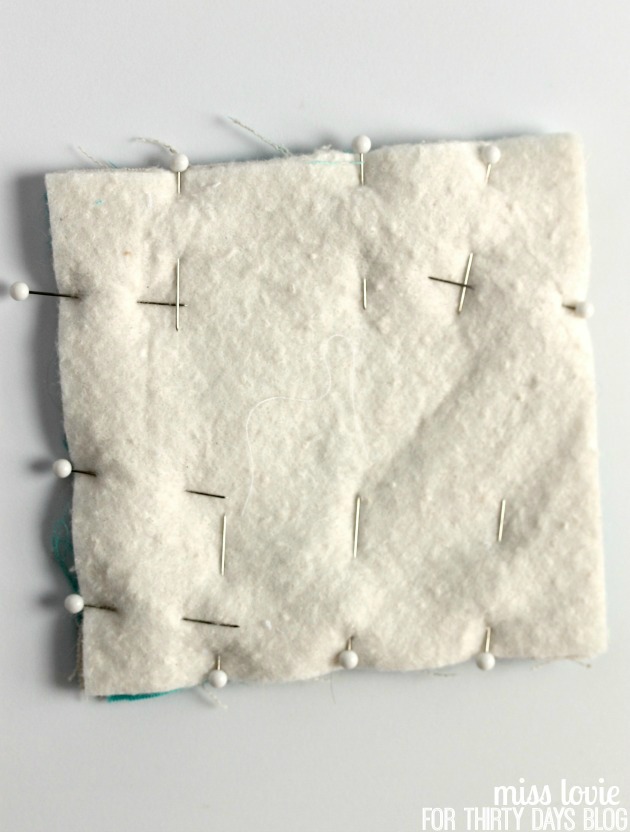
Now, layer the last muslin square on top of the finished top (heart should be facing the muslin square-not showing from the back) and then place the batting square on top and pin all the layers together.
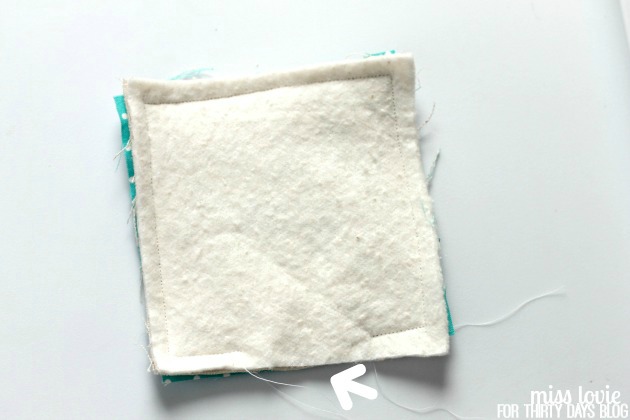
Sew around the edge with a 1/2 inch seam allowance being sure to back stitch, leaving a 2 inch opening at the bottom for turning it inside out. Use pinking sheers to trim the edges and cut the corners off to ensure there isn’t too much bulk and the corners are nice and crisp. Turn the coaster inside out and use a turning tool or blunt pencil point to poke out the corners.
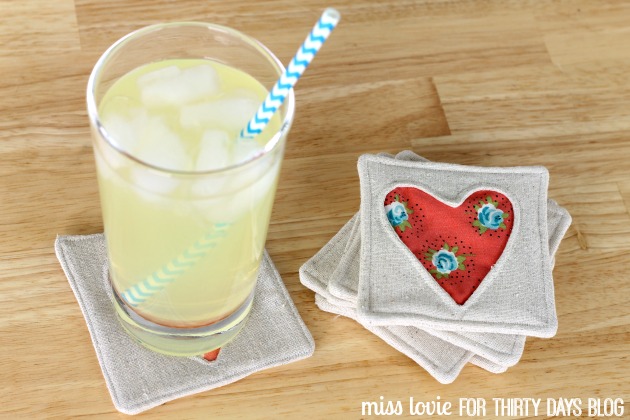
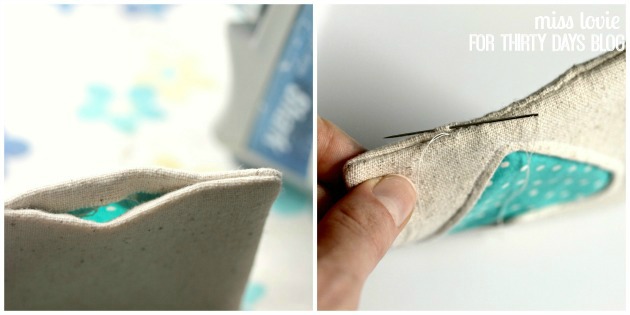
Turn the ends under where the opening is and press well. While you’re at it, press the entire coaster, smoothing out any wrinkles that accumulated while turning it inside out. Use your needle and a whip stitch to close that opening. Then top stitch the coaster on your machine using a 2/8 inch seam allowance. Finished!
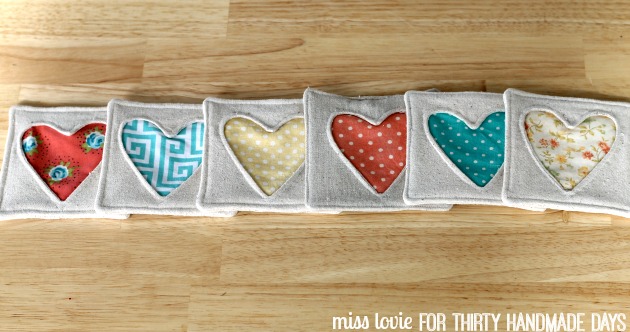
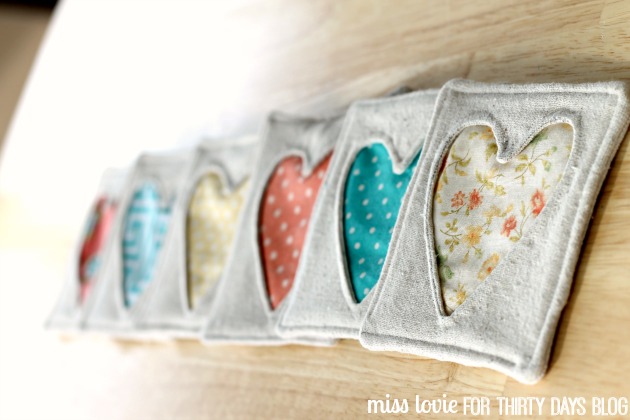
Once you get all the fabrics cut and get rolling, you can whip up a set of these in no time.
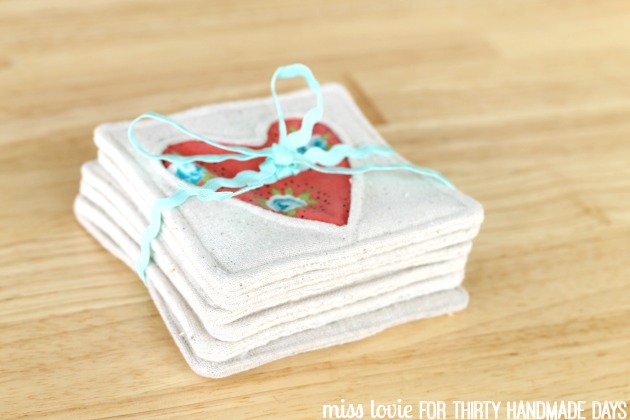
Stack them and tie them up with a sweet ribbon and they are ready to be given away for a perfect gift. OR you can just keep them for yourself-which is probably what I will do because they’re so cute.
Make some lemonade, and enjoy.
Thanks for reading! Come visit me at Miss Lovie soon!
If you enjoyed this tutorial you should come check out my other Valentine’s Day and heart ideas. You might love my Color Blocked Scallop Valentine’s Day Wreath or my Fabric Heart Bunting!


These are just tooo cute!! I just made one up and with your wonderful tutorial it was so easy!!
I really want to thank you for sharing this coaster pattern with us. I have several more cut and ready to go but I just had to thank you first.
Spot on with this write-up, I honestly believe this web site
needs far more attention. I’ll probably be back
again to read more, thanks for the advice!
Please let me know if you’re looking for a article writer
for your weblog. You have some really good articles and
I feel I would be a good asset. If you ever want to take some of the load off,
I’d really like to write some material for your blog in exchange for a link back to mine.
Please send me an email if interested. Regards!
Here is my web site; Advanced Mind Power (http://Www.Xtrememind.Com/)
If some one wishes expert view about blogging and site-building after that
i propose him/her to visit this blog, Keep up
the nice work.
my weblog :: Bronx Home Inspection
First off I want to say awesome blog! I had a quick question that I’d like
to ask if you don’t mind. I was curious to find out how you center yourself and clear your thoughts prior to writing.
I have had a difficult time clearing my
thoughts in getting my ideas out there. I truly do enjoy writing
however it just seems like the first 10 to 15 minutes
are usually wasted just trying to figure out how to begin. Any recommendations
or tips? Many thanks!
My website: Coop inspector staten Island
These are just adorable! I was immediately inspired to make a table runner by connecting them and adding some lattice work. Super cute!! Keep em coming!
What’s higher than a straightforward presentation of improvised scenes coming instantly at you courtesy of the Fools?
Nothing, that’s what!
Hi there! This is kind of off topic but I need some help from
an established blog. Is it tough to set up your own blog?
I’m not very techincal but I can figure things out pretty quick.
I’m thinking about creating my own but I’m not sure where to start.
Do you have any ideas or suggestions? Cheers
Thanks for this tutorial. I made pot holders using this tutorial! http://bit.ly/1cGMDy1
You inspire me! Thank you so much for linking up at Wonderfully Creative Wednesdays last week. I picked your project as one of my favorites and featured it. You can see it here:
http://www.sewcreativeblog.com/diy-craft-and-recipe-link-party-week-9/
Best Wishes,
Crystal
Allie and Mique, I am so thrilled to be featuring these amazing coasters with all of the readers at the Show Stopper Saturday party tomorrow morning! Thank you for sharing these with us. I am (obviously) in love with your tutorial. (=
These are just too cute, I love them! Stopping by to pin this and let you know I featured it on my blog today!
These are so cute! I just pinned them :)
Made 2 sets for my daughters for Valentine’s Day. A great project for using up scraps. Love it. Thanks for sharing.
OK, STOP! You’re killing me with cuteness here! Cheesy? Maybe, but so true! I love the design and you make it look so easy – totally pinned and am SO making these! Thanks for linking up to Wednesday Whatsits!
I just adore these, they are so incredibly cute!
Cute coasters! Love the hearts and the fabrics!
Navy Wifey Peters @ Submarine Sunday Link Party
These are so cute!! What a sweet design! And beautifully made, too!
These are simply adorable. I love the fabrics you selected for your “heart pops of color”. You executed the sewing so well, too. Please stop by and share at our link it or lump it party!
http://www.delineateyourdwelling.com/2014/02/link-it-or-lump-it-party-number-twenty.html
Allie, these are so cute! If I had any seamstress skills at all, I’d be all over this. For now, I’ll definitely pin it for everyone else to check it out!
These coasters are SO adorable and could be personalized in so many different ways.
Really neat! Thanks :)
These are like the cutest things I have ever seen!!! SO adorable!
Those are SO cute. Love them!
Super cute!! I love the coasters :) Pinned them :)
These are adorable!!
LOVE these! (And I love how they match your blog design) – so pretty!!
I don’t get how you turn it inside out once you have sewn all the way around the heart.
Hi Celeste! Hold on to the bottom piece of fabric and take the top piece of fabric and push it through the open heart. Push the entire top piece through to the back, use a blunt pointed object/point turner to push out the point at the top of the heart, press the seams open. When I was trying to figure it out, I was pretty confused, too. It’s definitely tricky. Hope that helps!
Super cute! Thanks for sharing.
Love this idea and the fabrics are darling!
Absolutely DARLING! Sharing everywhere I can think to. :)
Seriously one of the cutest projects I’ve seen in a long time… LOVE IT!