
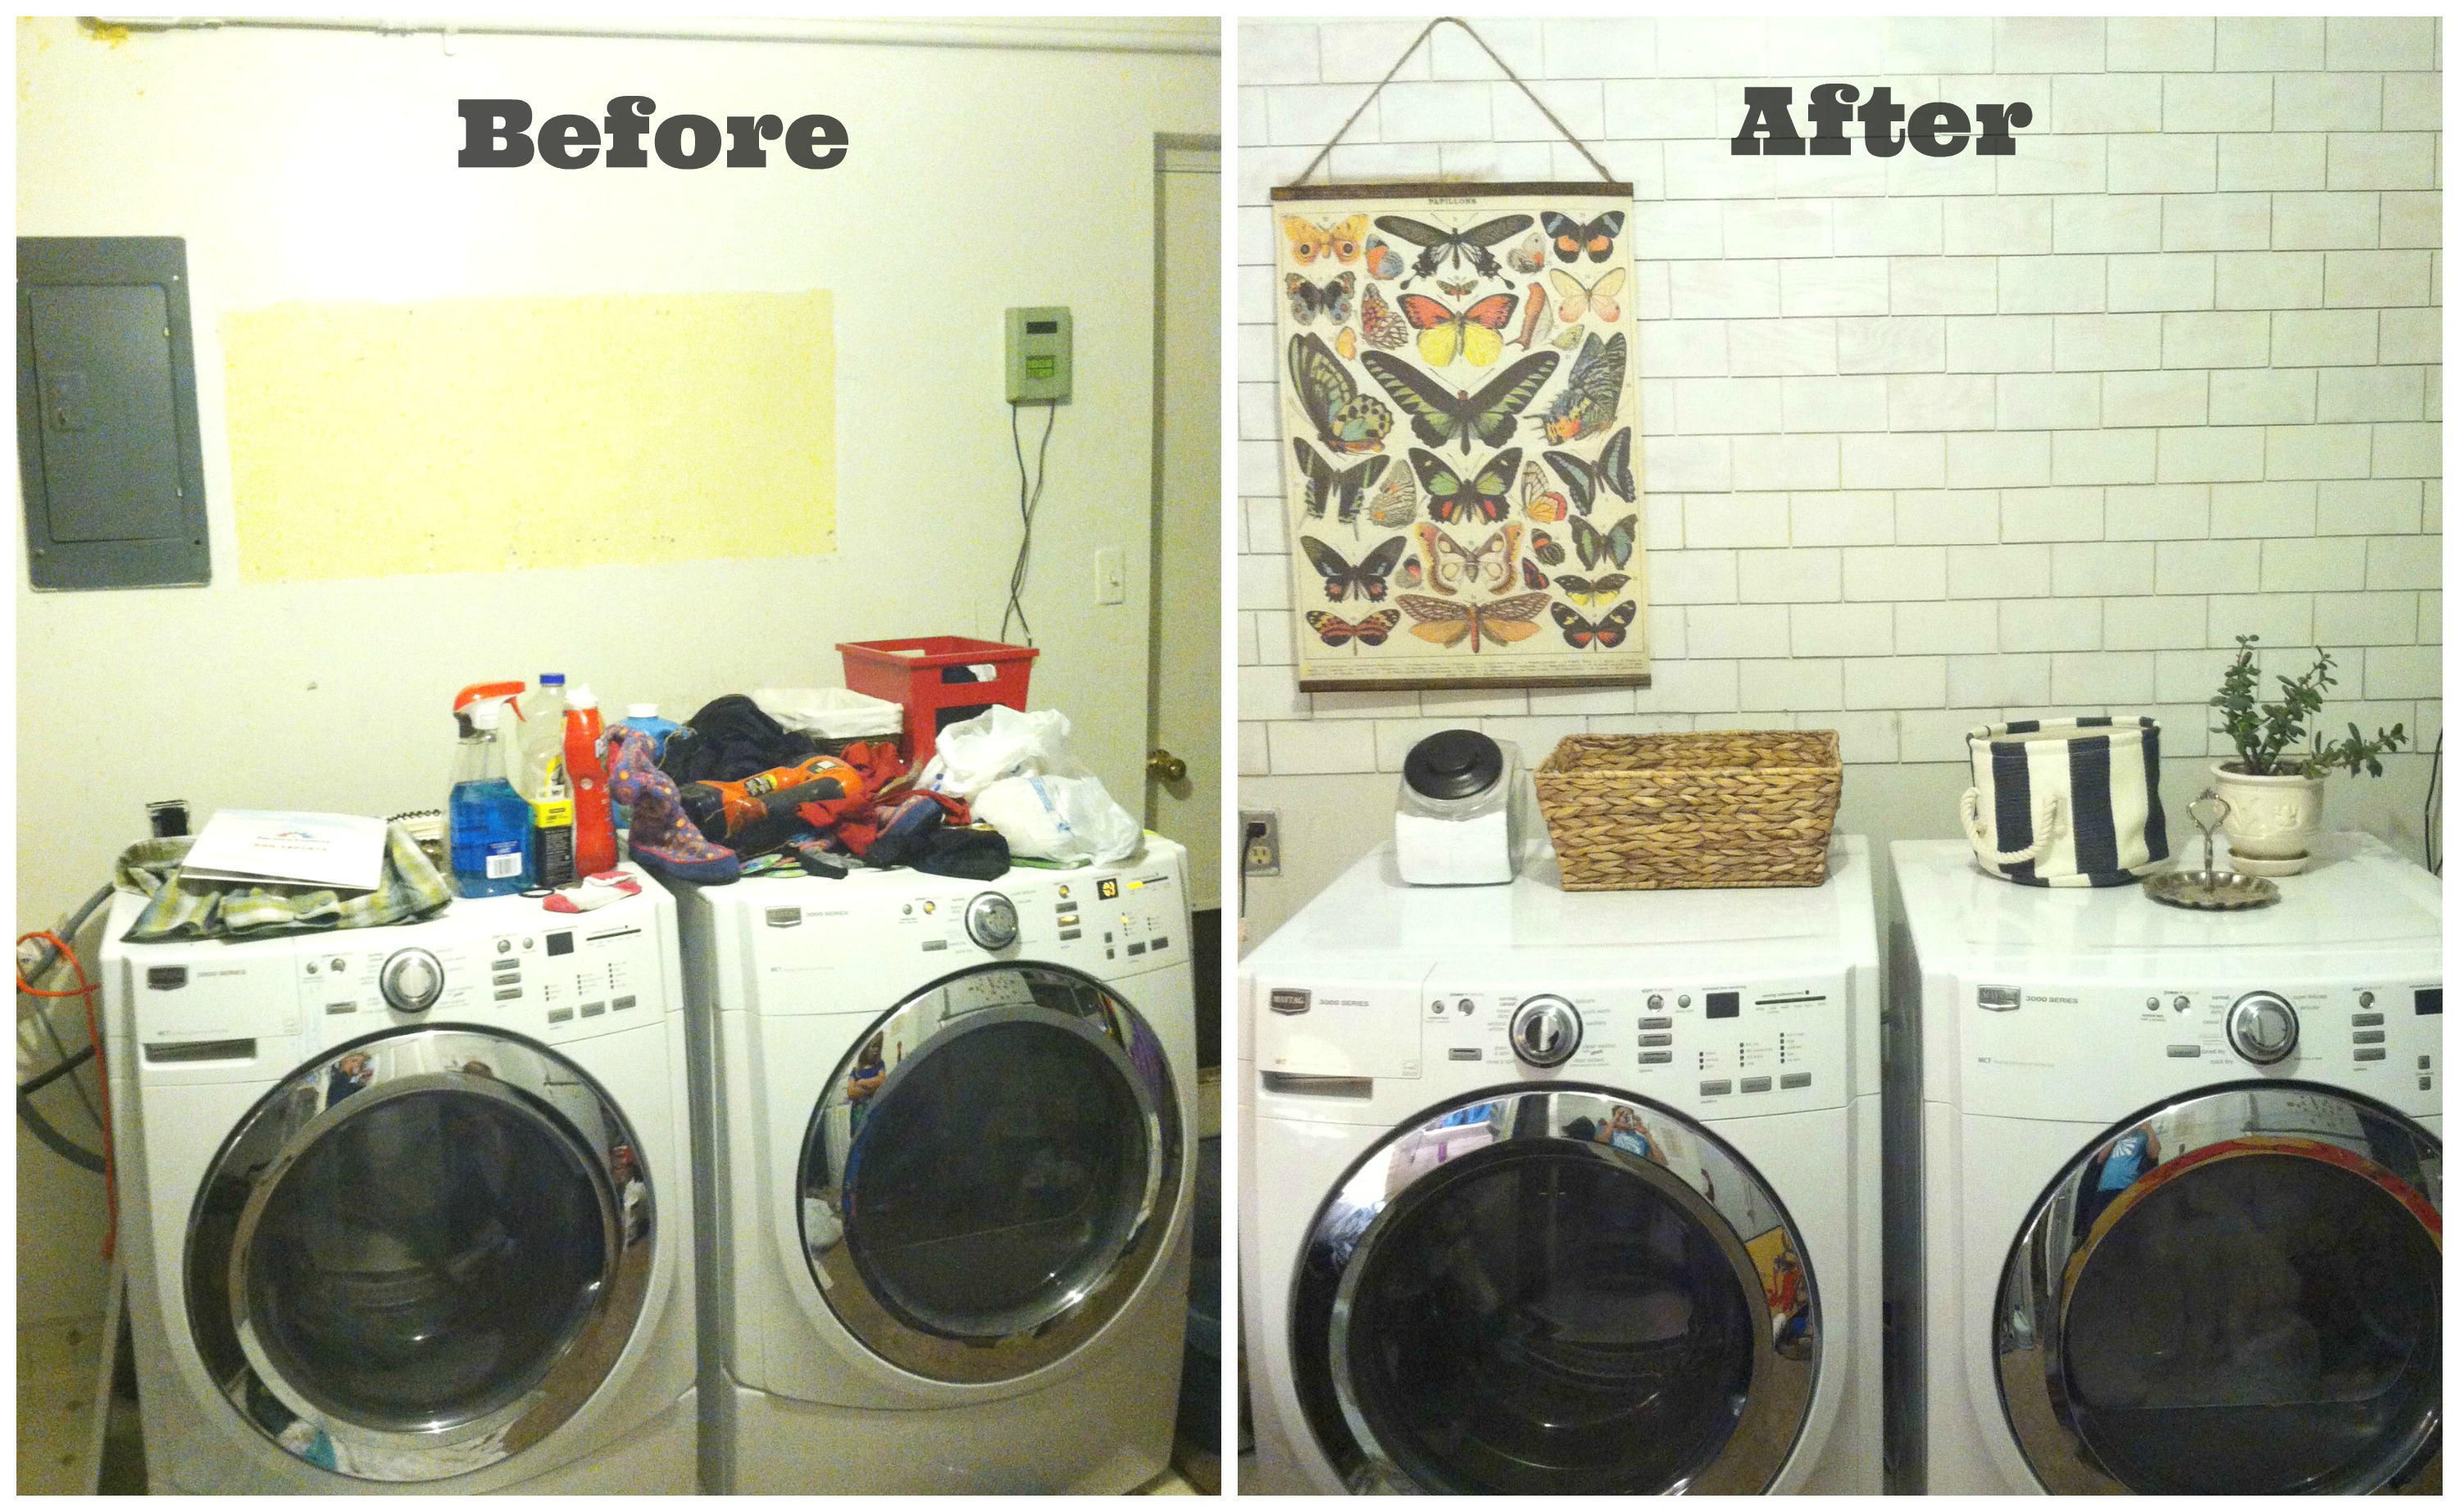
I’ve been drooling over a couple laundry rooms I’ve pinned on Pinterest lately. Basically because ours looks like a set from Dirty Jobs. It’s in our basement and has hardly any natural light, little to no shelving and little piles of allusive stuff that we must not be able to live without. It makes doing laundry less appealing than it already is.
The one thing I noticed amongst most of the laundry rooms I pinned was subway tile. And the one thing that I haven’t DIY’d before is tile, especially on a wall. So I wasn’t sure I wanted to go there. Plus the cheapest subway tile I could find was $1.84 a square foot. Then I’d have to add on the grout, spacers and other tools I don’t have to make it happen.
So I decided to go the woodworkers route…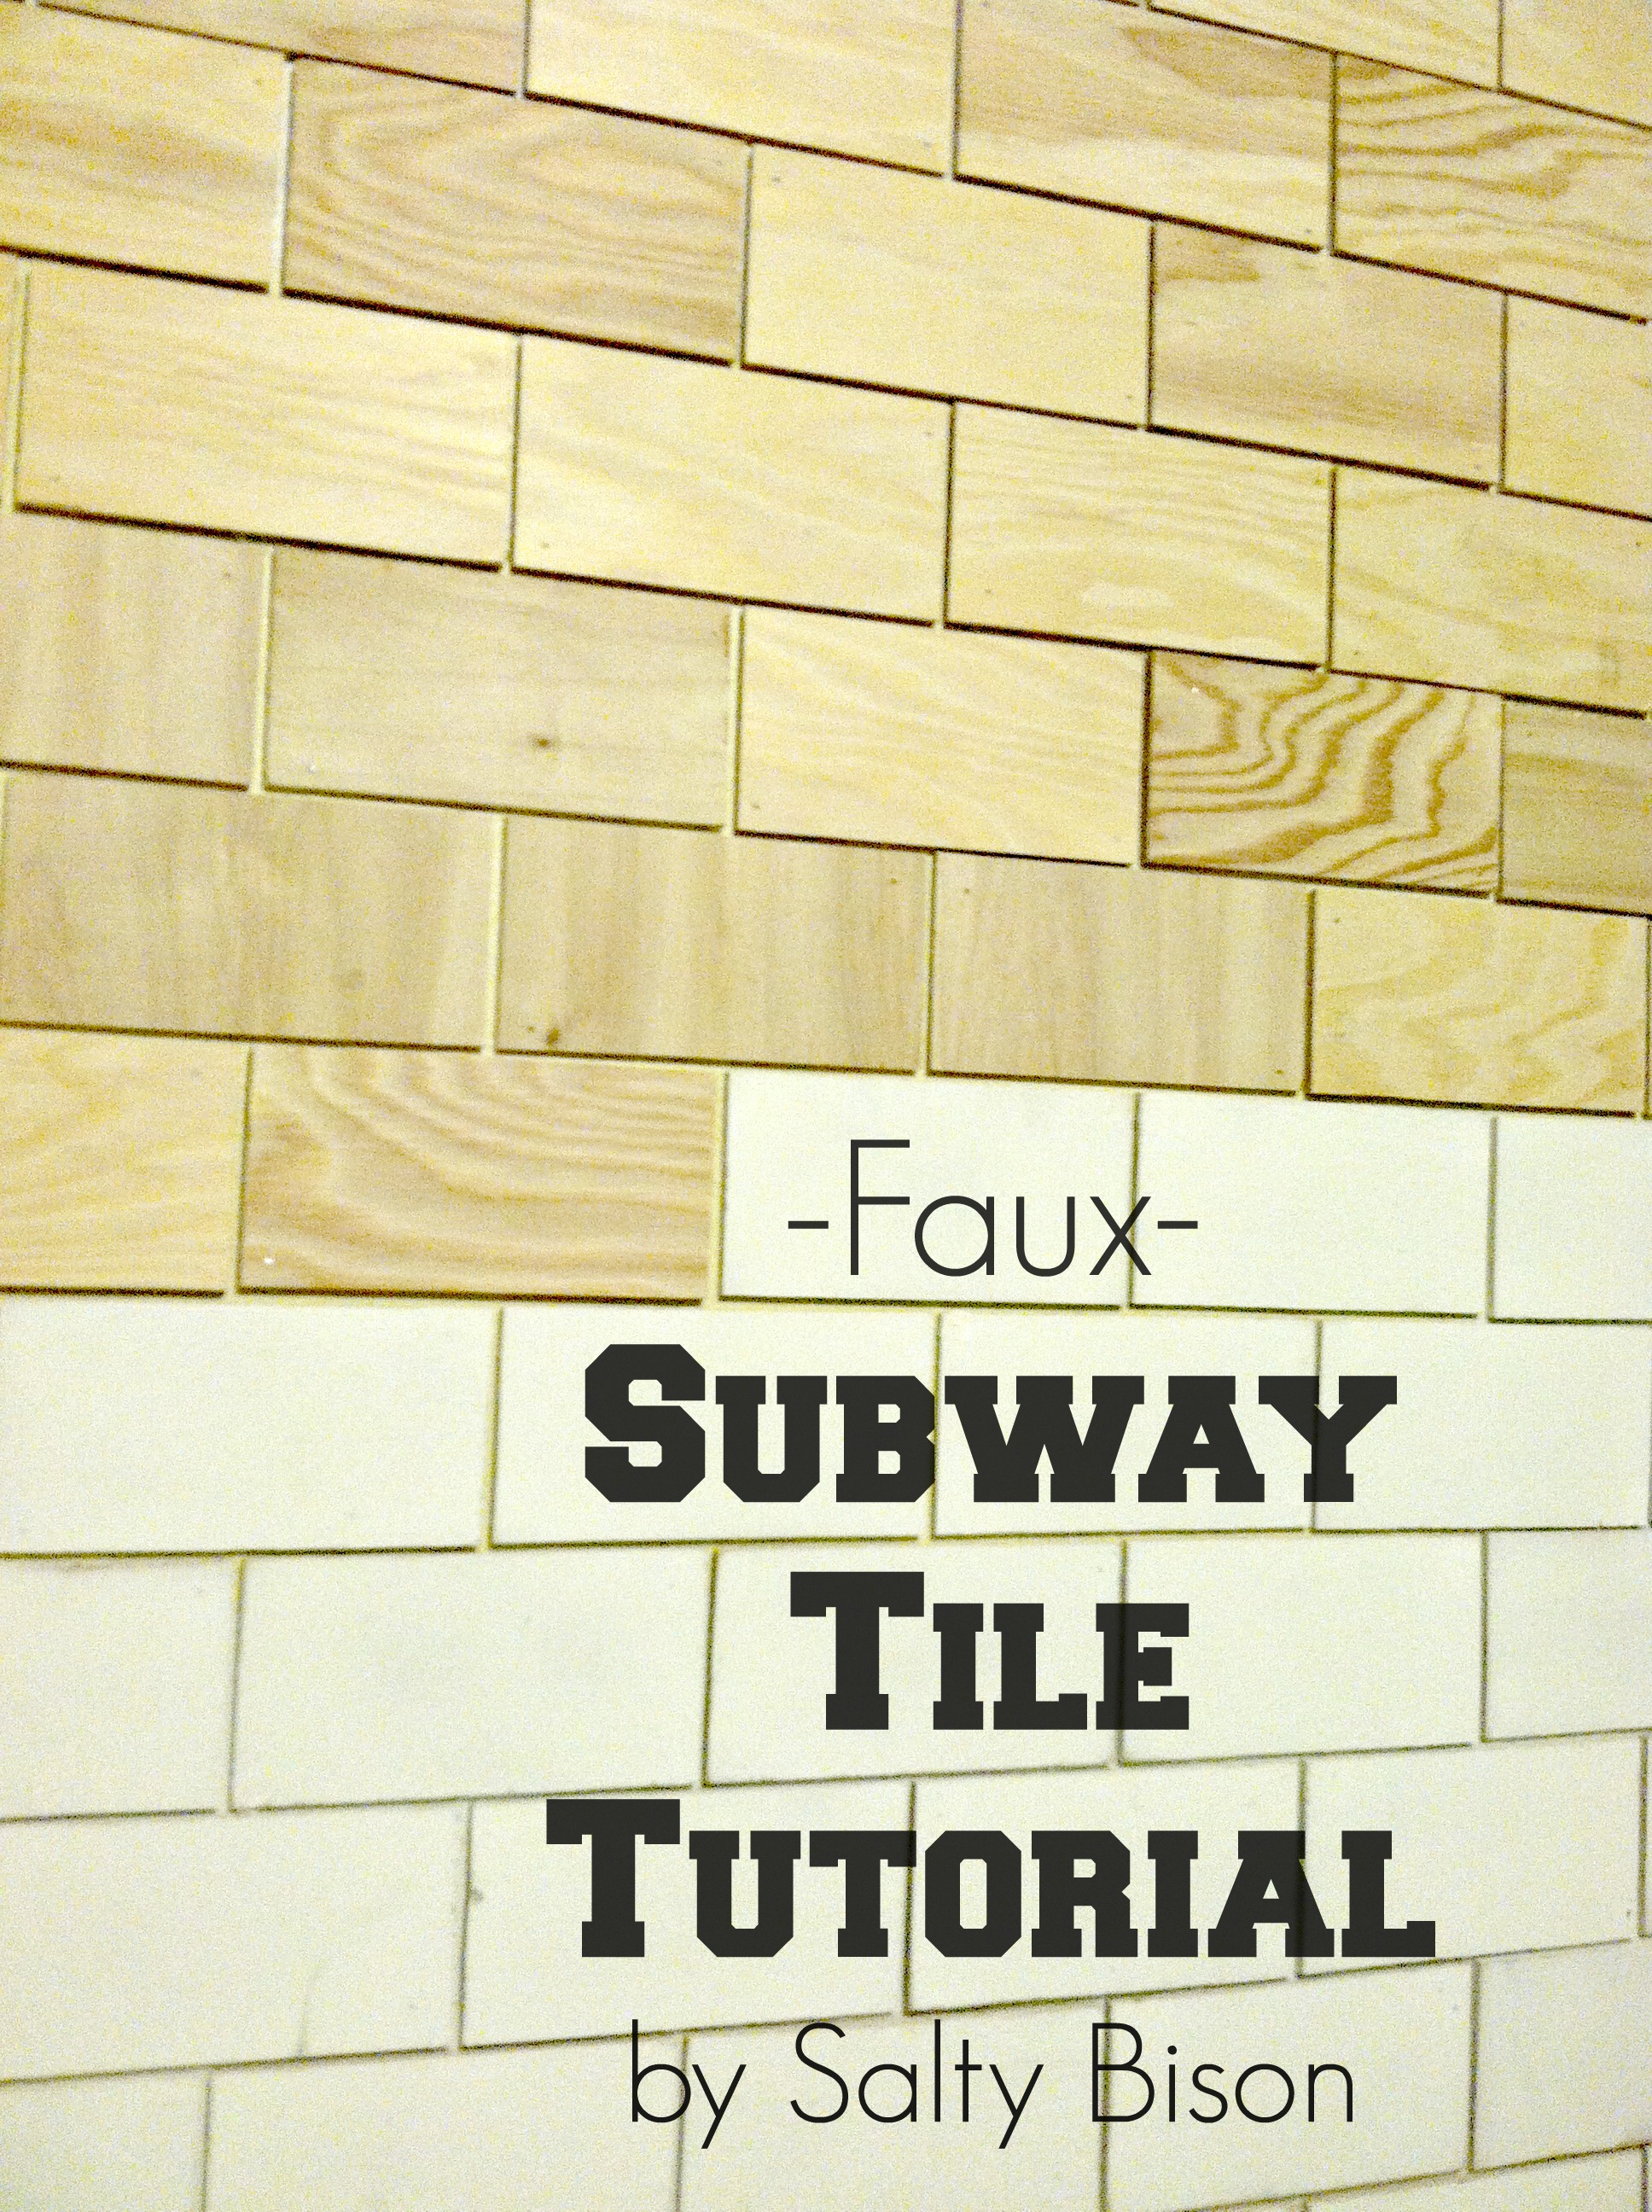
In my garage I had some leftover 5 mm particleboard underlayment from a previous project. If I were to buy it, it would have been .41 cents per sqare foot . It comes in big 4×8 sheets at home improvement stores.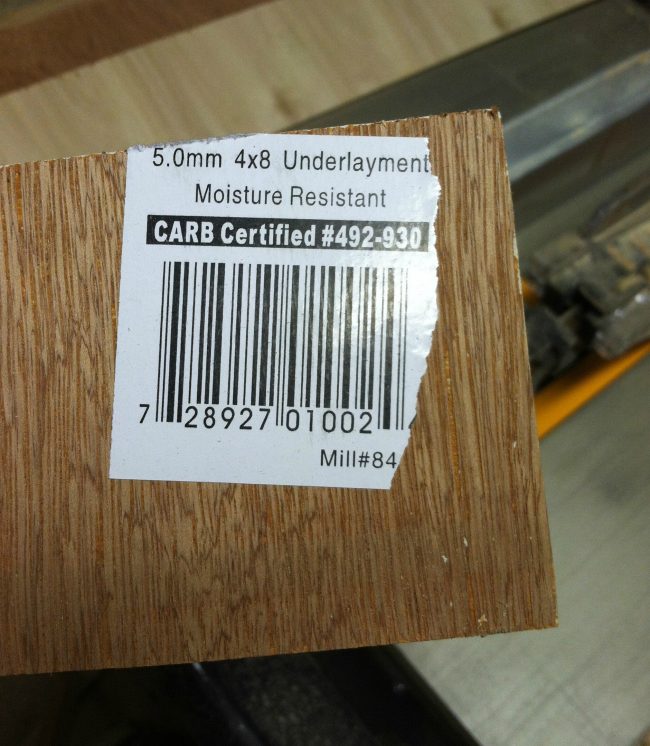
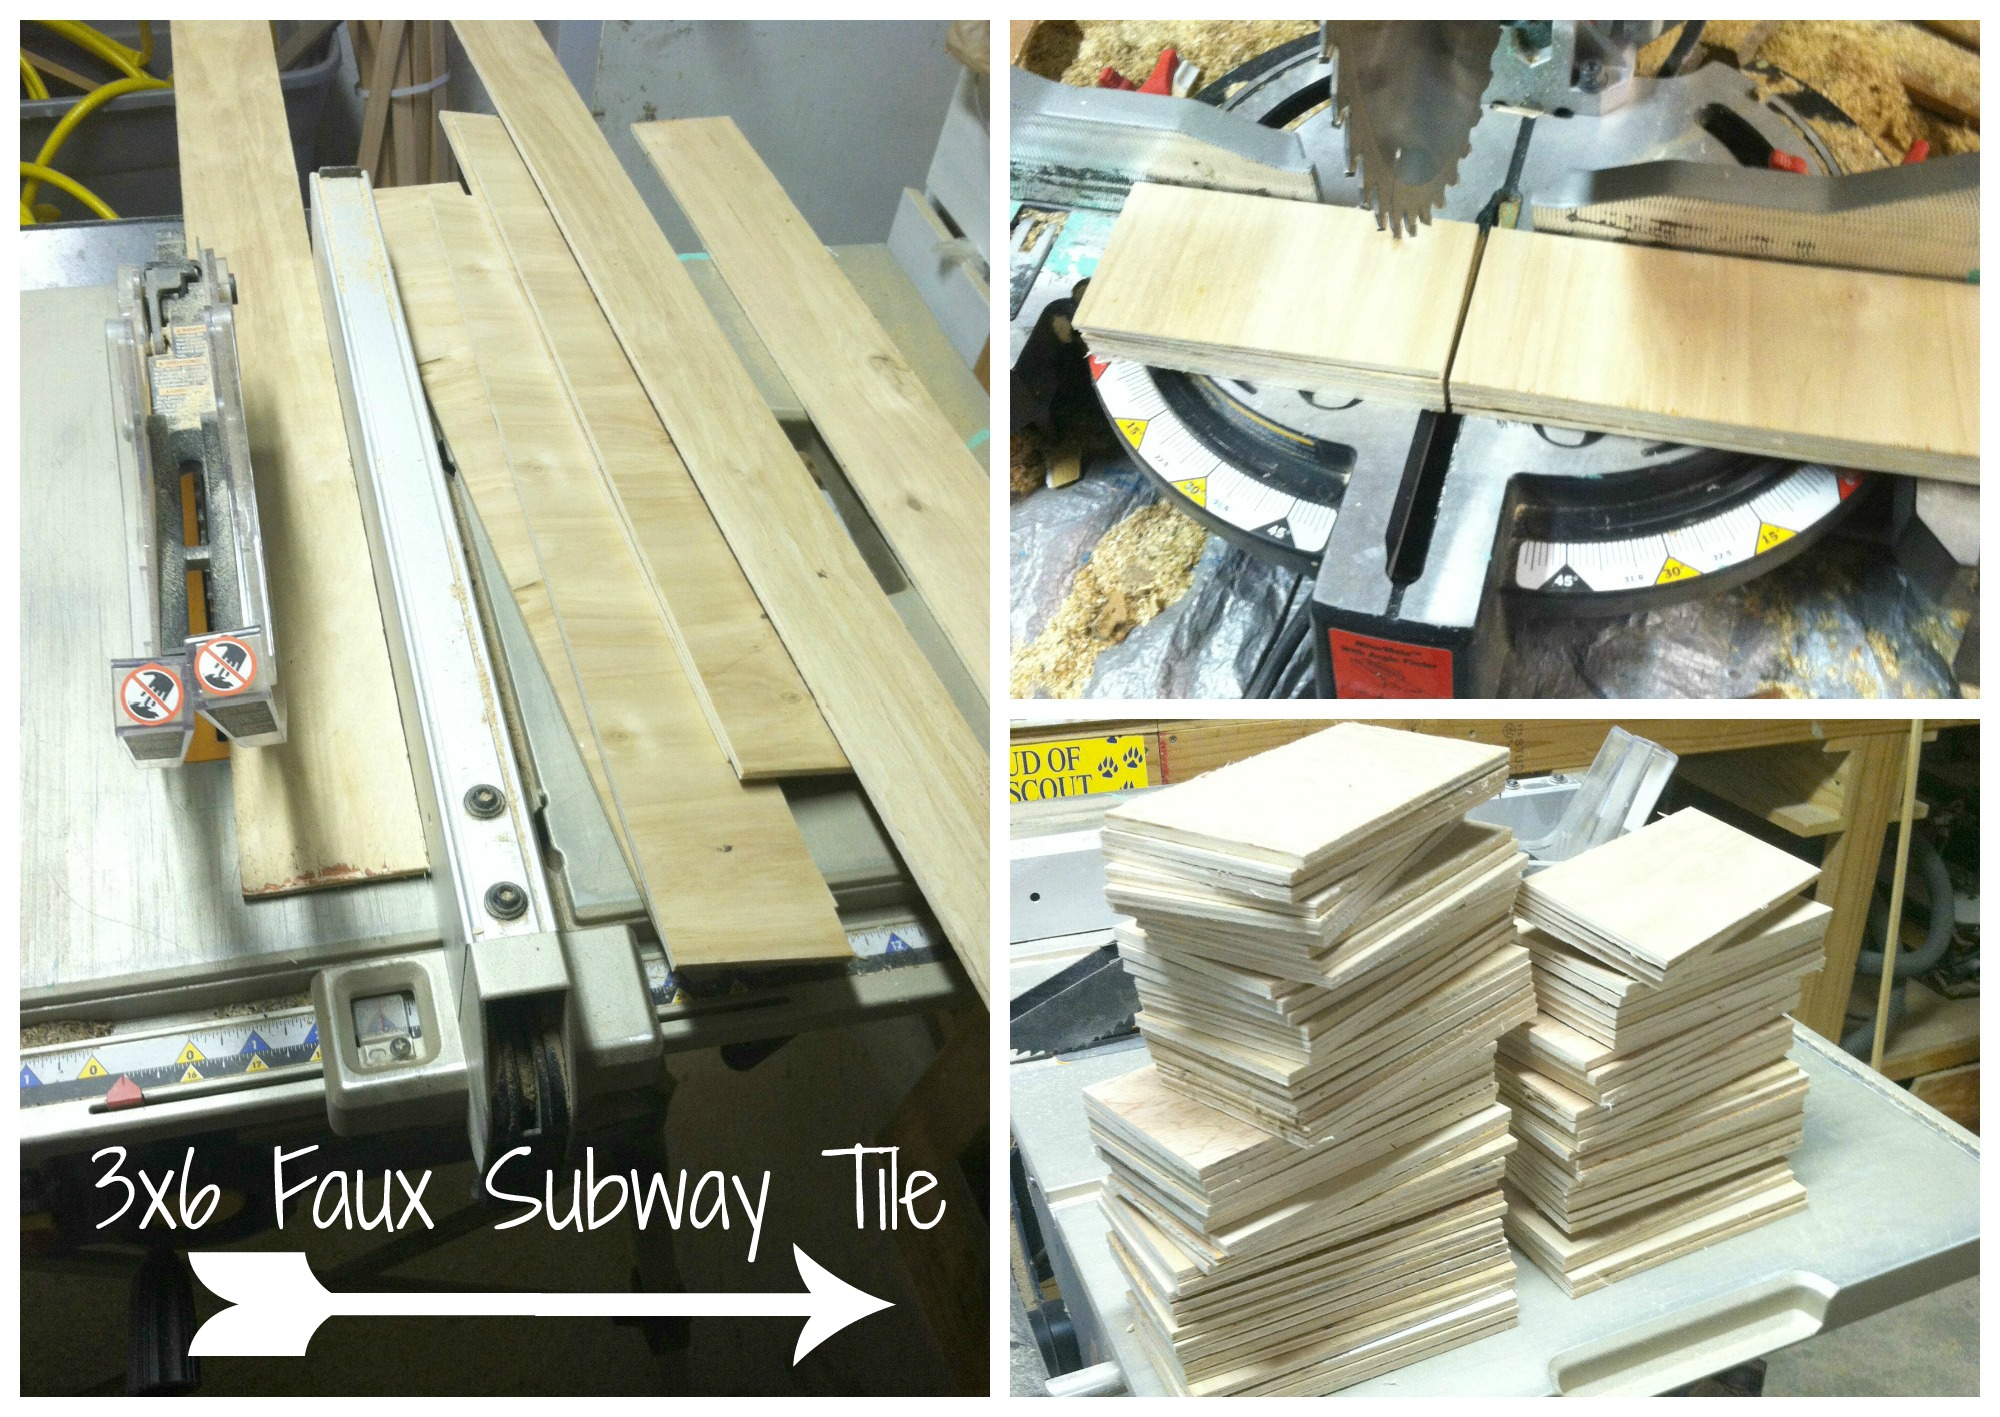
I created my faux tiles by using my tablesaw to cut the underlayment into 3 inch wide strips. Then I used my chop saw to cut those strips into 6 inch lengths.
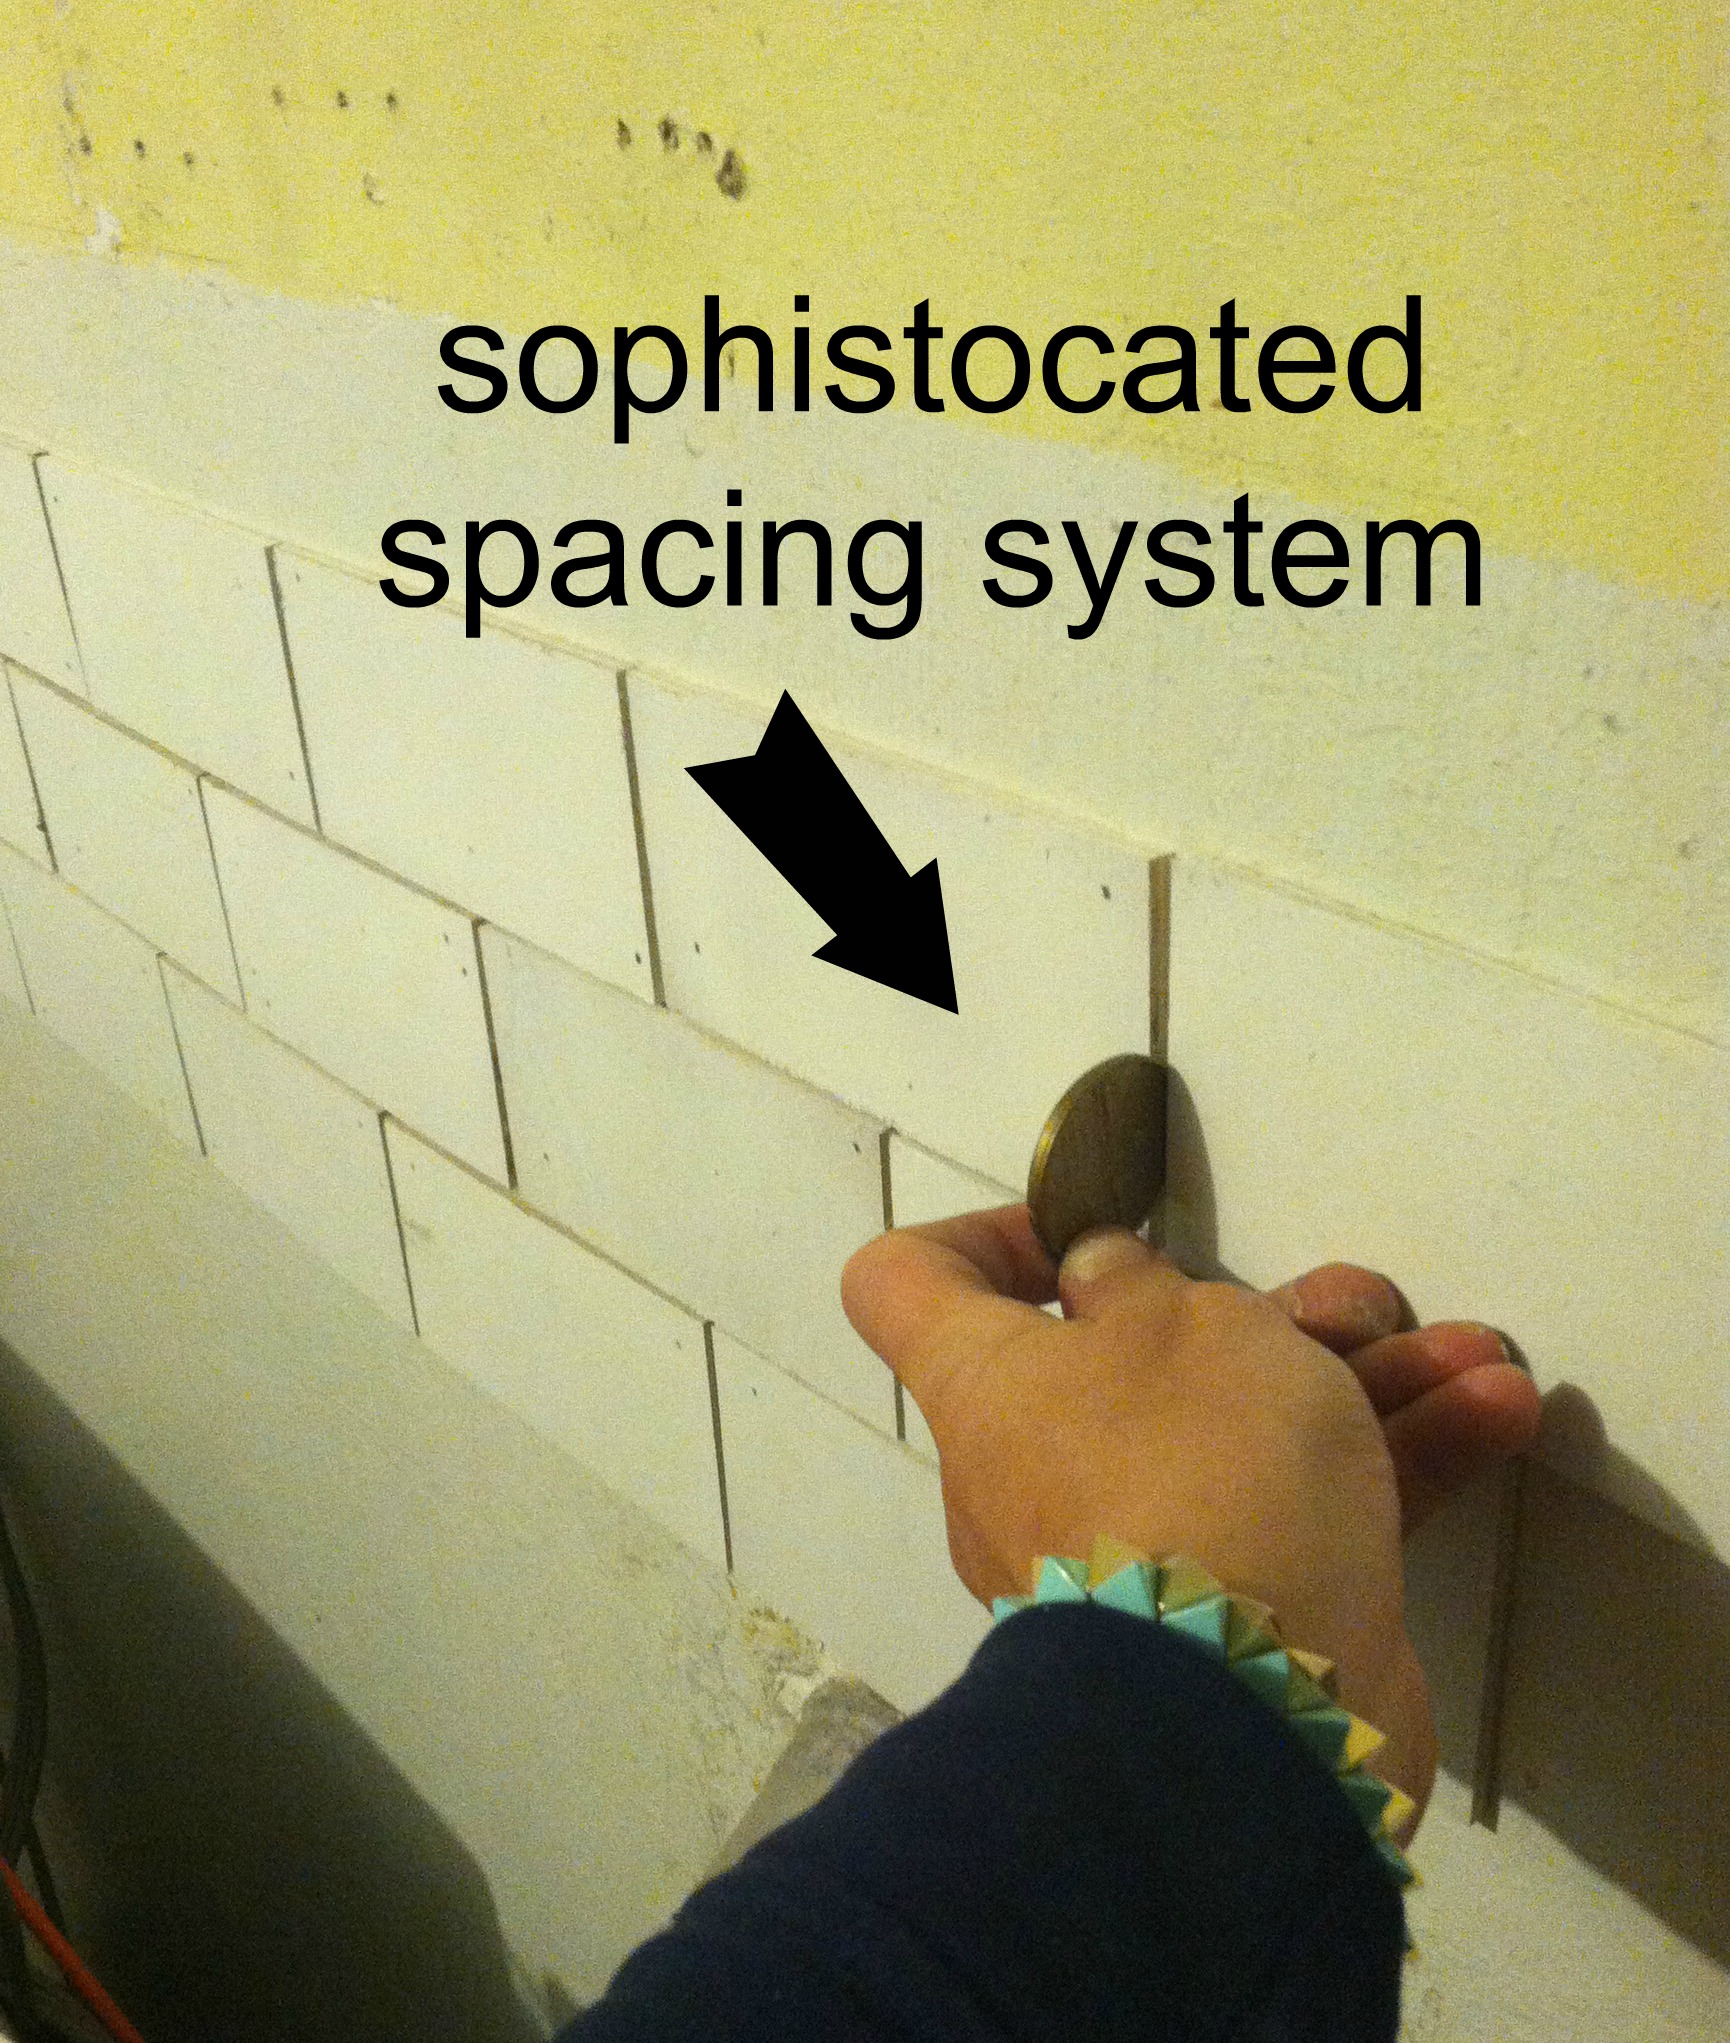
I put a tiny bit of liquid nails on the back of the tile just to hold it on the wall long enough for me to put a 1 inch finishing nail on each side of it. But before I secured it with the nails I used my leveler to make sure it was straight. To space the tiles evenly I used a fat game token from my “allusive stuff” pile in the laundry room. It’s a little wider than a nickle.
After all the tiles were up I sanded them down and painted them white with my new Critter spray gun. {The cutest tool I own by the way} 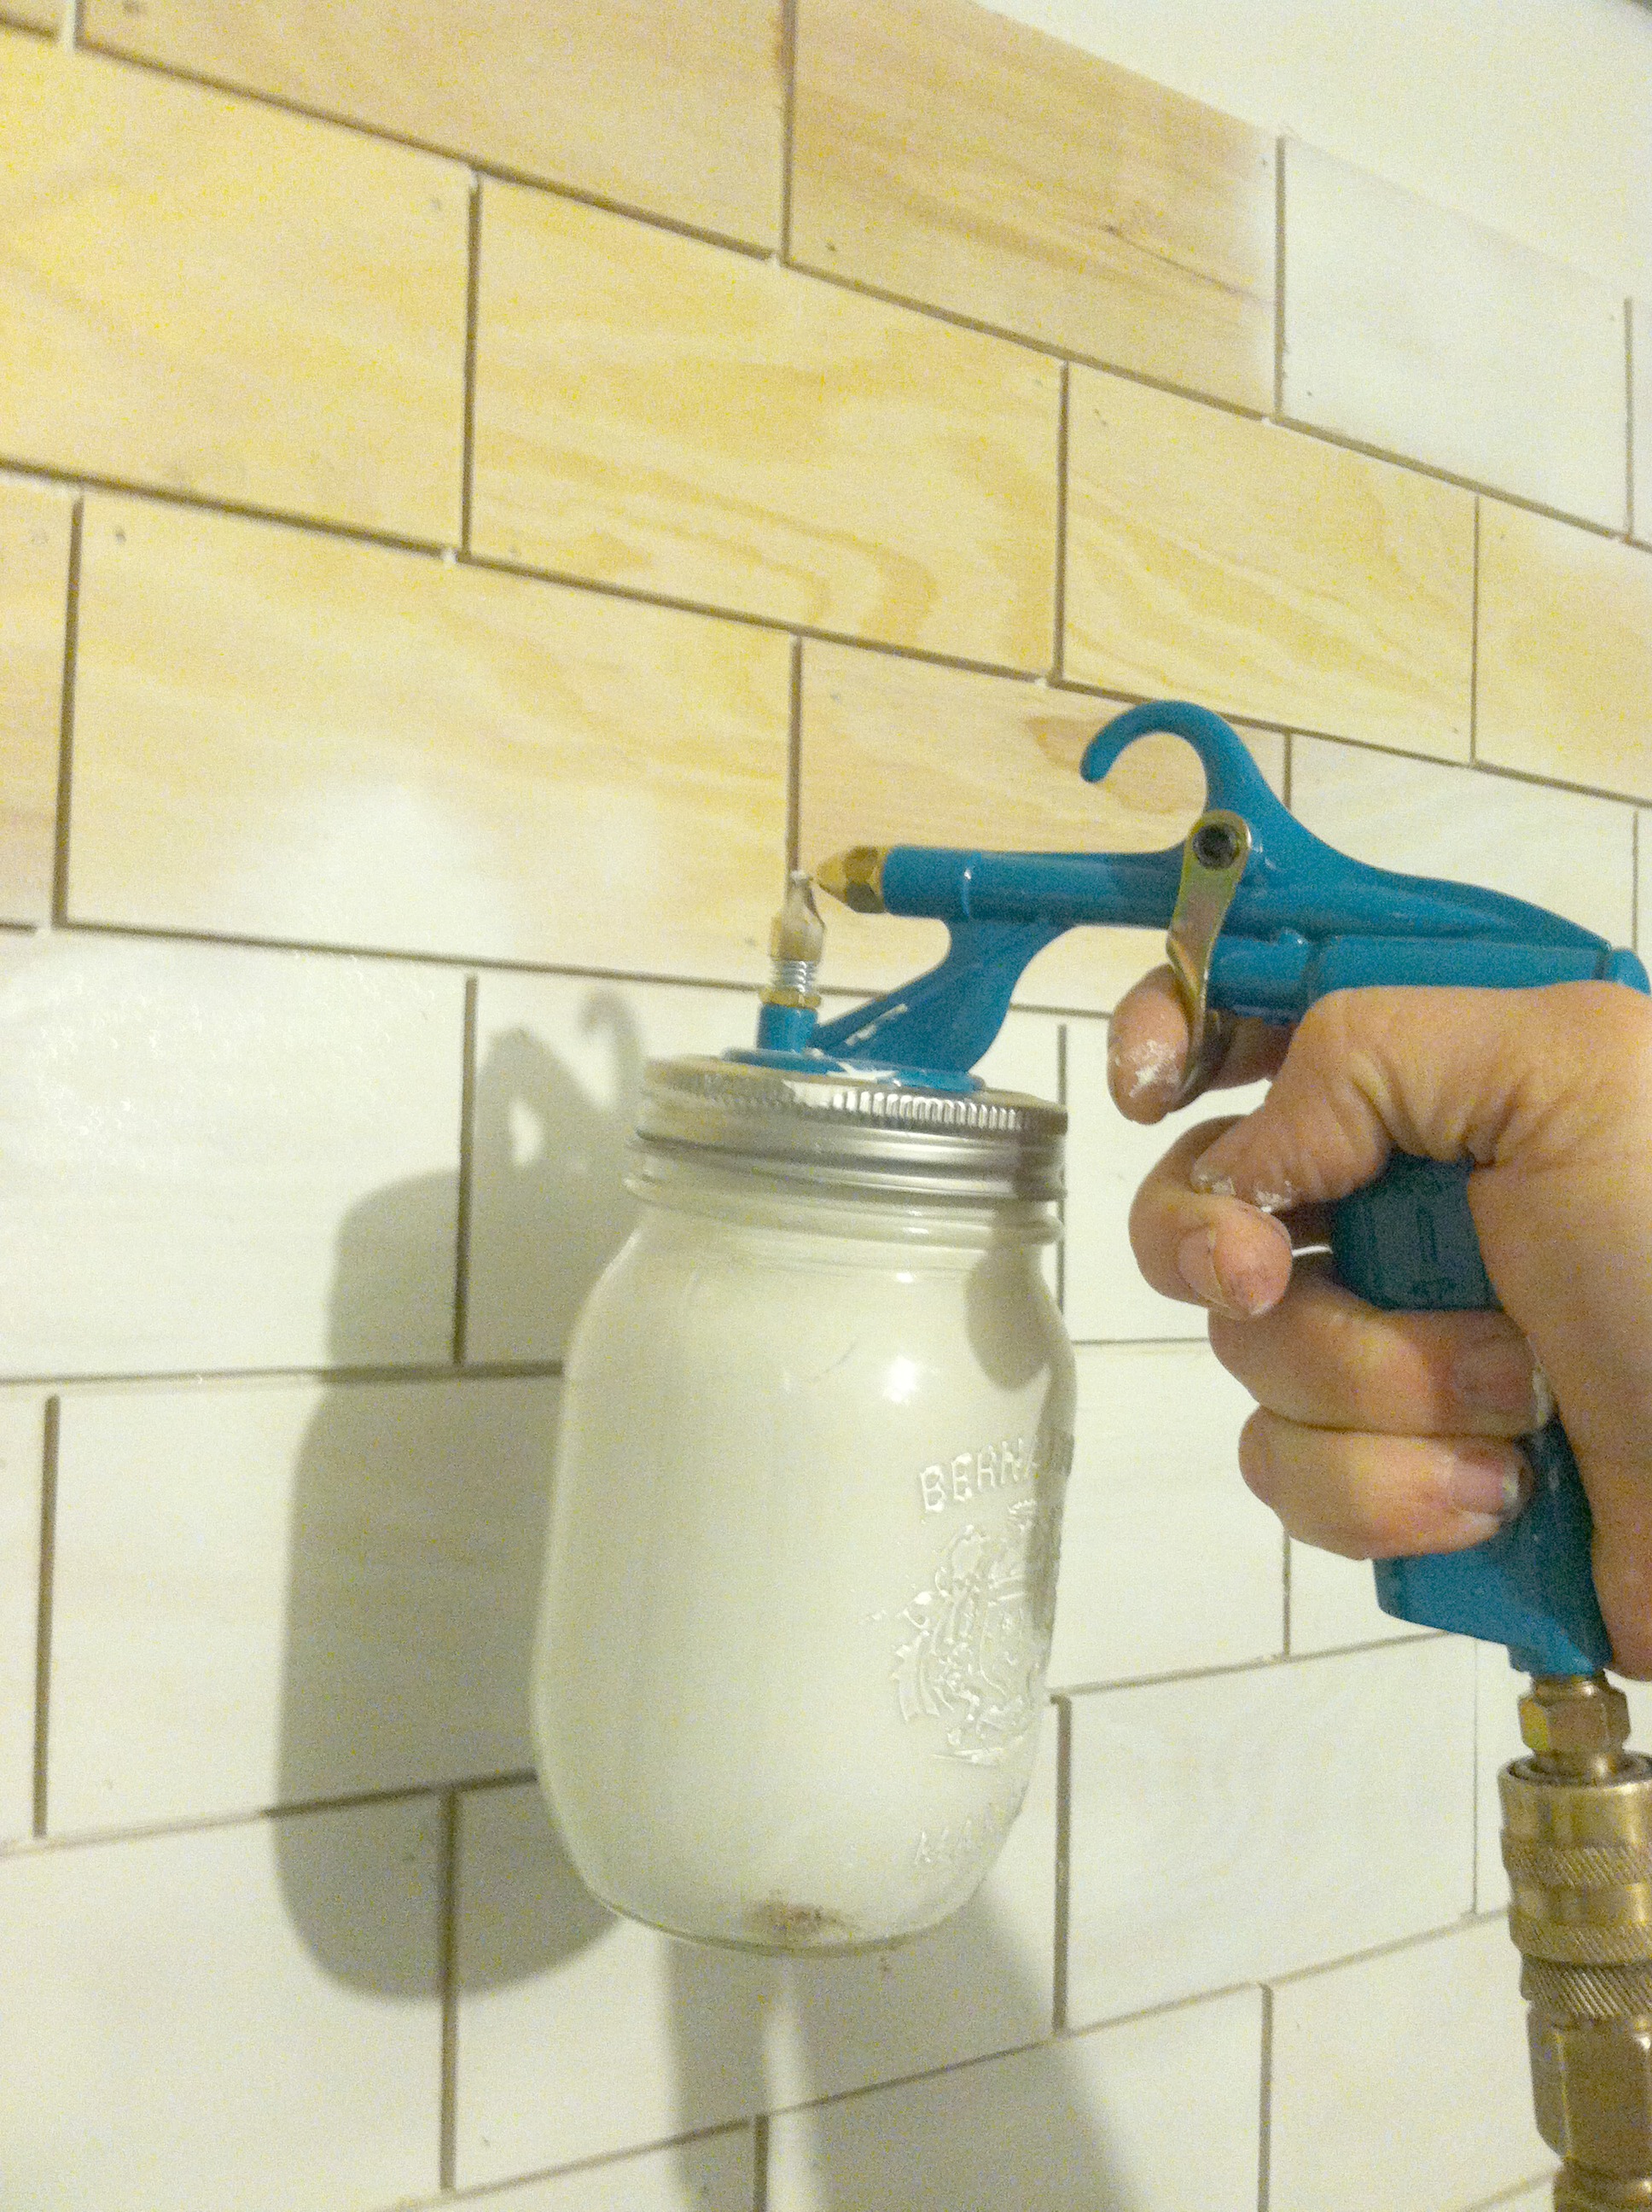
Then I filled in the spaces with concrete and mortor from a caulking tube…
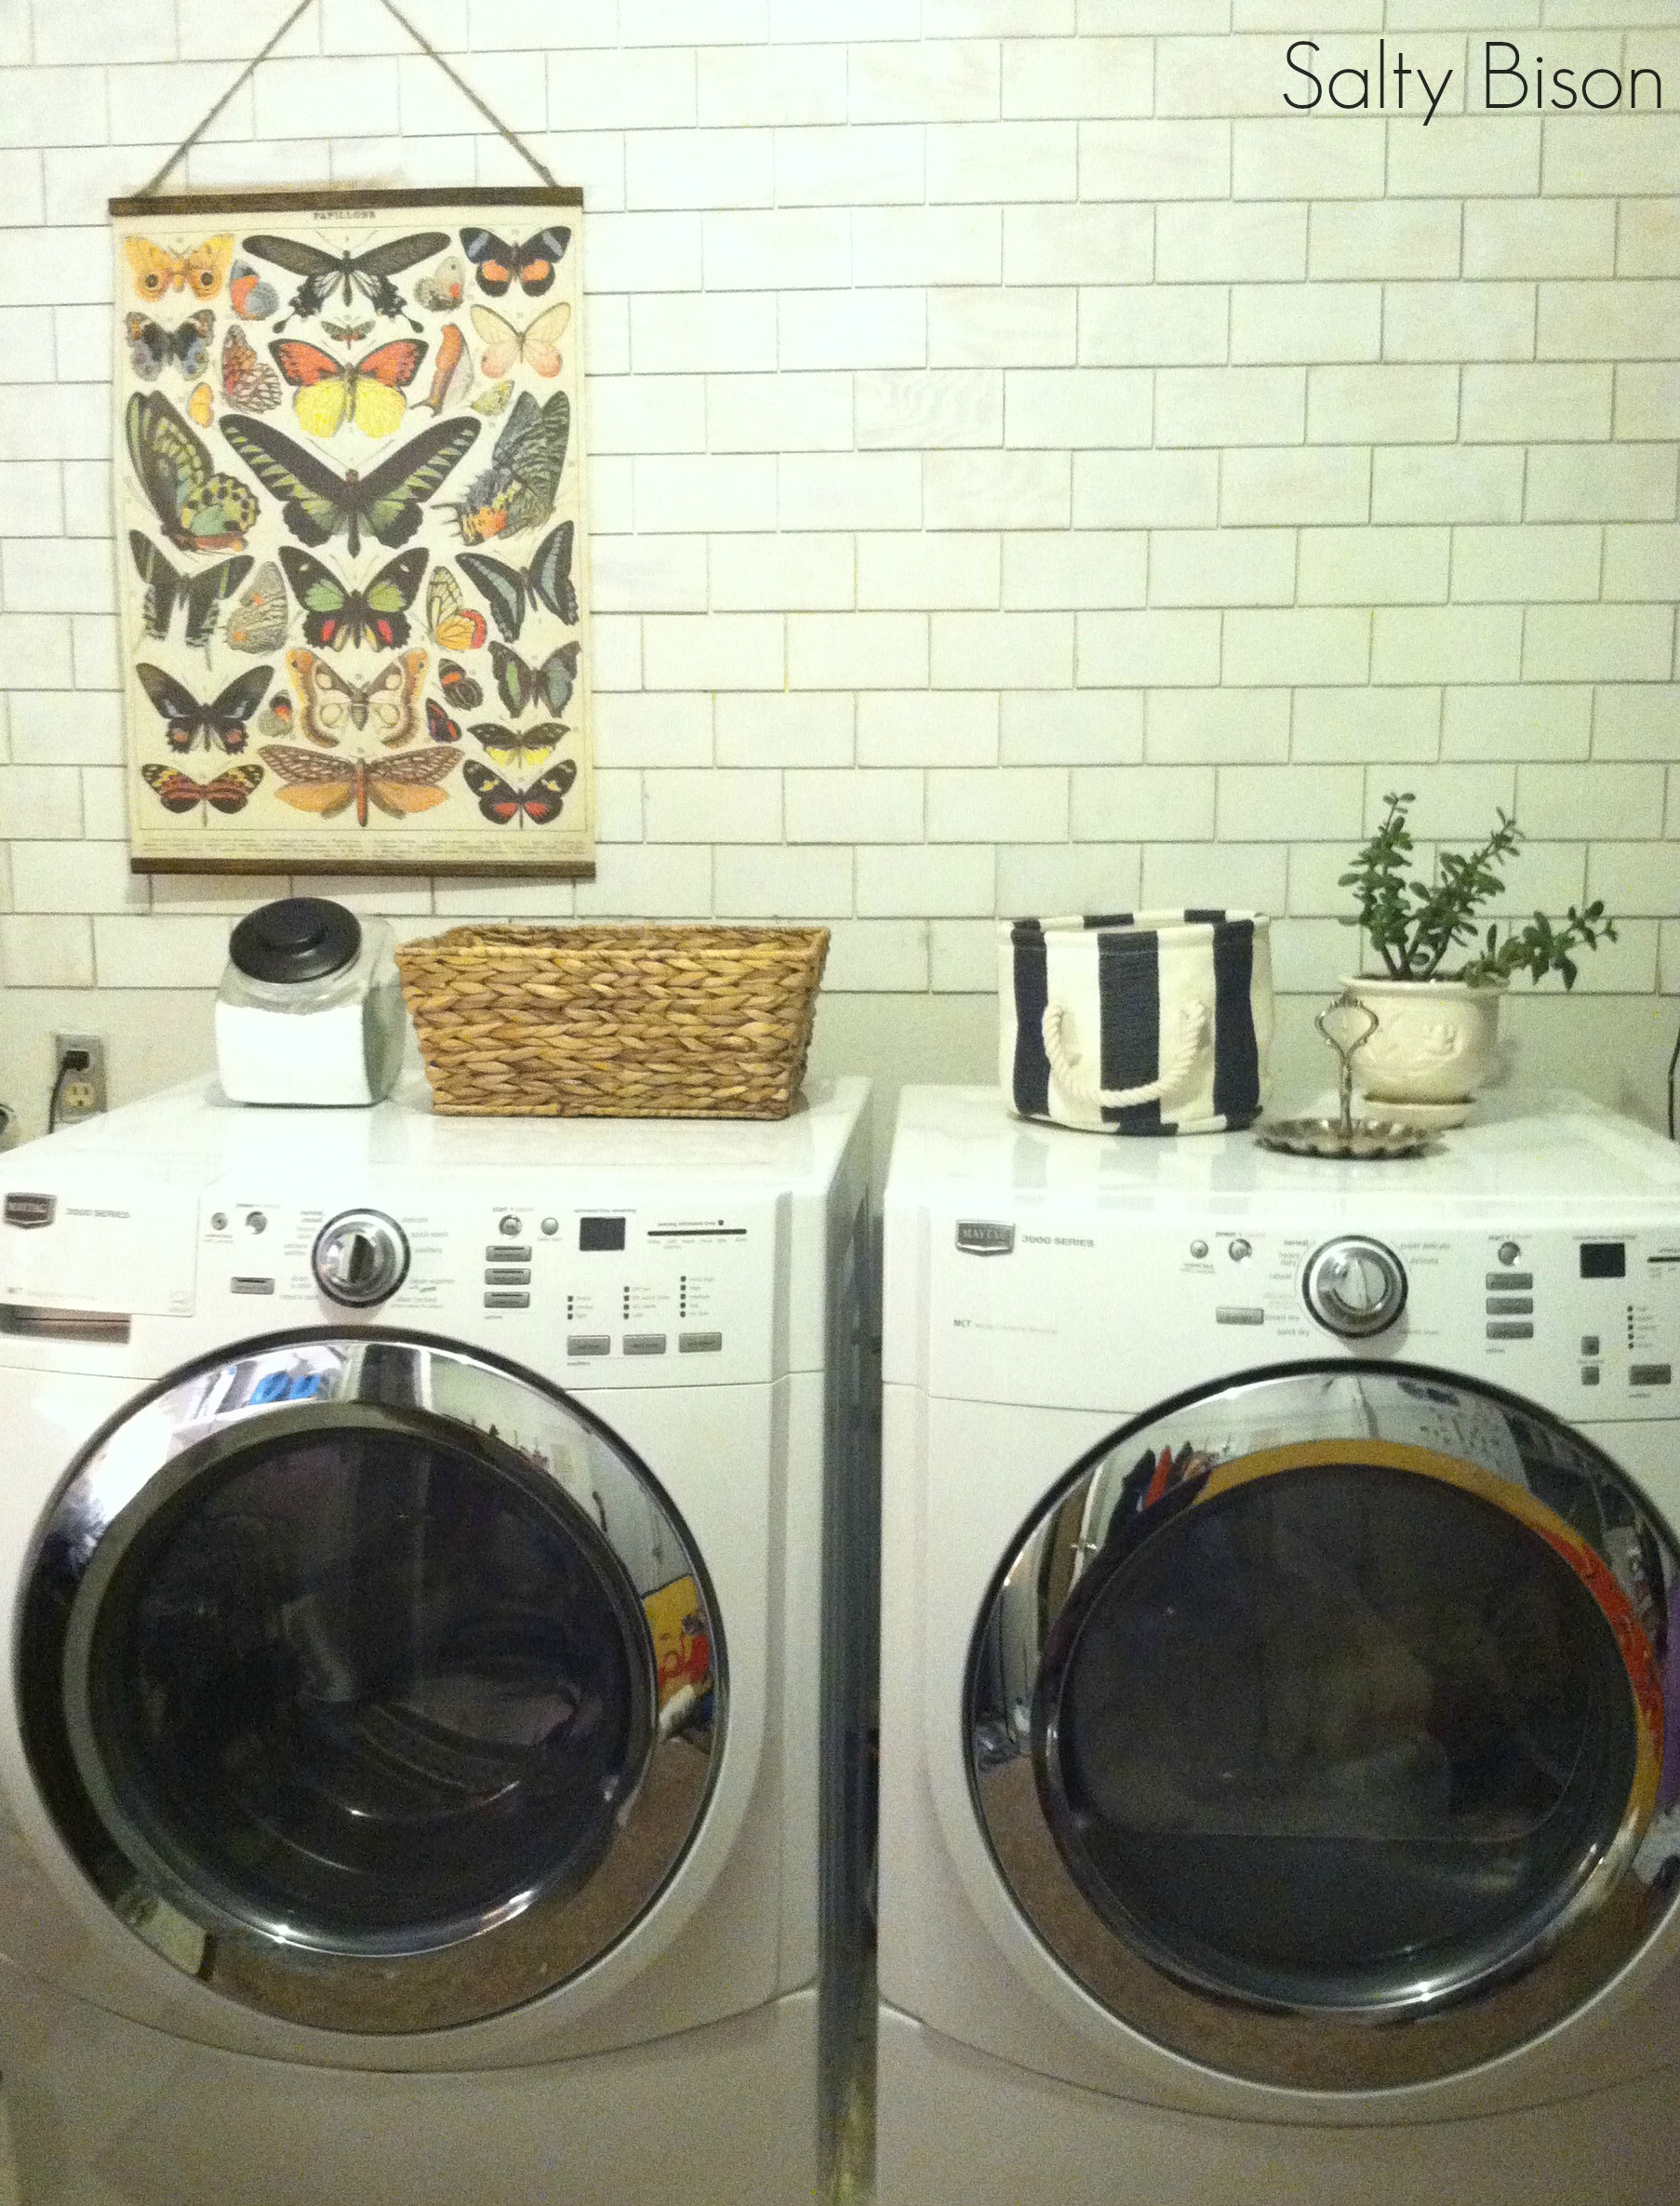
The texture and depth of the concrete and wood are what really make this faux job look real.
Next on my list is adding some raw wooden shelves and finding a rug that makes me smile! But for now I’m in love with my new space and actually will be doing laundry with delight tomorrow!
I wanted to mention that I also want to put subway tile as my backsplash in the kitchen. But I will probably do the real thing there since it will be coming in contact with a lot more spills and splatters that will need wiping off. But I think this is a wonderful alternative in the laundry room!


With this work, why don’t you just use real tile
I love the look and the idea, however subway tiles are one of the cheapest tiles available and for a wet area I woud definitely use the real thing. For a small extra cost you have a fully watertight area.
I would like to know where you got the paint sprayer. Could you send me the details
Thanks a lot, Wayne
I wish our New York City subway tiles looked like yours! Great job!
spectacular! thanks for sharing! I used the ‘real mcoy’ at one of the rentals, but will do this at our own home I love it that much! Plus, I won’t feel as bad ‘drilling’ into the wall to hang stuff!
love, love this idea!
thank you!!!
This looks great! In curious, when the dryer gets going, are you concerned about he increased humidity after using wood?
How much is your time worth by the hour? Do you have so little else to do that you are proud of using a cheap, humidity sensitive substrate in place of time-proven ceramic tile? And then grouted in such a tedious method instead of using a spread from a bucket which is more efficient and controllable? Posting this comment will show you are open to constructive criticism – you should advise your followers on the pros and cons of using your methods.
Hey, love the wall, very clever! Wondering if you could tell me where you got the frame for that butterfly poster? I have something similar and don’t know how to hand them!
Thanks,
Nicole
Hang*, not hand haha
great tutorial!! I would love to do this in my mud/laundry room!
You are a genius.
Wow–I’m very impressed!!
Looks good, I really loved the wood before you painted it too!!
This is seriously amazing!! What a great idea!! Thanks for sharing!
I’m pretty sure that the decorating gods have smiled upon me by finding this post via Pinterest. This is sheer genius and I’m definitely going to try this. I always ask myself “why didn’t I think of that?” Thank You!!!
What a clever idea and I love the “paint sprayer”! Love the new addition–makes a big difference! :)
Looks Great! I’m loving that cute sprayer.
Marie
Super result! This is something do-able.
Thanks.
Pretty sure my laundry room now needs a makeover! Love this!
Oh my heavens – I want to do this in my laundry room now too!! Thx for the genius idea!!
This looks SO fabulous! Looking at it, you’d never guess it wasn’t the real thing!
I used the same underlayment to makeover our faux Shaker-style kitchen cabinets…it’s a very versatile product.
You need to tell me more about that cute spray painter, too!
Totally ingenious and that paint sprayer is the cutest thing I’ve ever seen!
Very cool! I don’t have the patience for a job like that, yours is very well done.
P.S. If you look at the tube that is actually gray acrylic sealant FOR concrete and mortar, not actual concrete :)
This is so cool! I love it!
Wow! That looks so real! What a great idea :)
Wow! That is such a cool idea. I never would have thought of that. And it looks just like subway tile. Love it~!
Holy moly. This is fabulous!!!!!!!
xo
lynn
The wood tiles w/out the paint looks cool as well. Great idea!
^ THIS! :) Would probably need a coat of poly in case the “grout” got on the tiles, but I actually really like that look.
This looks amazing! How creative you are. I love it…
So incredibly awesome! I need to figure out how to use my table saw–this project is fantastic! Great job!!!
You are amazing! Looks beautiful!
This has to be one of the coolest ideas I’ve seen in a long time! Wow! LOVE THIS!