Hello again! It’s Emma from Crafting{E}. I am super excited to be back with another tutorial. Let me tell you something. I absolutely LOVE Christmas. I LOVE the reason for the season and I LOVE how everyone is happy during this time of year. On the day after Halloween, I went to the store and found it covered in Christmas decorations and it just made my day.
I am totally digging the rustic christmas decorations this year. I’m loving all the burlap, red, and rustic wood. I think it’s the cutest combination ever!! I decided to make this fun reindeer/Rudolf wood sign. At first as I was staining the wood, I honestly wasn’t sure how it would turn out, but now that it’s done I absolutely LOVE it.
I love the “antique” wood with the contrasting deer and the pop of red from the nose. The best part is that this project was extremely cheap, easy, and only requires things that you already have on hand (except maybe the stain).
Materials:
- 6 1/2 x 6″ piece of plywood (or whatever size or type of wood you want, this is just what I had on hand)
- Stain (I used Martha Stewart expresso stain)
- White acrylic paint
- Reindeer head stencil (downloadable file at the end of the post)
- Bakers twine
Direction:
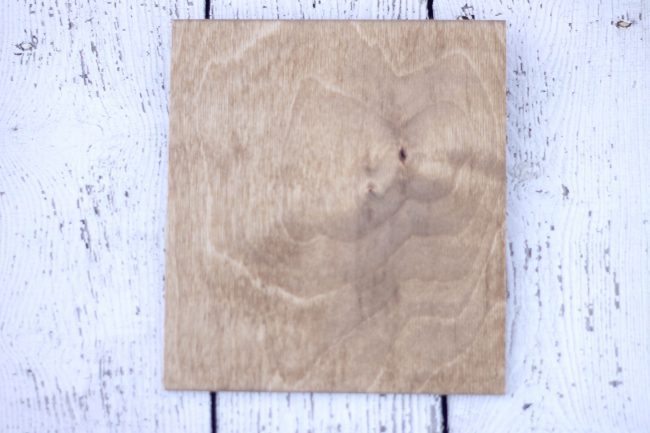
- lightly coat your piece of wood with your stain until its evenly coated. Allow to dry.
- Cut out your reindeer stencil using an electronic cutting machine or by hand. I cut mine on vinyl, but you can use whatever method you like (downloadable file at end of post).
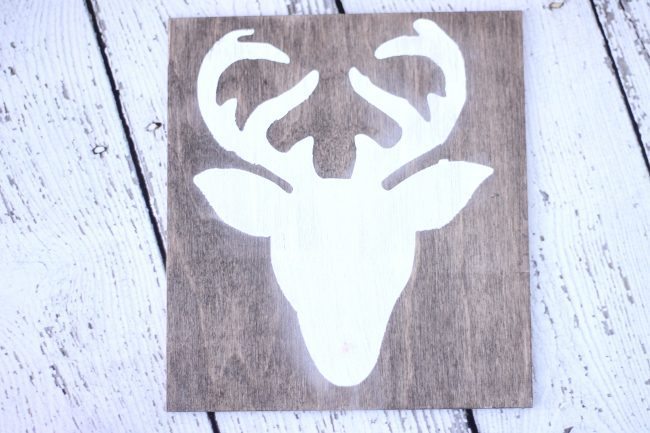
- Center stencil on your piece of wood and paint with white paint.
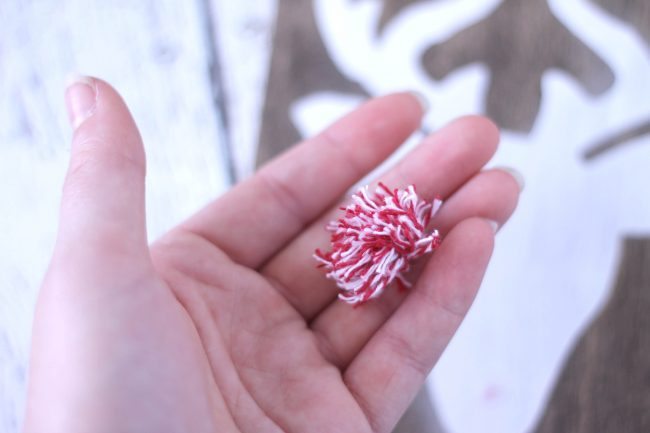
- Make your pom pom. I wrapped bakers twine around a plastic fork, tied a piece of bakers twine through the center, and cut the ends.
- Glue the pom pom onto the sign.

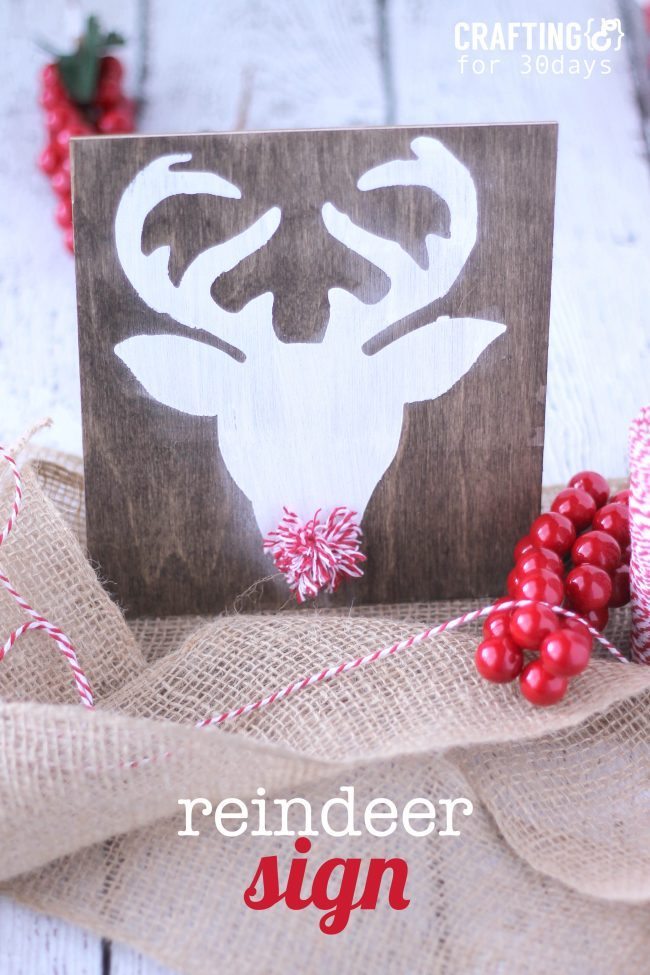
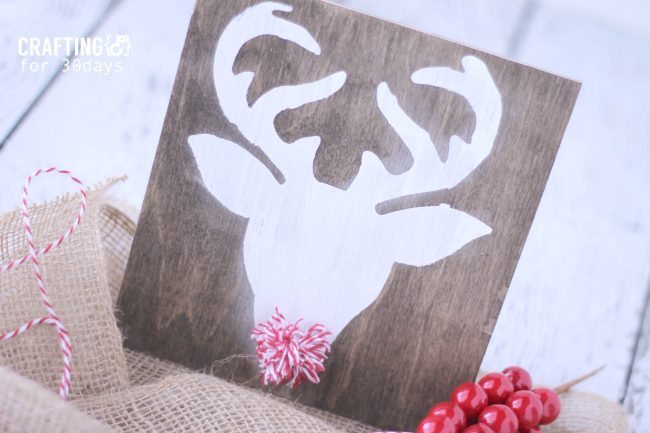


This is so cute and fun to do for a family crafting project.
Thanks for sharing