Hello sweet friends! I’m Cheryl and I live over at That’s What {Che} Said… I hung out over here last month and shared my DIY Confetti Tape Tutorial! If you missed it, I’d love for you to check it out! So fun and customizable for any occasion!
I am so happy to be back today to share with you one of my other loves (besides washi tape) power tools! They do NOT have to be scary and they are so much fun!
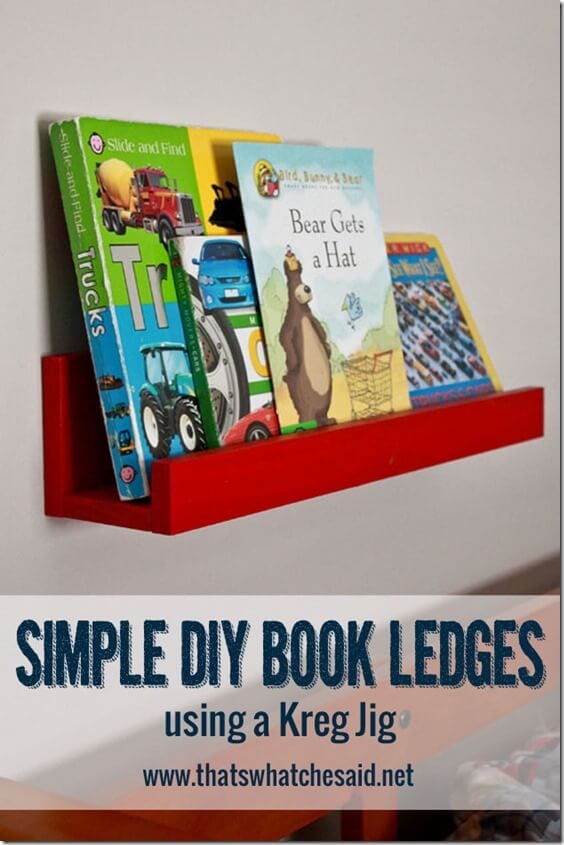
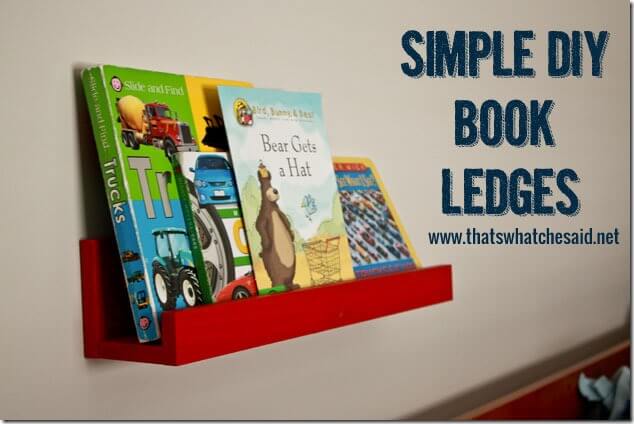
I’m starting with some super simple book ledges and sharing some of my favorite tools in the garage! This project is perfect for a beginner or advanced builder!
Supplies Needed:
- .5” x 1.5” x 36” board (I used 36” and cut in half to make 2 shelves…you can use any length that suits your needs!)
- .5” x 2.5” x 36” board
- .5” x 4” x 36” board
- Kreg Jig
- Clamp
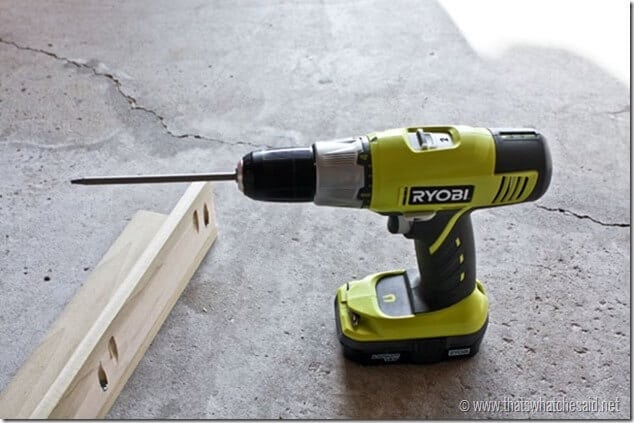
- Ryobi Power Drill
- Countersink drill bit
- 1” Countersink screws
- 1.5” Countersink Screws with anchors (for mounting)
Note: I have lots of steps because I like lots of pictures! Don’t think this project is difficult because of that! Just think I am crazy with the camera :)
I started off by using my Ryobi Compound Miter Saw to cut each of the boards in half. This will give me (2) 18” book shelves. If you ask the kind folks at Home Depot, they will cut the boards to size for you, so you don’t have to have a miter saw! Great right? Then I got out my Kreg Jig. I am going to show you how to use the Kreg for this project. You do not need one. You can also use your countersink bit and screws but I think it’s nice when you can see how it works!
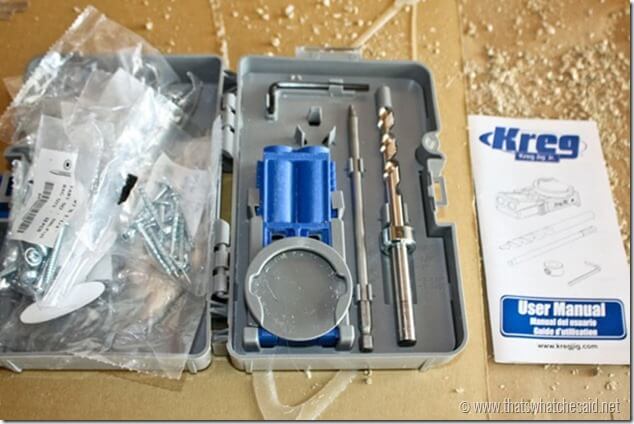
My Kreg Kit contains the R3 Kreg Jig, a driver bit, a drill bit, an allen wrench and a slip nut. It also comes with tons of screw packs and pocket hole plugs and an instruction manual!
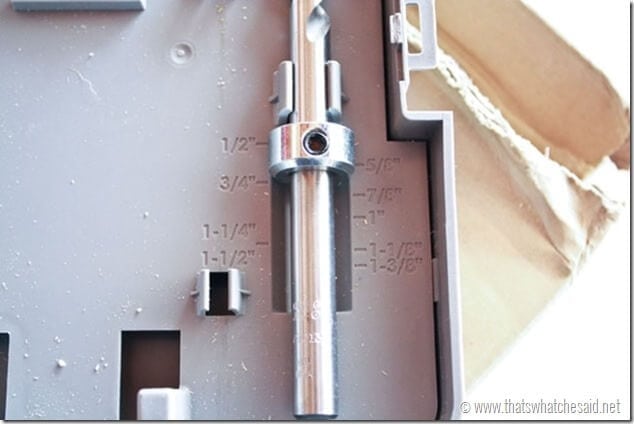
Next I set the slip nut to the appropriate depth. this is based on your board width. Since I have half inch boards, I set it to half inch. The case has everything you need to get a job done!
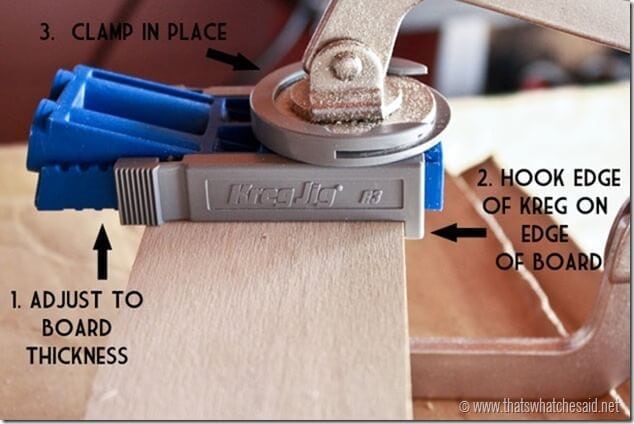
Then I adjusted my Kreg itself to half inch using the adjustable sliders on both sides. Measurements are clearly marked on the back of the Kreg. I then set the Kreg on my 2.5” board with the edge of the Kreg over the edge of the board and clamped it down tight using a Kreg Clamp. This will be the bottom of your ledges.
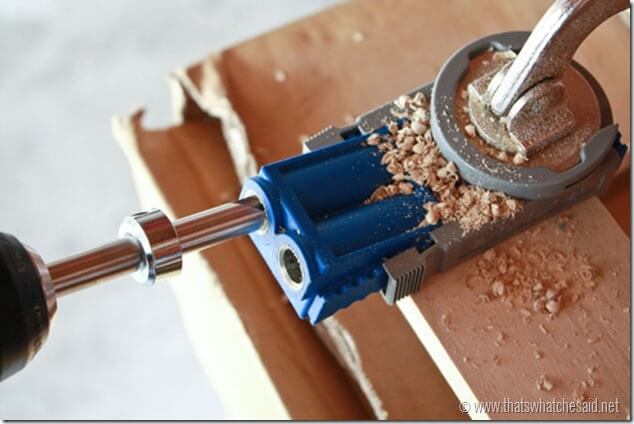
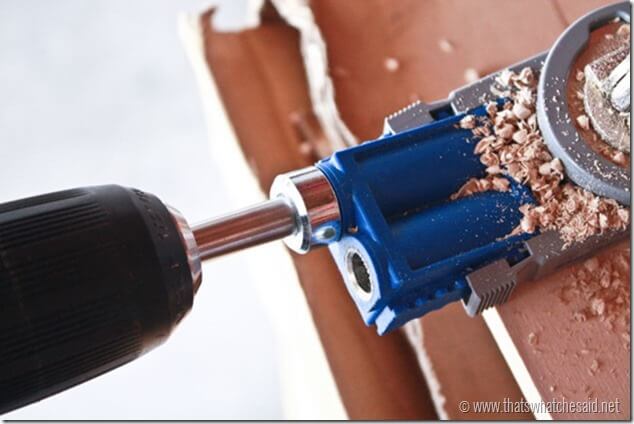
Next is the fun part! Insert the drill bit that we set above into your drill and you are going to drill into the Kreg Jig holes.
Continue all the way until the slip nut hits the blue Kreg casing!
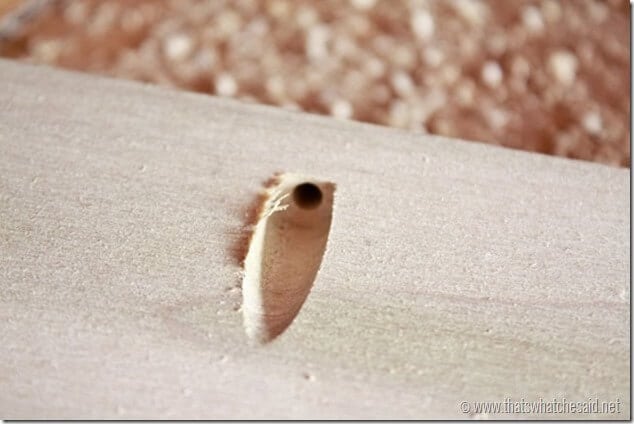
Pull the drill and bit back out of the Kreg, unclamp and sit back and enjoy your handiwork :) You now have a pocket hole!
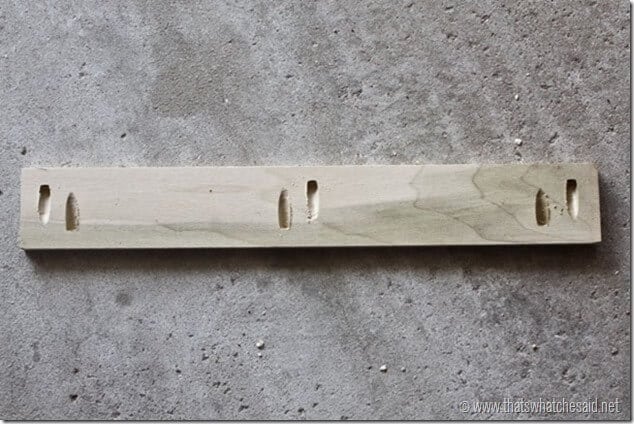
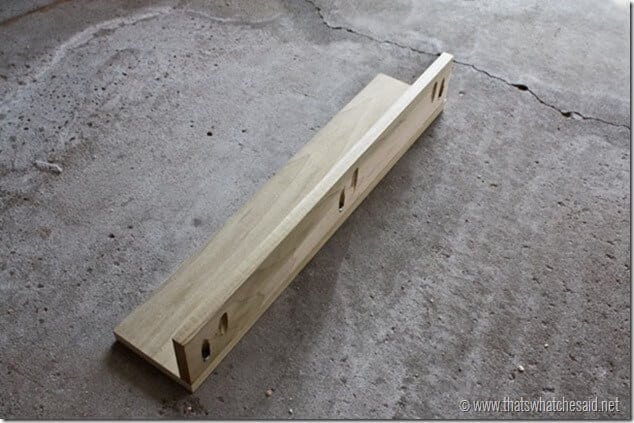
You will need to repeat this step. Kreg recommends a pocket hole every 6-8 inches. I did three for good measure on each side of my 2.5” board so that I could screw in the front and back boards.
Next we get to assemble! Get your 1” countersink screws out and attach the driver bit to your drill.
Set your back board (4” board) flat and line up your bottom board with the pocket holes. Screw together. The great thing about countersink screws is that they “pull” the boards together with minimal muscle power :)
Repeat with the front ledge board (1.5” board).
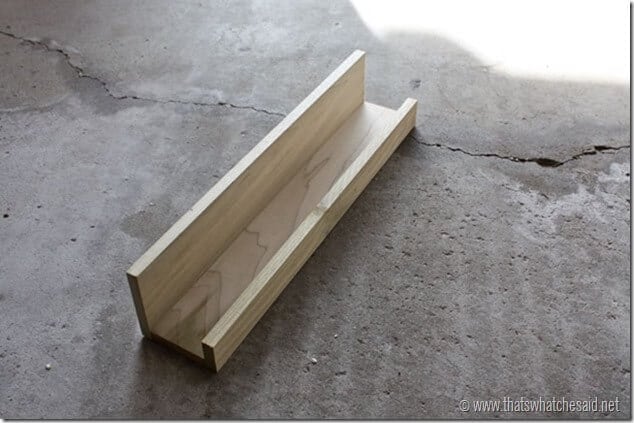
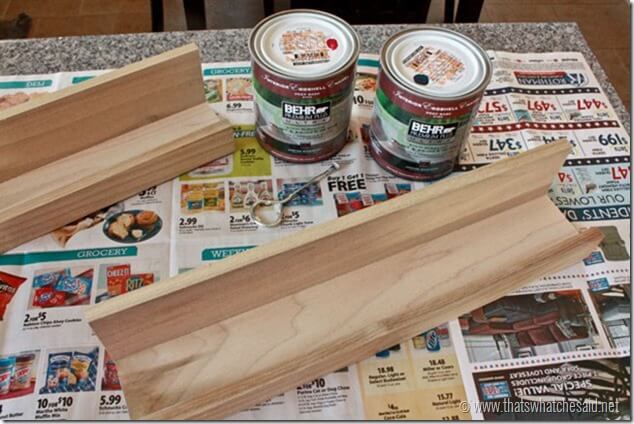
Now you have your assembled ledge! I repeated everything for my second shelf! Then I got to painting them. You can stain, paint or leave as is!
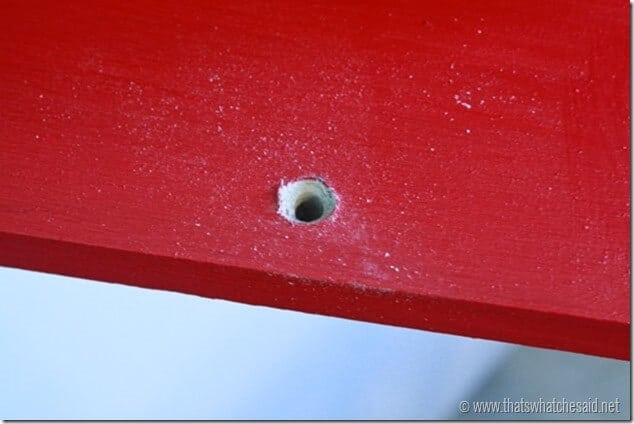
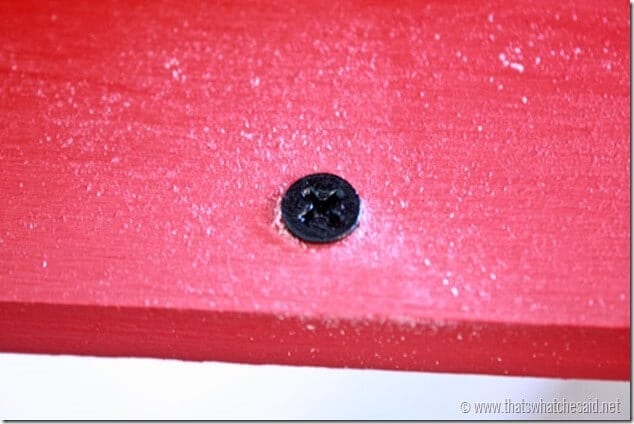
To mount to the wall I simply drilled some countersink holes with a countersink bit. This drills a hole in your board that allows the head of the screw to sit flush with the board instead of sticking up over it! (as I mentioned above you can use this method for the ledge assembly if you do not have a Kreg)
Here is how the screw will sit in the hole.
We then drilled holes in our wall, inserted anchors and then screwed the ledges to the wall!
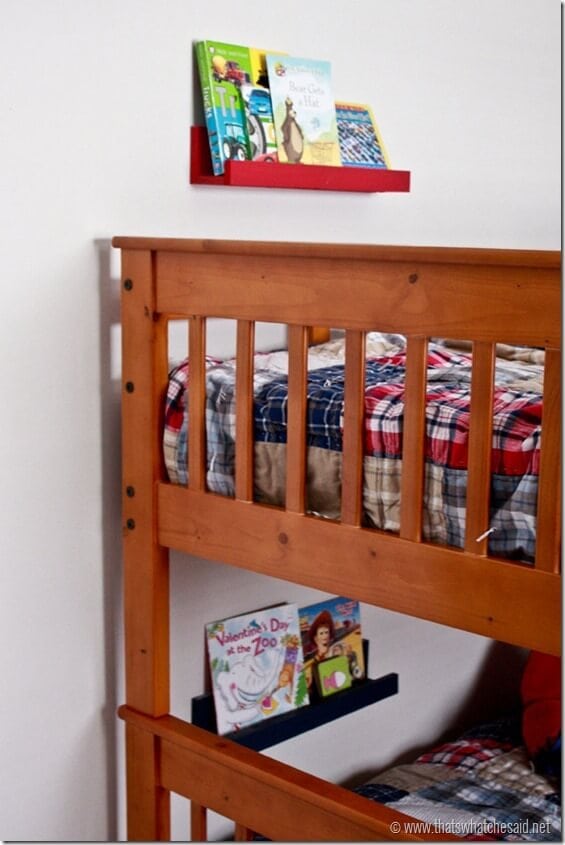
Each bunk gets a small book ledge to hold some night time books! My kids are book worms and I love it and they each read before bed. Since we had to eliminate the night stand for the top bunk…these work perfectly to hold his favorite books!
Uses:
These are not only for book ledges! You could features photos on them or use them in a craft room to hold jars of buttons, twine and embellishments! You can adjust the front height on the ledge and use it for small trophies or keepsakes as well! These are very versatile in that you can customize the size and length to fit your specific needs!
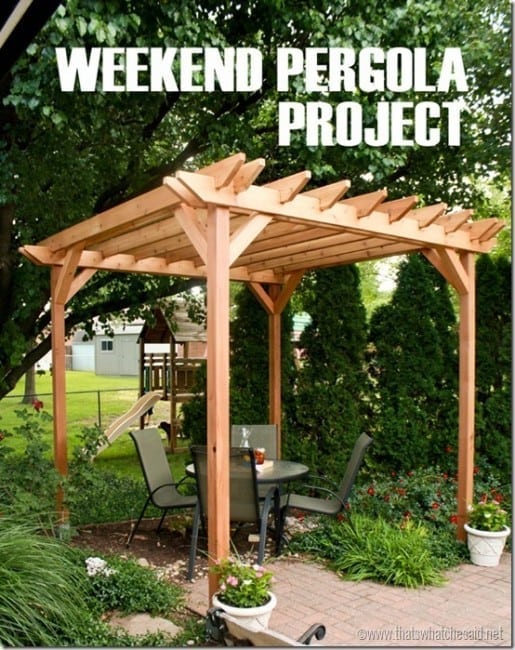
Thanks so much for building with me today! If you are interested I also have step by step plans on my site for a DIY weekend Pergola! That’s right, we built a pergola in our backyard over a long weekend!
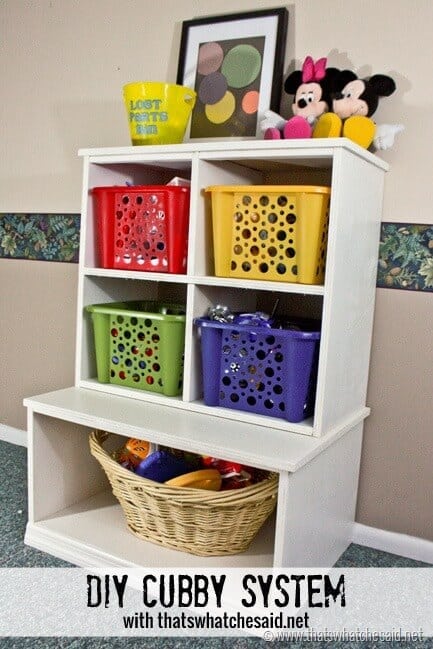
I also am in love with my PB knock off Cubby system for the boys’ play room!
Have a great day!! Feel free to stop over and say hello anytime!





Simple and cute – thanks!
Great tutorial!
xoxo
Love this idea. I just bought my hubby that for Christmas…now some great ideas how to use it.
Great idea!
I love these! Perfect for nieces’ loft beds. And Also perfect as a display shelf!! I’m running out of room to put all the things I make.
~Cheryl
http://snaps-of-ginger.blogspot.com/