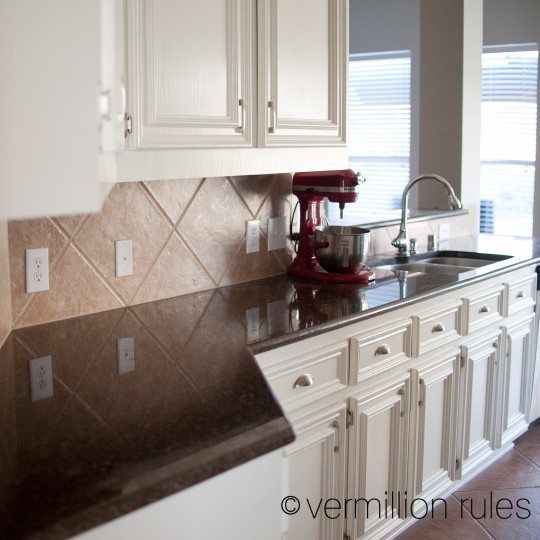
Want to update your kitchen without spending a fortune? Use this tutorial for painting kitchen cabinets white!
Note from Mique: We are in the middle of our kitchen redo. This is an awesome post from Bethany for painting your kitchen cabinets! Painting our cabinets wasn’t an option for us but I love what Beth did with hers. Check out my first post to see how we started ours and enjoy this post on how Bethany did theirs. Something for everyone!
Painting Kitchen Cabinets
In July 2014, we purchased a new (to us) home. We got a great deal, but I wasn’t a fan of the kitchen. Compared to the other homes we had toured, it seemed dark and closed off from the rest of the house. It also had annoying features like cabinets too close to the counters to fit a KitchenAid (who builds cabinets like that???) and cabinet boxes too shallow for our plates. But we love a good project, so my husband and I mapped out a kitchen gut, complete with new cabinets, an island, and a totally different layout. We calculated the budget and how long it would take us to save the money. My 2014 Christmas present was going to be an incredible kitchen!
But sometimes we don’t get what we think we want. One month later, we felt the incredible impression that we needed to adopt. From China. Like, now. Instead of saving for a kitchen, we started saving for something A LOT more important.
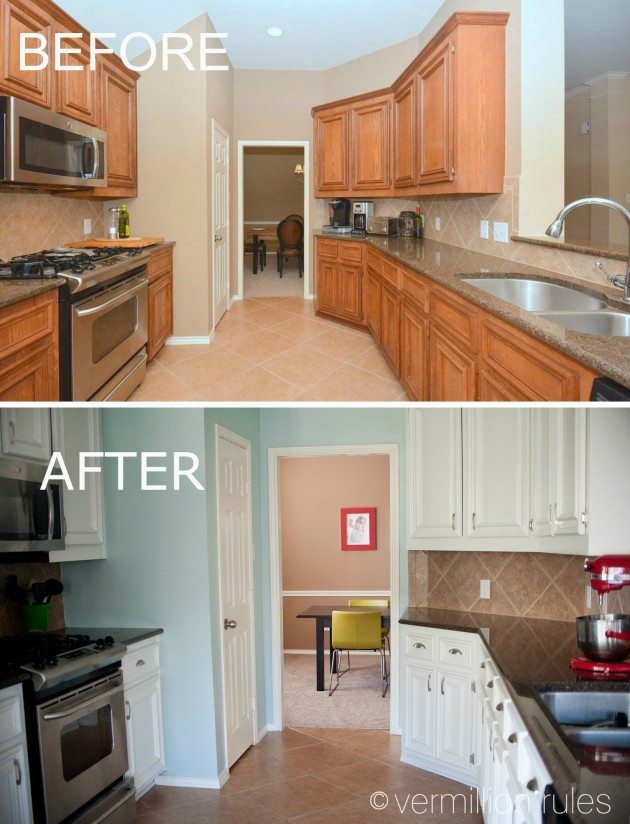
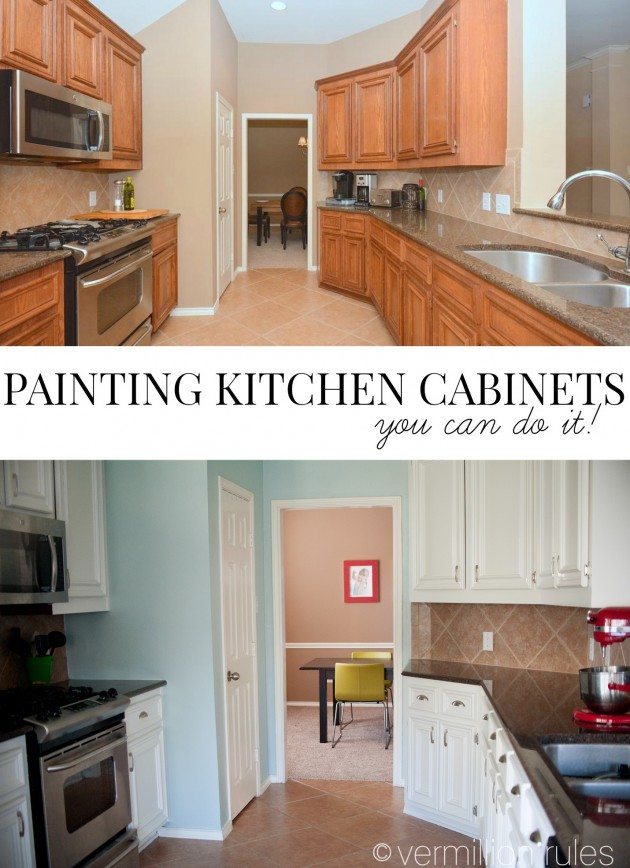
Let’s be honest though, I didn’t stop hating the kitchen. After quite a bit of research, I decided that I could make smaller, inexpensive changes to love our space. Painting the cabinets white to brighten things up was top of that list.
If you like this post, you’ll like these too:
Supplies:
- sandpaper
- paint rollers
- a GOOD paint brush: my husband painted homes for several years as a summer job and swears by the Purdy brand
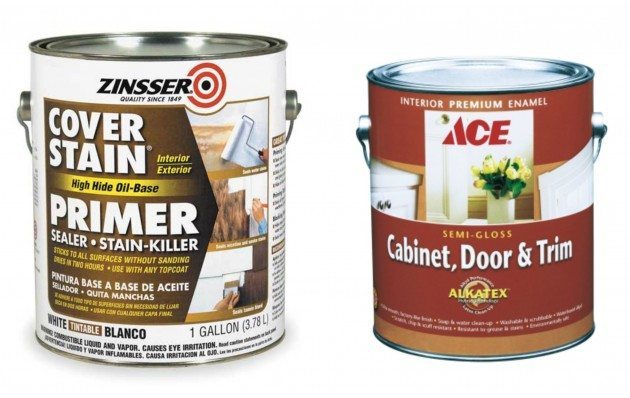
- Zinsser (oil based) Cover Stain primer: if you want a professional look, you need to use an oil based primer. We only needed 1 gallon of primer
- Ace Hardware Cabinet and Trim paint: the great thing about this paint is that it can be tinted ANY color! More about the paint below. Also, we only needed one gallon of paint (and still have some left over).
How to Paint Kitchen Cabinets
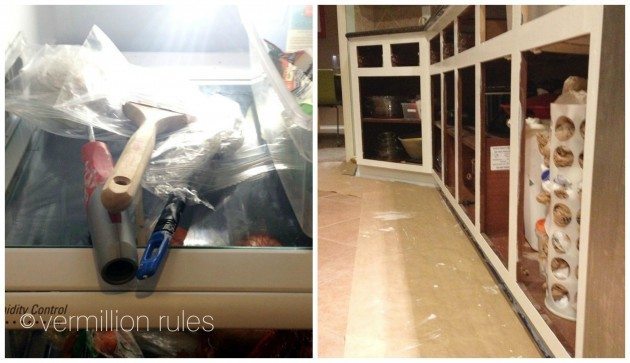
Take all of the cabinet doors off (PLEASE do not paint your doors while they are still attached to the cabinet bases). LIGHTLY rough up the cabinet boxes, trim, and cabinet doors (front and back side) with the sandpaper. You do not need to sand down to the grain, just enough that the paint has something to hold on to.
Confession: Because I’m super lazy, I left everything in the cabinets the entire time we worked on this project, just scooted things back so they didn’t get dust or paint on them. I had to wash several things when the project was over, but that seemed easier than removing every single thing from my cabinets. I did, however, take everything out of the drawers.
Wipe all of your cabinets clean (I used a paper towel and some water. Nothing high tech).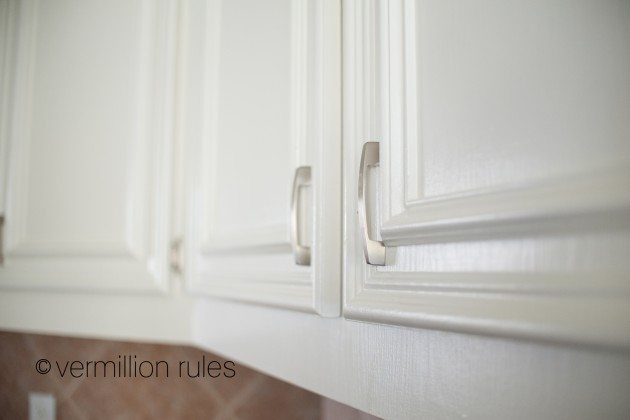
Once we let the primer dry (about 18 hours), we started painting the top coat. The color we tinted the Ace Hardware Cabinet and Trim Paint was Sherwin-Williams Alabaster White. Ace Hardware is very good about tinting their paint to any paint brand’s color. It looked a little cream on the paint chip, but I’ve never thought “cream” now that it’s on my cabinets.
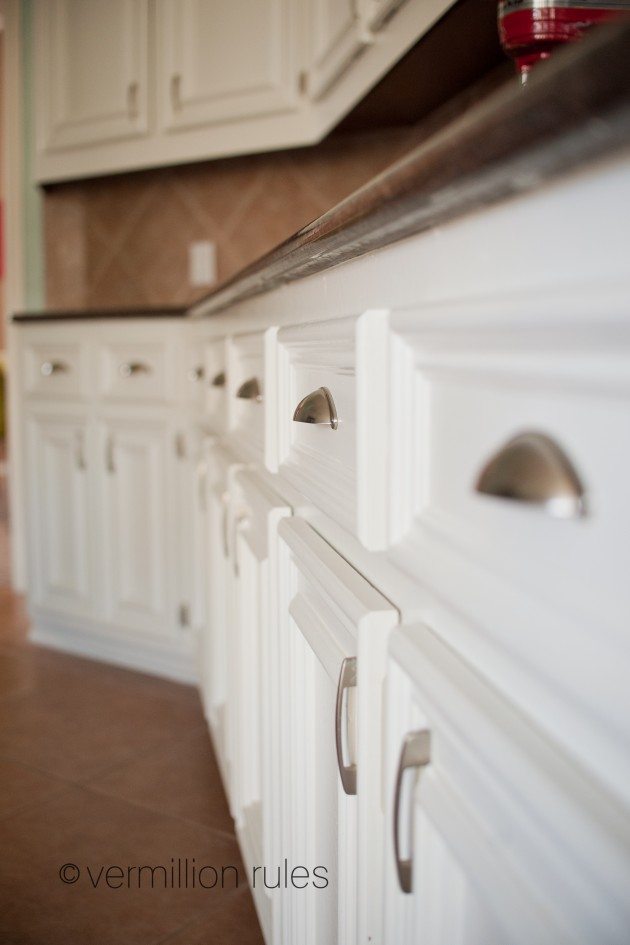
We had to paint three coats of this paint to cover the cabinets completely (remember, thin paint). Again, we painted the cabinet doors with the backside first, let them dry, then flipped them. The cabinet doors definitely took the most time. We set them all up on drop cloths in our garage for a few days (if you live somewhere cold and do this during the winter, check the instructions on the paint before attempting this in your garage. Cold does weird things to paint).
You must let the paint dry COMPLETELY between coats. Drying took between 18 and 24 hours. We were in a rush (we needed to get the kitchen done before a large planned party in our home), so we leaned more towards the 18 hour mark and it worked out just fine. On the cabinet boxes, we mostly used a roller, but our cabinet doors have a beveled trim, so we had to use a paint brush on those. After it dried, there were no visible brush strokes. You can still see the wood grain in my cabinets, but I don’t mind that. We probably could have covered it up if we had painted several more coats.
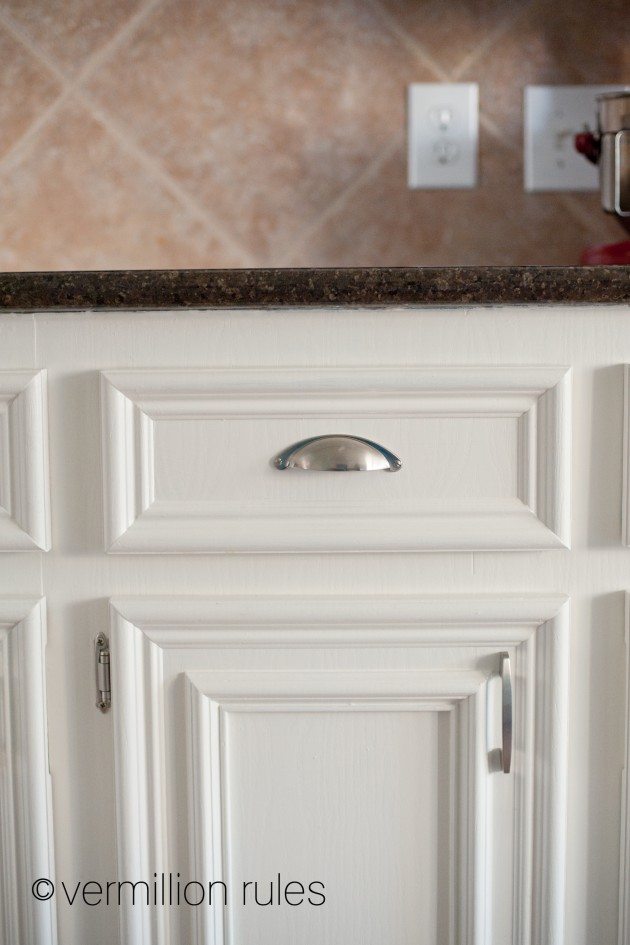
One more tip: Because we spent so much time painting, I did not want the paint to chip the first time one of my kids slammed a drawer, so I bought small felt pads (you can pick them up at Walmart or your local dollar store) and stuck them on to the inside of each cabinet and drawer. Now they close softly.
Next project on our list? A new back splash!



I’m painting some bed frames, would you use the same trim paint on them as you did on the cabinets?
I want this to be my Summer 2015 project!! You inspire me soo much to do this now that I know what products to use. Just one question….how is the white with dirty hands? Is it easy to clean? GREAT job!
Beautiful work!
Did you consider Annie Sloane paint? This is not a negative question. I am just curious. So if you did look into AS paint, what made you decide to use traditional paint?
We did look at chalk paint (though I looked more at the BBFrosch version since it can be tinted to any color), but I wanted something that I didn’t have to put a wax coat on and left a very very even finish. Also, the original cabinets look a little bit lighter in the picture than they are in real life–they are quite dark wood and I wasn’t sure how well the chalk paint would cover them. I’m sure in the end chalk paint would have worked, I just didn’t want to experiment with it on my cabinets (big project that I didn’t want to redo) and I wanted an even, smooth finish.
did you paint the inside of the cabinets as well?
Nope, just the outside (and inside of the cabinet doors) :)
We painted our cabinets a few years back. They need to be done again. I appreciate your tips. I am not looking forward to this job. My cabinets are painted a dutch blue with wrought iron pulls. I have to pick a new lighter color as it is a darker space but I don’t know if I am brave enough to paint them white :)
Have a good night.
Love the great tips. Beautiful kitchen!
Thanks Amy!
Hi, great tutorial, thanks! I was wondering what color you used to paint your kitchen walls??? I am in the process of picking out paint and the color you have is right in between the 2 colors i’m choosing between and i love it! Painting the cabinets white is next! :)
thanks!
Sara, We love the paint color and it looks so great with the white cabinets. The color is Benjamin Moore Palladian Blue. We had it mixed at Ace Hardware :). Good luck with your kitchen projects!!!