It’s the week before Halloween and time is running out for candy, parties, costumes and more. There have been more than one time over the last 17 years that I’ve been scrounging for last minute Halloween costumes. Ahem. More times than I’d really care to admit!
This post is in partnership with Reynolds Wrap ® . I am beyond thrilled to work with a company I absolutely love!
Have no fear… with a little bit of time and creativity, I’ve come up with 4 different costumes that you can make mostly with things you already have on hand.
If you are looking for other Halloween costume ideas, I’ve got you covered:
- 25 Boy Halloween Costumes
- Family Halloween Costumes
- Halloween Costumes for Girls
- Teen Halloween Costume
Last Minute Halloween Costumes
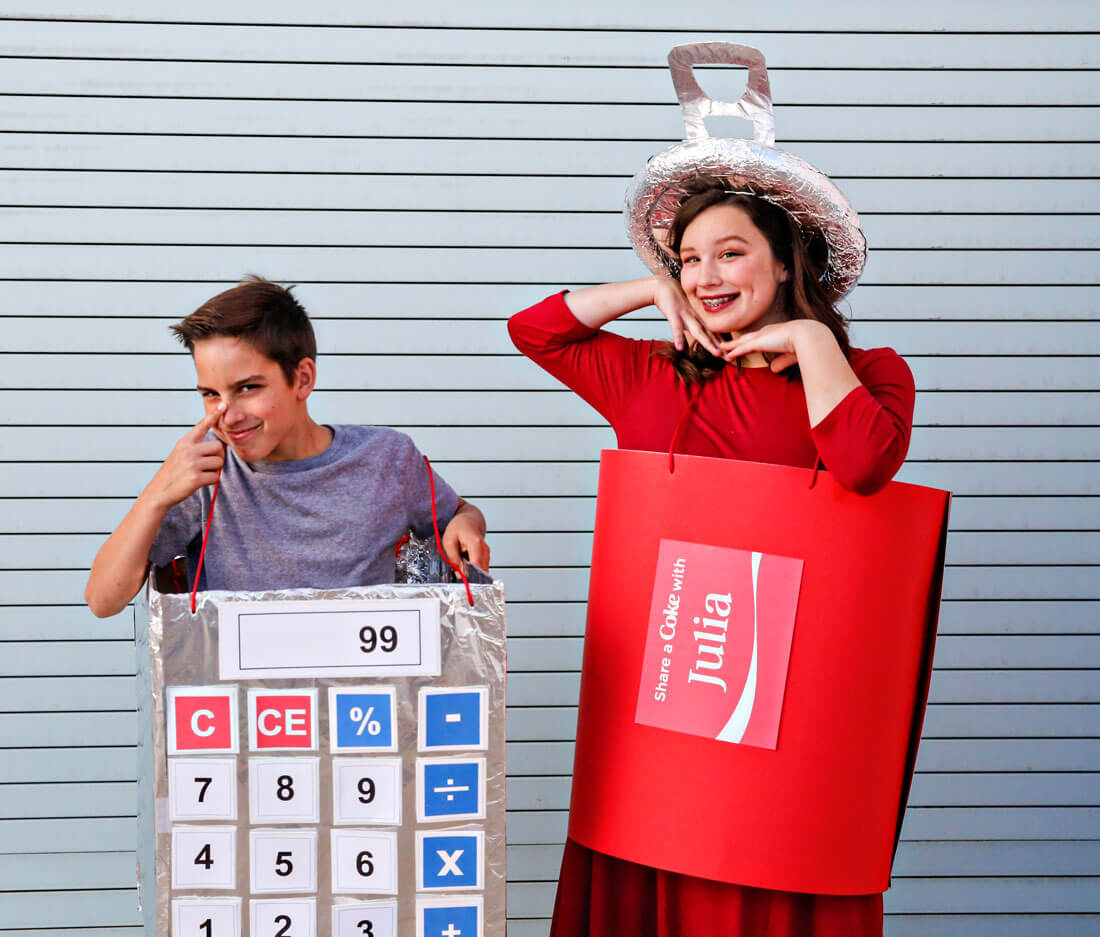
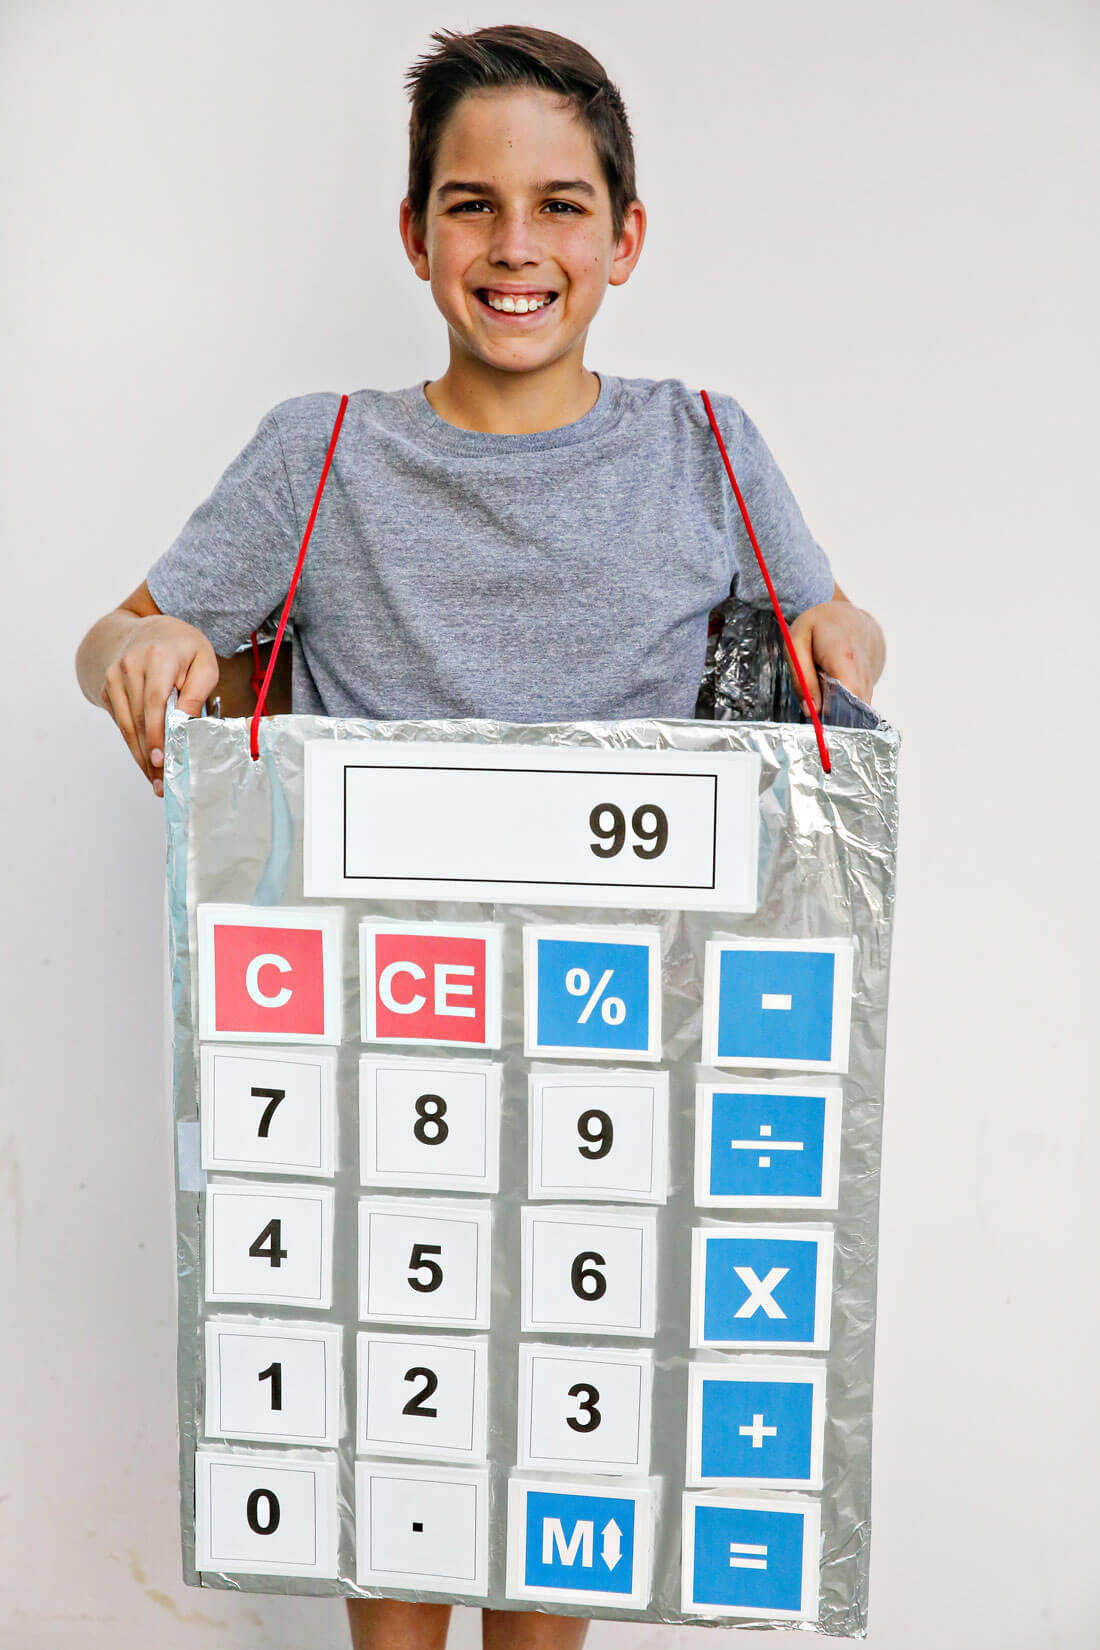
For the smarty pants, I’ve got a simple calculator costume. I even made a set of printables for you to download and take the guess work out. Here’s how you do it –
How to make a Calculator Costume:
Items needed –
- cardboard box
- Reynolds Wrap ® Aluminum Foil
- printables
- foam paper — this isn’t necessary but I felt like it made the buttons “pop”
- tape/glue/adhesive
I used a packing box as the background for this calculator. I bought the box for $1.98 but any cardboard box will do. Wrap the box with sheets of aluminum foil and tape to the inside of the box. Print the numbers, cut out and adhere to the box. We used a hole punch and cording to make straps to hold calculator up. You could use a straight edge or ruler to perfectly line up the numbers but honestly I just eye balled it and think it’s turned out great.
The awesome thing about this one is that you can wear normal clothes underneath and it’s easy to hop in and out of. It also doesn’t take much time to pull together.
Halloween Costume Ideas
Next up – Soda Pop Can!
Julia is my 15 (close to 16) year old daughter. While she doesn’t go trick or treating these days, she has dances and parties to go to that require Halloween costumes. This costume would work for adults too!
How to make a Soda Pop Costume:
- wreath form (purchased for under $5 at the craft store)
- 2 red pieces of poster board
- cardboard
- headband
- Reynolds Wrap ® Aluminum Foil
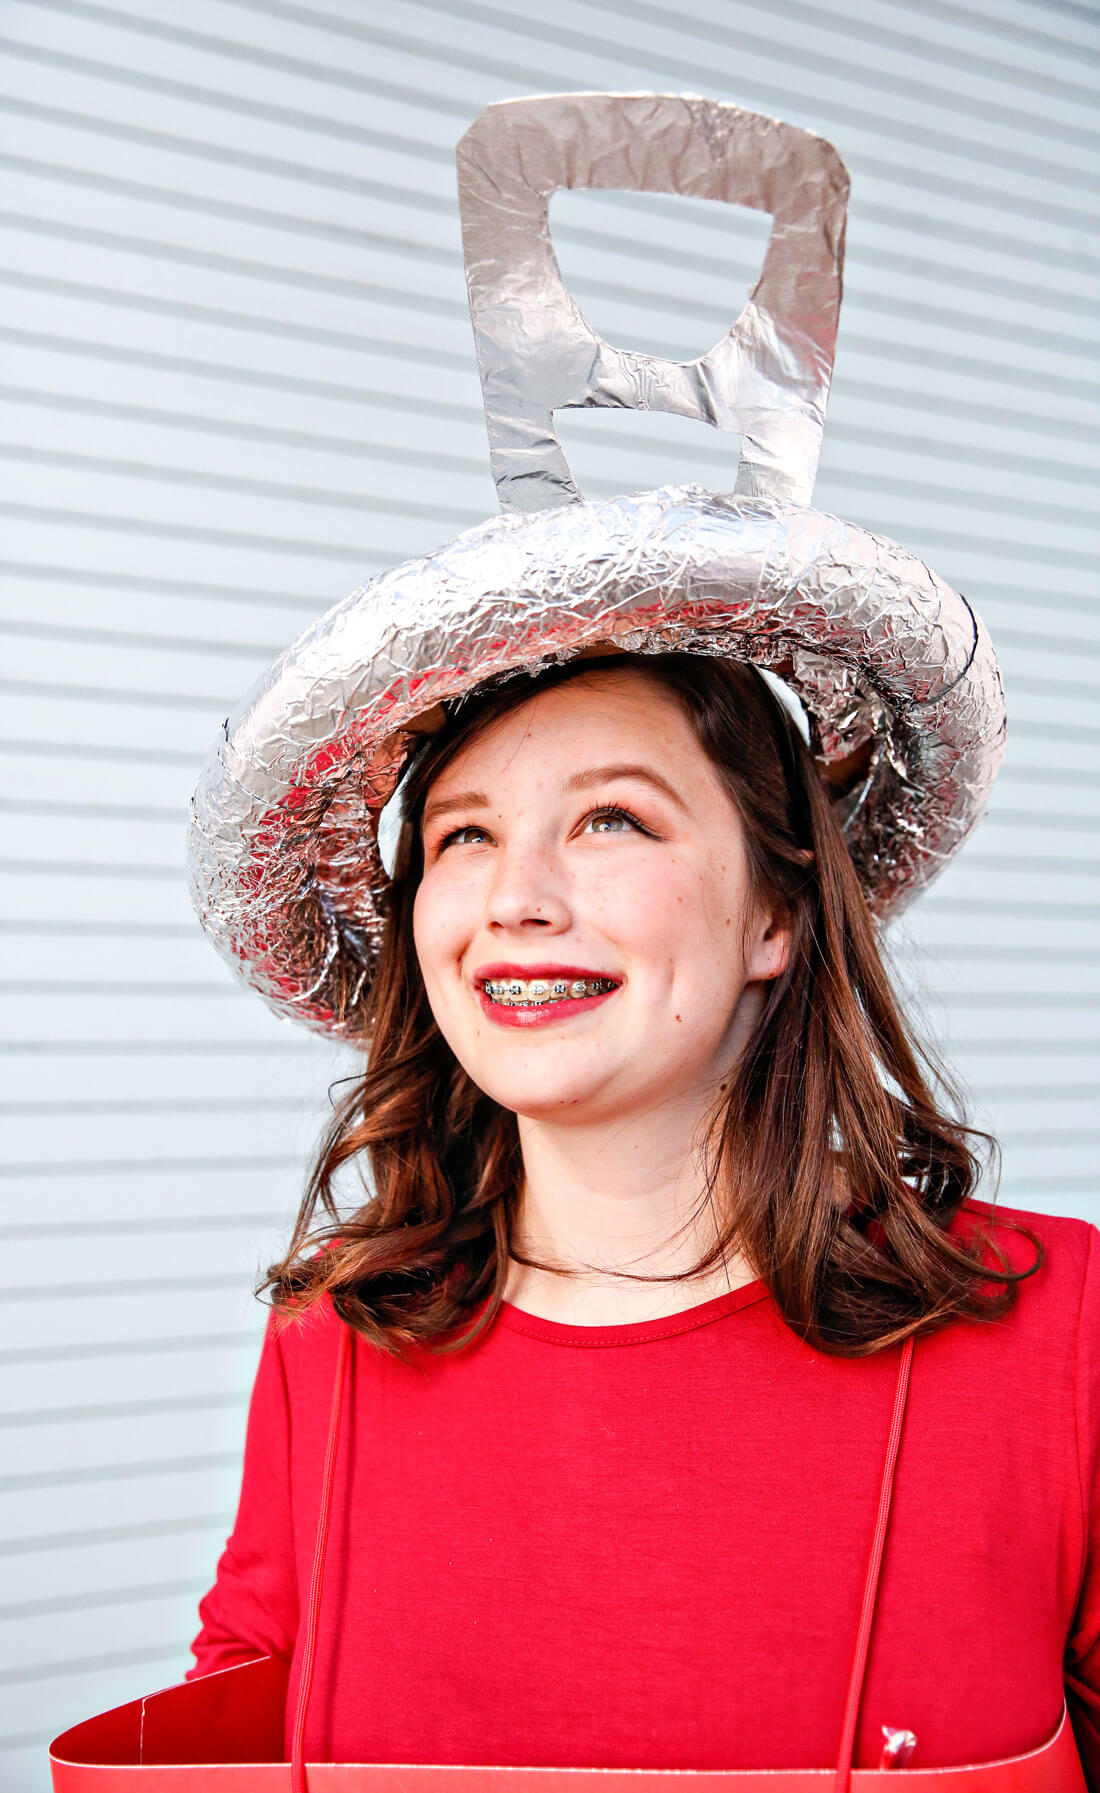
This is one of those ideas that kept evolving as I was making it. She wore a red dress and I created a sign to make it so that she was a Coke can. You could wear any soda shirt, or plain shirt and add a sign to it. I then traced a soda top tab onto a sheet of cardboard and cut it out. I wrapped the tab with Reynolds Wrap ® Aluminum Foil and then attached it to a headband using a glue gun.
For the top of the can, I used a wreath form and wrapped it with more aluminum foil. I cut out an inner circle for the inside of the wreath and wrapped that with aluminum foil as well. I then glued them together with a glue gun again.
I might be a little biased (ok A LOT biased) but I think it turned out so cute and Julia looked great as a soda can.
I also thought it’d be fun to do a Tooth Fairy costume for her. This one would be great for a little girl or an adult too!
You don’t need much to make it happen.
How to make a Tooth Fairy Costume:
- Dowel for the wand – found at Walmart
- Reynolds Wrap ® Aluminum Foil
- Elastic -found at the craft store
- Tulle – found at the craft store
- headband
- toilet paper roll
This costume comes together in under an hour. The thing that takes the most time is putting the tutu together. But it’s so simple! There are a lot of tutorials out there for how to do this but I like this tutu tutorial from the Pinning Mama. You can make it as big and fluffy as you want it to be.
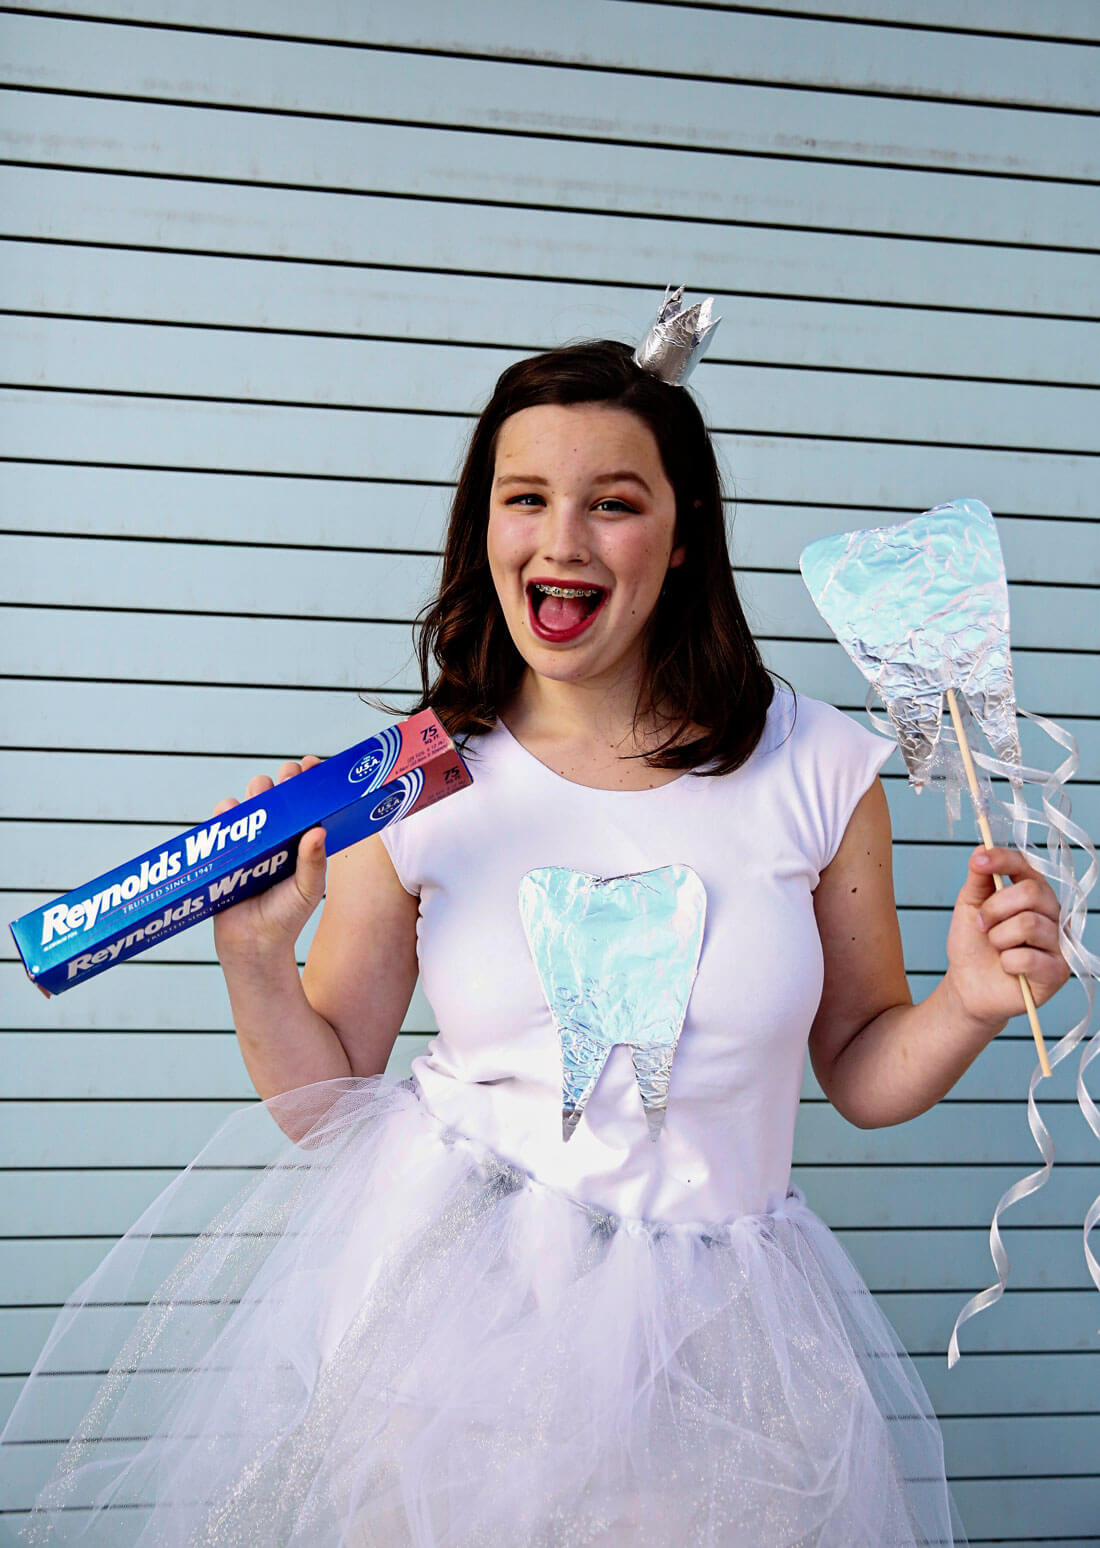
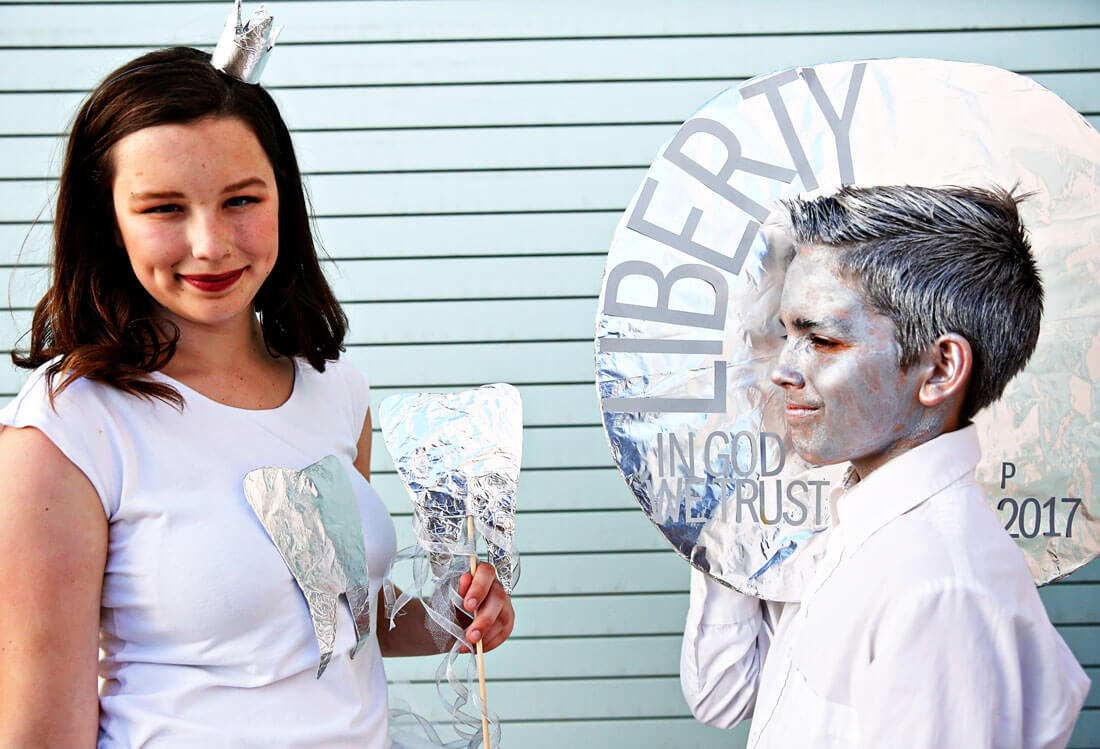
I cut an empty toilet paper roll down to about 3/4 of the size. I then cut the zig zags into it (again, just eye balled!). I wrapped it with Reynolds Wrap ® Aluminum Foil and then attached it to a headband with my glue gun.
To make the tooth fairy wand I drew a tooth on cardboard. I cut it out and wrapped with aluminum foil. I then glued the wooden dowel to the back with my glue gun. And I attached varying lengths of ribbon to the back to make it even cuter.
Julia wore a plain white shirt and white pants. I made another tooth to attach to the front of the shirt. I wrapped it in aluminum foil and adhered with packing tape. If you have an extra white shirt that you don’t mind using for this, I would permanently adhere the tooth with a glue gun.
Again, she makes the cutest tooth fairy I ever did see!
And what’s a tooth fairy without some money?
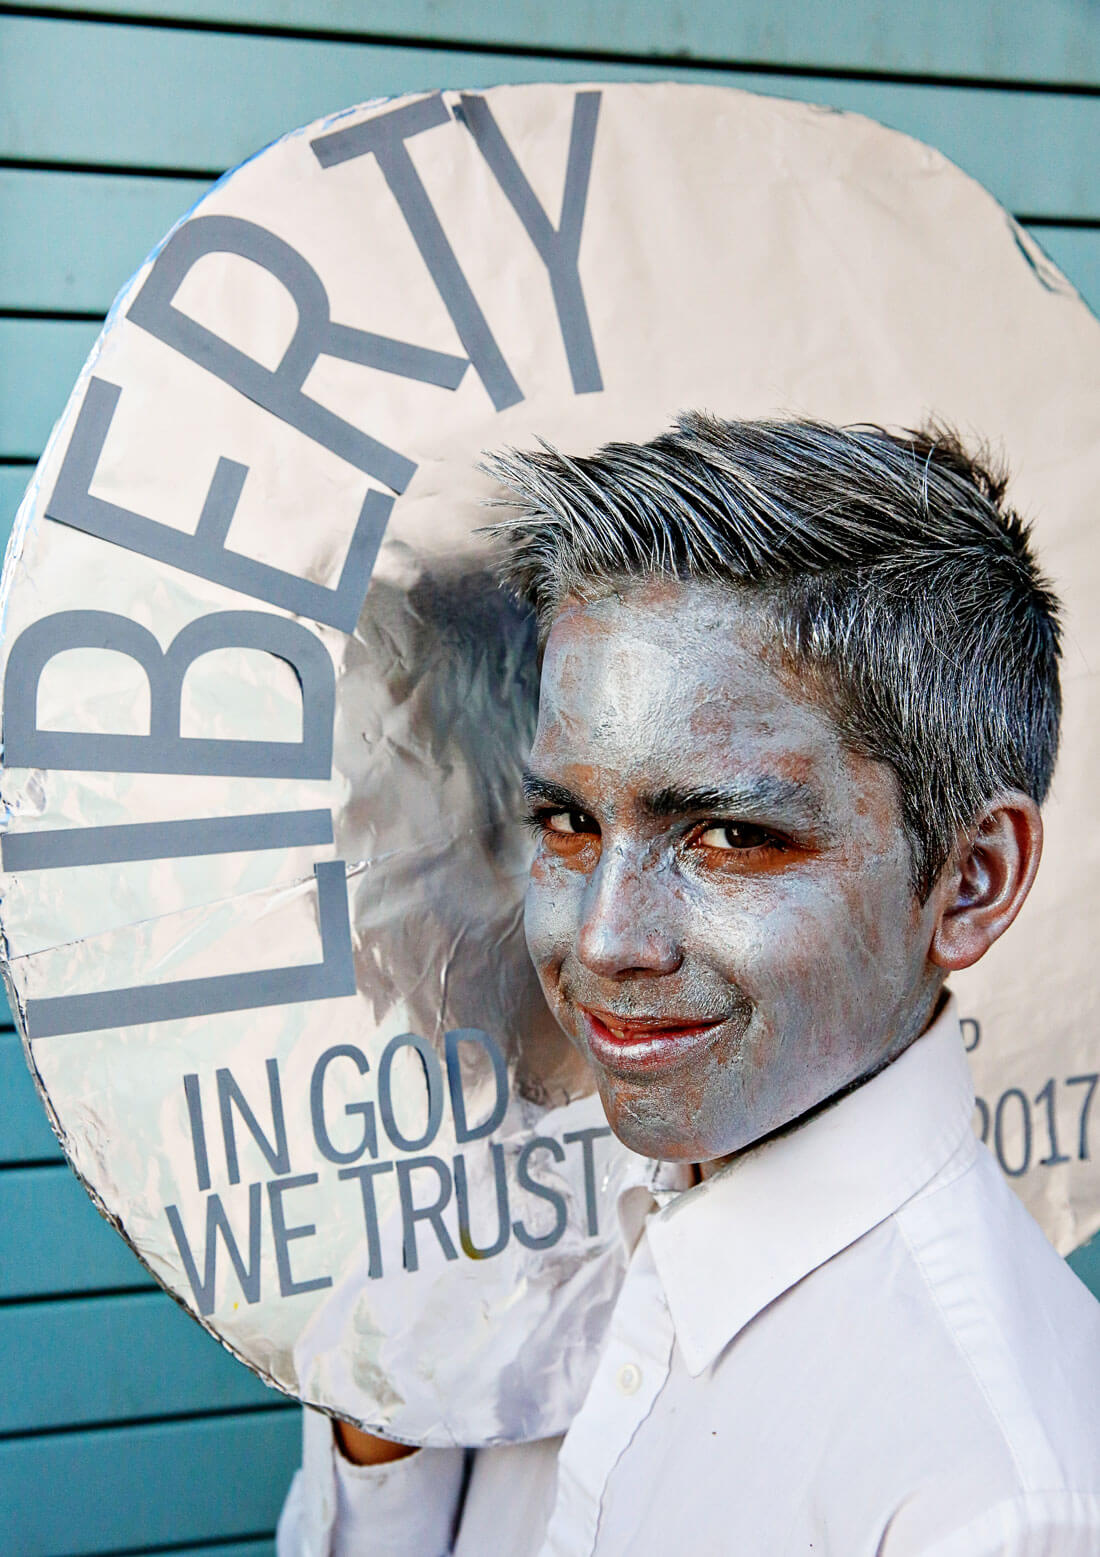
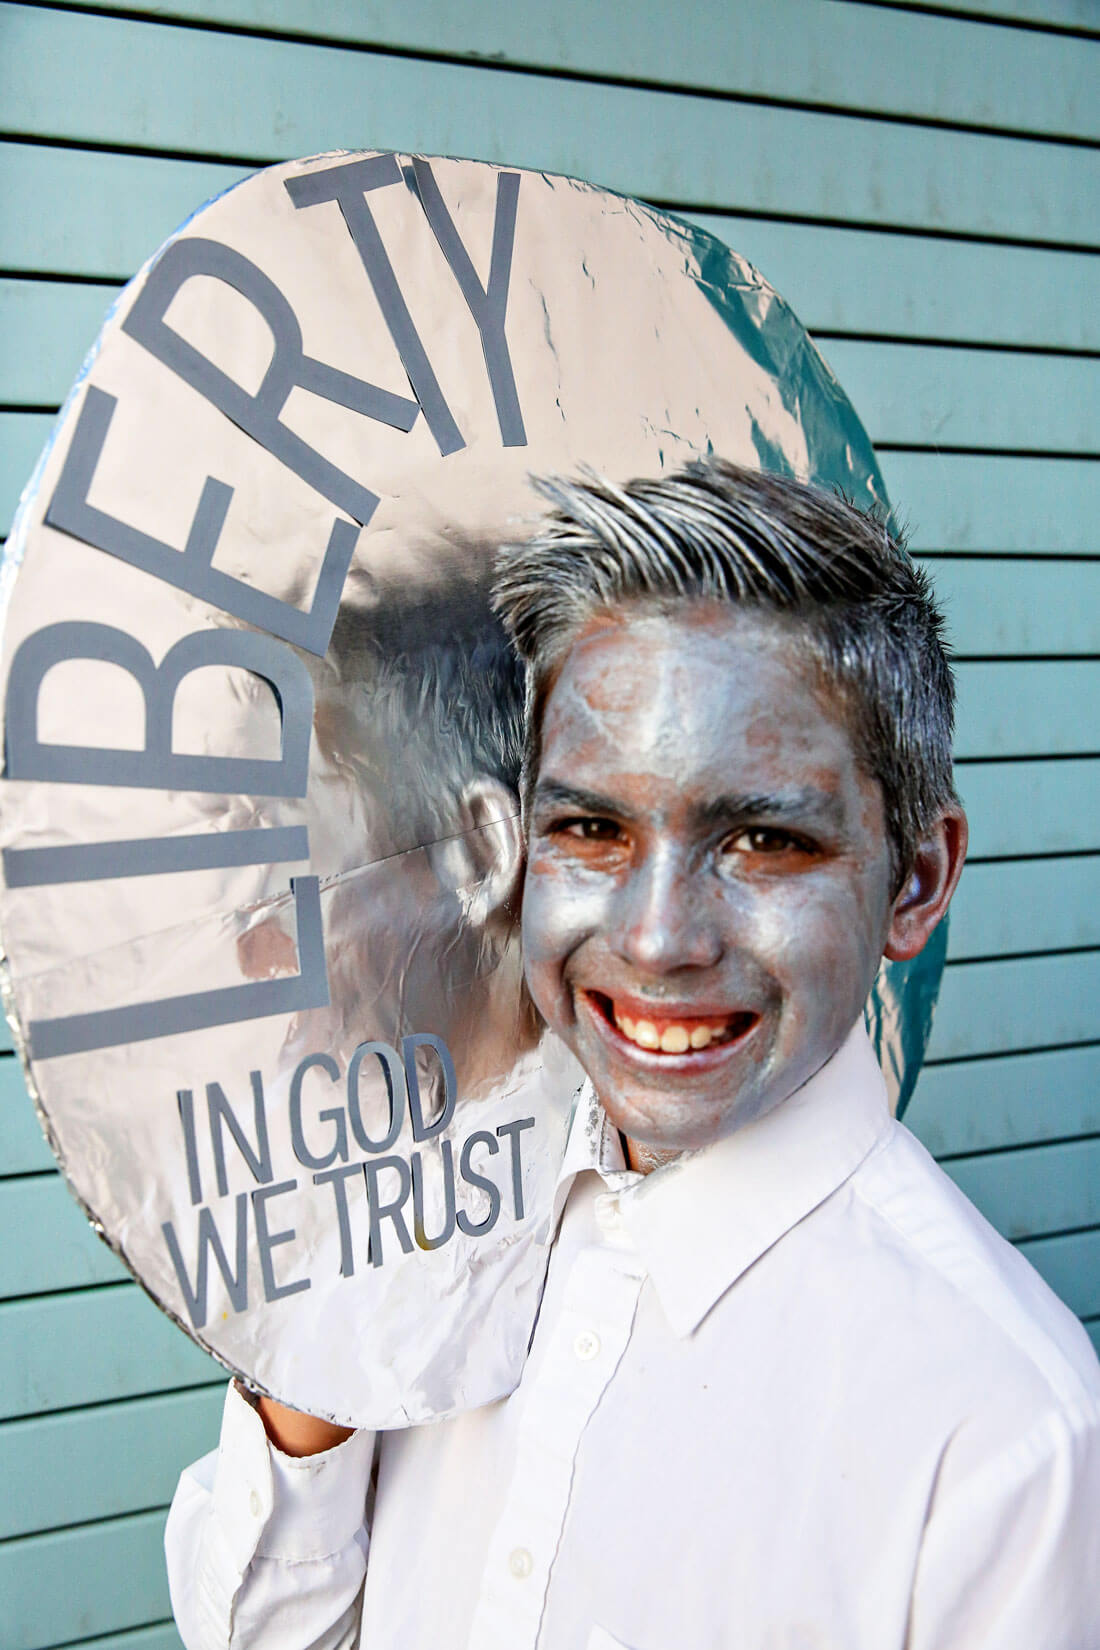
I have seen money costume ideas floating out there but have never seen a dime or a nickel. I researched coins online and decided the dime would be the best and got to work.
How to make a Nickel Costume:
- gray hairspray – found at party supply store
- gray face paint
- button up white shirt and pants
- cardboard
- gray construction paper or cardstock
- Reynolds Wrap ® Aluminum Foil
The first thing I did was cut a circle out of cardboard. I cut out a notch in the middle so that it could rest on my son Drew’s shoulder. The size of this will depend on how old the person who is wearing it is. You’ll have to use them as a guide. I then wrapped it with aluminum foil and set the base aside.
I was able to use my Cricut machine to cut out the letters for the dime. It made it really easy to make the dime look legit. But if you don’t have a cutting machine, you can trace letters, use stickers or even hand write the words and numbers on to the outline. The font used is Franklin Gothic.
Adhere the letters or write the words onto the dime. Color your hair and your face. Then put the button up shirt on and stack the dime on your shoulder.
I thought of even more ideas that would take little time to execute before Halloween. The great thing about Reynolds Wrap® is that it’s inexpensive and easily wraps around everything. I used tape for some of these projects but it really wasn’t necessary because the foil keeps its shape.
I normally use it in my kitchen to put line baking sheets, wrap food to save for later or to deliver treats. But I had fun creating with it with Halloween in mind.
Do you already have your costumes ready?
Looking for other last minute Halloween costume ideas?








I love these easy DIY costumes!