
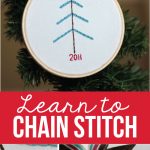
So far, we have gone over what you need to get started in embroidery and the back stitch. Today we are going to learn the chain stitch and get started on our Christmas crafting by making this:
Let’s start with learning the chain stitch.
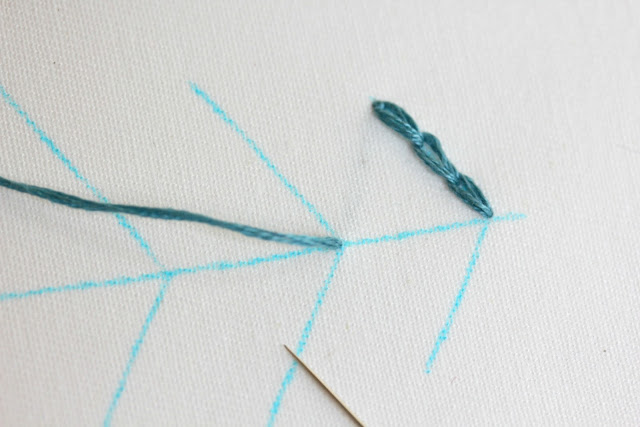
Bring your needle up through your starting point.

Put your needle down in the same spot where you just brought it up, and then bring your needle back up through the next point. (How far away you bring your needle up will determine the length of the stitch.) Make sure your thread is under your needle, then pull your thread through.
You have one chain stitch. Didn’t get it? Let’s do it again.
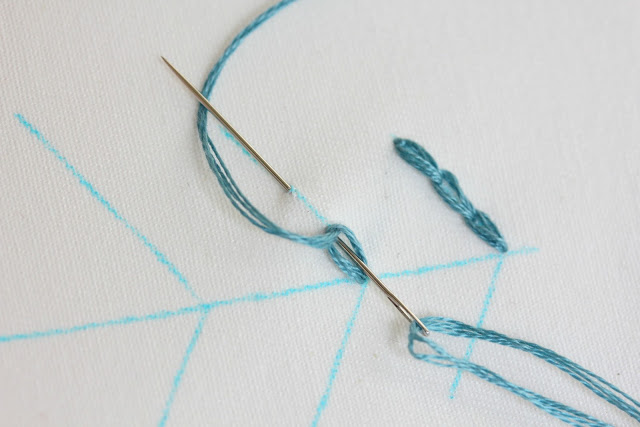
Put your needle down through the same hole that you just pulled through. Bring your needle up for your next stitch, make sure your thread is under your needle, and pull through.
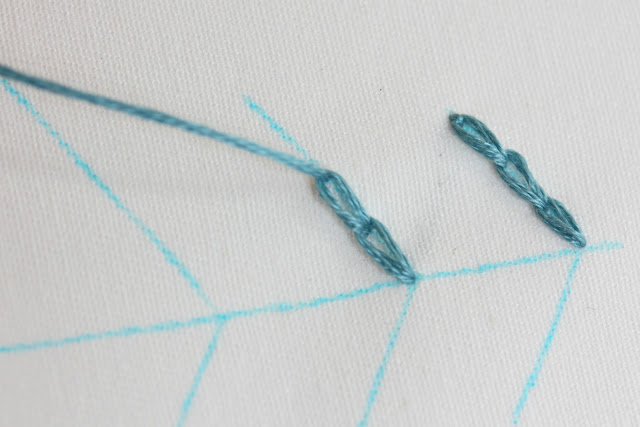
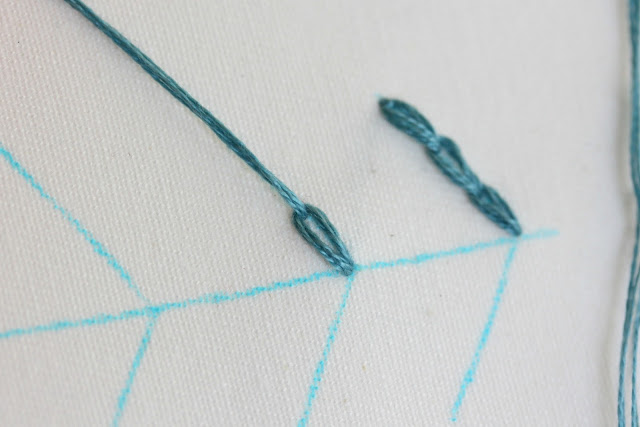
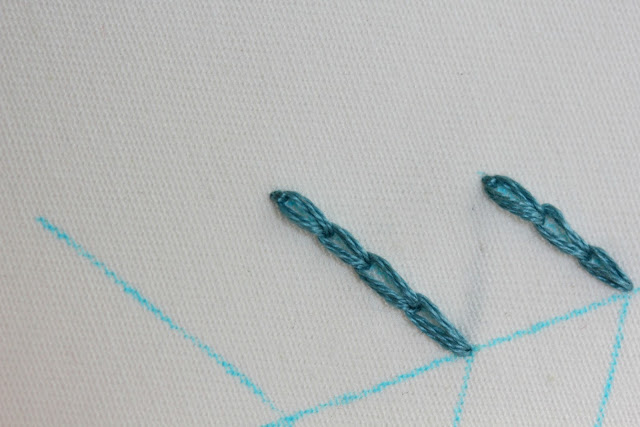
Ending a row of chain stitches is simple.
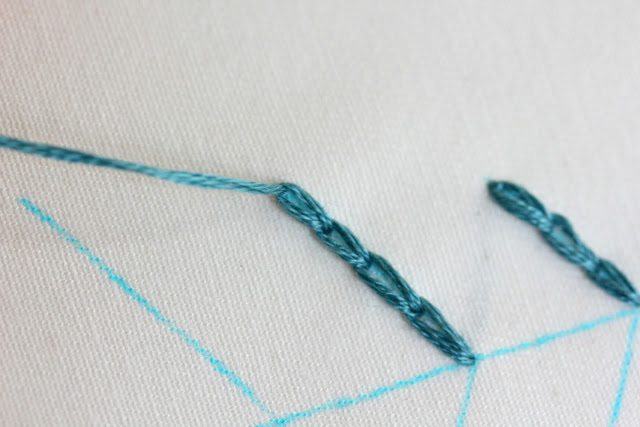
Here I am at the end of my row. To end the chain, just put your needle down through on the other side of the chain you just made.
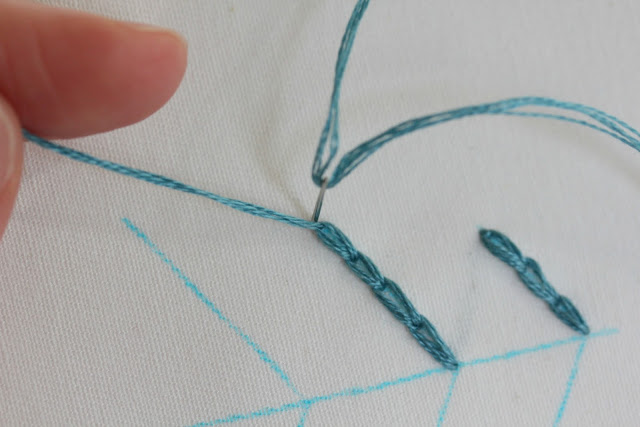
Pull through, and you have finished your row.
Still don’t get it? Try watching this video. Sometimes it is easier to see things in motion rather than in pictures.
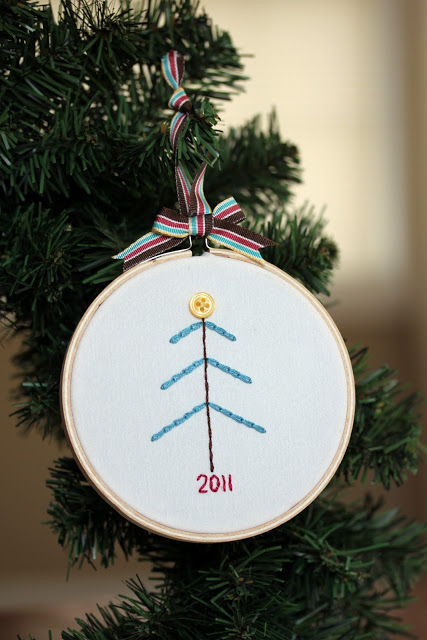
Now, let’s make that cute little ornament.
I like to make my own simple patterns when I can. I start by tracing the inside ring of my embroidery hoop onto some scrap paper just so I know how much room I am working with.
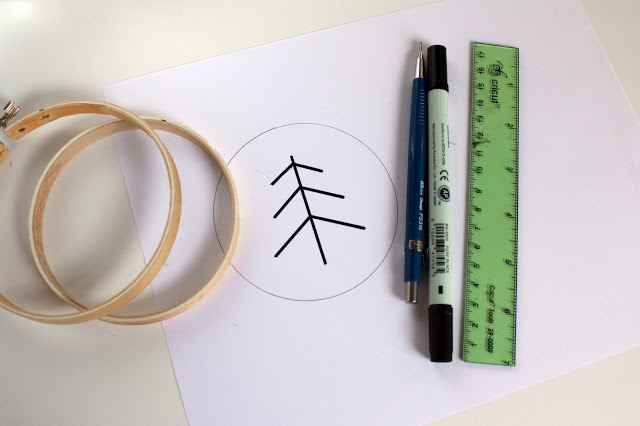
I just used a ruler and marker to make my simple tree pattern. It’s so simple I feel silly calling it a pattern. If you like, you could add a few more lines of branches to fill out the tree.
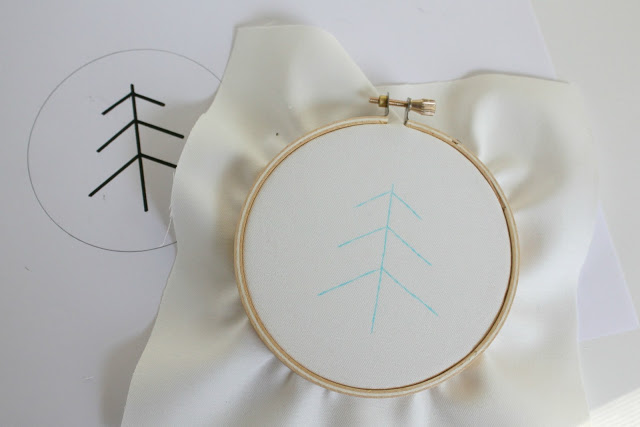
I used a water soluble pen to trace my pattern and then popped my fabric into the hoop to get stitching.
I chose colors that matched a bit of ribbon I had. I have been saving this ribbon for so long I don’t even remember where it came from. The colors are not traditional Christmas colors, but a bit of a color surprise keeps an otherwise simple project interesting. Looking for some great trims and ribbons? I have seen a great selection at JoAnn’s and Archiver’s.
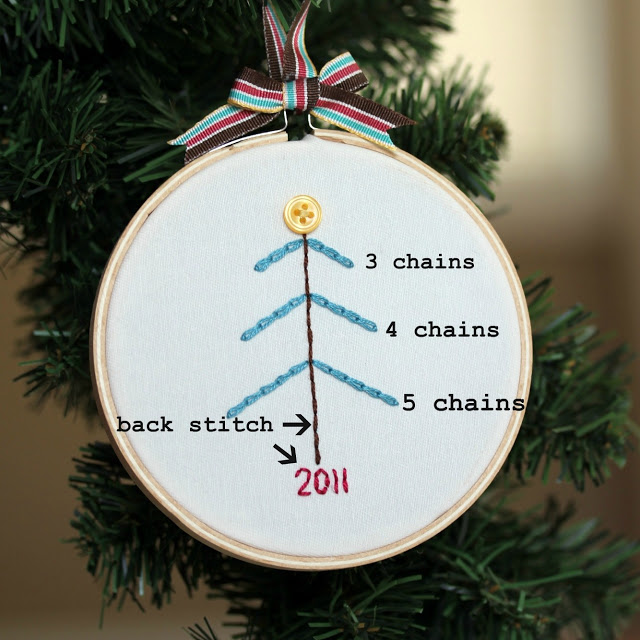
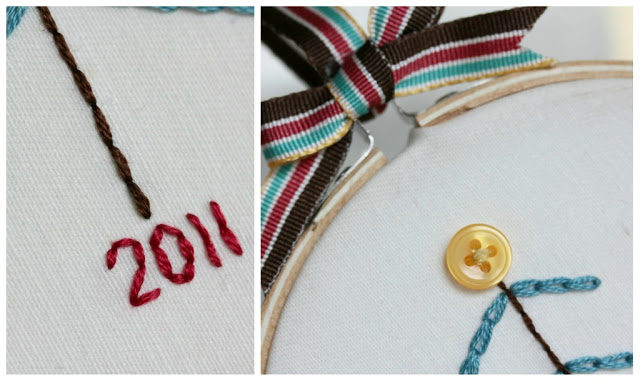
Above is a breakdown of my stitches.
To finish, I added the ribbon hanger and hot glued a bow on. I cut off the excess fabric, leaving about 3/4″ all the way around the edge. I neatly glued the fabric inside of the hoop. I don’t have a picture of the finishing. Let’s just blame it on late night crafting brain.
If you like this post, you’ll like these too:


So simple, yet so classy. Love how it turned out!!
Oh, I love this ornament! What a fun project that even kids could do. Thanks for a great Christmas idea!!!!
Oh I love it! Looks so sweet!! I’m not into embrodery, but this looks easy!! I’ll have to try!