It’s the most wonderful time of the year! There are beautiful decorations everywhere but I know you’re going to love this DIY Christmas Art.
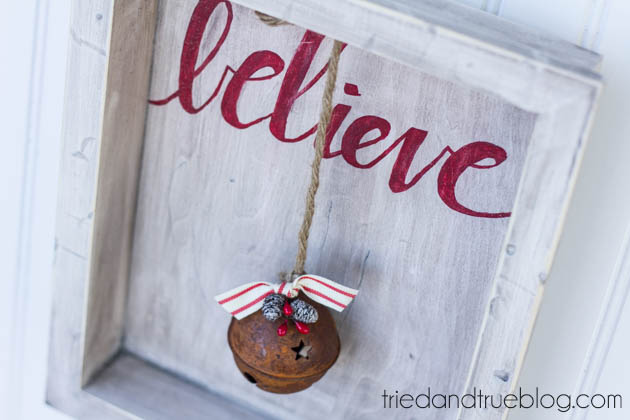
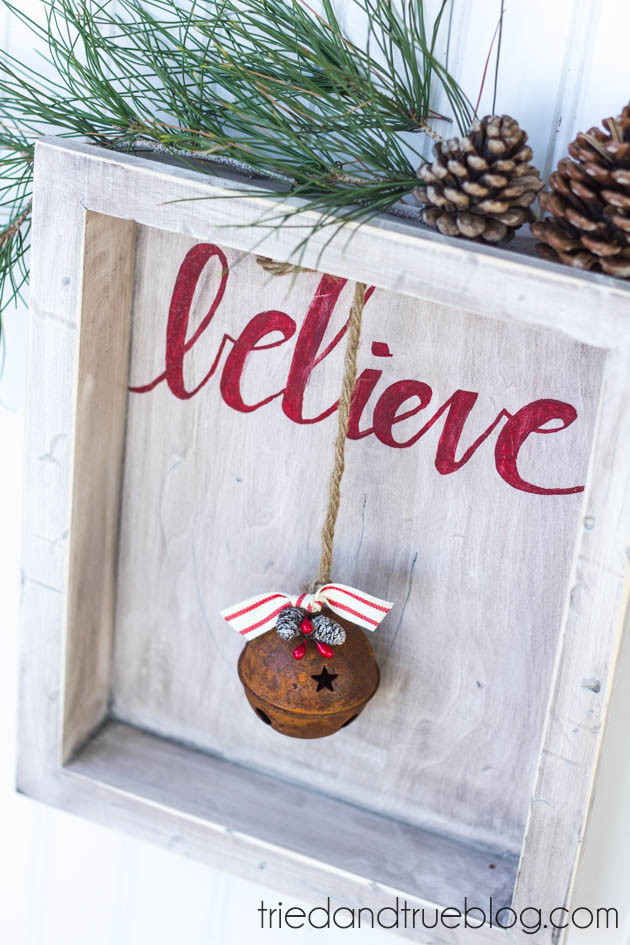
Hi, my name is Vanessa (Tried & True) and I’m thrilled to be here sharing this craft tutorial on making a “Believe” Rustic Christmas Art. With Christmas just around the corner, now is a perfect time to start thinking about home decor options. I’m planning on going a different route this year and decorating with a Rustic Woodland theme. Think forest creatures, flannel, wood logs, and tons of rusted metal and hot chocolate. Sounds cozy, right? This framed rustic art will fit right in!
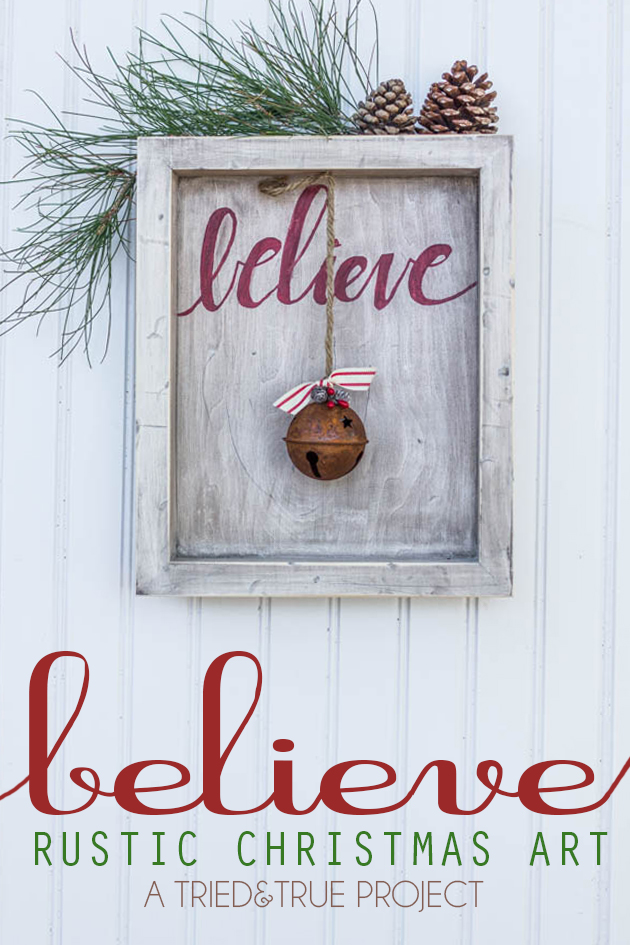
“Believe” Rustic Christmas Art
Materials:
- Unfinished Wood Shadow Box – 8.5×11
- White Wood Stain
- Chestnut Wood Stain
- Red Paint
- Rustic Jingle Bell – 2.5″
- Jute Rope
- Decorative Ribbon & Small Pinecones
- Staple Gun
- Hammer (or anything else heavy to antique the frame)
Instructions:
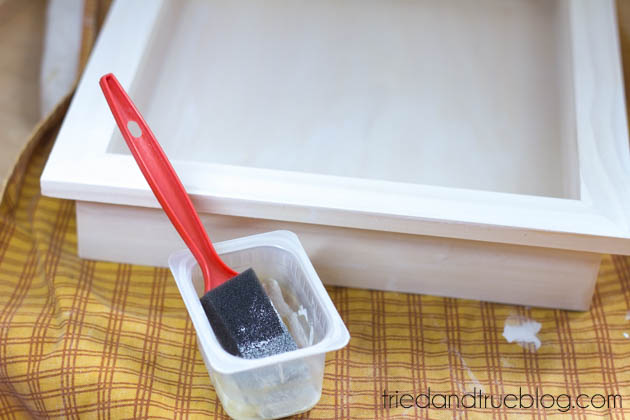
Step One. First things first, unless you’re using a thrifted frame, you’re going to have to add some dings and scrapes to the frame to make it look aged. I used multiple sides of a small hammer to achieve the look. Get creative! Apply a couple layers of white wood stain and allow to dry completely according to manufacture’s instructions.
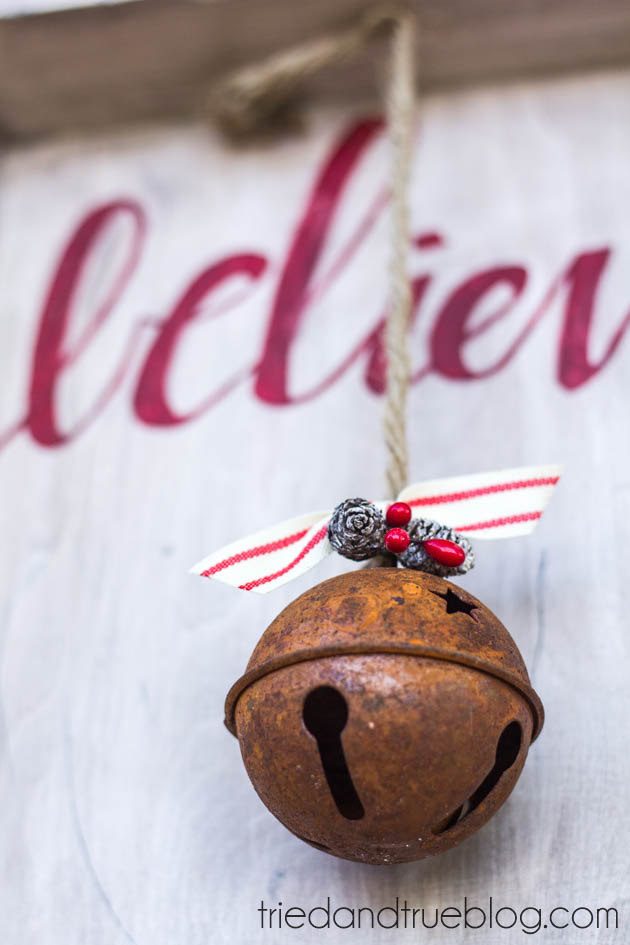
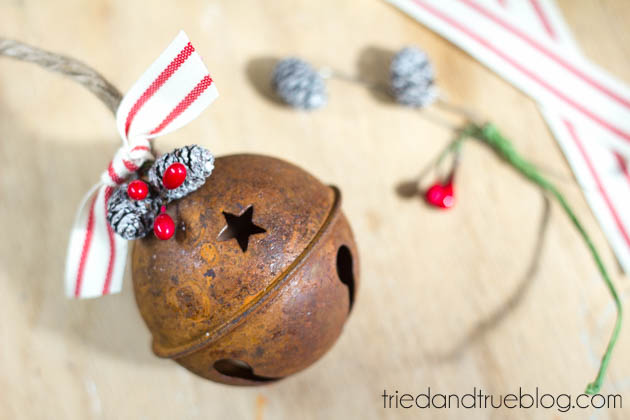
Step Two. While you’re waiting for the stain to dry, you can start embellishing your rusted jingle bell. I went minimal with just a couple small pine cones and berries. The vintage-looking ribbon (reminiscent of a flour sack) adds the perfect touch!
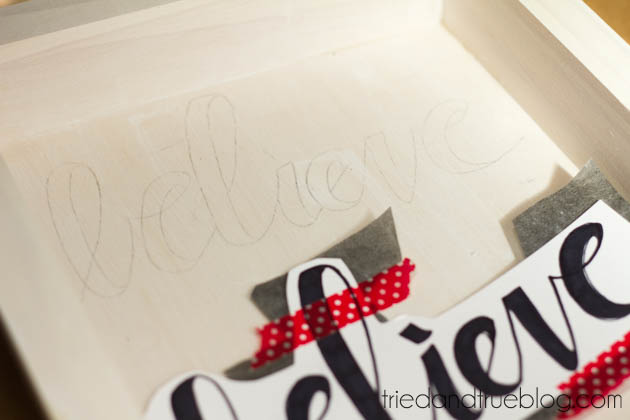
Step Three. When the stain is dry, either free-hand the word “believe” or use some carbon paper to transfer a printed out version. Use a thin paintbrush and red paint to color in. Don’t worry too much about trying to make it perfect. We’re going for that homey, rustic look!
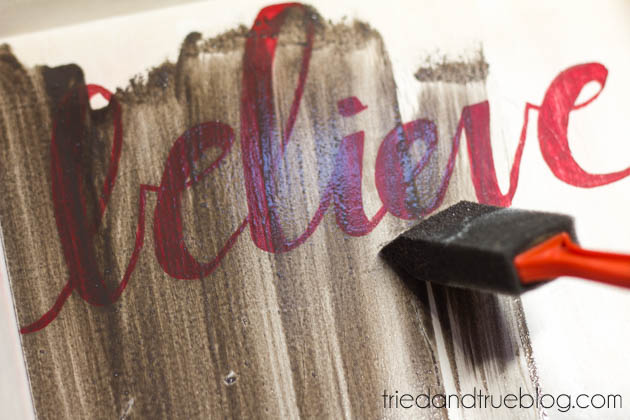
Step Four. Ok, now the scary part! Apply a thin layer of the chestnut stain over a section of the frame and then quickly wipe away with a cloth. I love how the chestnut give the whole piece a bit of that grayish, aged wood look!
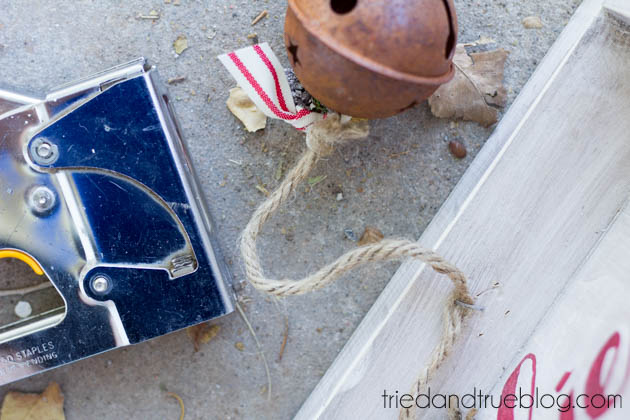
Step Five. Almost There! Use a staple gun to attach the bell to the top of the frame. Nevermind my multiple failed attempts in the picture. Measure twice, staple once!
Step Six. If you want, you can take a piece of sandpaper to the whole frame to distress it even more. I used a medium weight sandpaper mostly around the edges and corners. When you’re happy with the look, just hang it up in your house and have a great holiday season!
Hope you all enjoyed this fun rustic tutorial and a special thank you goes out to Mique for letting me participate in this year’s Holiday Bake Craft Sew! If you liked this holiday tutorial, check out Tried & True for more crafty goodness, including the Retro Space Age Stockings, Happy Holiday Gift Wreath, and my personal favorite, the Santa Christmas Countdown!
This post was originally shared as a part of the Bake, Craft, Sew Series.
If you like this post, you’ll like these too:


I made something very similar and I just love how it turned out! Thank you for the gorgeous inspiration!!!! xox
i would also love to know the name of your font used for “believe”. Please share. Thanks so much.
I would like to know the name of the font, too! Its perfect the way it is, and I’d like to make one just like it. Thank you very much in advance!
Jennifer
My daughter sent my over here saying she “needs” this gorgeous sign! In daughter talk that means “mom make me one please!” I “believe” I need one too! Maybe this would be a good project to do together.
Love love love this rustic believe sign
This is such a cute idea! Would you be willing to share the name of the font you used for the word “believe?” Thanks!
I will also love to know the type of font….
Yes…I also love this font and would be grateful for the name. Thanks in advance.
I am sooo in love with this!!
Love the rustic look. Such a cute idea for the holidays, would make a great wreath too.