Use these ideas for Girls Camp crafts or to make your own projects at home!
Girls Camp
A dear friend of mine was asked to be our Girls Camp Director at church. Every year we have around 85-100 girls that get off the grid and focus on learning and growing spiritually for the week, mixed in with a whole lot of fun. My friend asked me to help with the crafts for camp. I have to be honest – I was reluctant to go. She had to do some serious convincing. I’m not a big camper and being disconnected for 4 days was tough for what I do with work. But I really felt like I needed to be there so I jumped with my craft partner Erin and we gave it a go.
If you like this post, you’ll like these too:
After being asked to do the girls camp crafts, we met several times and were in constant communication leading up to camp. We really wanted to bring ideas for the girls that they would use and be excited to bring home. In the end, we decided on 3 main crafts and about 10 free time crafts.
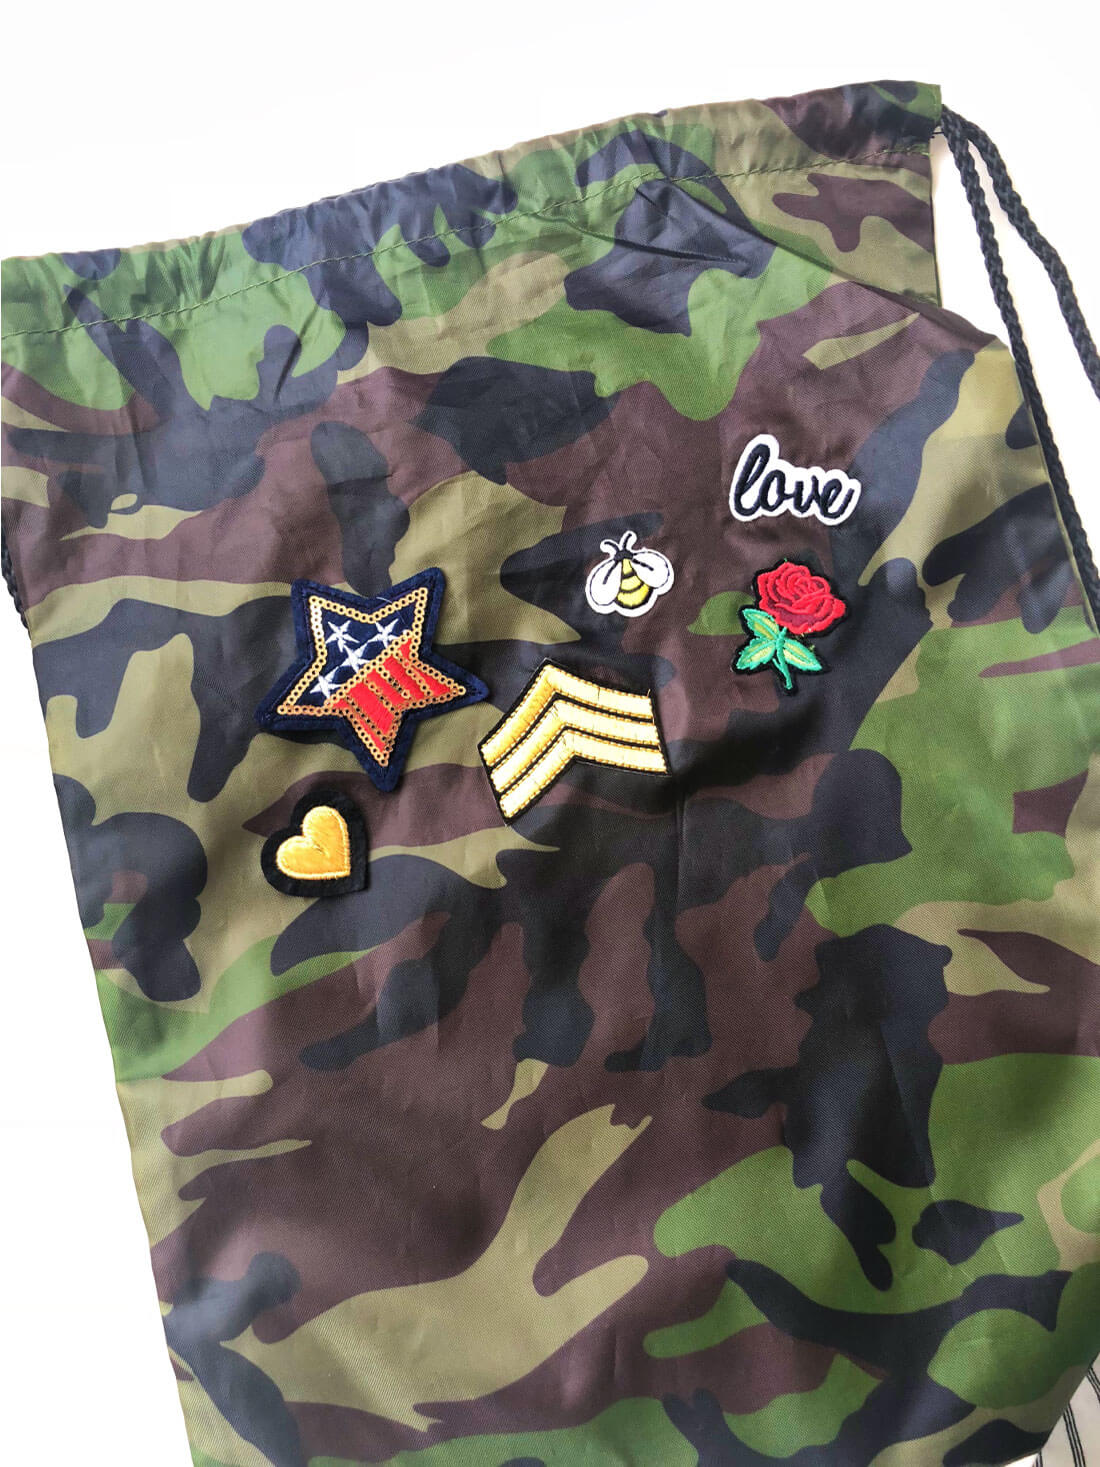
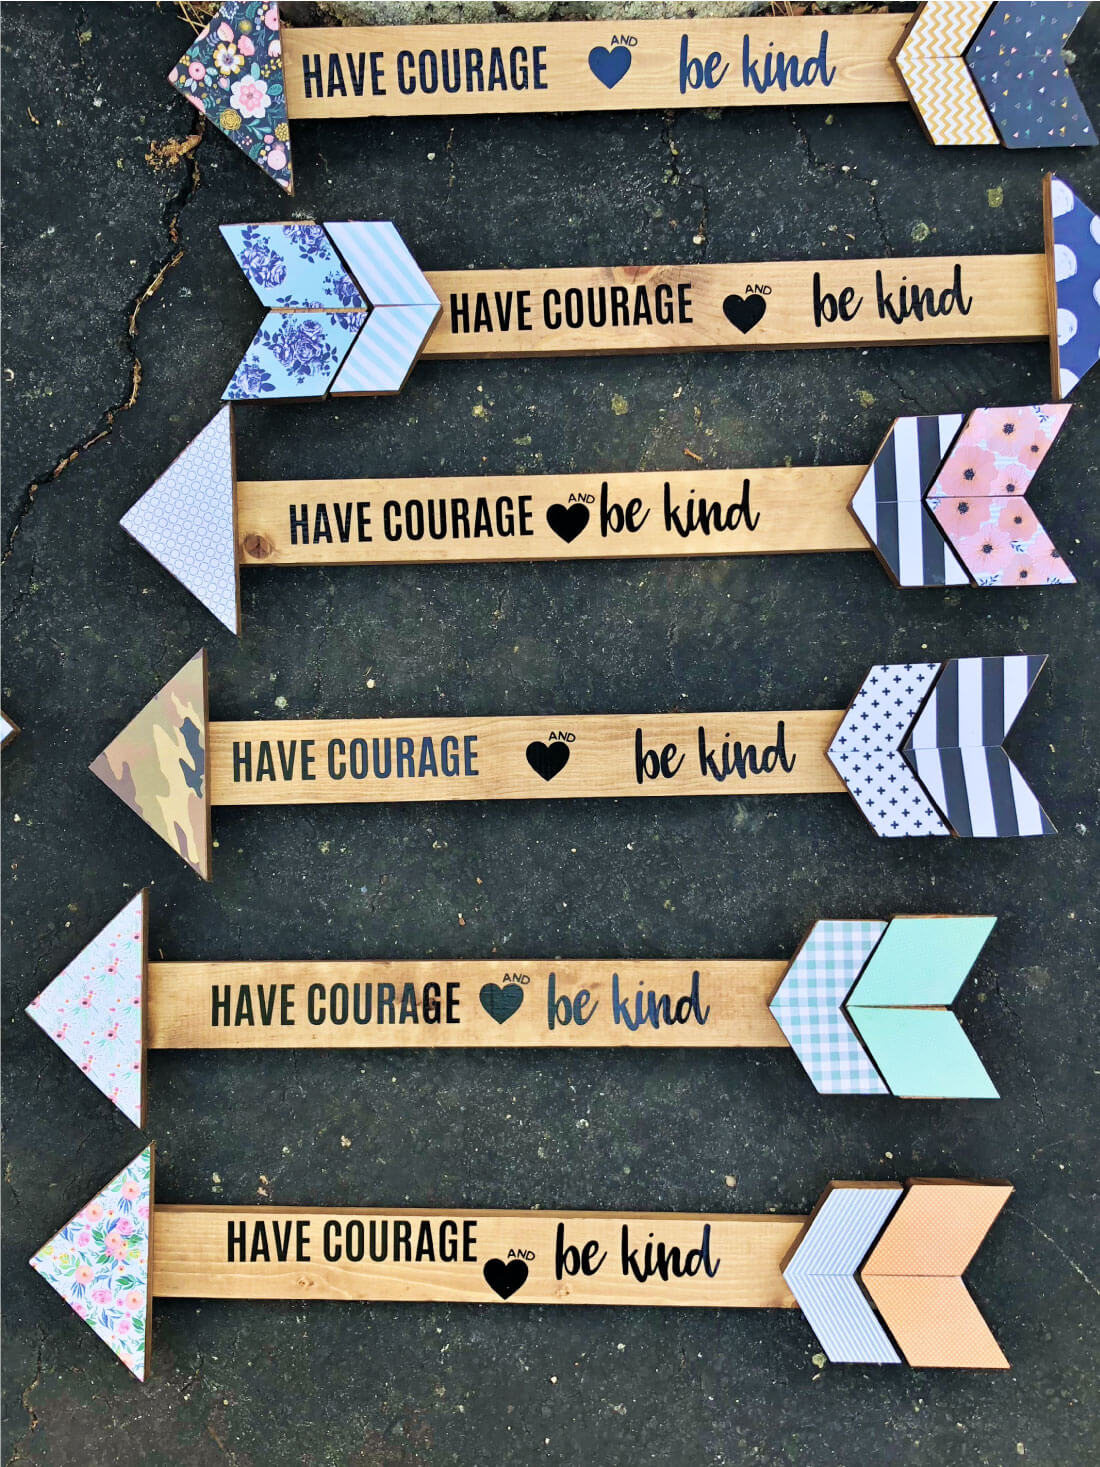
Our main crafts were: camo backpacks where taught them how to sew on patches (learning how to hand sew is an important skill!), cute DIY wood arrows with the theme, and yarn wall hangings with big chunky beads.
We started with the backpack so that they could carry their things throughout the week.
This was the sample that I made to show the girls. They were all so excited to pick out their patches. We gave them the option to continue sewing on patches for the rest of camp. It was fun seeing how they turned out because they were all so different and showed their personalities.
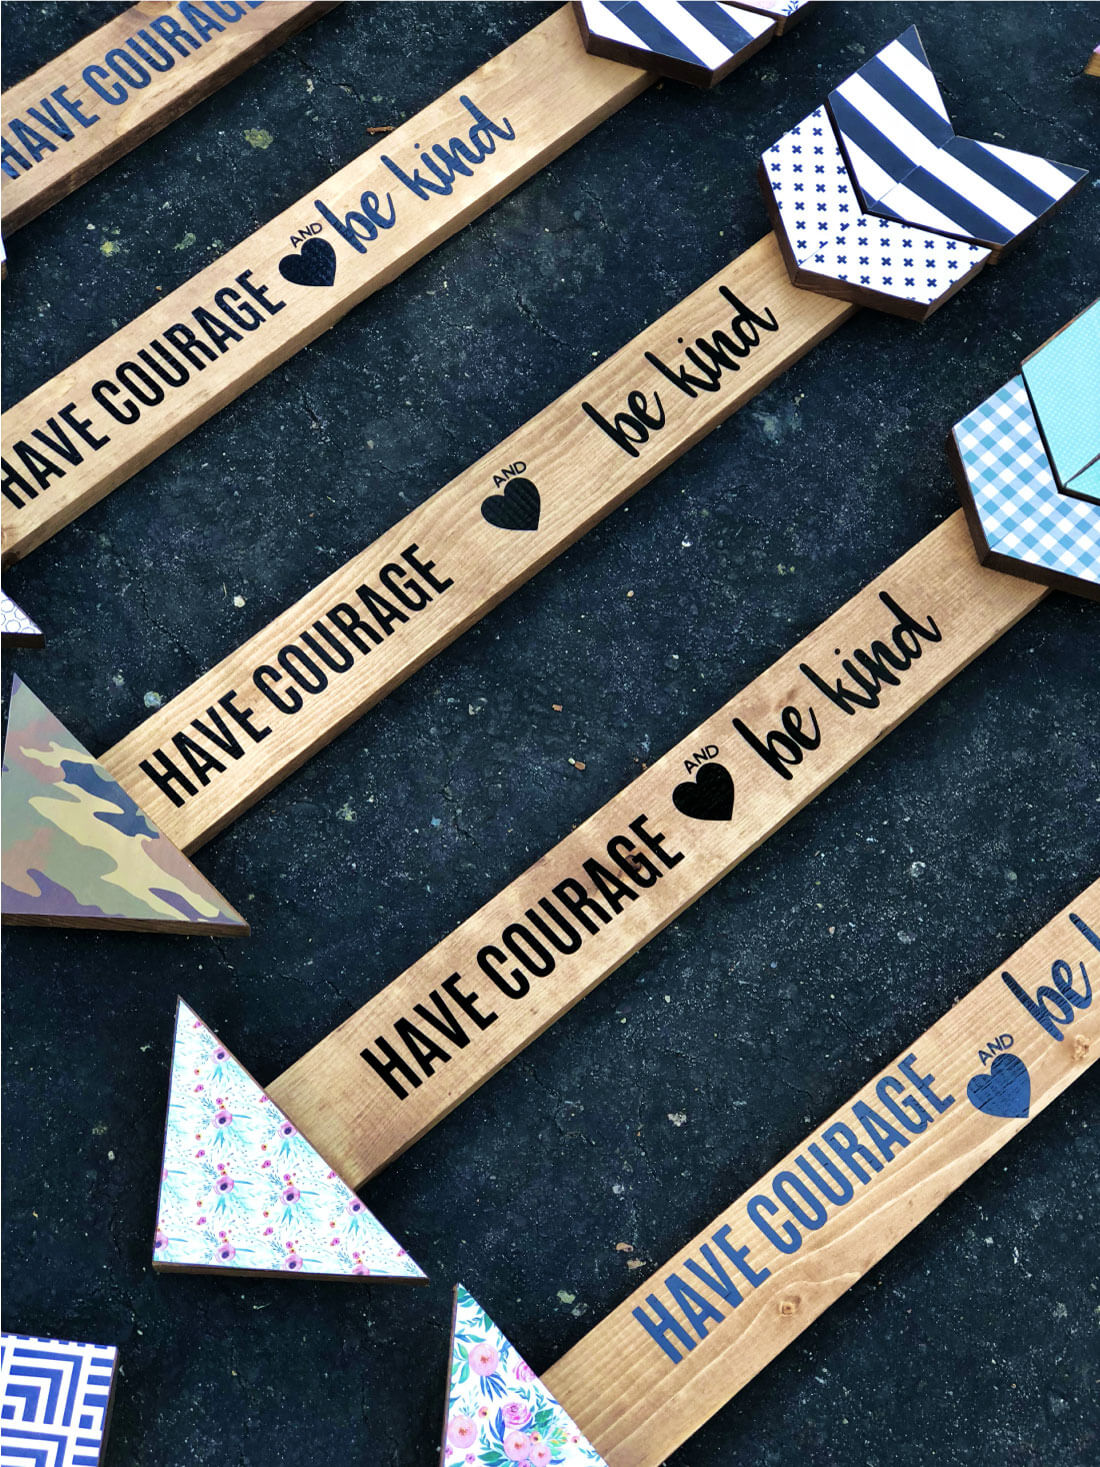
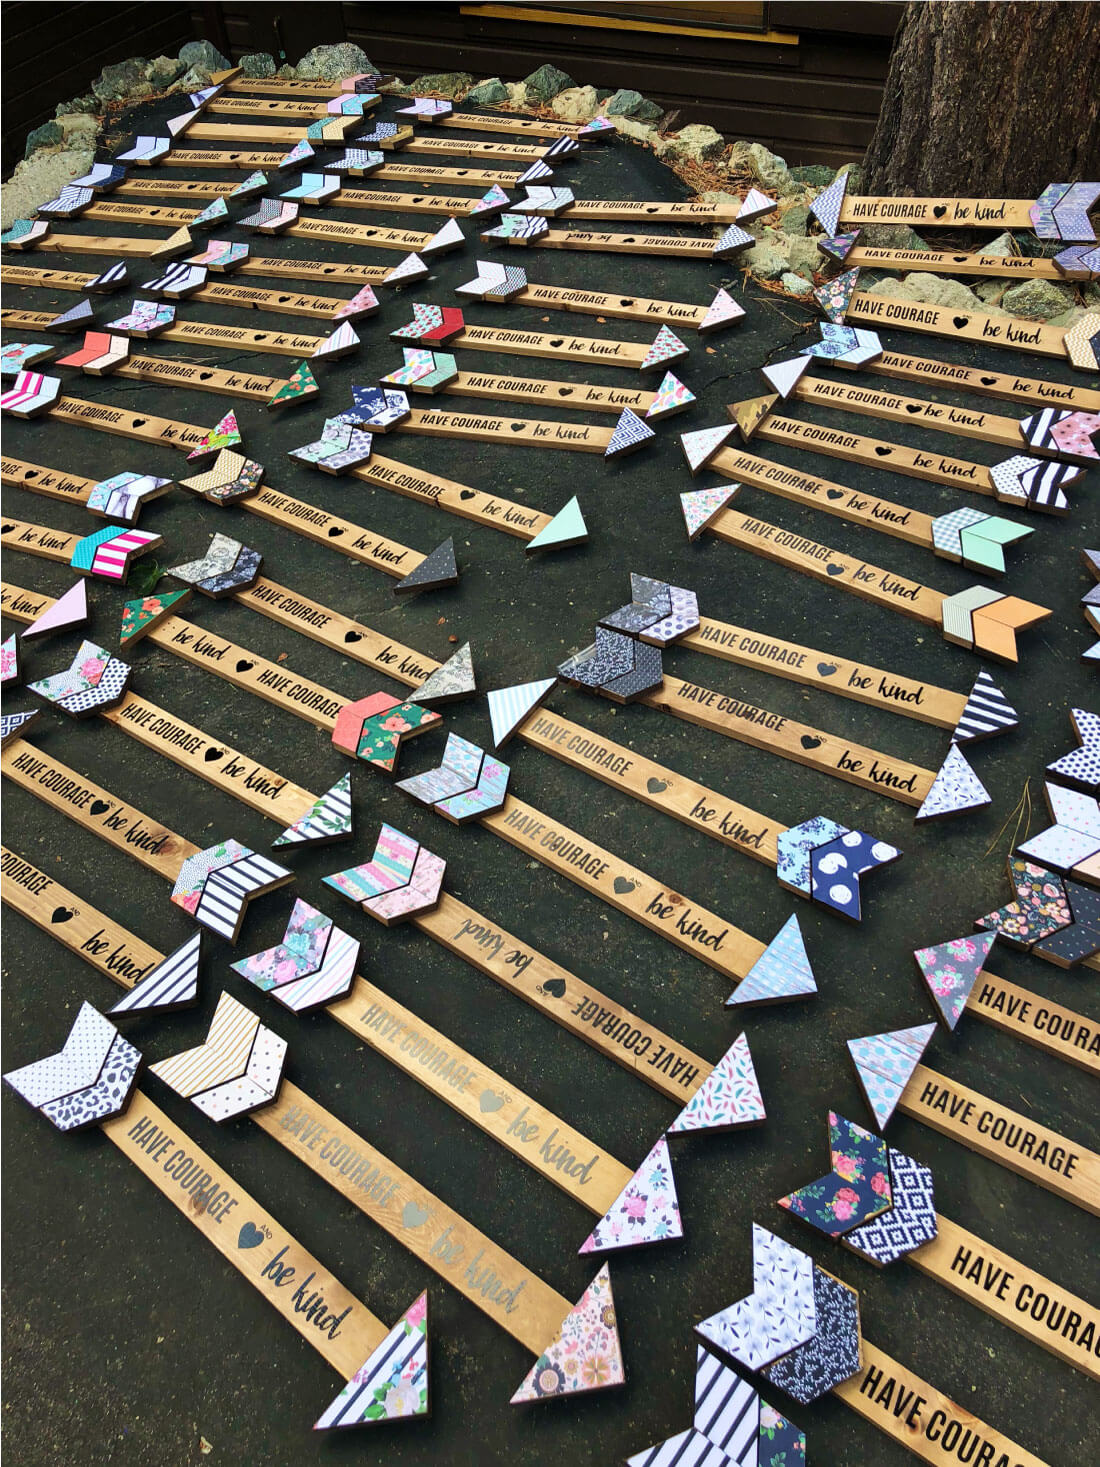
The second day we made the arrows. When we brought out the sample to show them, there was a gasp of excitement. It was awesome to get such a good response from them after all of the work that we put into it.
We used this post as the jumping point for our wooden arrows. It has all of the dimensions and measurements on it. Erin’s family had the huge job of sanding, cutting, staining, glueing all of the wood!
- Use the directions from the post to cut the wood.
- Prep with MinWax Pre-Conditioner on the wood before staining it.
- Stain with MinWax special Walnut stain– apply to the whole arrow and wipe off immediately
- After drying, glue arrow pieces together with wood glue,
- Use different scrapbook papers to cut to size for arrows.
- With a foam brush, brush on matte Mod Podge to the top of the wood feather pieces and then the back of the scrapbook papers.
- While letting that dry, adhere the vinyl lettering to the middle of the sign. (SVG files included below)
- Then add a final layer of matte Mod Podge to the scrapbook paper feather pieces and let dry.
- You can add eye hooks to the back for easy wall hanging.
I was in charge of the design for the theme and all of the vinyl. Because it was for a long board, I had to cut it into 3 separate pieces on my Cricut. We made 100 of them and I was cutting and weeding vinyl for days (we had a few other vinyl projects too). Sometimes vinyl can be a pain to use because it gets stuck easily, is hard to weed and work with. But I used Expressions Vinyl and it was AMAZING. I was even able to weed one handed on Instagram Stories to show how easy it was to work with. For my sample I used some inexpensive stuff from a craft store and it was awwwwwful. I got the Oracal 651 12″x 12″ permanent outdoor vinyl sheet and gridlined clear transfer tape from Expressions Vinyl.
If you like this design for Have Courage and Be Kind, you can download the SVG files:
12×12 full page of Have Courage
12×12 full page of and with heart
12×12 full page of Be Kind
Note: these are zip files. You will download and click to unzip them.
Also – the text is merged together on each file but make sure if you’re using a Cricut to attach the images before cutting out.


So fun! Thank you for the tutorial and cut files! My daughter will love this craft for her 12th Camp Create Birthday party!