
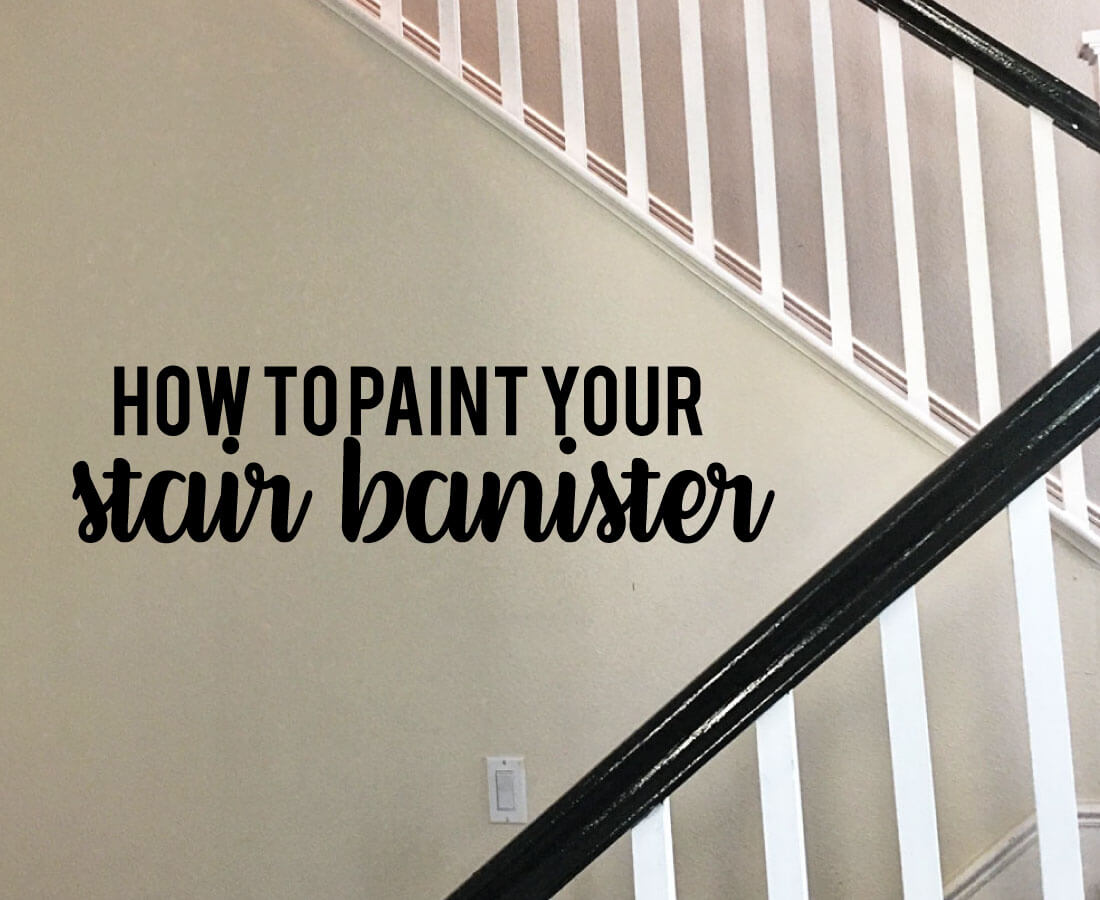
Tired of the look of your stair railings and banister? I’ve got an inexpensive fix that you can do yourself in this how to paint your stair banister post!
Today I have a special guest – my husband Josh. I was away for an amazing trip with my best friend for two weeks. I thought he was going to golf for those two weeks. Little did I know that he was busy with home projects. Not only that, but he was photographing and writing a post for one of them. He wins 1000 gold stars!! With that, I’m going to turn this over to him.
How to paint a banister
Allow me to start off by saying how excited I am that Mique allowed me to guest post for her. You’d think being her husband, I’d have an inside track on having a regular spot or series even, (Jammin with Josh, Getting Jiggy with Josh, Jaxzercise with Josh?) but despite my begging, I rarely get to contribute. See my credit posts here: Top Credit Tips from a Bill Collector, How to Re-establish Your Credit and How to Fix Your Credit Score Now!
In our house my wife makes a Honey Do list. She posts in on the fridge, knowing that me and the fridge are tight. Needless to say, I see it 27 times a day. What she doesn’t know is that I divide that list into two sublists. The ‘Ya I’ll do that” list and the “Um, I’ll do that…EVENTUALLY!” list.
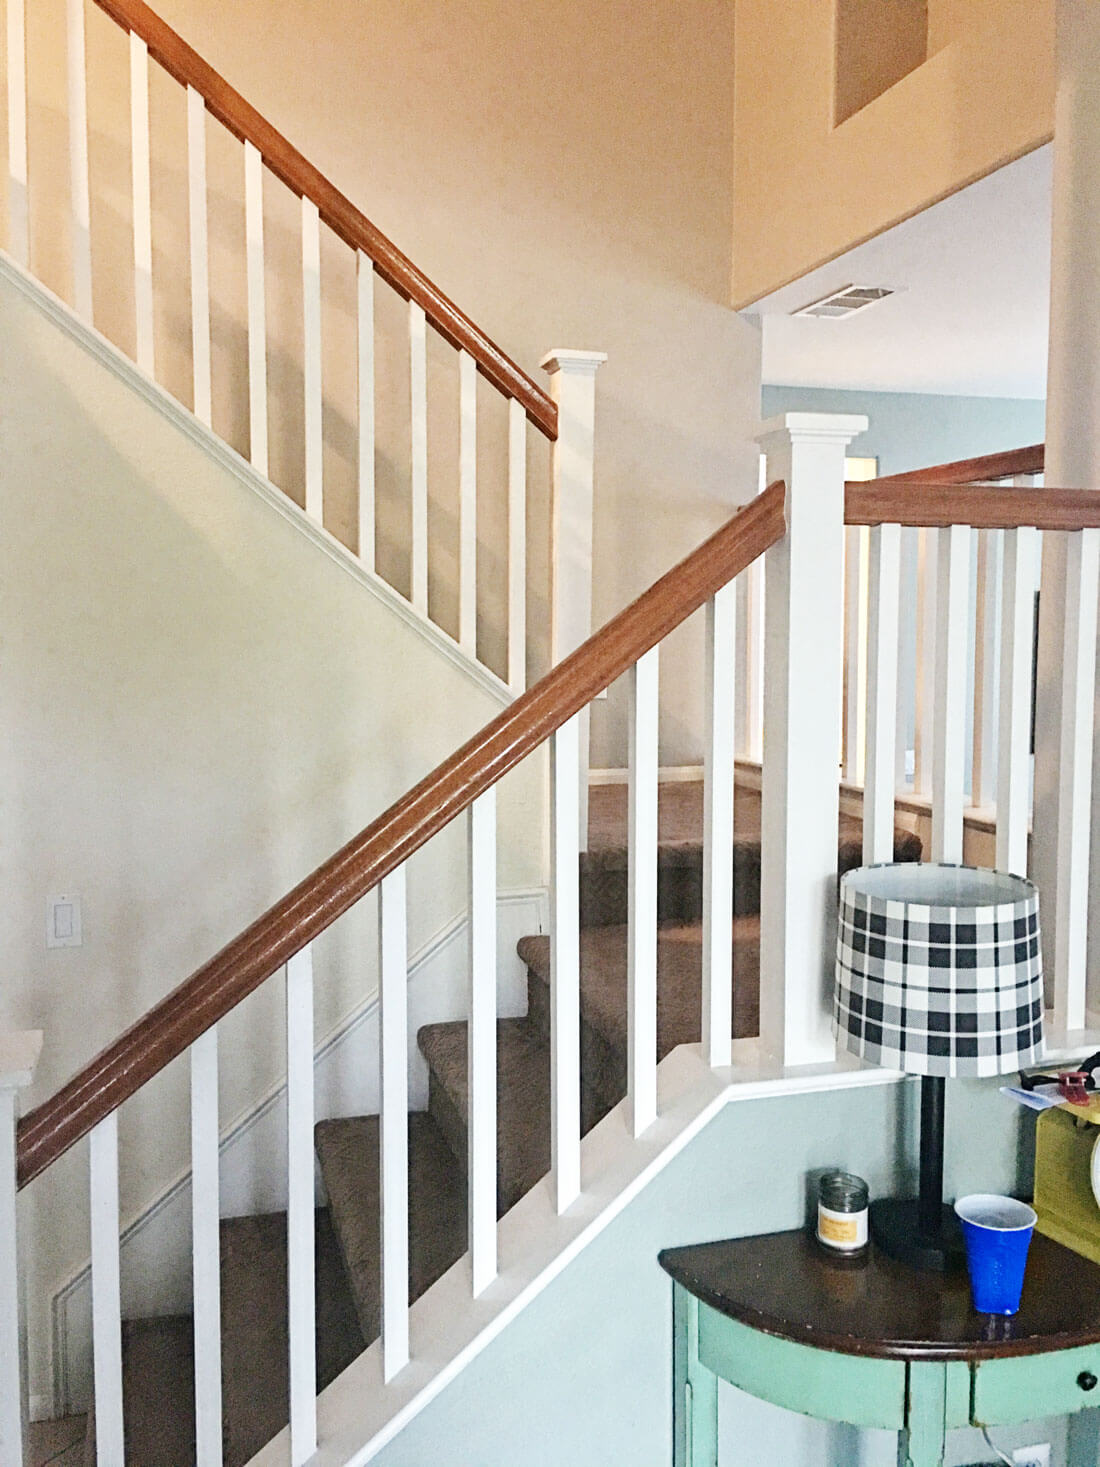
Well Mique went on a 12 day cruise in the UK with her college bestie and abandoned …er left me home with our kids for 2 weeks. So I figured I could hit the Honey Do list a bit while she was gone. Realizing it had been a while since my last “man trip” to Home Depot I decided to hit the thing that has been on the “Eventually List” the longest…..Painting our beautiful varnished oak banister BLACK. Yes Black!!
I did a bunch of research first because I am severely manually challenged. I went to the hardware store got my supplies and got started.
2 quick disclaimers:
#1 – I am convinced that whoever coined the phrases “Black Hole”. The Black Plague” or picked out Darth Vaders outfit, did so shortly after a weekend project of painting their banister black. Basically this paint color is straight evil, no clearer way to put it.
#2 – Those of you (like me) who think that you are just going to paint your banister black and not paint any of the spindles or trim are in for a rude awakening. Unless you are the Paint Whisperer, you will be painting everything. Why?…See #1
Below is a step by step on how I eventually got this project completed.
See one of my last projects that I did – How to Paint Cabinets
What is a banister?
(Mique again, I’m adding in a few key notes)
When I was trying to name this post, I couldn’t figure out if it should be named painting handrails or the banister or …. ? I use them interchangeably because I’ve never really been sure what the difference is. But after researching a bit, I found that stair handrails and banisters are pretty much the same thing. They describe the railing that’s a part of a staircase. BUT handrails are anywhere – bathrooms, showers, etc and banisters are only in staircases.
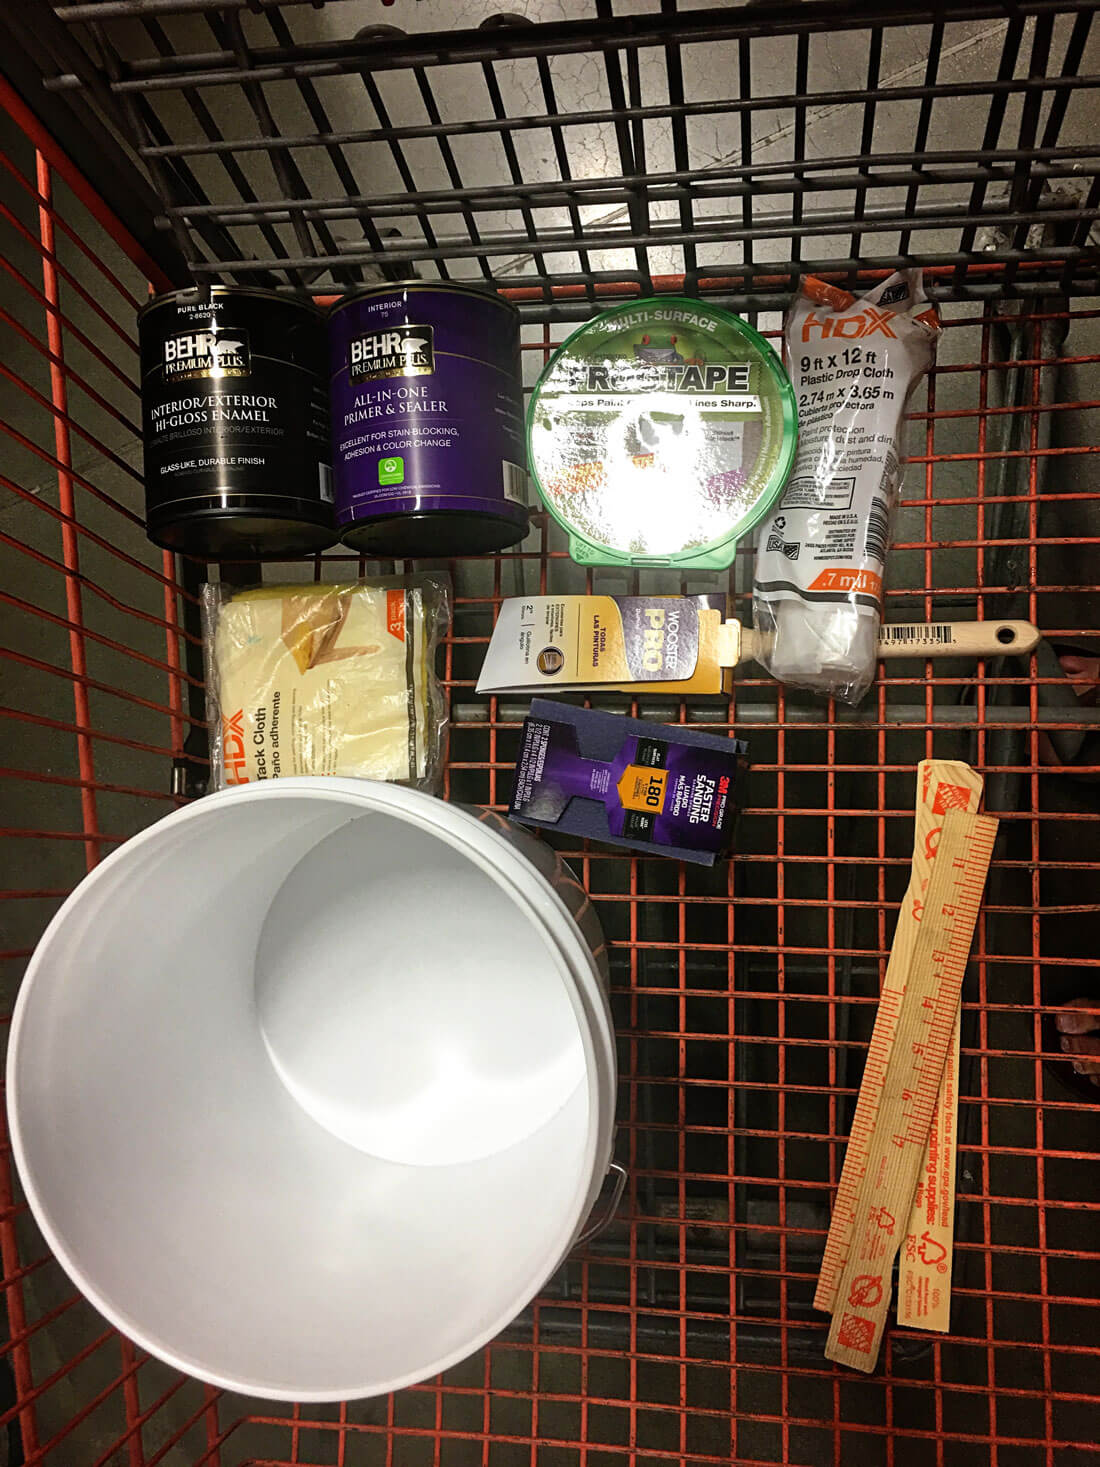
SUPPLIES
- 1 quart – High Gloss Black Paint and Primer
- 1 quart – Indoor Paint Primer
- 1 quart – Semi Gloss White Paint
- 1 – 2 inch paintbrush
- 1 – 2 gallon bucket
- I roll Frog Tape
- drop cloth
- 2 – 180 grit and paper blocks – with angled edges
- 1 – Package of tack Cloth
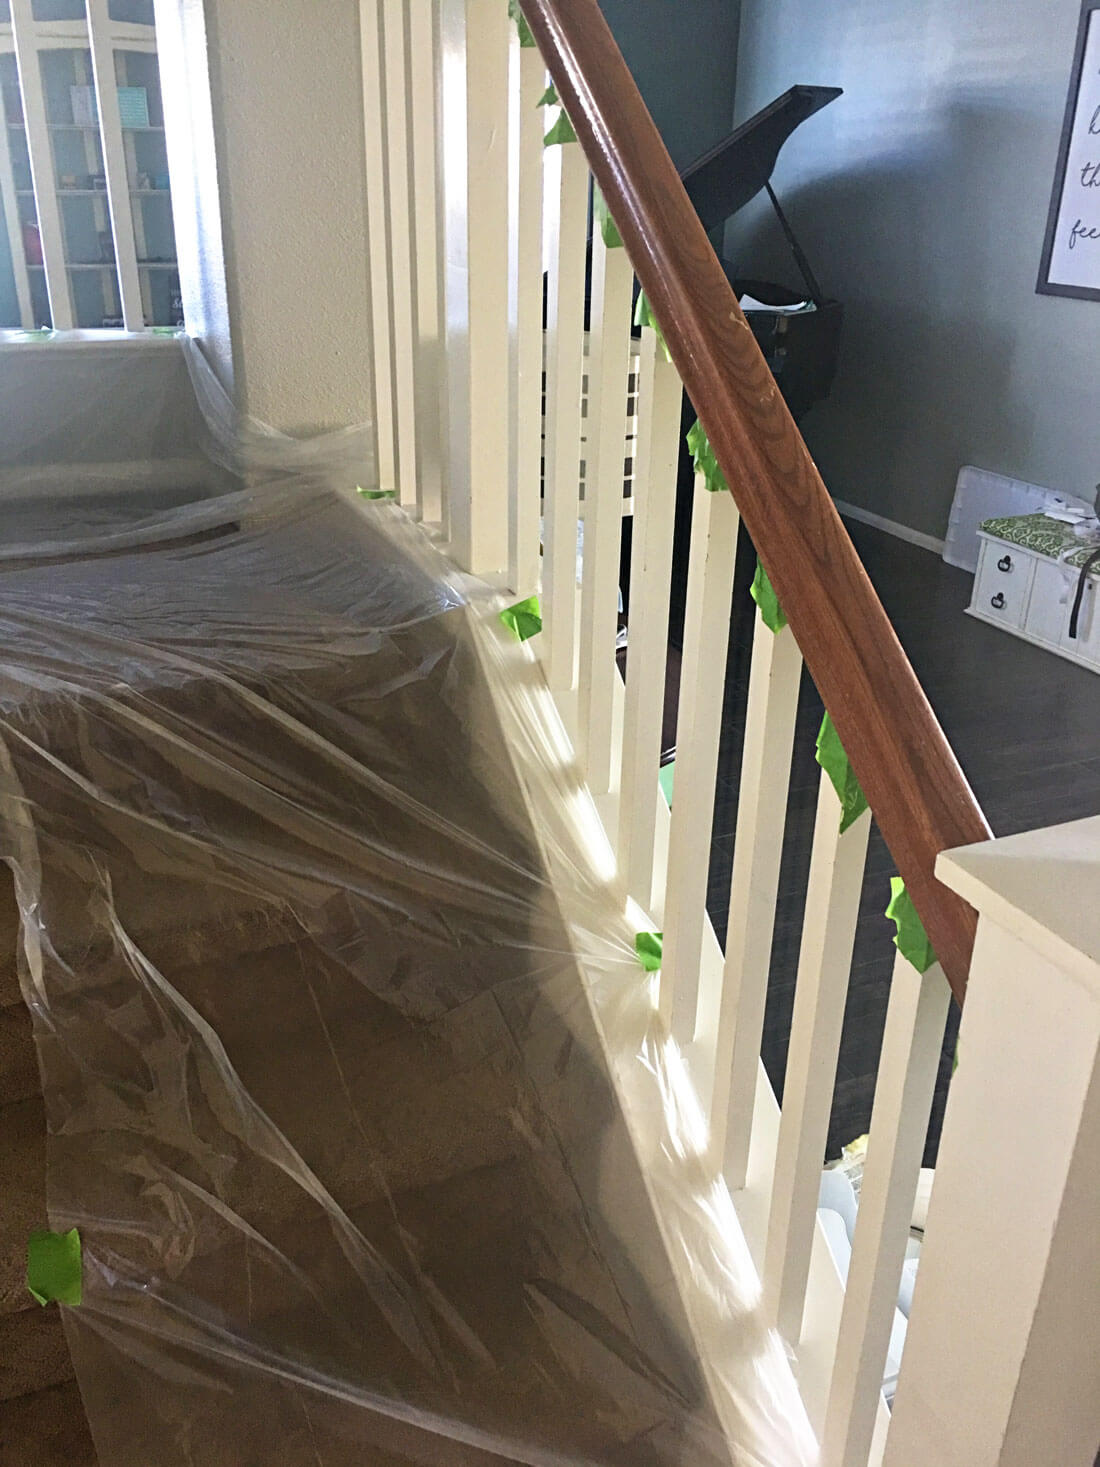
STEP #1 – Cleaning and Preparation – 2 HOURS
I used a simple solution of soap and water and cleaned the railings fairly well. I removed any gunk or other remnants from each banister (5 pieces total) so that the primer would adhere properly.
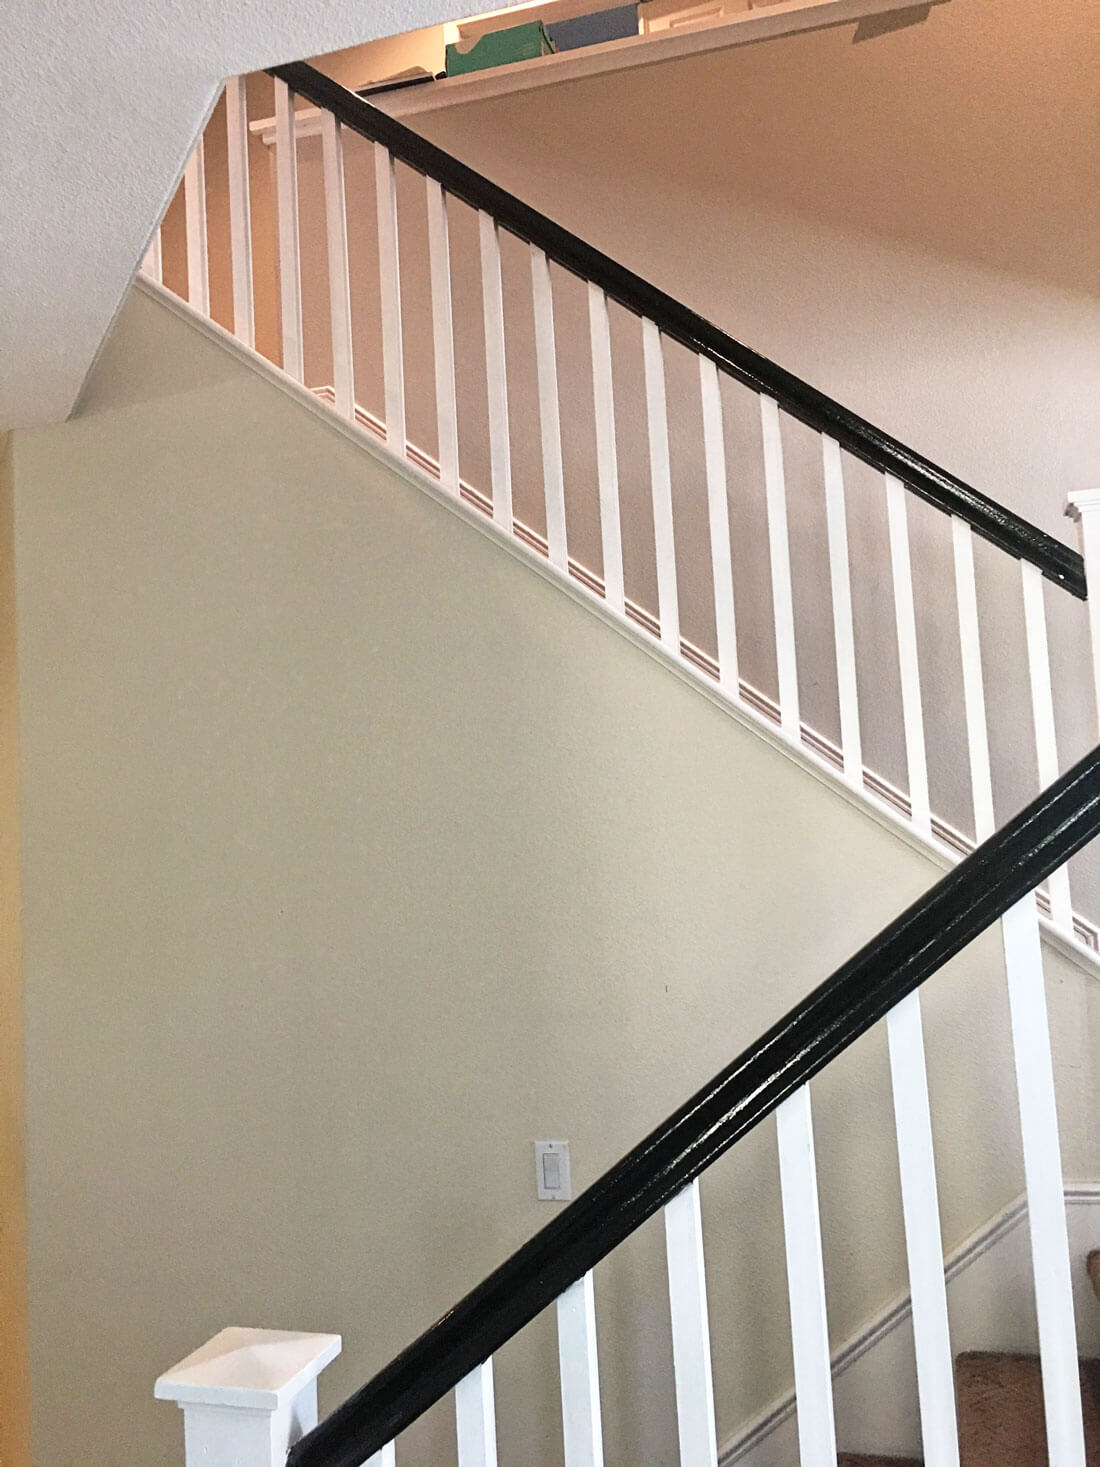
Originally I thought I was not going to pain the spindles to I taped off each spindle (57 of them…Ask me how I know). I seriously counted to 57, 58 times during this project). Even though I painted the spindles, I’m glad I prepped each one because the tape made a very clean divide line that I wouldn’t have been able to eye ball
Also, Not sure why whoever designed our banister included a decorative beveling on the bottom of the banister which no one can see and so far the only purpose I can think of was to cause the tape process to take 3 times as long.
I am also a notoriously messy person so I taped down a drop cloth on every square inch of carpet within the painting area in hopes of avoiding a follow up post of how to get black paint out of your carpet.
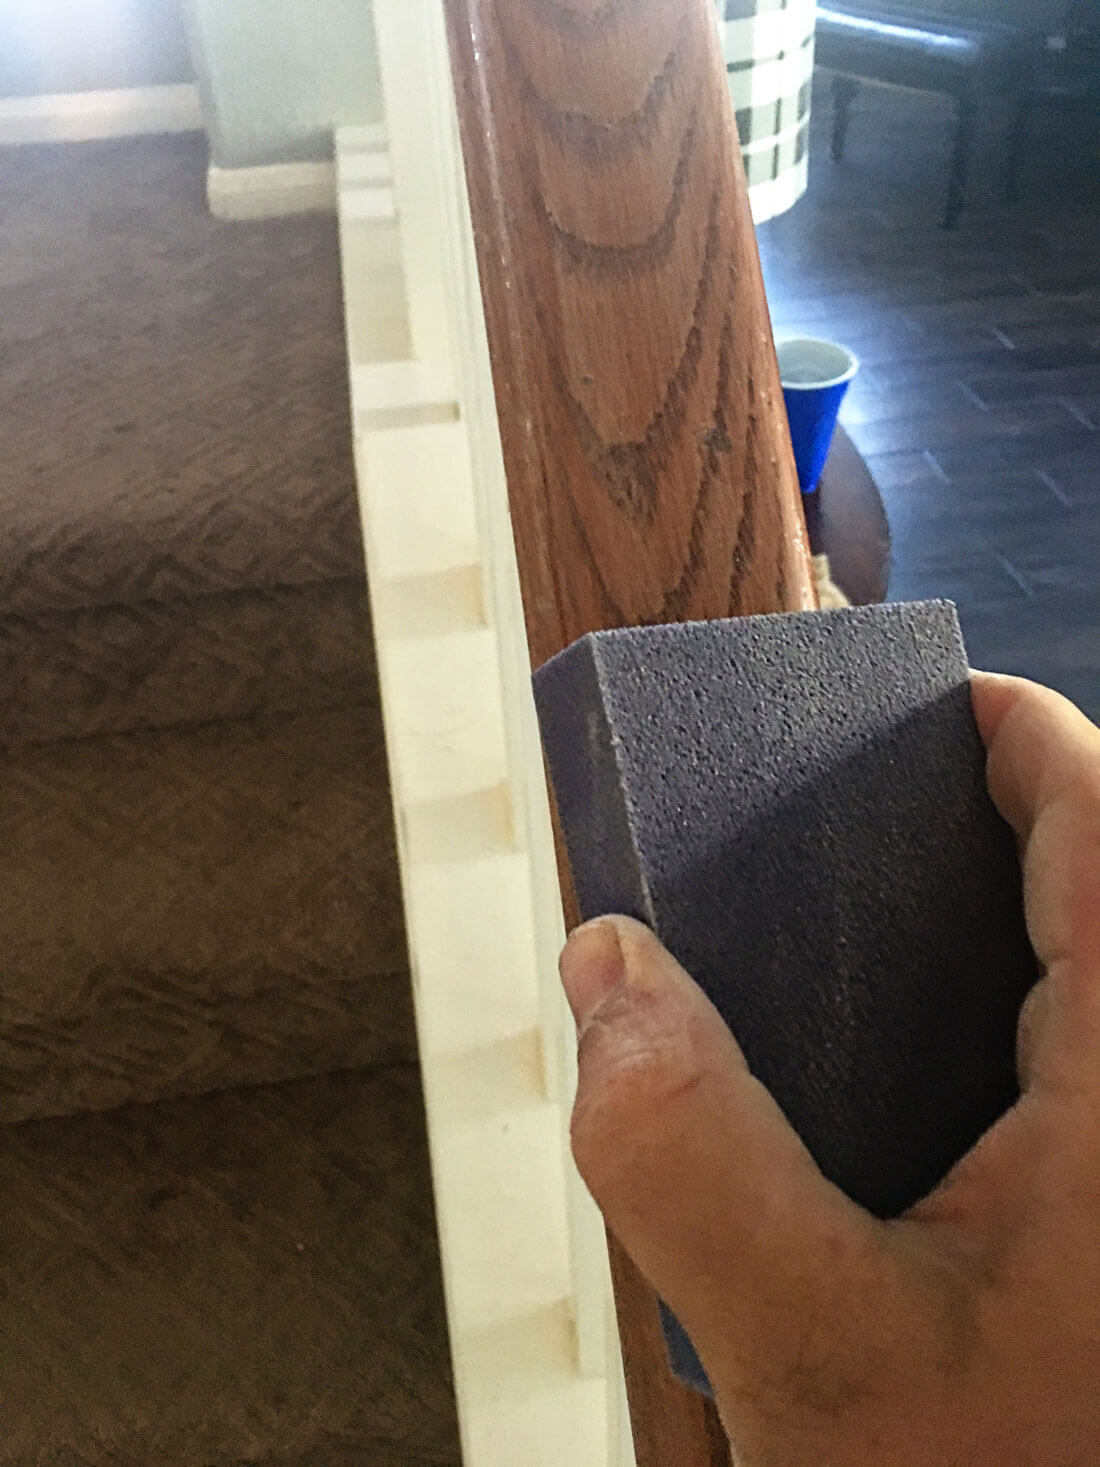
STEP #2 – Sanding – 30 minutes
I have always been opposed to any project that involves sanding because I envisioned hours and hours of dust filled rooms and loud sanders in an attempt to take a piece of wood down to its original grain, however for this project it was very easy. I used 2 sanding blocks and just wiped down all of the Oak surfaces as if I was whipping them down with a wash cloth. The purpose is simply to open the pores of the varnish to allow the pint or primer to stick.
- If you are painting over paint, then you may need to use a higher grit sandpaper.
- Also it is important to buy the angled sanding blocks, otherwise you will not be able to get into the corners on the risers (inclined banisters)
- When you are done sanding wipe every inch of the surfaces with the tack cloth to clean any dust. You can also use a wet wash cloth if you don’t have tack cloth
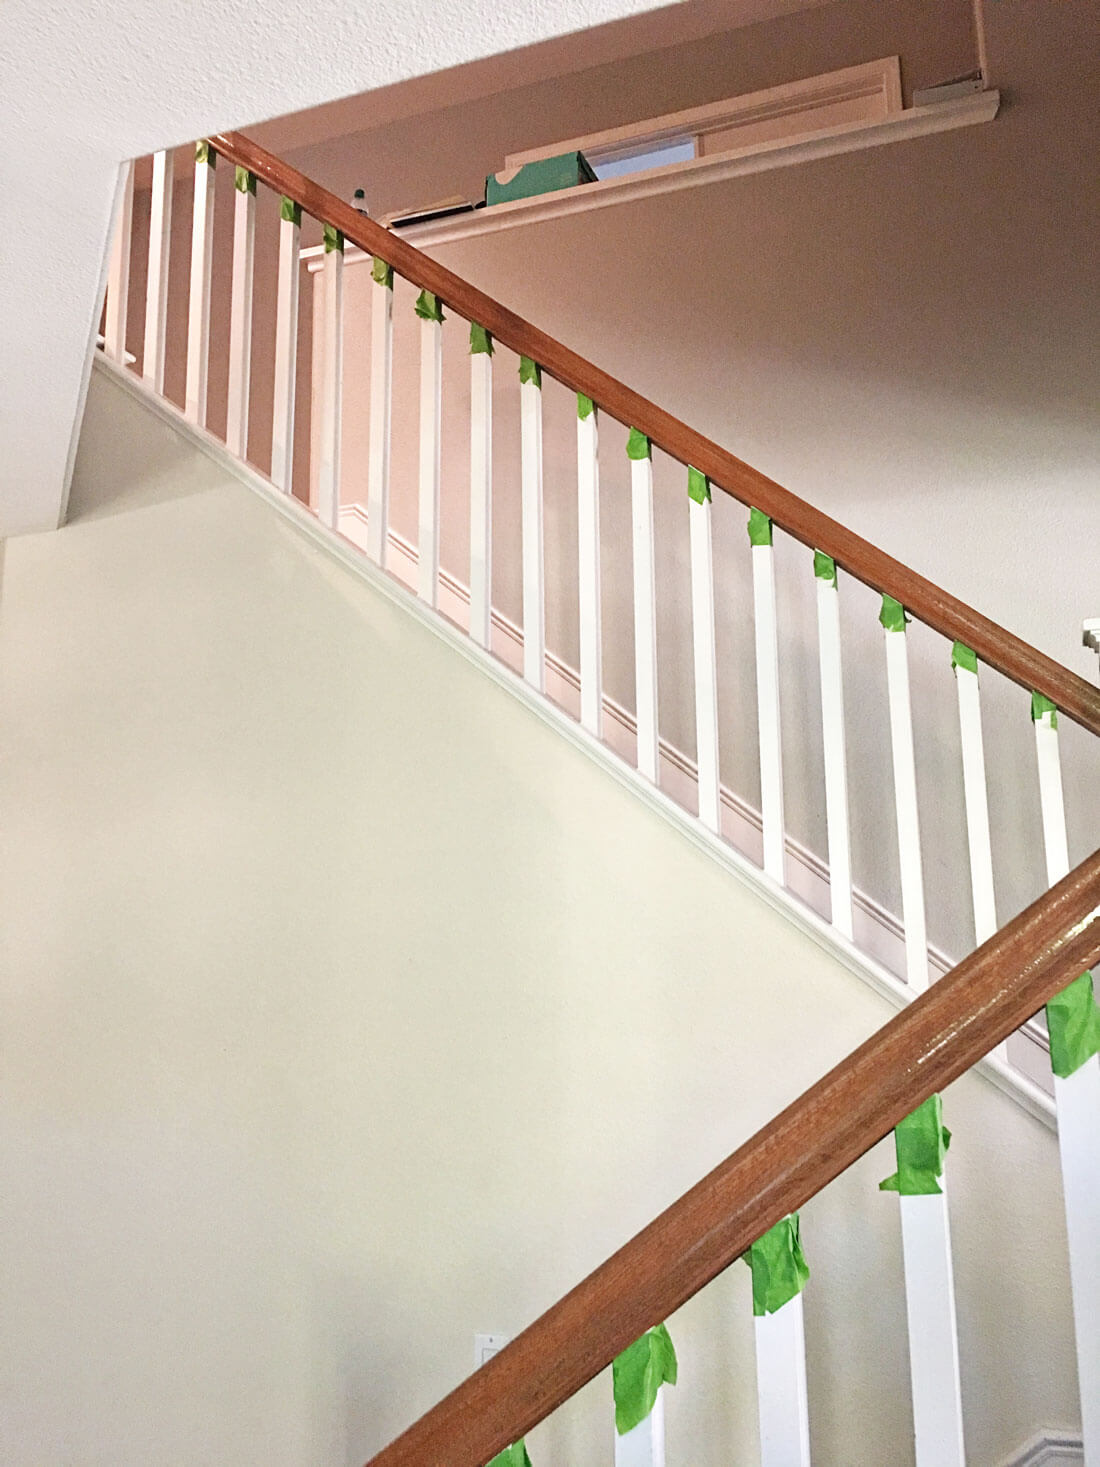
STEP #3 – Priming – 2 coats 1.5 hours
Even though the paint that I used has comes with primer already in it, it was explained to me that a primer coat is still necessary. Apparently the primer that comes in the paint is intended to help paint stick to previously painted surfaces and since I am painting onto varnished wood an All Purpose Primer was recommended. I bought a quart and used maybe 1/4 of it for 2 coats.
- I put the quart of primer (and paint) in a 2 gallon bucket. It made everything much cleaner. Didn’t have to worry about paint dripping from the can onto the carpet
- The primer is not intended to cover evenly, so don’ t be discouraged when some sections of the wood absorb the primer more or less than other sections.
- Another reason i used primer was I wanted to lose the wood grain texture look, which a thick coat of primer help achieve,
- When you apply the primer and paint start with the underside first. excess product will accumulate on the sides giving you a chance to smooth it out when moving to the sizes and top of the banister.
- Always leave the top of the banister for last as you will be constantly need to hold on to or lien over the rail while you paint or prime the other sides of the banister.
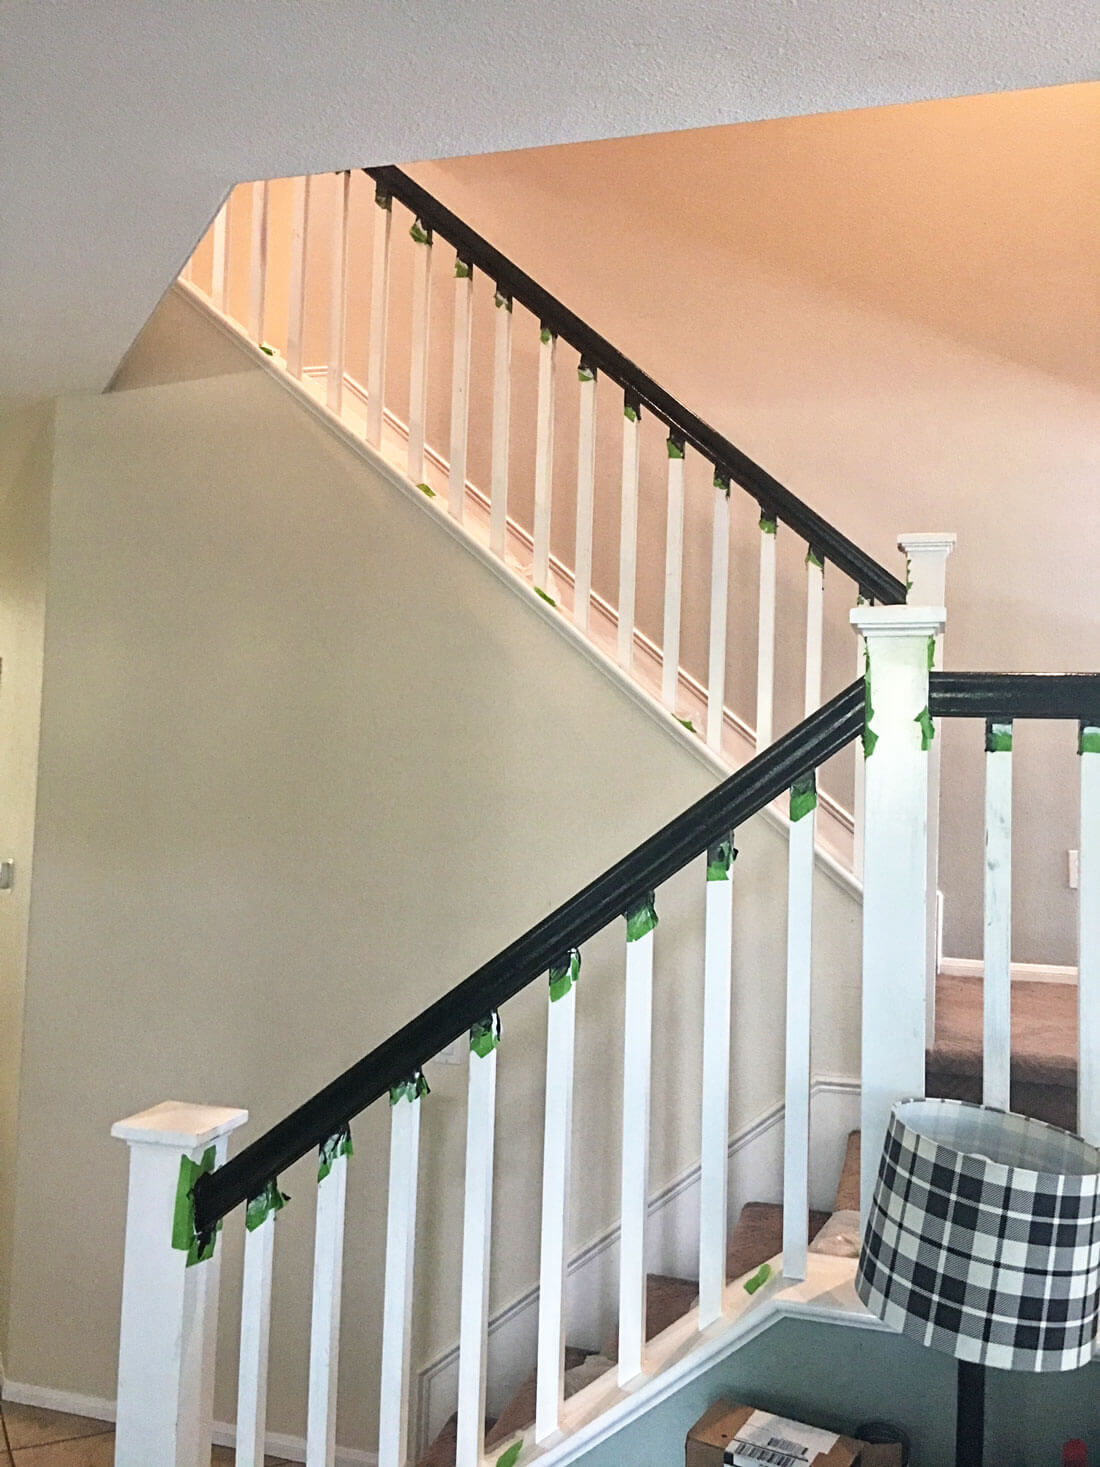
STEP #4 – Painting the banister – 2 coats – 2 hours
I’m going to try hard to keep this G rated. The concept is simple, start with the underside of each banister then move to the sides and finish with the top of the banister.
- You need to do all 4 sides in 6 foot sections because the paint dries quickly and will coagulate (I’m not sure what that means but the dude on the youtube video used the term about 5 times, so I painted quickly).
- No matter what you do. The black paint is going to drip or run.
- If I would have accepter the fact that I was going to have to paint the white spindles the painting process would have gone much quicker, but because I was determined to paint only the banister, I stopped to clean and repair my precious white spindles, anytime the evil black paint ran or dripped onto them, which wasted a lot of time.
- On the risers, start from the bottom and paint up in one direction, this will help to discourage the paint from running. Even with my perfect technique the $#%*# paint ran.
- VERY IMPORTANT – not to go cheap on your brush. Buy a nice brush otherwise when the paint dries you will see brush marks. The idea of using a high gloss black paint was to have a shiny smooth surface free of brush strokes.
- I bought 1 quart of black paint and after 2 coats I still have more than half left.
STEP 5 – Painting the Spindles – 4 hours
After I was done painting the banister I had to face facts. Even though the zebra patterned spindles were growing on me, I didn’t think Mique would like them so I took the plunge. I painted all 228 sides of the spindles (ask me how I know how many sides there are). It was by far the most time consuming step but it made the job look a lot better.
After it dried we thoroughly tested it. My 12 year old’s exit velocity sliding down the banister has significantly increased but he still can’t nail the landing. So, I hope she likes it but even if she doesn’t after taking on black paint I can handle any paint color now. So if you want to change the banister color to something else sweetheart, just put it on the list, I’ll get to it….EVENTUALLY!!
(Mique here with my final thoughts)
Even though it was a rough project for Josh, I LOVE the way it turned out. I especially loved that he took this on while I was away.


This is amazing and very helpful on how to paint banister and railings, thankyou for sharing this one!