Organize school papers and memorabilia with this simple method – a container for each child with all of their favorite momentos in one spot! Printables and step by step instructions included.
School Paper Organization
You know how you have a list of “someday” projects to tackle? My list is about a mile long. On that list I’ve had school paper organization forever. I have three kids who are now 19, 17 and 12. I have collected A LOT of papers, projects, report cards, awards and more over the years. I’ve tried to keep them together but never really had a system until now. The only regret I have in this is that I wish I would’ve done it sooner!
By using this post, I’ve taken all the guess work out. Follow these steps and you’ll have this project done in no time!
To tackle this school paper organization, you’ll need:
You can get each of these products at Target, Walmart, office supply stores or I’ve linked most of them to Amazon because it’s awesome not having to leave your house!
- 54 quart storage container
- Hanging files
- Expanded hanging files
- Easy slide tabs
- cardstock
- printer
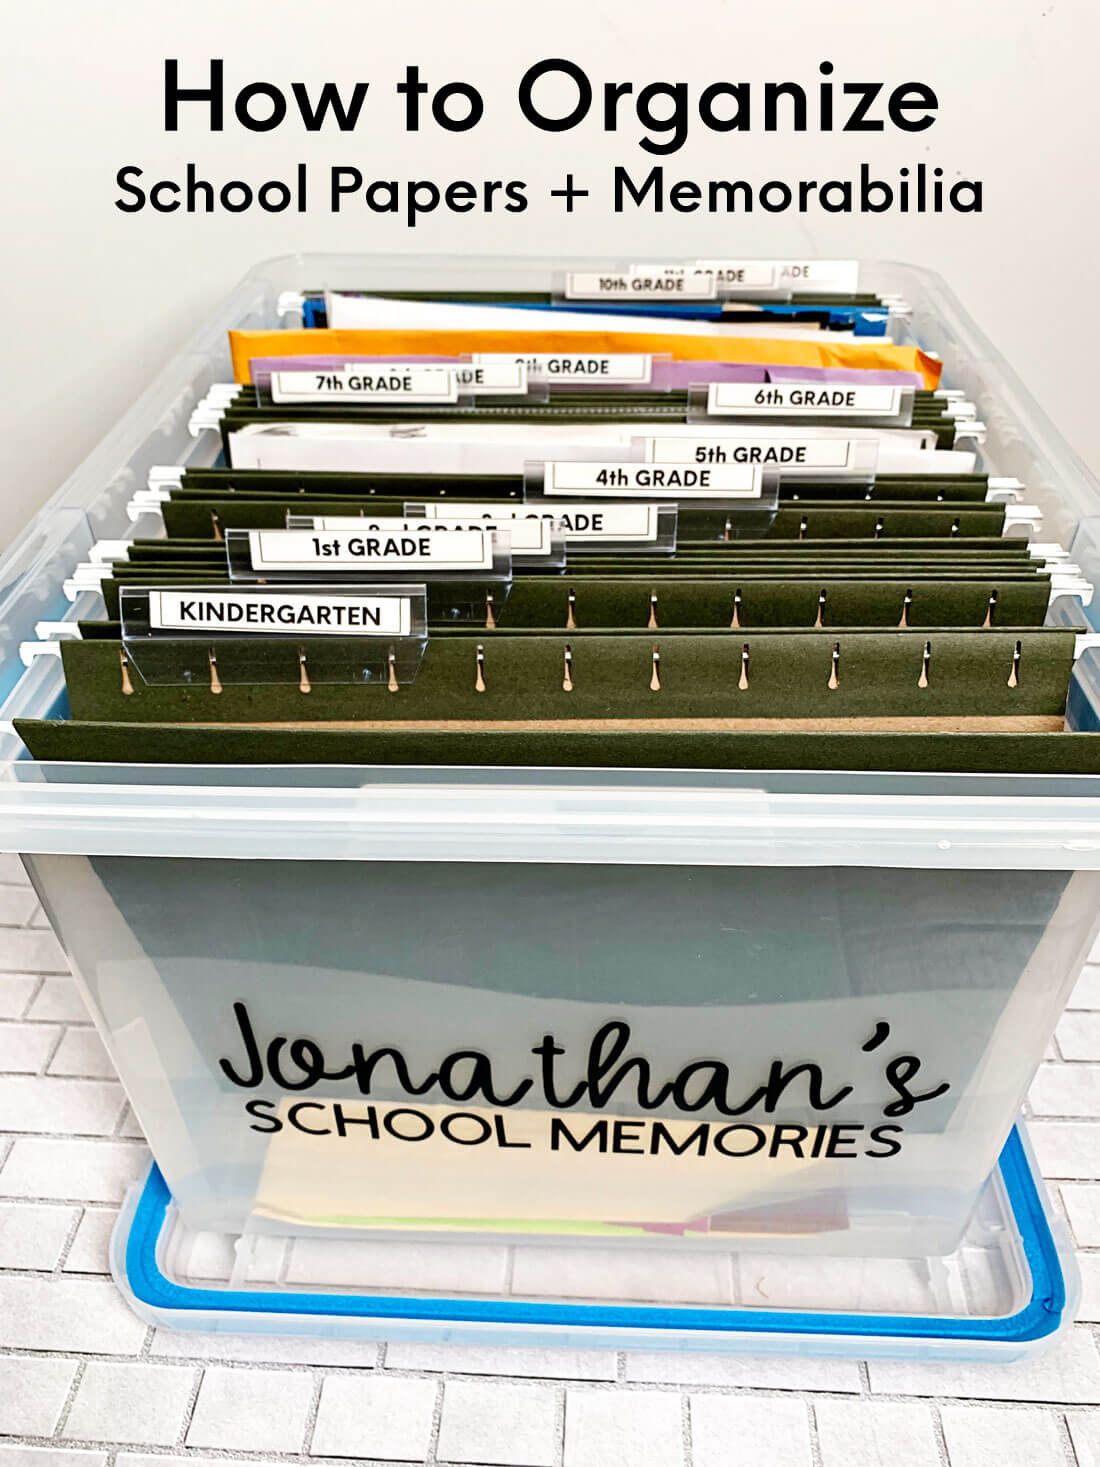
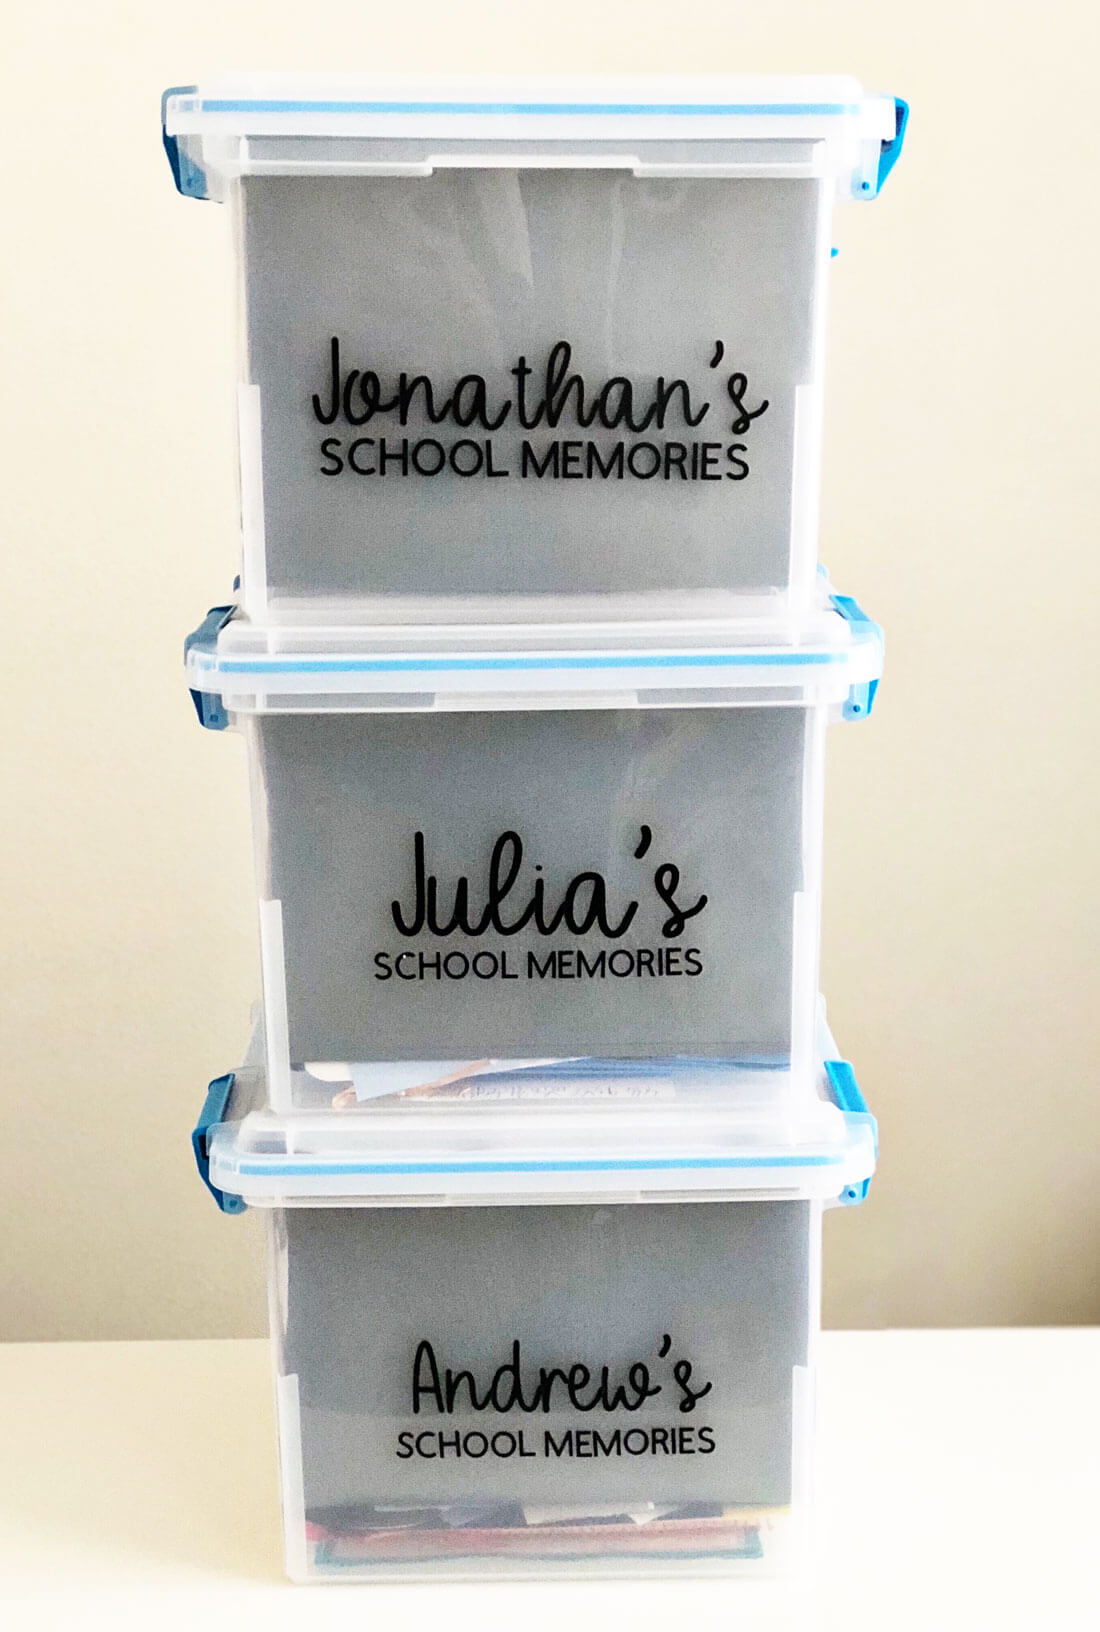
I love these containers that I found at Target. They are perfect for this project – store things well, great size and easy to access.
How to organize school papers
It’s definitely not as hard or take as long as you think it will. Set a little bit of time aside and go for it!
- Gather all of your kids school papers and memorabilia.
- Sort through ALL of it.
- Throw away MOST of it. I know it’s hard but you can do it. Keep only the things that are meaningful, they spent hours on, you love, they love, etc.
- Take pictures of the big stuff and create an album with it. (more info on that below)
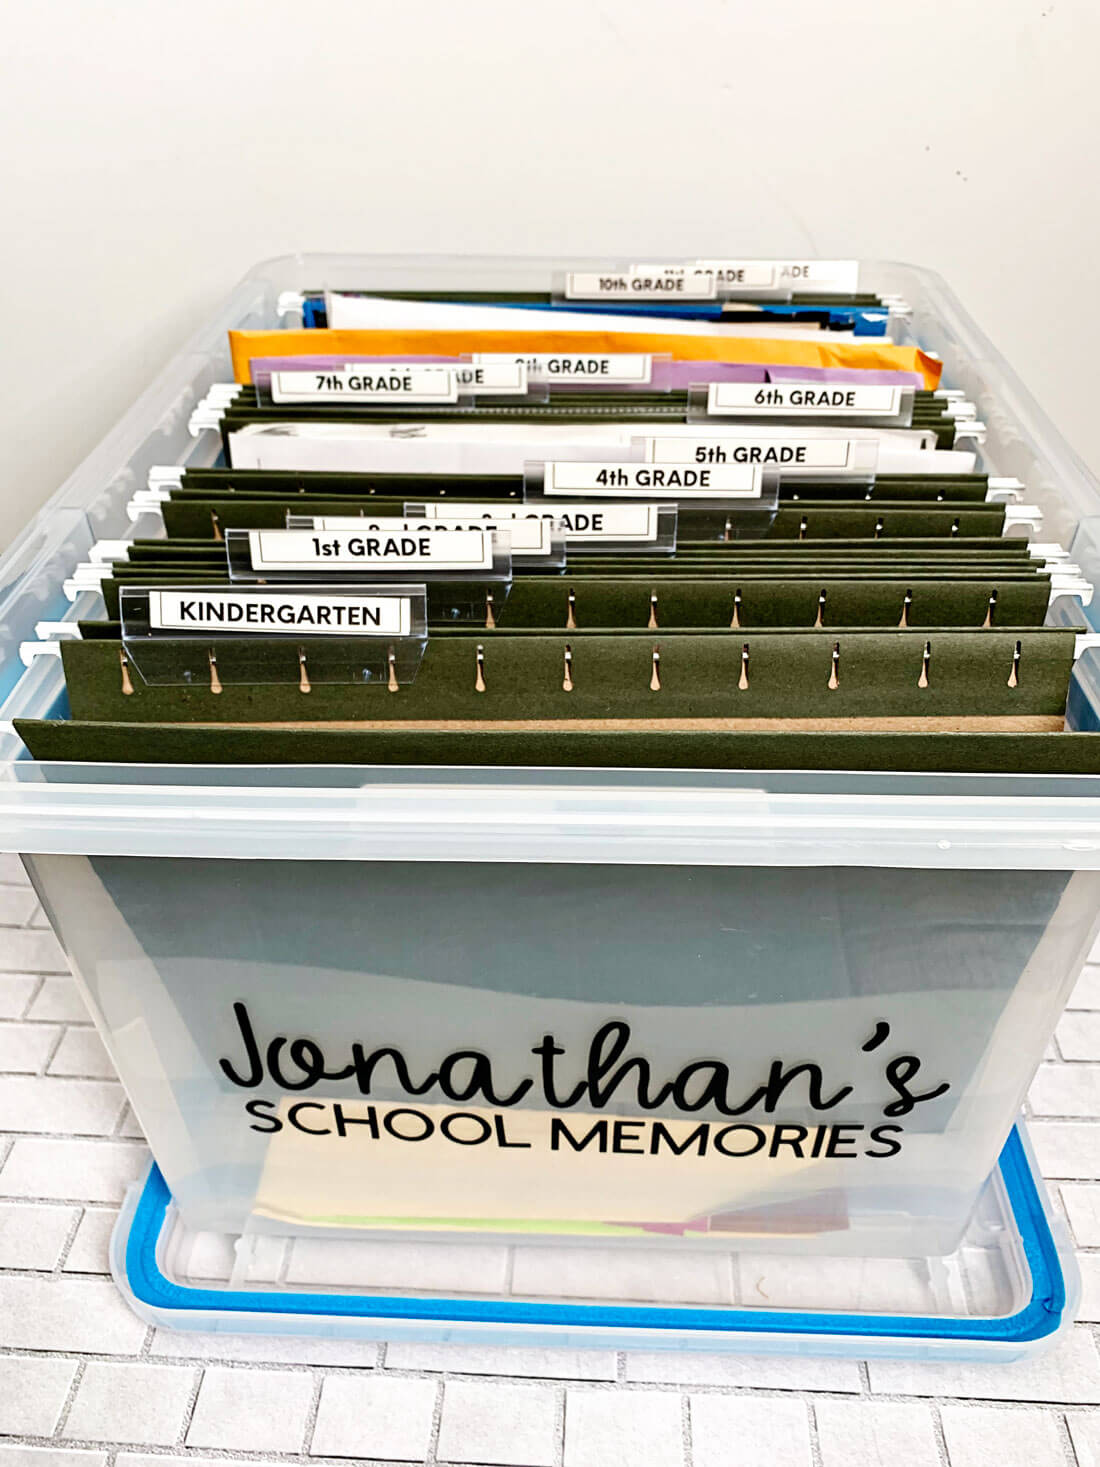
- Add hanging folders to a container and sort by grade using tabs.
- Print out tab labels and slid into the tabs.
- Add papers into their correct grade.
- Do for each child and you’re done!
To make the front of my school container I used my Cricut Explore machine. You can do the same or label the front of your kids containers with a paper, have them decorate it or whatever you like.
The fonts used for the container are: Blink Script (script) and Cricut Sans.
Suggestion for the big stuff:
There have been tons of projects that my kids have been a part of that we all loved. But they are bulky and hard to store. My suggestion for this is to take a picture of those types of projects and make a photo book with them. Store it in this school container or have it where your kids can look at their projects whenever they feel like it. This helps with having a cleaner space while still holding on to those memories and projects they worked hard on.
I like Chatbooks. I’ve made several books that are easy to put together, good quality, inexpensive and come quickly. You can use my affiliate code to get $10 off your first Chatbook!
To add the tabs to your containers, download the grade tabs. For personal use only.
These tabs are on one sheet. Use a paper cutter to cut them out, fold on the lines and slide into the tab holders.
Other kids organization posts
If you love this school organization post, you’re going to love these other kids organization posts. Please click each link below to find the information:

