Get prepared for something unexpected with a car emergency kit. Details, a printable checklist and cute container below.
#ad This post is in partnership with Cricut. I am beyond thrilled to work with a company I absolutely love!
While I’m NOT a doomsdayer, I really like to be prepared. Lately I have felt the push to get more prepared in case of emergencies. Who could have ever imagined all that we have been through over the last couple of years?
I have stocked up on food storage, and decided to make an emergency car kit. Living in the Los Angeles area, I have been stuck in traffic and different places where I needed things more than once.
For this project and to make a car emergency kit of your own, you will need:
- Items for to put in the kit (below)
- Container – this container was Michaels and ended up being the perfect fit. But there are all kinds of containers available. I’ve found them at Hobby Lobby, Target, Home Goods, Ikea and more.
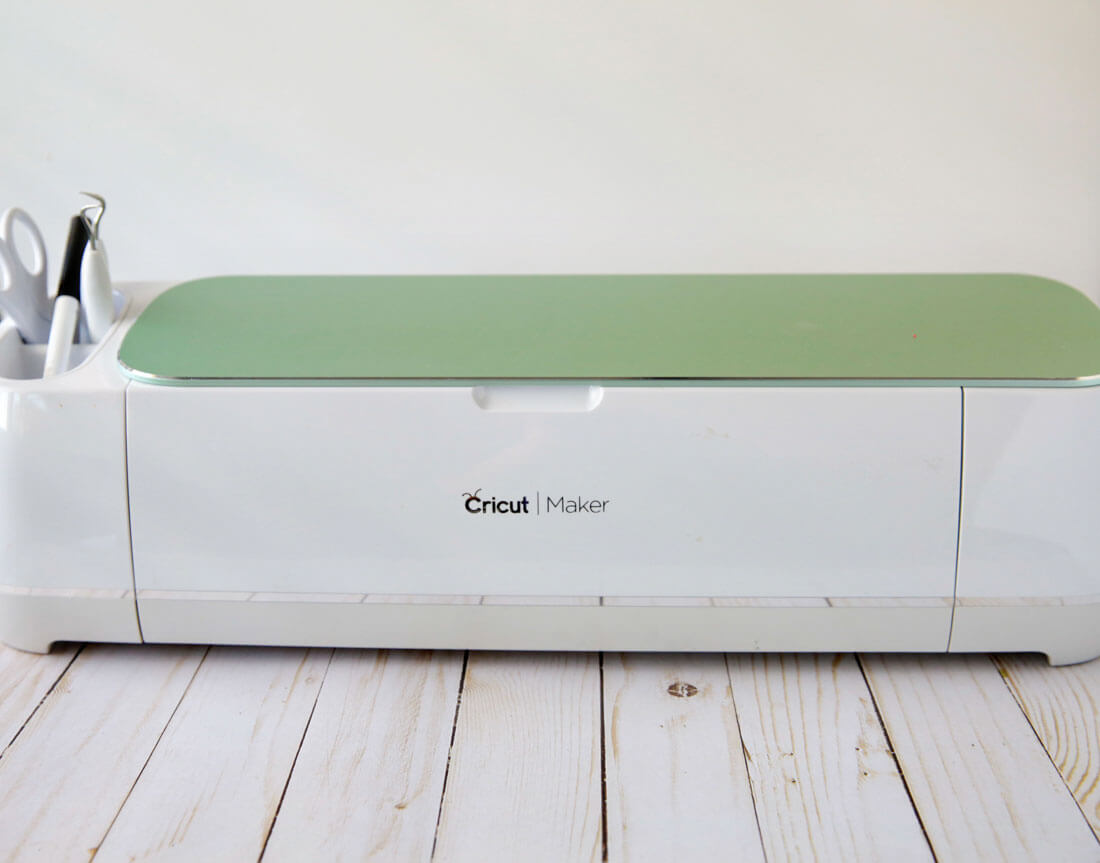
- Cricut Maker
- Cutting Mat
- Vinyl
- Transfer Tape
- Scraper
- Weeder
- OR you could get the tools kit
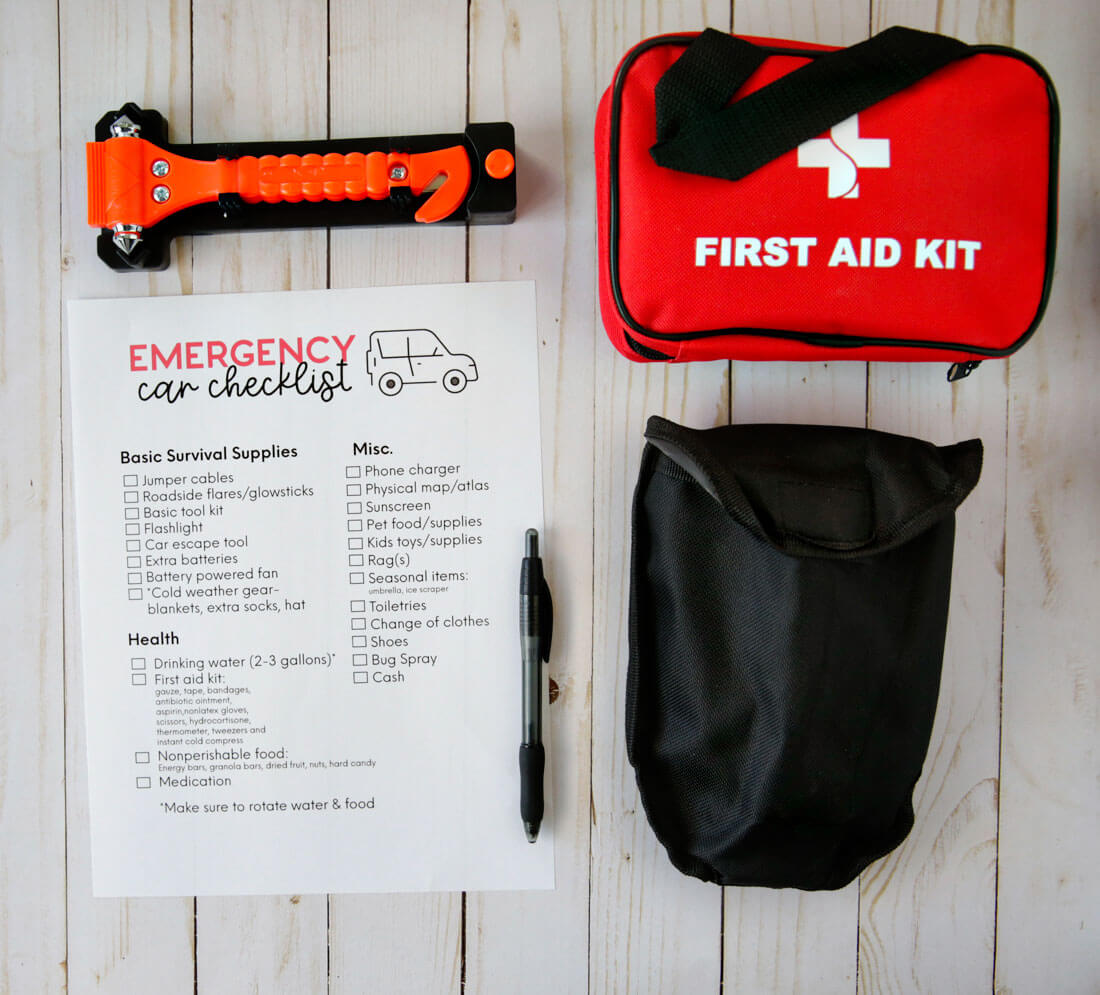
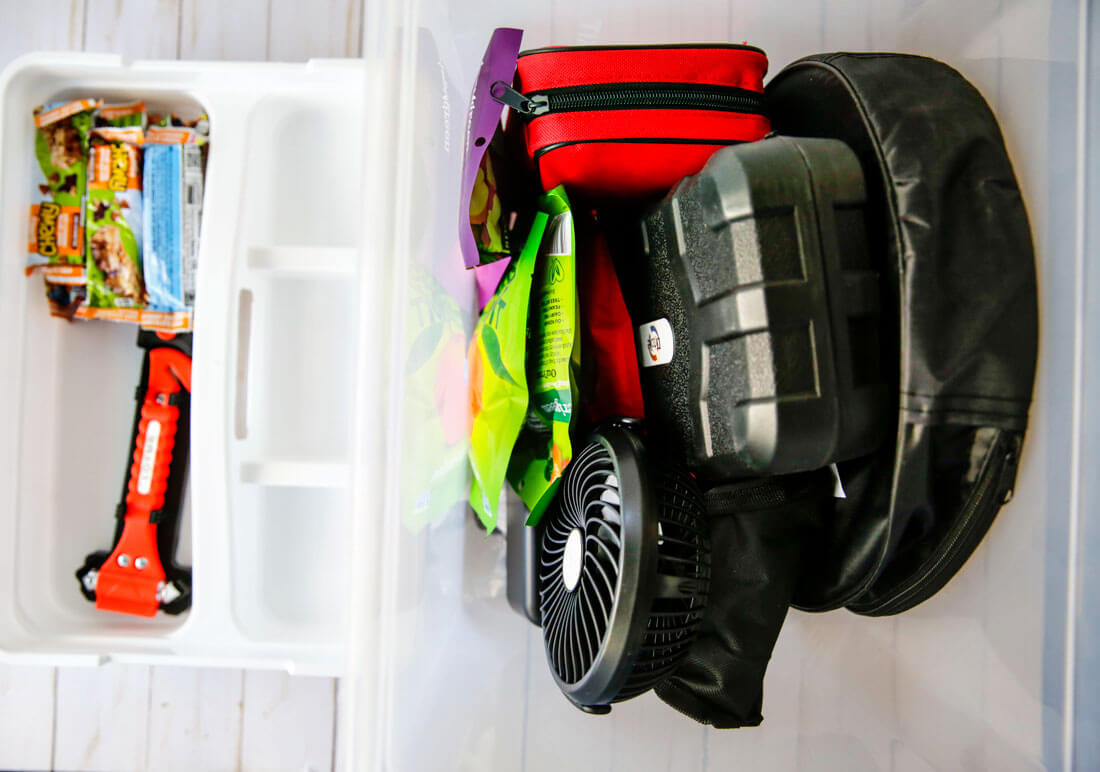
Car Emergency Kit List
This list has a lot of items on it. Some will apply to you, some will not. It is largely dependent on where you live, who is in your family and where you travel to in your car. When my kids were younger, I carried extra underwear, diapers, etc. But we are past that stage now. If that’s something you need, add it!
- Jumper Cables or Portable battery charger
- Roadside flares
- Basic tool kit
- Flashlight
- Folding shovel
- Car escape tool
- Extra batteries
- Cold weather gear – blanket(s), extra socks, hat
- Drinking water – 2 to 3 gallons, rotate out
- First Aid Kit
- Non perishable food – this is what I put in mind: granola bars, dried fruit.
- Medication – keep spare medicine in small quantities
- Phone charger
- Physical map or atlas (hard to find these days!)
- Sunscreen
- Pet food if you have a pet
- Kid toy(s) if you have kids
- Rags
- Seasonal items- umbrella, snow scraper
- Toiletries
- Change of clothes
- Shoes – tennis shoes & flip flops
- Bug spray
- Cash
I have created a printable checklist for you to use. Download car emergency kit list. For personal use only.
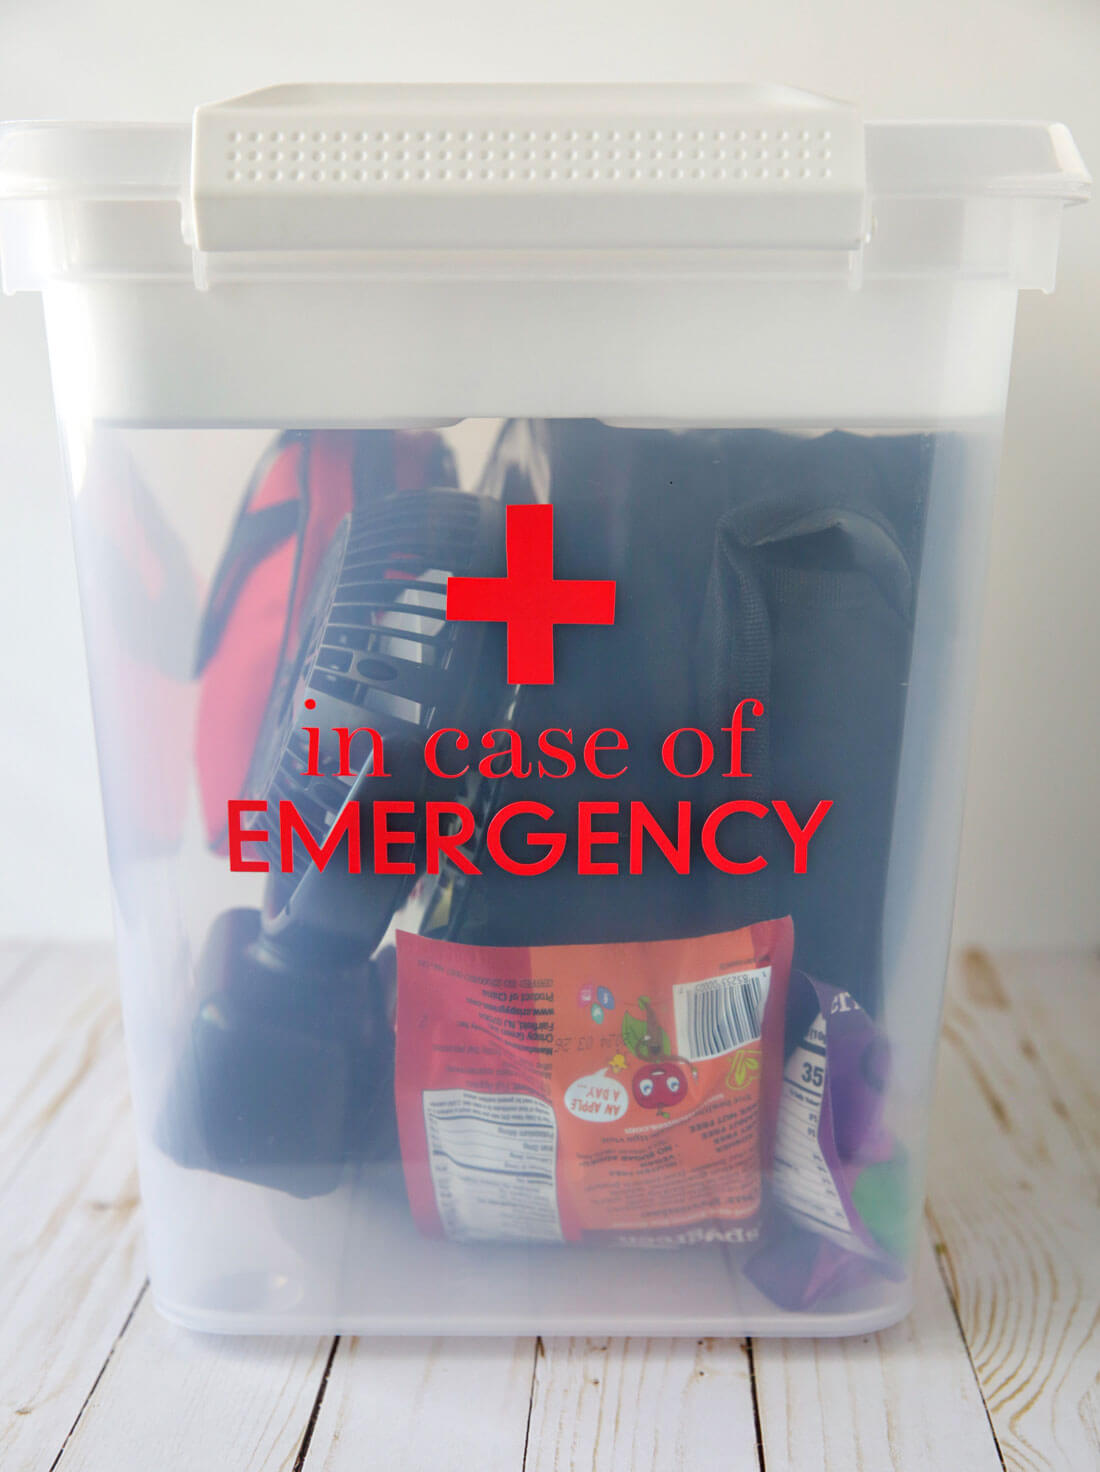
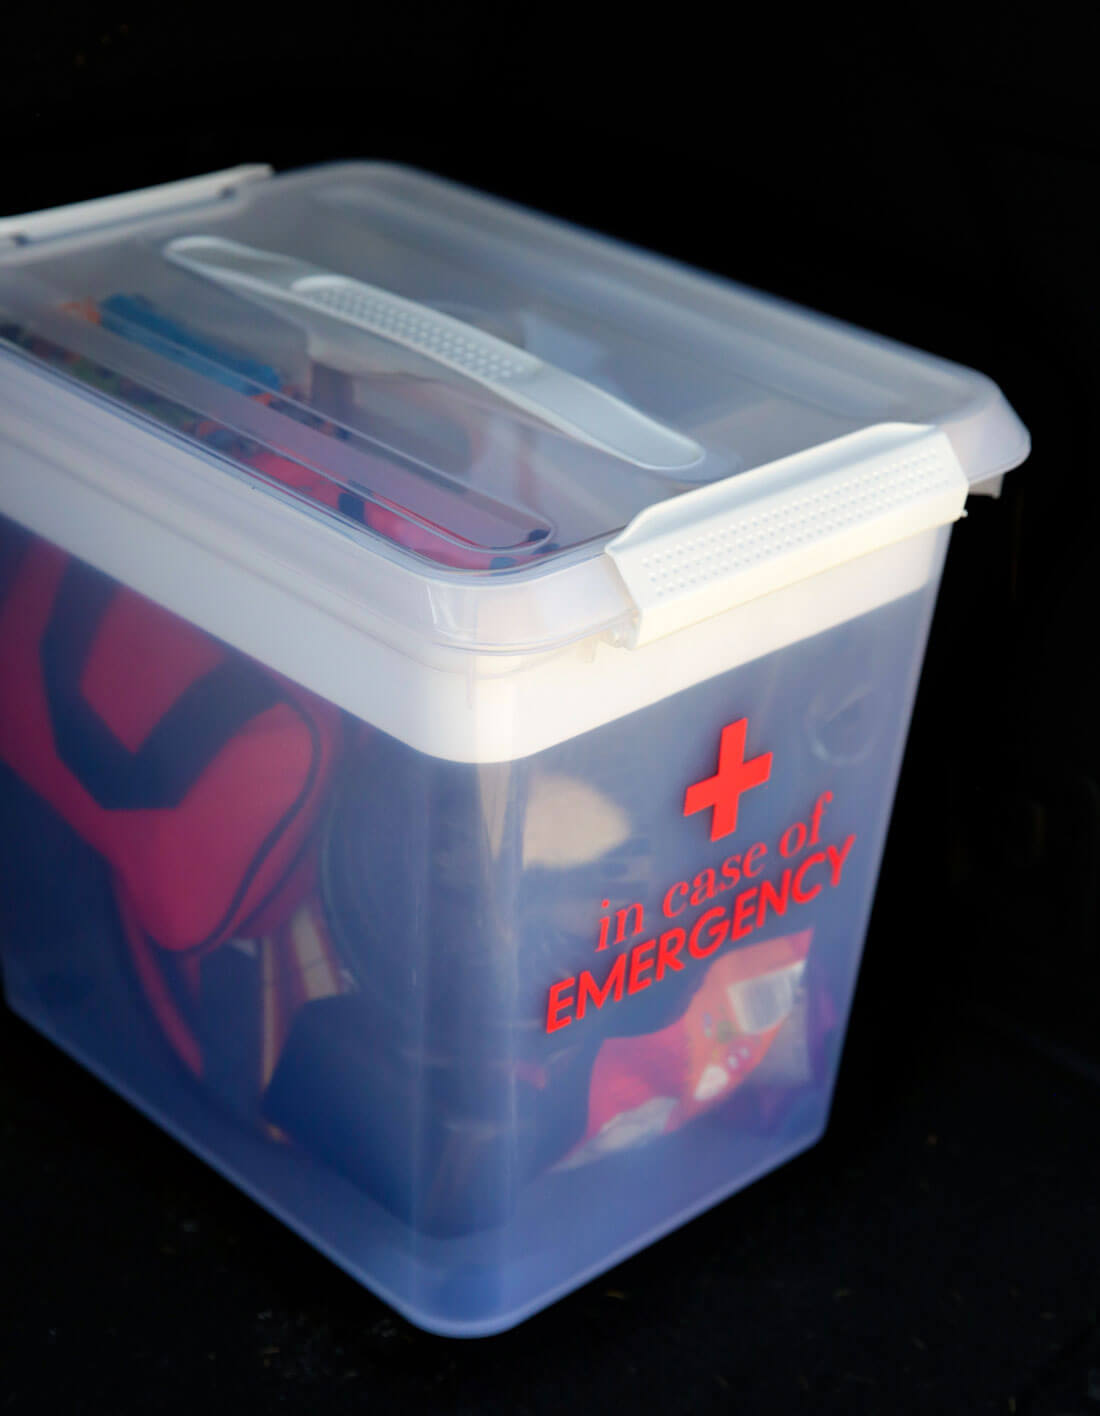
To make my kit cute.. (because why not?), I added a label that I made with my Cricut Maker.
The basics of how to create a label:
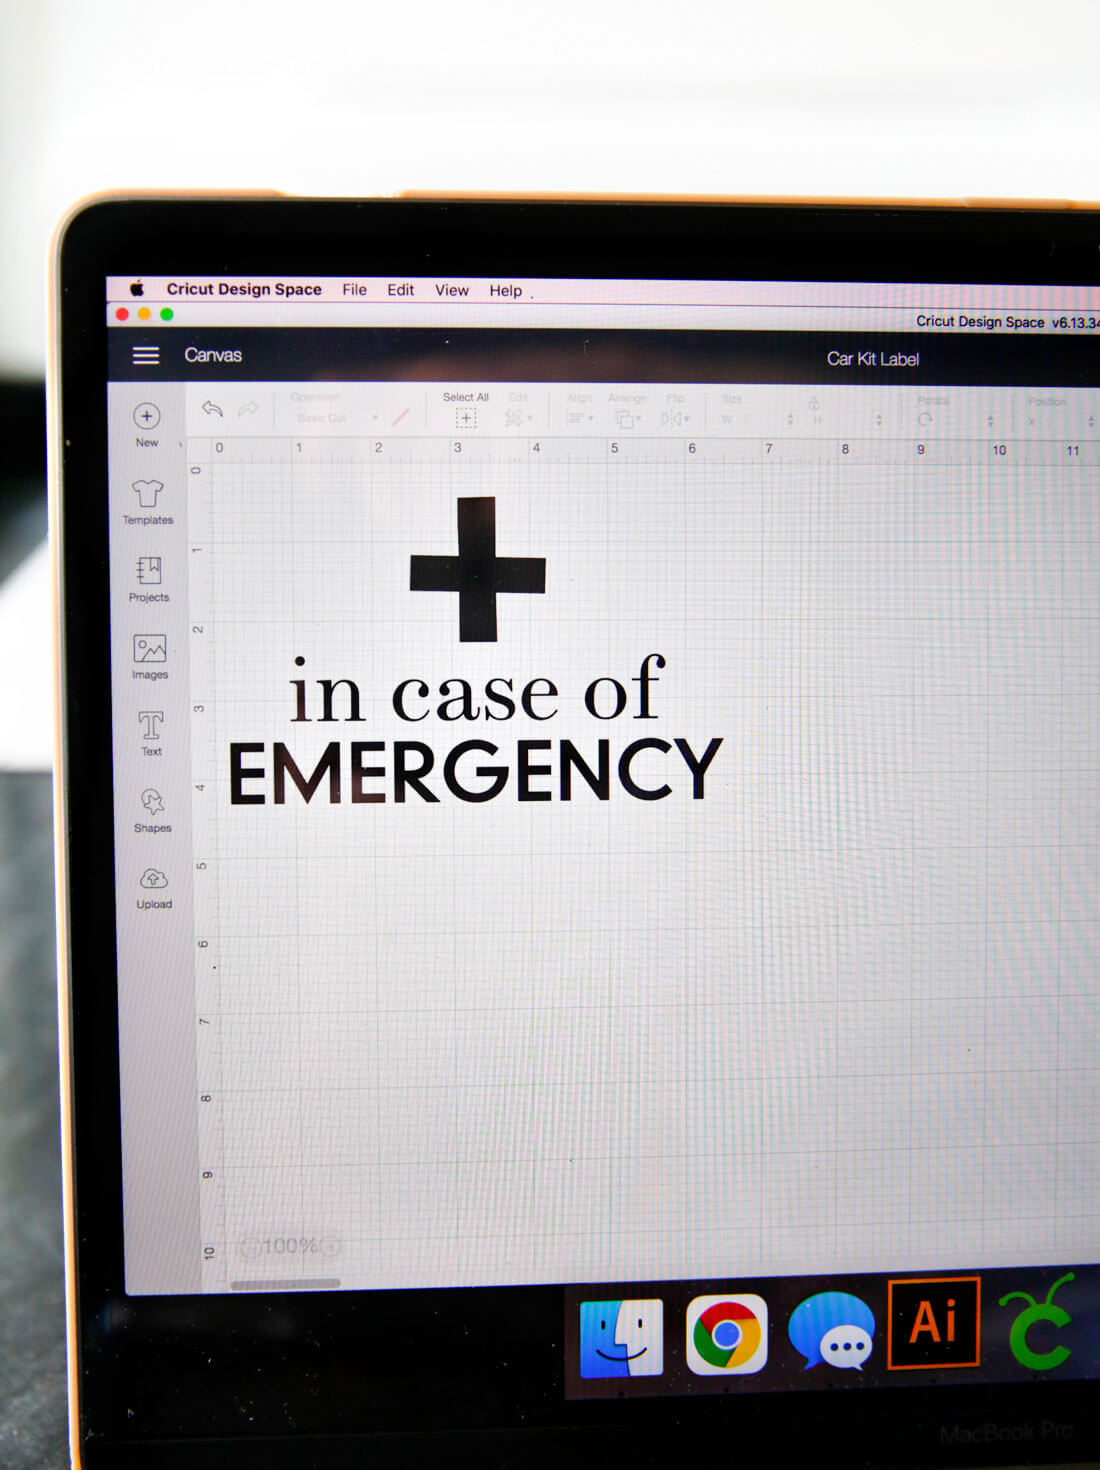
- Design labels in Cricut Design Space.
- Load vinyl into Maker.
- Make design and unload.
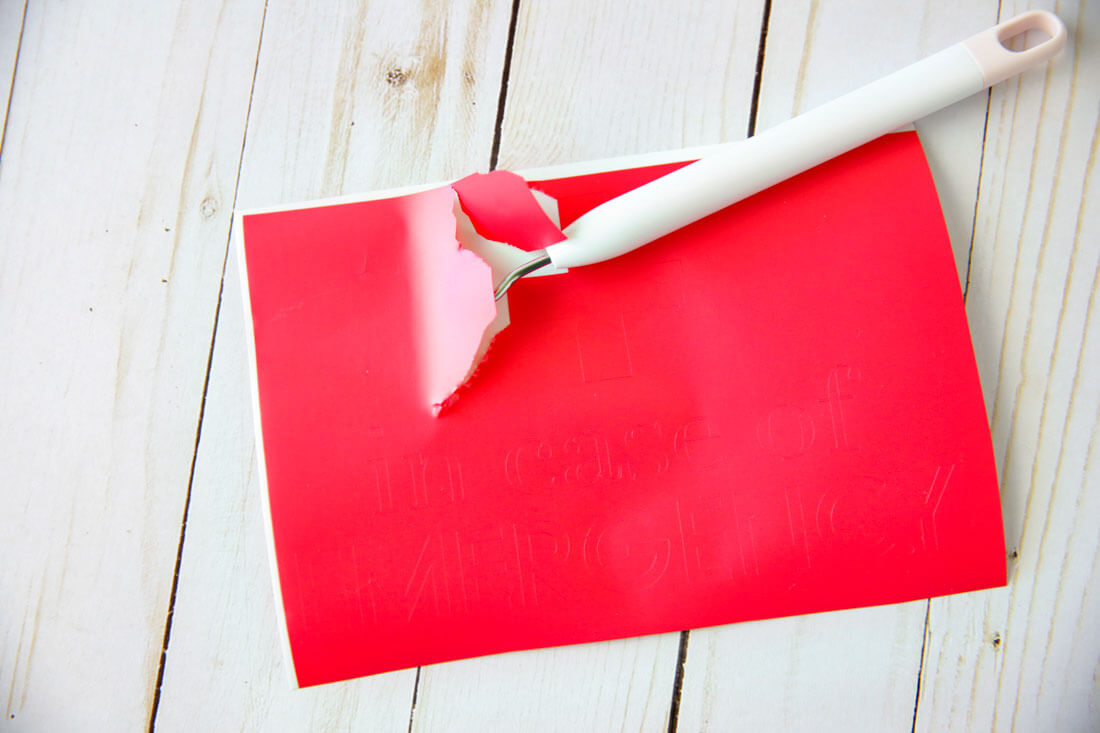
- Weed the design.
- Add transfer tape over the design.
- Apply to container, using scraper to adhere well.
- Remove transfer tape.
For this design I used Scotch Roman (serif) and DIN Neuzeit Grotesk (san serif). They are both available in Design Space. If you’d like to use. my design, you can get it here.
I’m often asked how I make the projects I do using my Cricut and Design Space. My answer is always the same – the more that you play around with Design Space, the easier it becomes. When you get the basics down, you will want to use it for everything. And I do mean everything.
After designing in Design Space and cutting out vinyl on the Maker, it was time to weed, use transfer tape and apply.
Since every car is different,
Emergency Preparedness Posts
Emergency Preparedness is something that we talk about often in church. We are encouraged to keep food storage, budget appropriately (not go over our means), and have products on hand for emergencies. Here are a few posts that will help with that:
Other Cricut Projects
This probably isn’t your first time hearing how much I love my Cricut! I’ve made A LOT of projects and gifts with it. Here are just a few:

