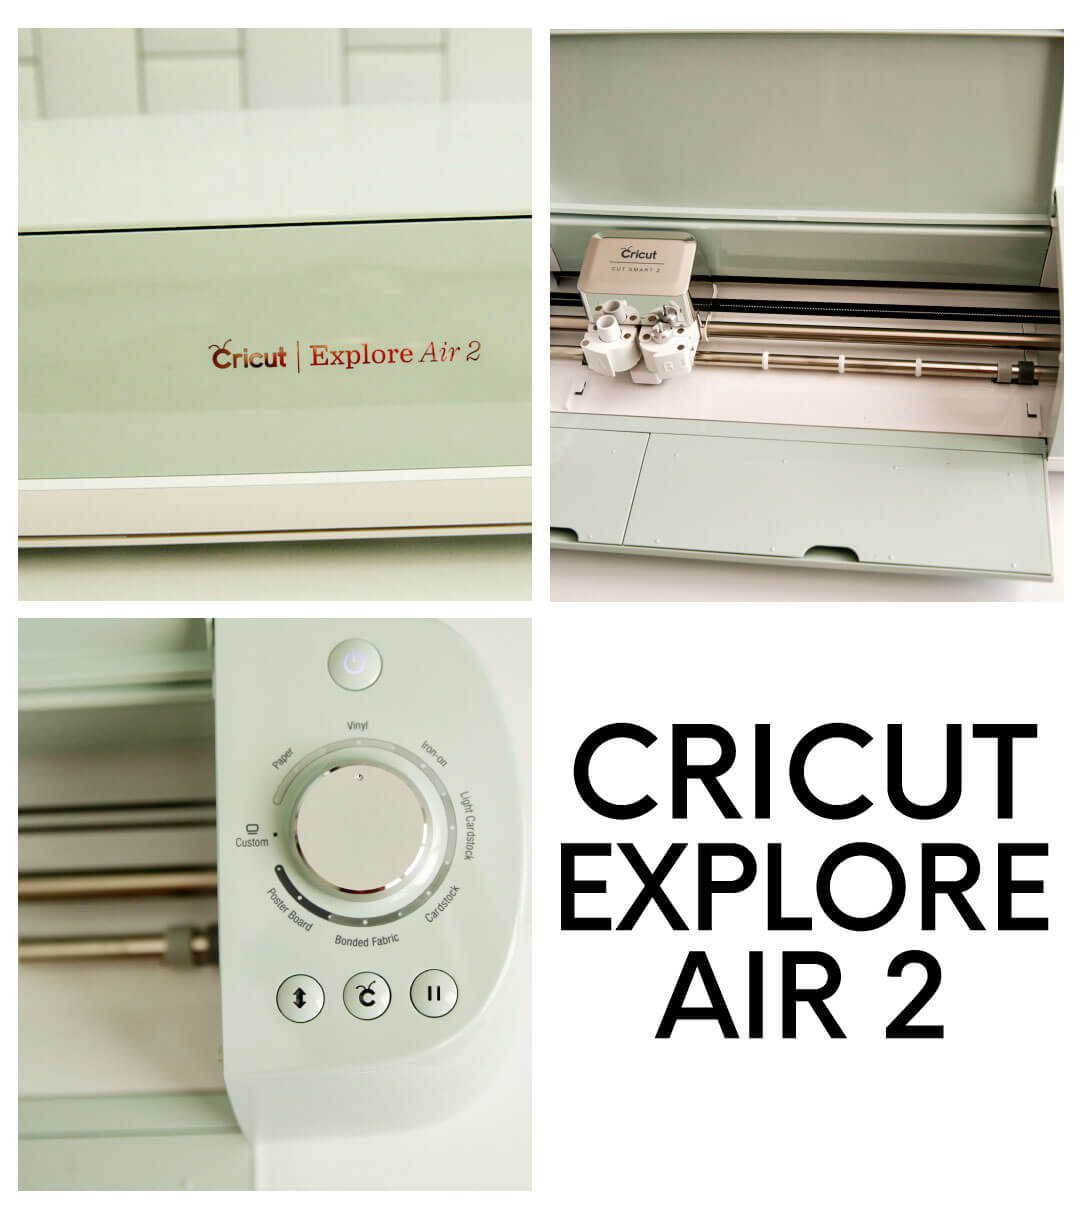
The possibilities with a Cricut Explore Air 2 are literally endless. But I’m sharing 5 reasons why I love mine and why I think you’ll love it too! Take a peek at what you can make with it.
This is a sponsored conversation written by me on behalf of Cricut. The opinions and text are all mine.
Cricut Explore Air 2 Machine
Because I talk about my love for Cricut so much, I’m asked all of the time which machine to get. Honestly it’s like trying to choose a favorite child. But for someone starting out, who won’t be using their cutting machine with fabric, I always recommend the Explore Air 2. Here are 5 reasons why I love mine:
- It’s fast.
I’ve been a long time Cricut user. I have an original Explore Air that still works. But the newer version can cut and write two times faster!
I often use my machine when I have to make duplicates of something that I don’t want to cut out because it’s so much easier and faster. - The Explore Air 2 works on all different kinds of materials (over 100!!)
Cardstock, vinyl of all kinds, iron on, cork, bonded fabric, and sooo much more. This means that you can make cards, shirts, signs, gifts, ANYTHING using an Explore Air 2.
- You can design whatever you like… or grab images from Cricut Design Space
People are intimidated by anything new. I get it. It can be scary at first. I love design so I like to create things in Illustrator and import them into Design Space. The awesome thing is – you can do that OR use Cricut Design Space. Anyone can upload designs, there are tons of projects to choose from and simply hit “make” to create something. Check out Cricut Design Space Basics. - The pretty colors.
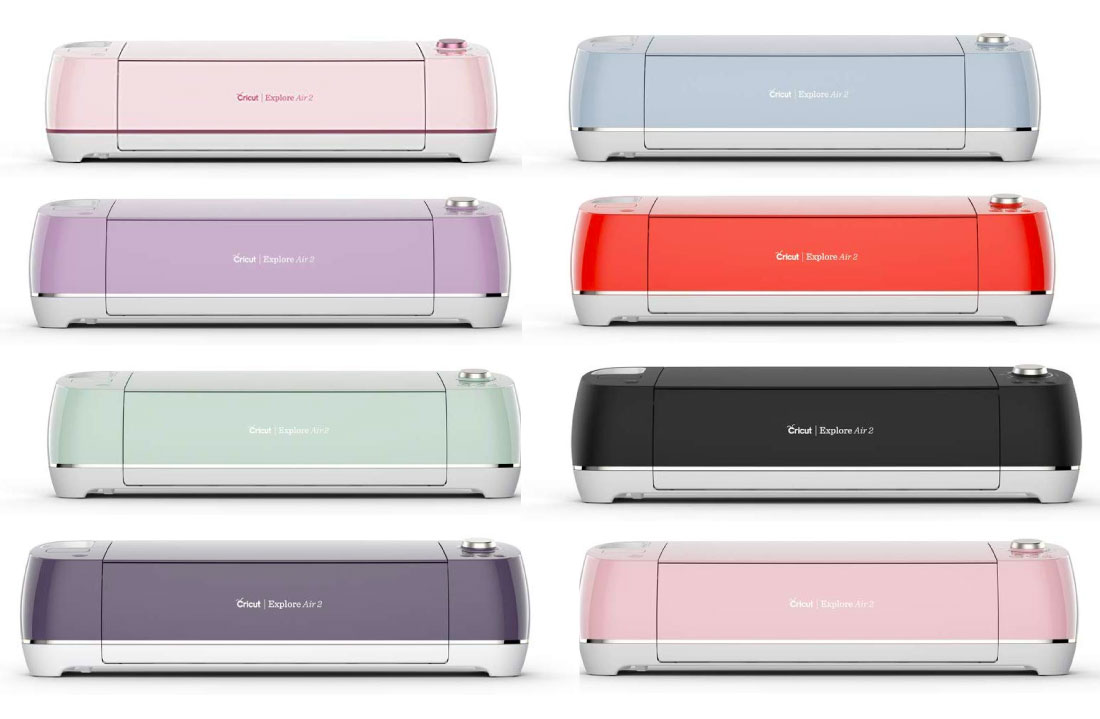
This reason probably sounds silly but I love all of the different color options with this cutter. I was able to get a mint color that goes with all of the other Cricut products I have. There are soooo many different colors that there’s bound to be one that you love! - It has helped me get organized.
This is the biggest reason why I love my cutter. It has helped me find a love for personalizing and organizing spaces. It’s something that I have struggled with pretty much my entire life. Because I can make cut containers, label things and more, I now look forward to organizing. It’s a miracle!
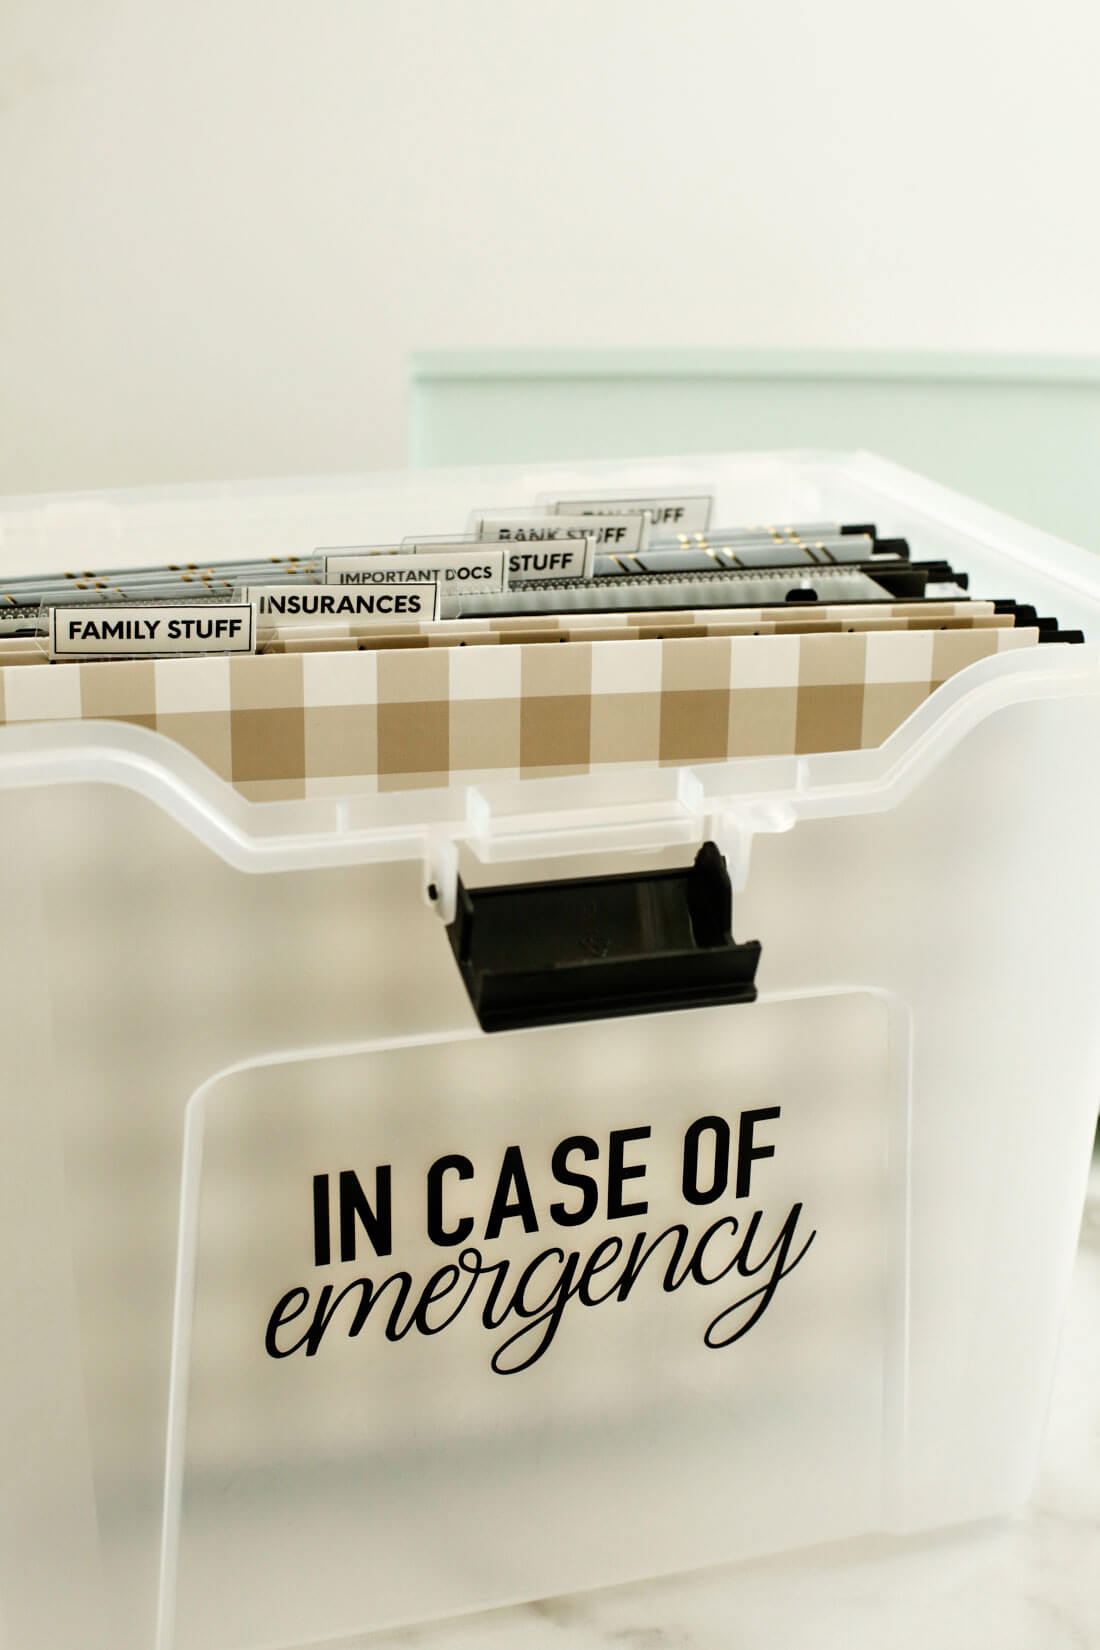
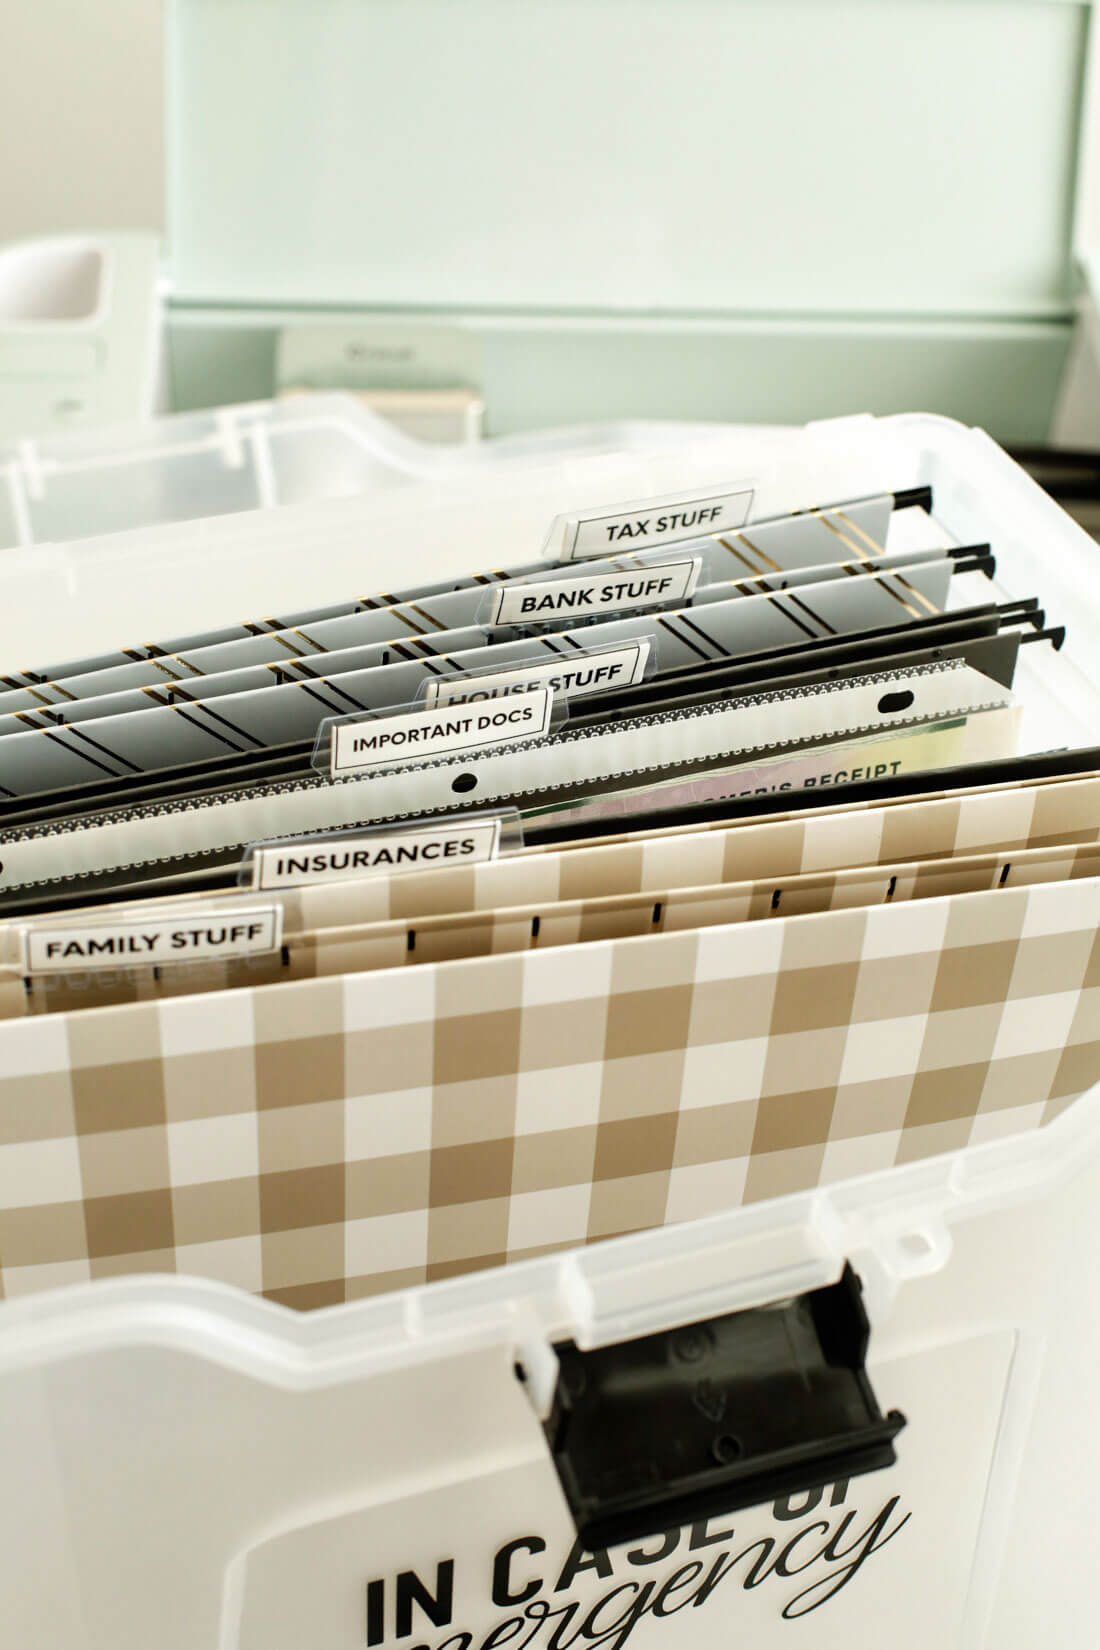
Once upon a time I created a Family Binder to keep all of our important files in one spot. It had been on my list for a long time and I finally put it together. For years it’s been a good spot to house all of the important stuff. It was time for an update!
To make an emergency box, you’ll need the following:
- Explore Air 2
- Vinyl
- Mat
- Transfer paper
- In case of Emergency File
- Container – I got mine from Home Goods but have seen them at places like Target, Office Max, etc.
- File folders + tabs – found at Target and created tabs
- Important documents/information
The most time consuming part of this whole project will be gathering all of your important files. Here’s how you can put your own emergency box together:
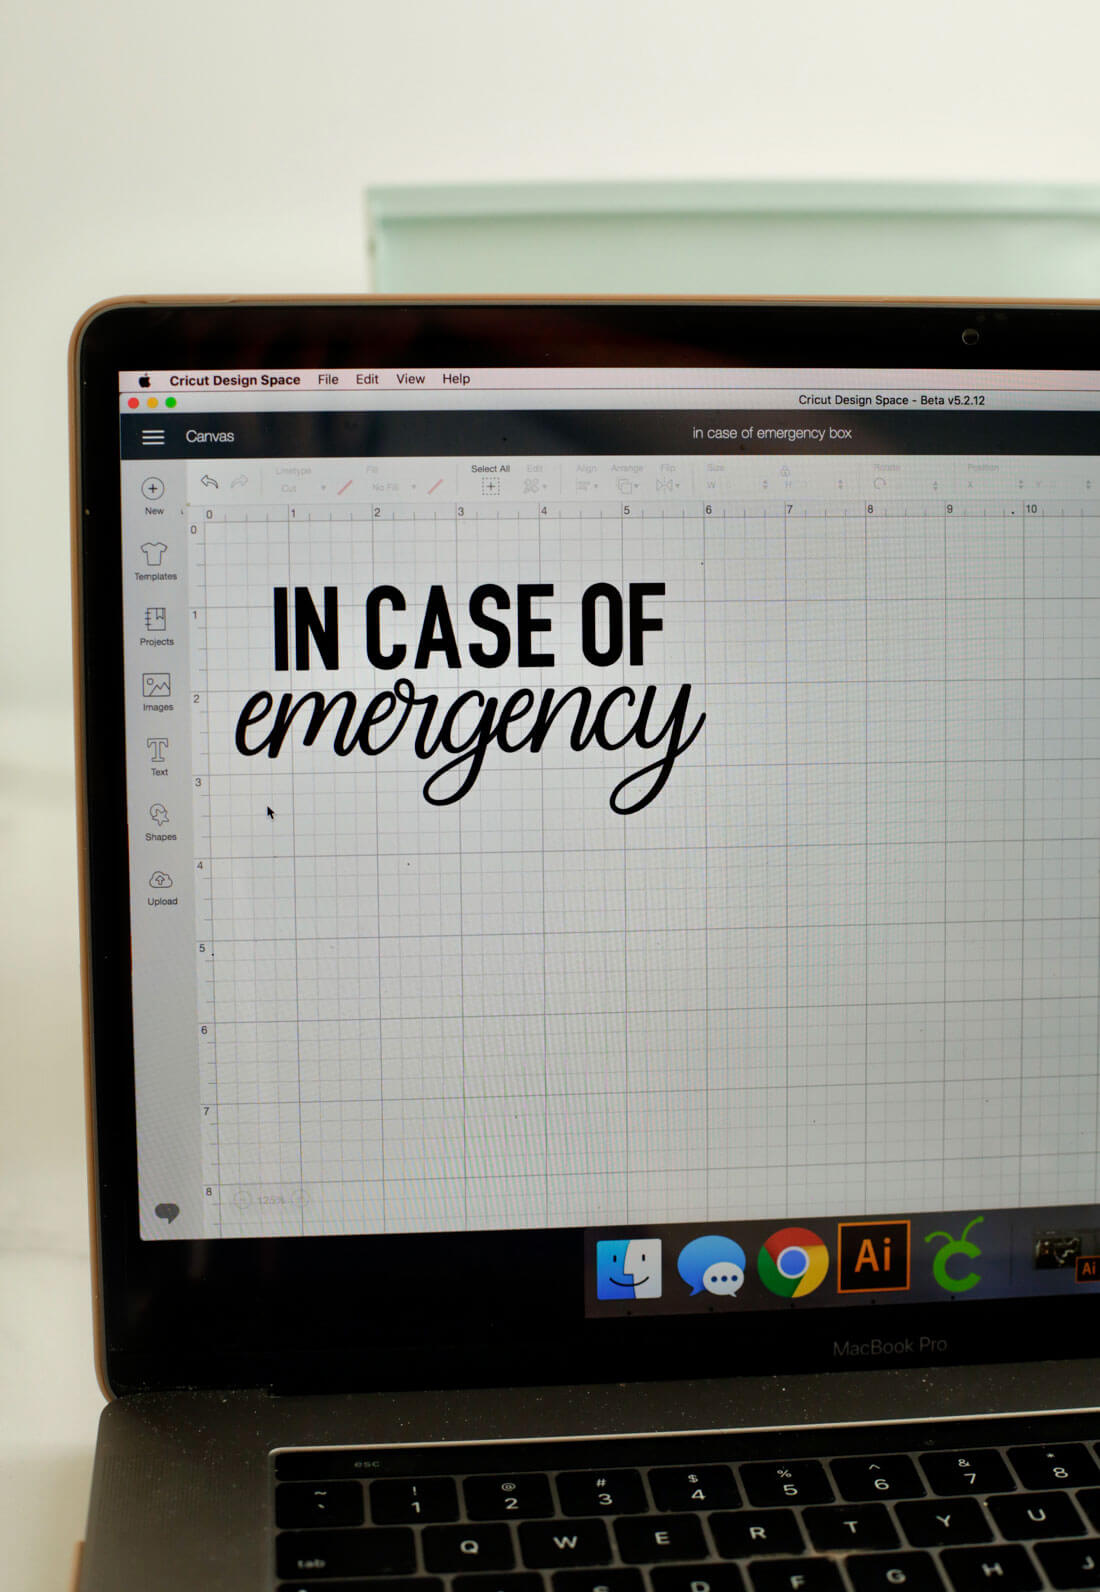
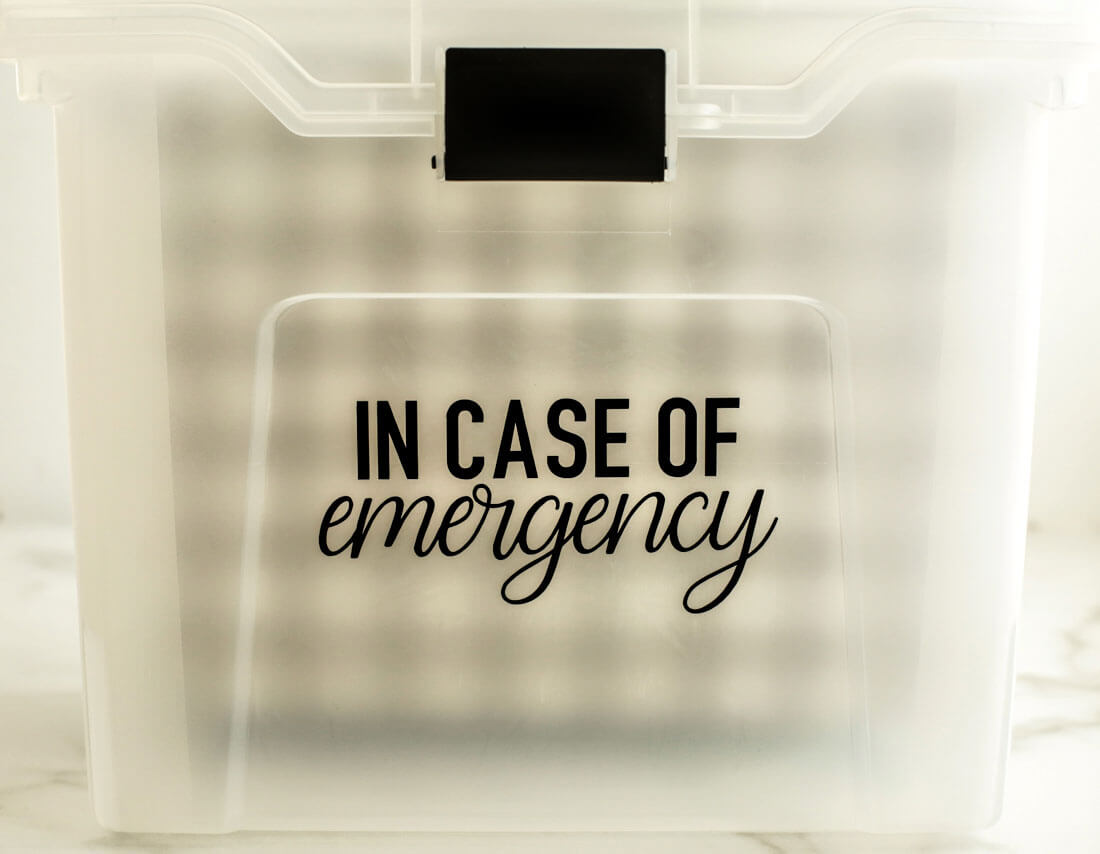
- Using Design Space, create file for container – “In Case of Emergency.” Cricut has so many font options. Choose the ones that fit your style and run with it!
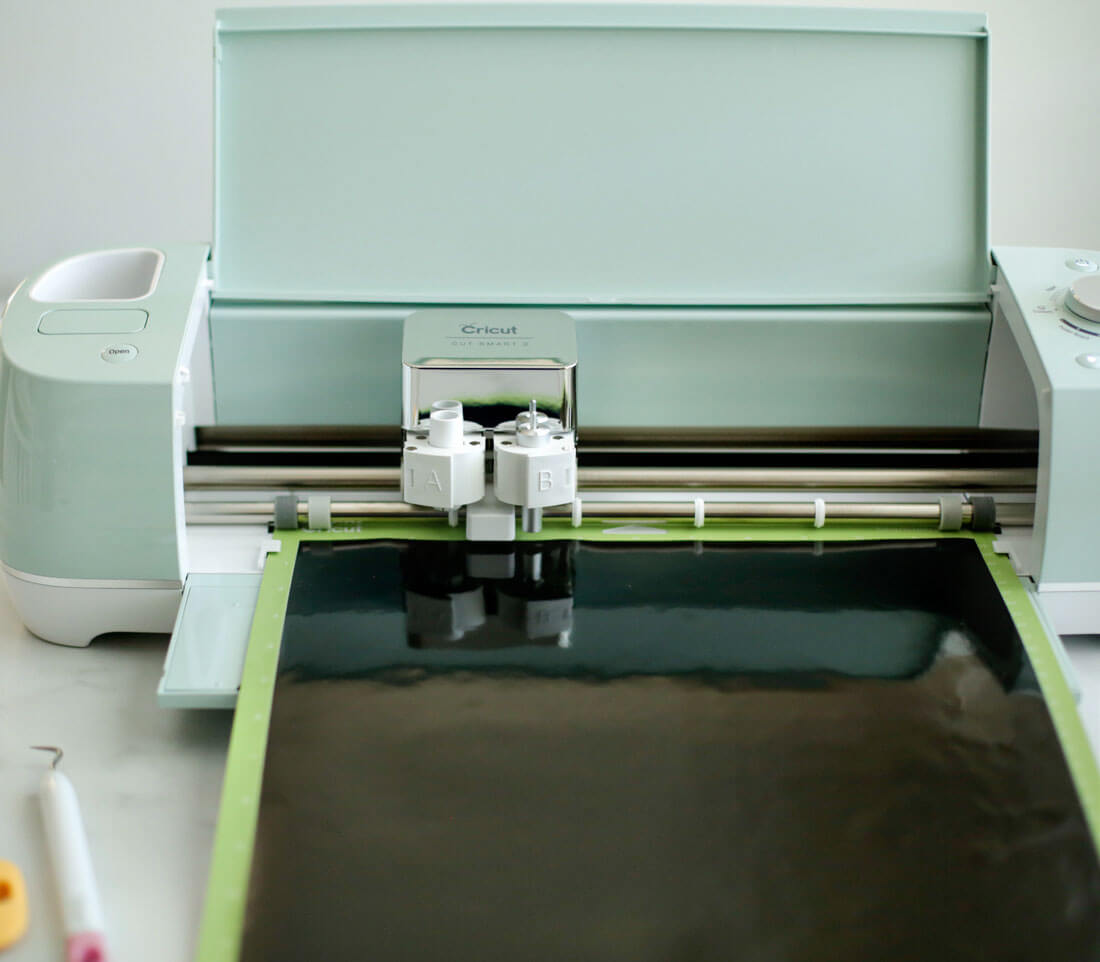
OR you can use the one I created. - Cut out vinyl with Explore Air 2, following directions and using mat.
- Weed vinyl to remove the negative from the design.
- Apply transfer tape to the top of the design and slowly peel the backing to transfer to container.
- Lay the design onto desired spot and apply pressure to vinyl.
- Slowly remove transfer tape from the top of the design.
- Add file folders and tabs to the inside of the container. Fill with important information.
If you’d like to use the tabs that I created, download them for personal use only.
After downloaded, cut along the lines and fold in half. Then slide them into the tabs and add to folders.
Cricut Explore Air 2 Projects
Here are a few of the ways that I’ve used my Explore Air Machine:
- How to Make Vinyl Labels
- Use Cricut Explore Air 2 with Easy Press Mini
- How to Organize Laundry Cabinets with Bins
- Christmas Party Ideas
- Creative Money Gift Ideas


