Get the ins and outs of Cricut EasyPress Mini with personalized shoes and a hat using iron on vinyl!
This is a sponsored conversation written by me on behalf of Cricut. The opinions and text are all mine.
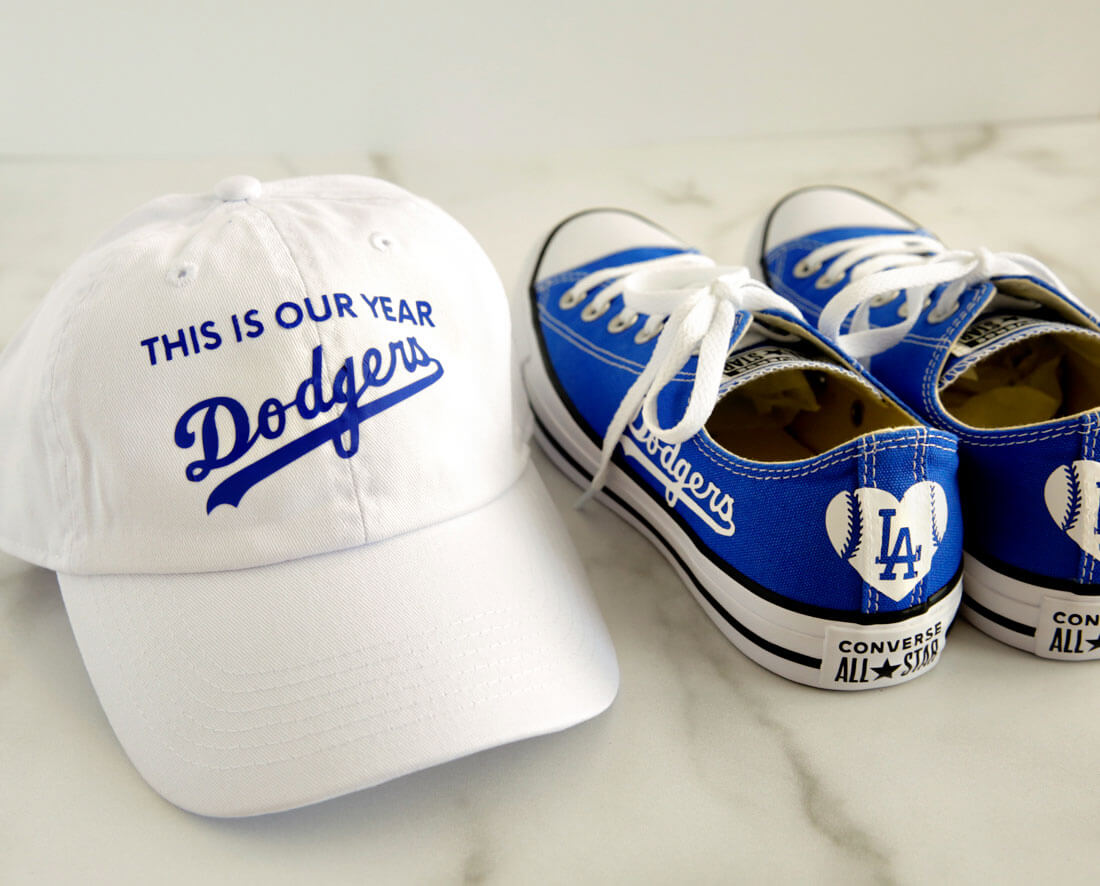
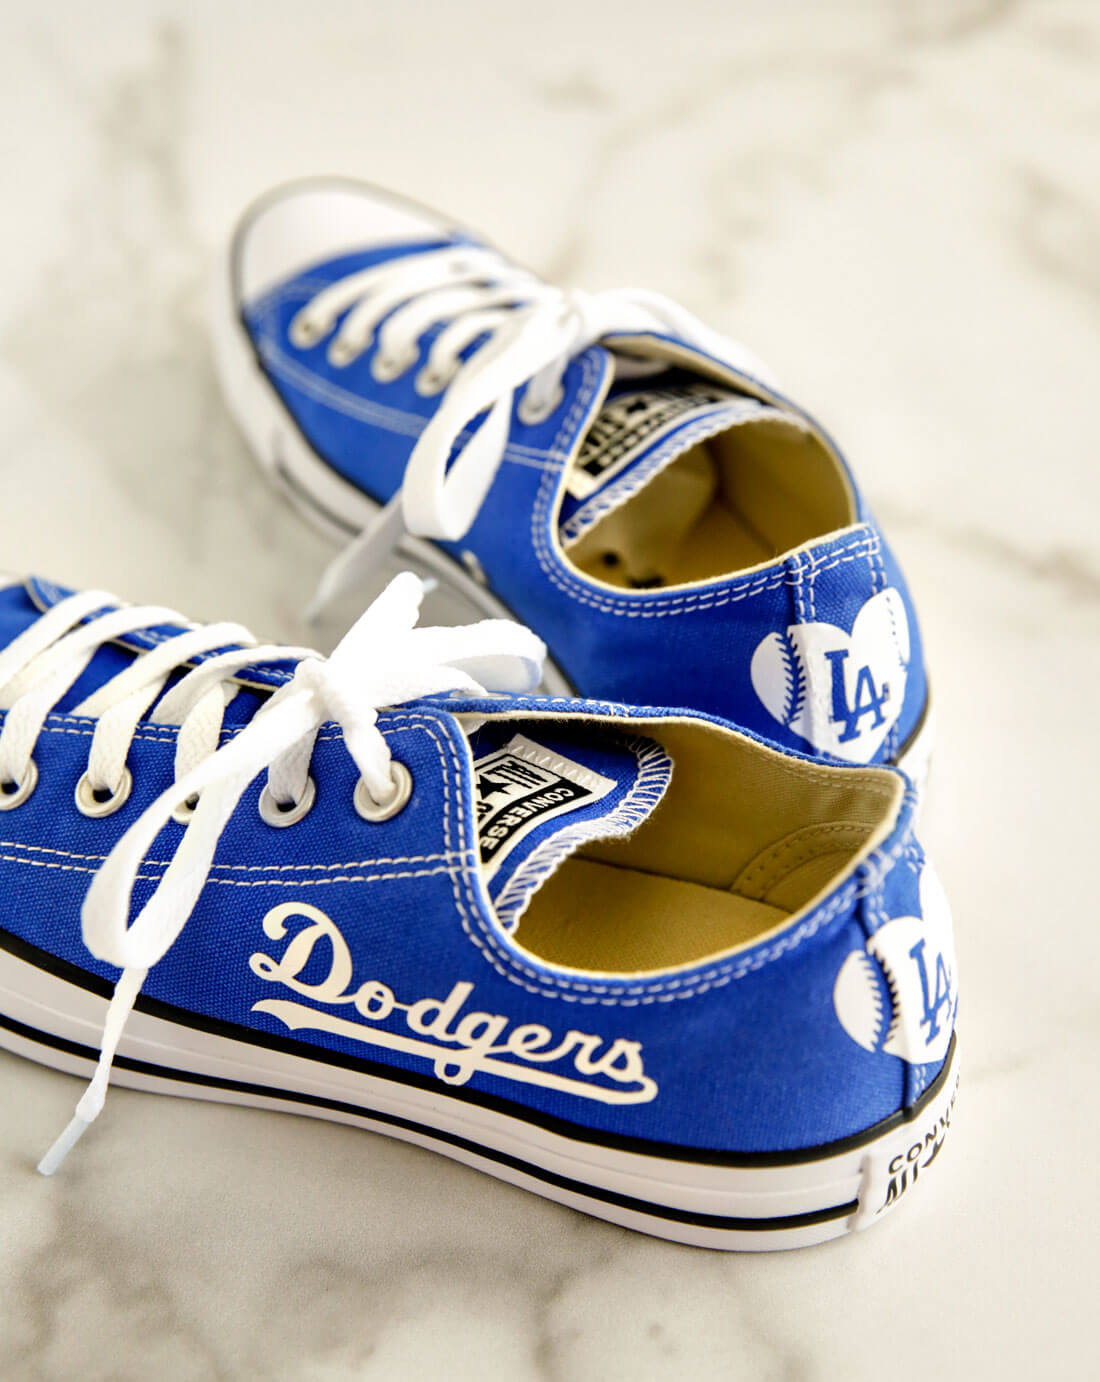
Once you get started with vinyl, a whole new world is opened up. You start seeing projects everywhere you go. When Cricut recently announced their EasyPress Mini (more info on that below), I knew right away what my first projects would be – adding iron on vinyl to a hat and tennis shoes. I’ve been dreaming about making some custom Dodger items and the Mini made it super easy. My friends over at Pretty Providence made some cute floral sneakers too!
EasyPress Mini
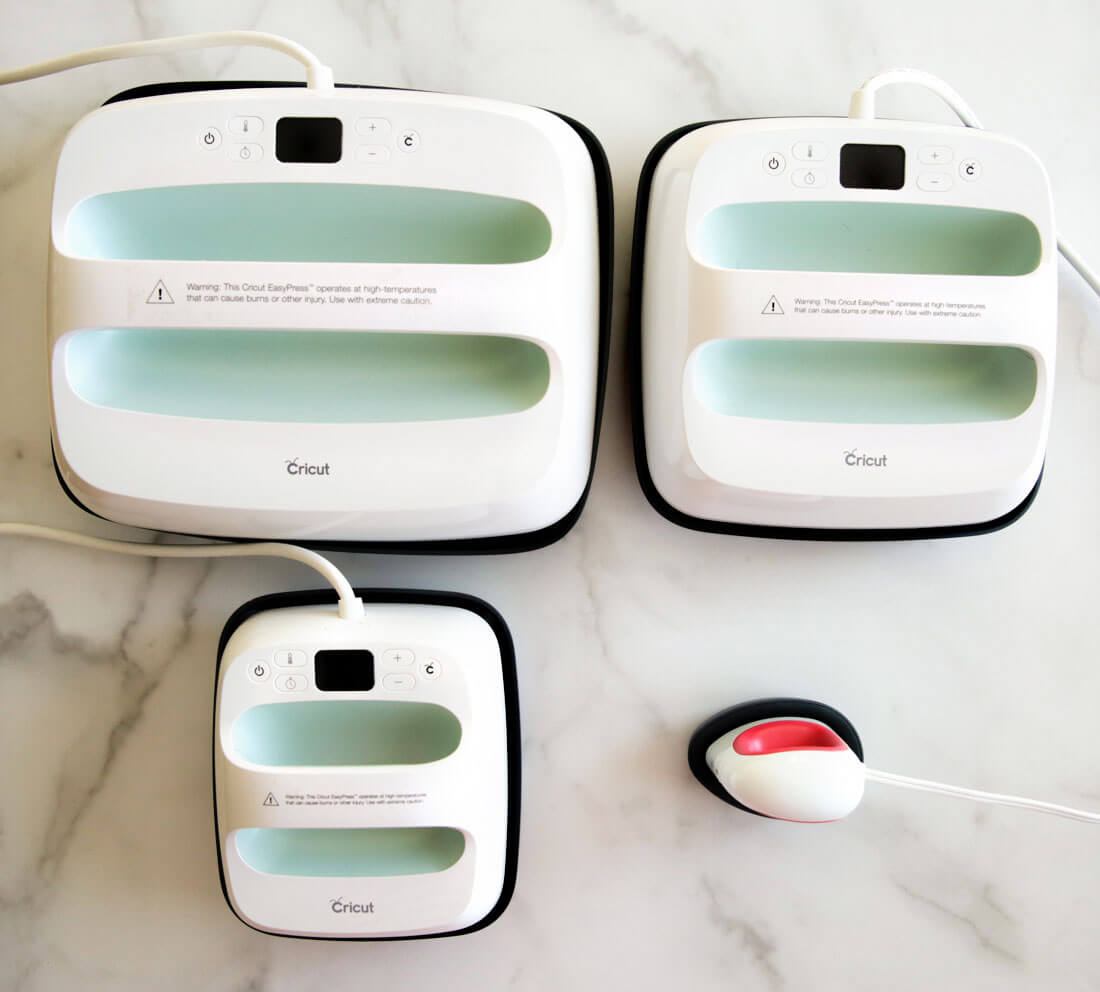
Before I get into the project, I thought it’d be helpful to have a side by side comparison of all of the Cricut EasyPress machines. There are now four and they each serve different purposes. Here’s the breakdown:
- Cricut EasyPress 2, 12″ x 10″ – the biggest of the bunch. This one is good for really big projects. I used it on 20+ pillowcases and it was a dream to use for that!
- EasyPress 2, 9″x9″ – the middle guy. Perfect for everyday projects.
- EasyPress 2, 6″ x 7″ – the small one. This press is meant for small projects.
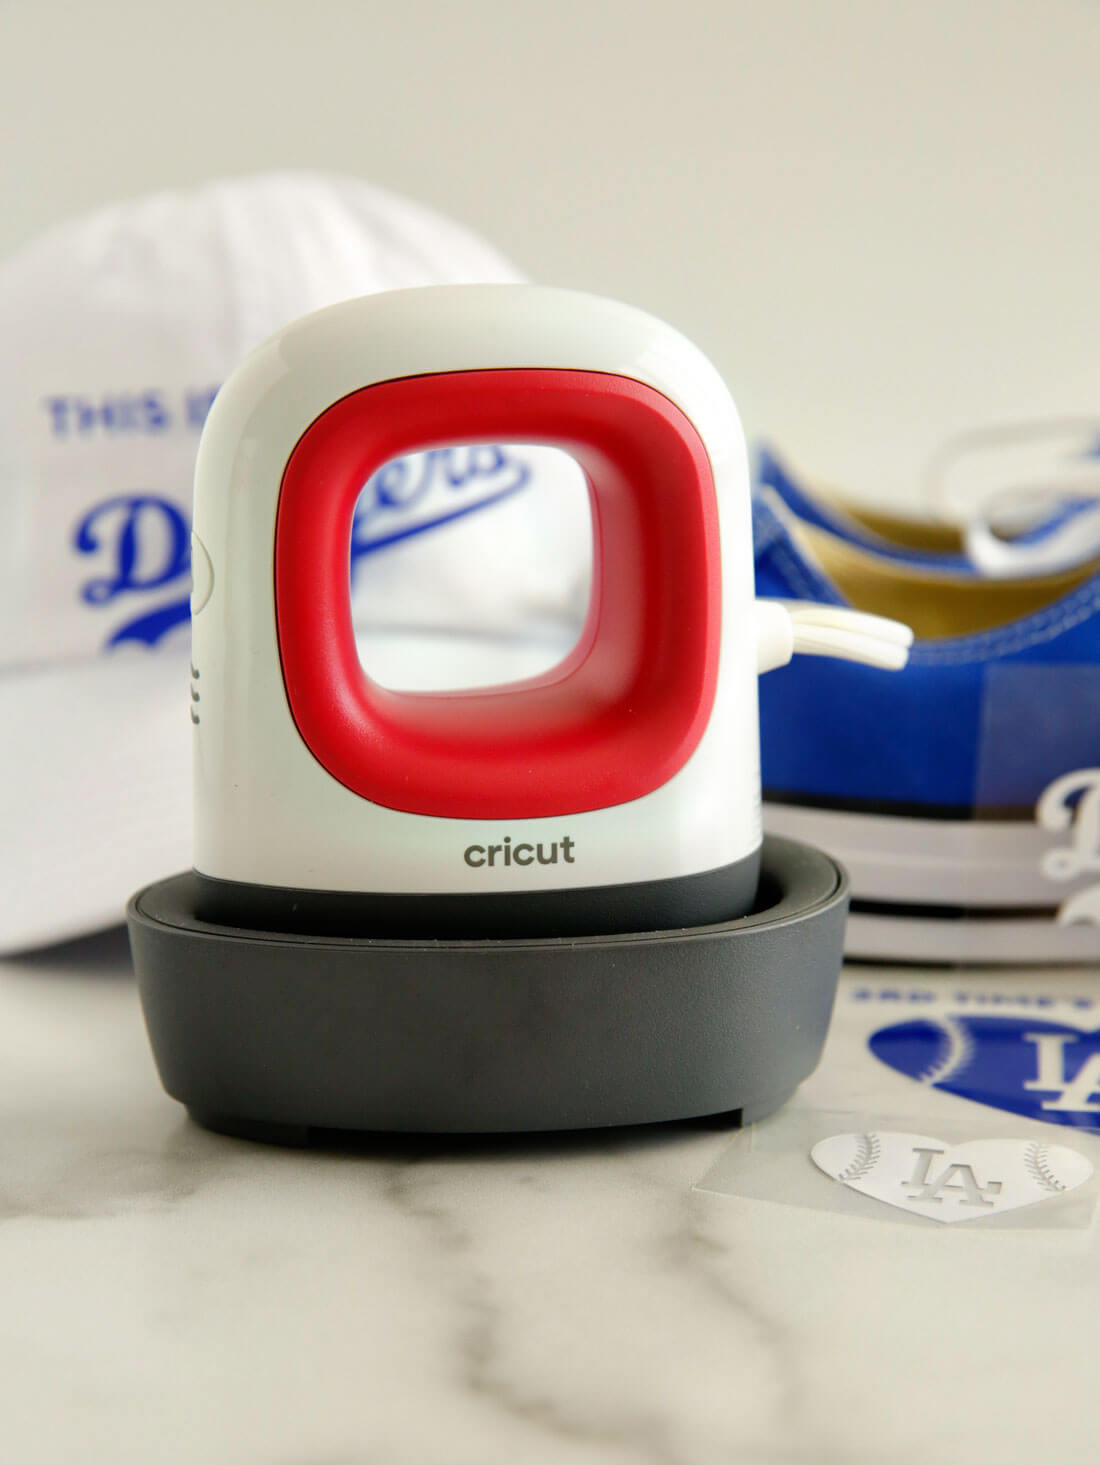
- Now introducing – the EasyPress Mini!! – this is meant for itty bitty projects, hard to reach places and ideal for things like hats, shoes, small pockets, etc.
In addition to being a great tool for small spots, it’s absolutely adorable. The change in this press is that it doesn’t count down and there is only one button with three heat settings. There’s more about the EasyPress 2 in my post about making a tote bag!
To make this project you will need:
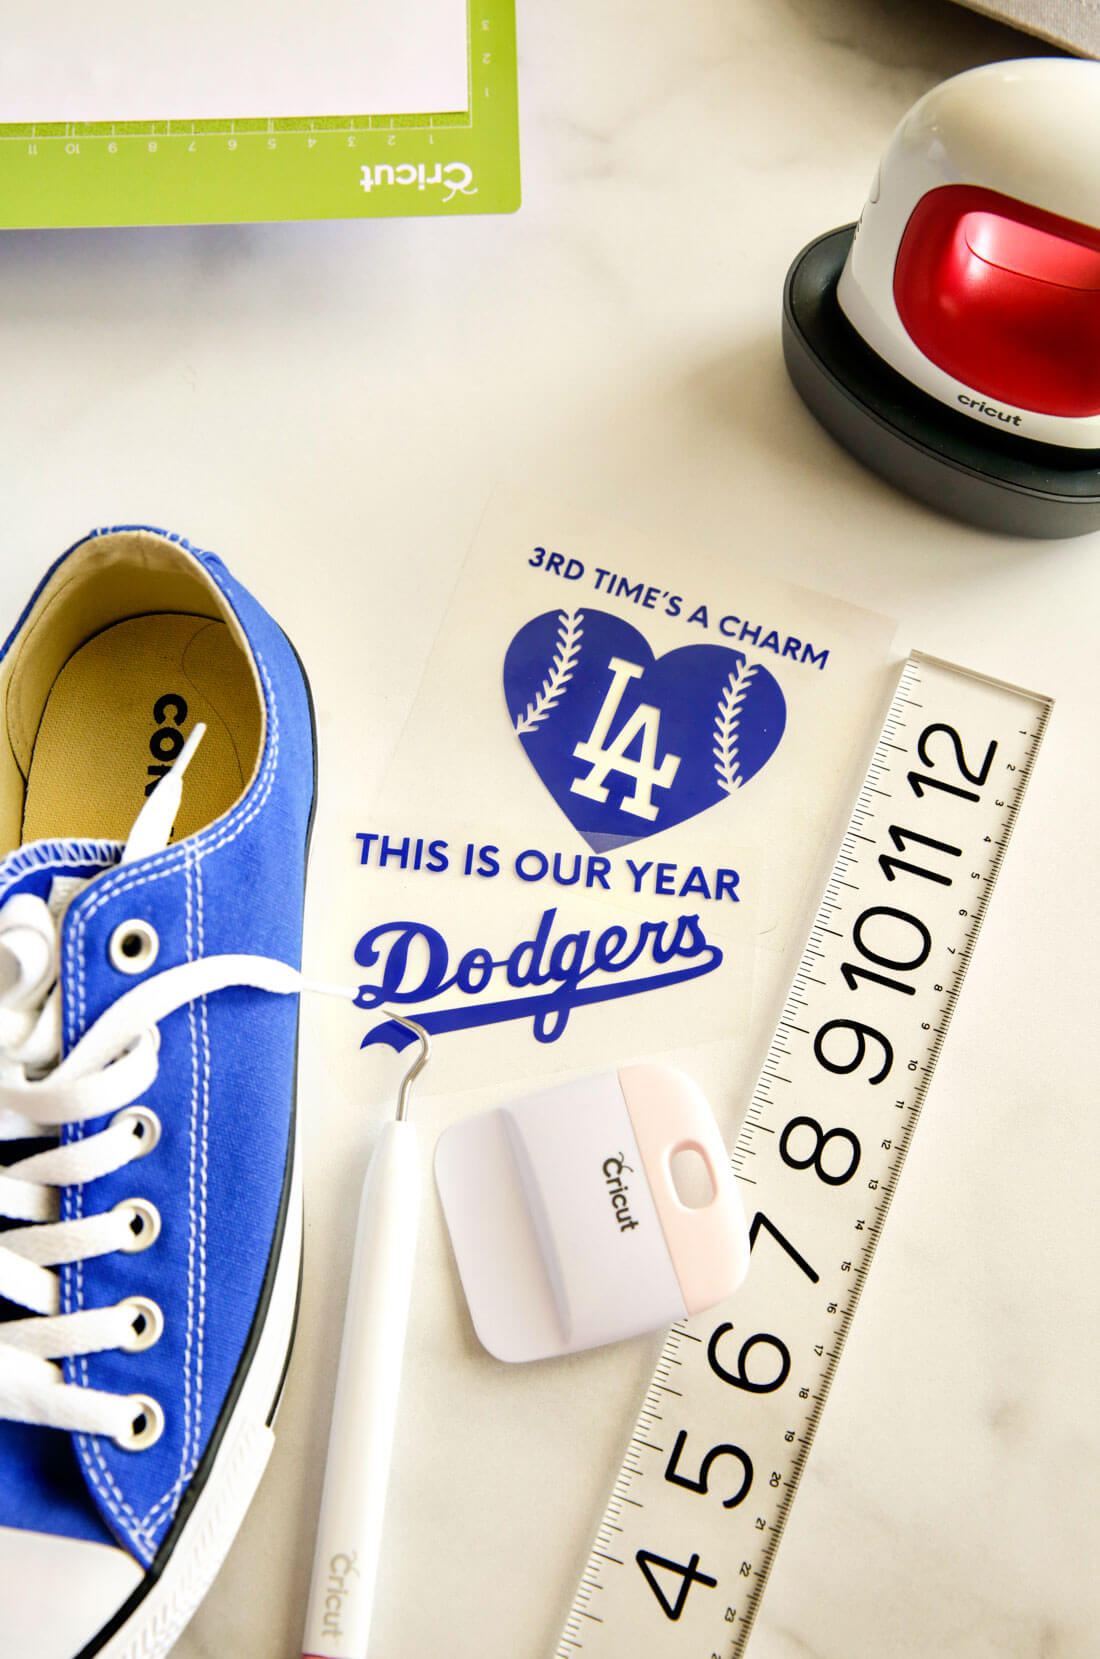
- Cricut Cutting Machine – yes an Explore Air 2 will work or a Maker
- EasyPress Mini
- Cricut Design Space
- Iron on vinyl or heat transfer vinyl/HTV- see some of the options of vinyl
* For my Dodgers projects I used Royal from the Everyday Iron On Vinyl,Rainbow Pack
and white from Everyday Iron On All Occasion Pack - Cutting mat – standard mat
- Shoes
- Hat
- Or whatever you’d like to add a little something to
On this project I created the designs in Adobe Illustrator using exact measurements and uploaded the SVG files into Design Space. More on how to use Design Space here.
Once your designs are uploaded into Design Space, do the following:
- Click “Make It”
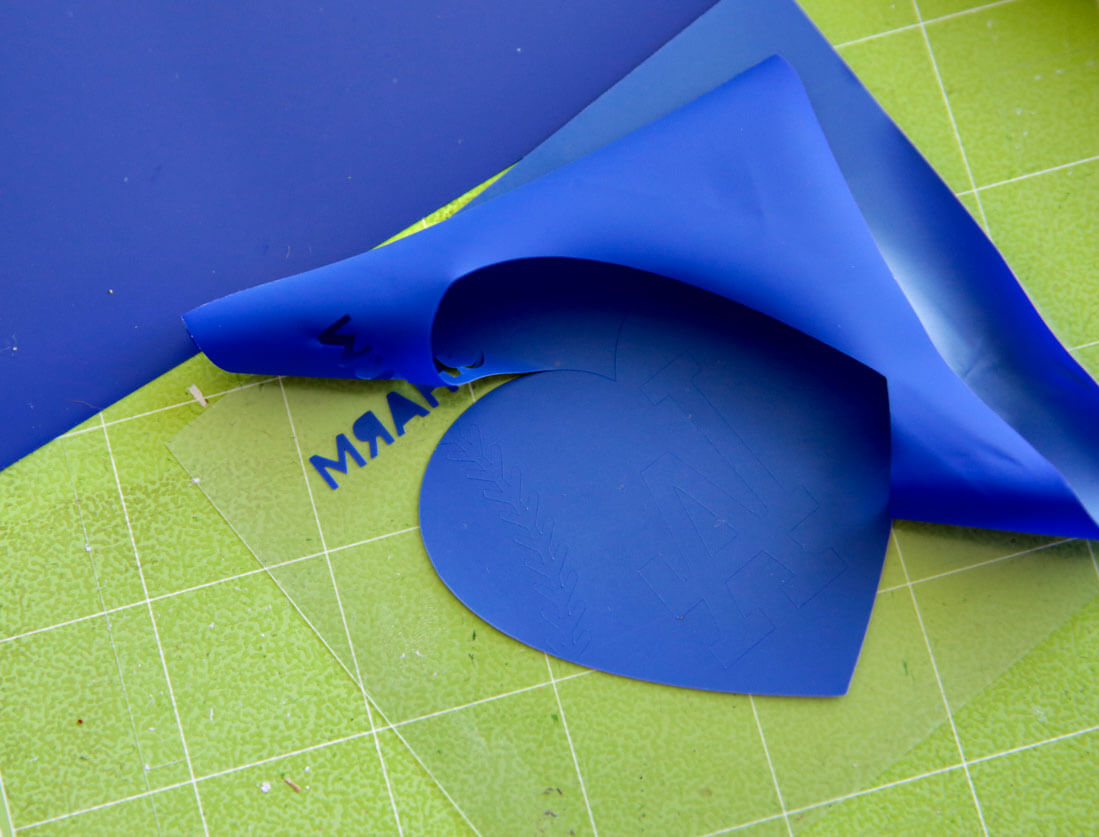
- Make sure that the “mirror” option is selected (trust me, I’ve made this mistake and it’s not fun to have to throw away vinyl)
- Follow the prompted steps on screen, loading your mat with the iron on vinyl with the shiny/slippery slide down (also important as I’ve made this mistake too – LEARN FROM ME!)
- Weed the iron on vinyl and continue on with the project
If you want more step by step on this process, check out my how to make labels using a Cricut Machine post.
Cricut Iron On Vinyl
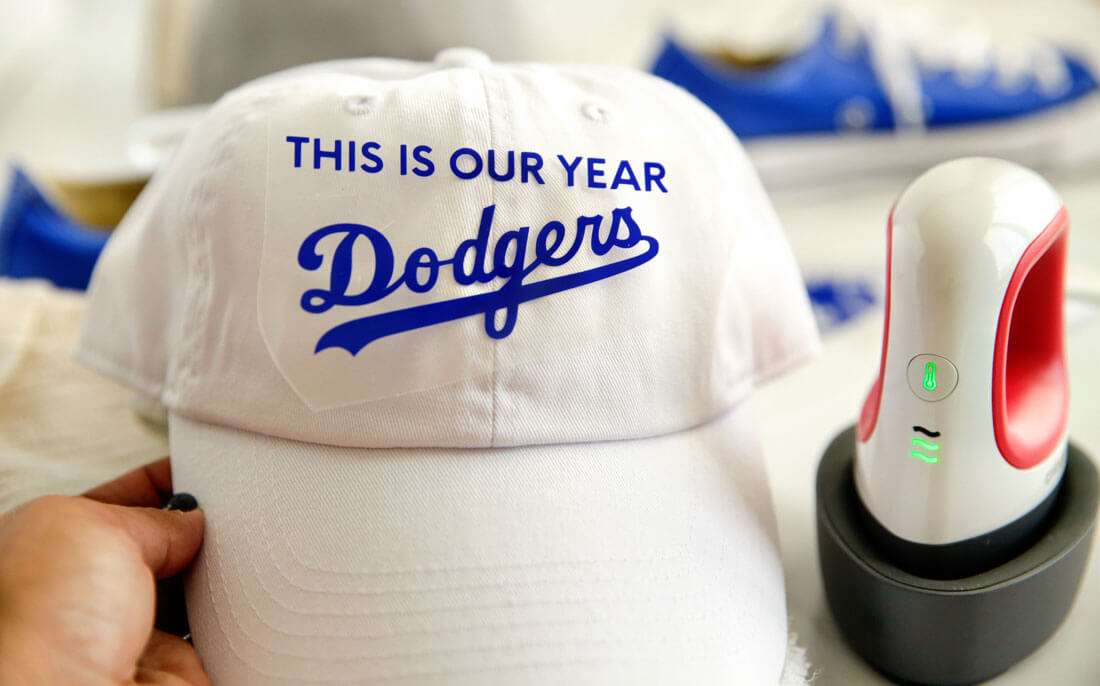
After creating a few designs, I decided that “This is our year” was what I wanted on my white hat. The end result is awesome but I am also saving the “3rd time’s a charm” for another project.
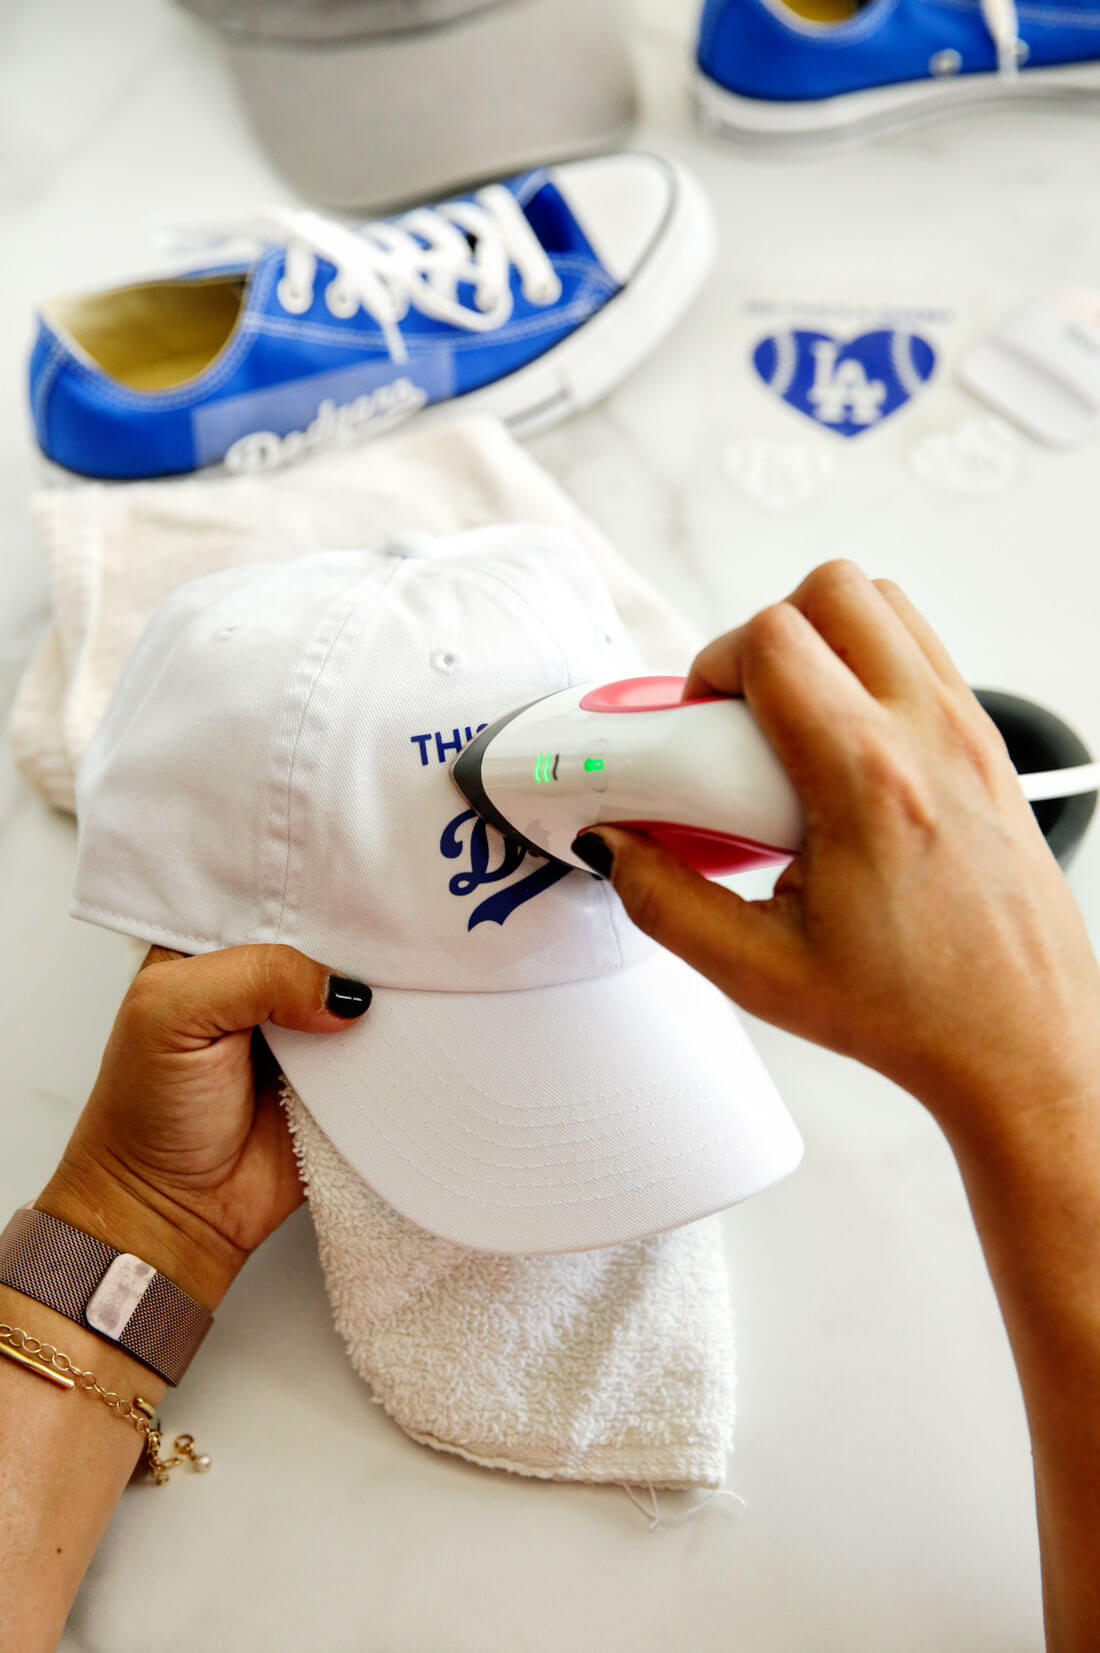
Once weeding is done, use the carrier sheet to place the design on your project. It can be tricky depending on the type of material that is used. Canvas hats aren’t the easiest to work with but having a Mini made it easier than a larger press.
My suggestion is to use a rolled up towel behind the hat so that there is no risk of getting burned. It also helps you grip a hat and make it more sturdy as you add the press.
Hold the press for approximately 25 seconds and do a warm peel with the carrier sheet (translation: peel off the clear sheet from the vinyl before it cools all the way down).
Other Cricut Posts
Want to learn more about what I’ve done with my Cricut and the types of projects you can do? Here’s more to check out:



This is AMAZING!!! So sad I just sold most of my crafting tools to downsize to a smaller house! If any lovely people feel like making extra iron ons for a price, please let me know?