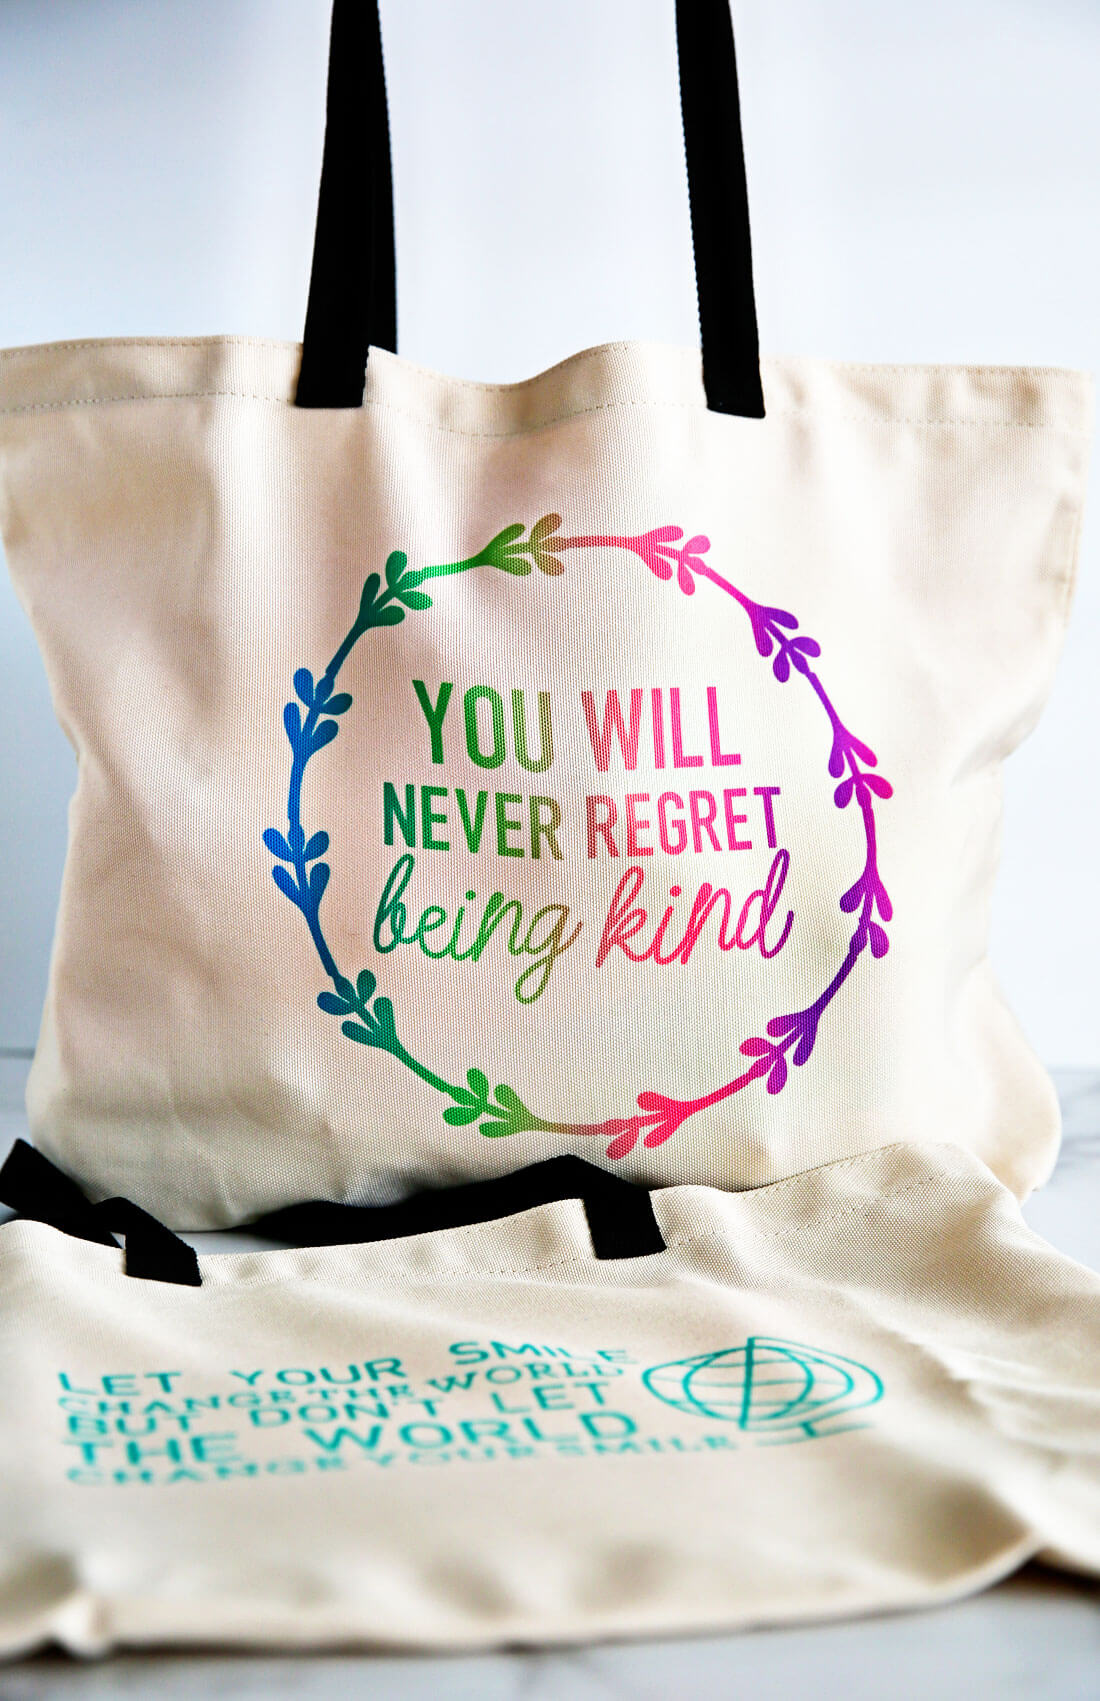
Learn how to use Cricut Infusible Ink to create reusable tote bags and all kinds of other projects!
This is a sponsored conversation written by me on behalf of Cricut. The opinions and text are all mine.
What is Infusible Ink?
Infusible Ink is a new(er) ink transfer process created by Cricut. It’s not vinyl or heat transfer vinyl, like I typically use with my Cricut projects. While the designing, cutting out and weeding are all similar to vinyl or HTV, infusible ink becomes a part of the material. There are lots of different types of materials that Cricut offers to create with infusible ink – t-shirts, totes, and coasters.
How to Use Infusible Ink
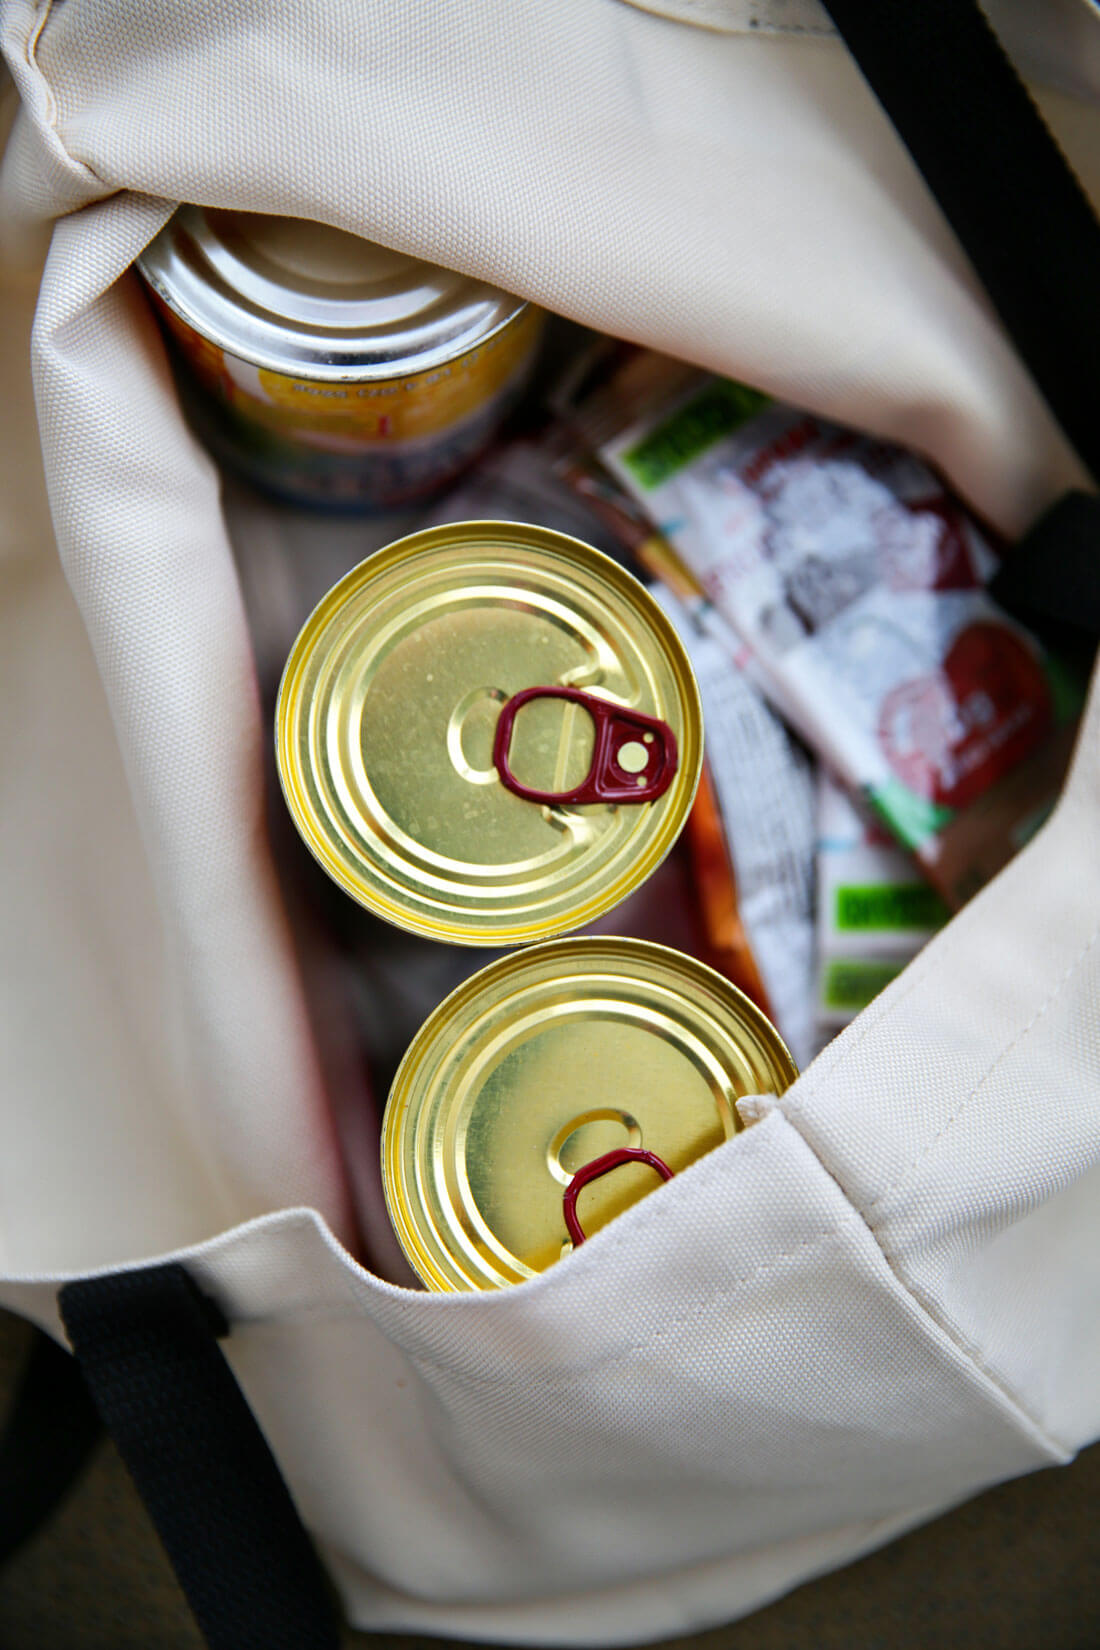
For this project, I have joined with Cricut to create a few designs to be used on totes to be delivered to our local food bank! I love that Cricut is involved in important causes. They aren’t just about making products that we love but products that cause change. They recognized that canned foods and items found at a food bank can be really heavy. Often times people use grocery bags or boxes to carry them. I was challenged to create a few designs to use on totes and deliver them to my local food bank.
What you need for this project:
- Explore Air 2 or Cricut Maker
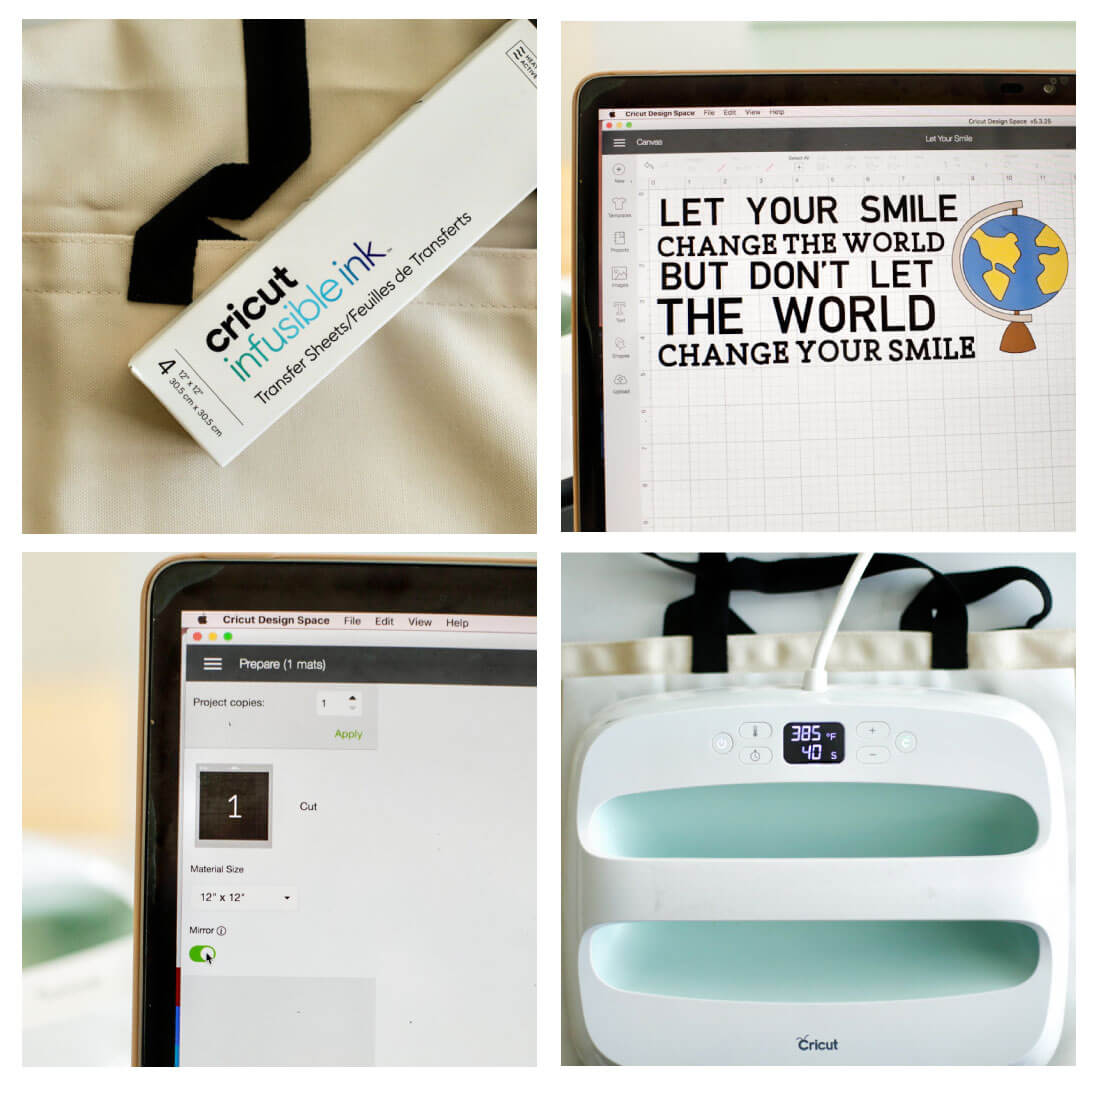
- Infusible Ink + coordinating tote
- Mat
- Easy Press (all different sizes) – see my Easy Press posts for more info!
- Tools
Here’s how to tackle this project:
- Purchase Infusible Ink from Cricut.com or your local craft store.
- Create a design in Design Space (which has been updated to not need the internet!).
If you like the designs that I created, you can get them here:
Never Regret Being Kind
Let Your Smile Change the World
You Look Beautiful - Whatever you do, don’t skip this step – mirror the image when you make it!
- Prepare surface with an iron or EasyPress by heating it up.
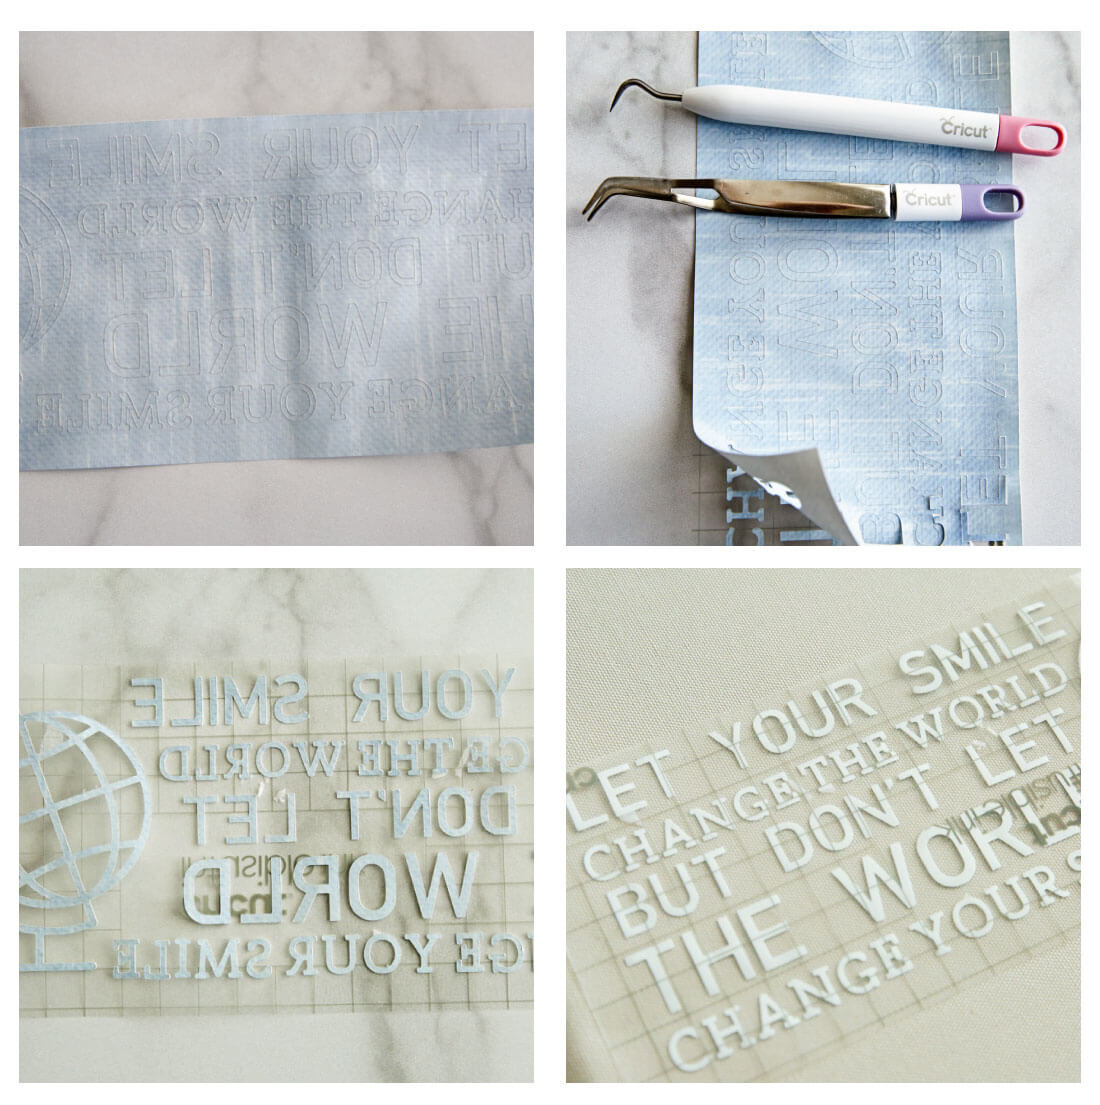
This is what Infusible Ink looks like as you’re completing for your project:
- Right after it’s done cutting, before weeding.
- Use tools to weed your design. It makes it much easier!
- The back side, after it’s been weeded.
- Lay your design on top of the surface, right side down. Then add a piece of provided butcher paper, then EasyPress or iron.
Important things to note when using Infusible Ink:
- Be careful to move your iron/EasyPress too much as it will shift the design.
- Same goes for when you are ready to pull up the iron and butcher paper. It will cause bleeding of design and you don’t want that!
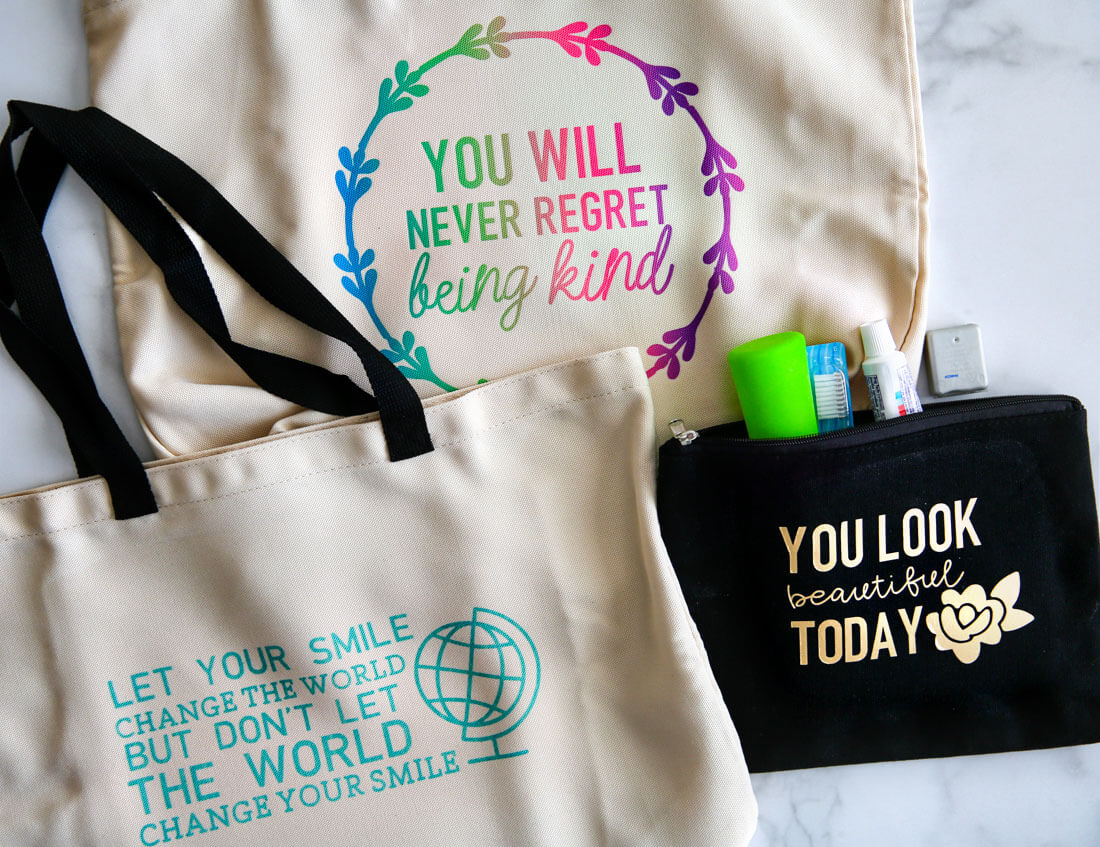
One of the best things about Infusible Ink is that after ironing the designs on, they are so vibrant. The carrier sheet starts off pretty muted but after applying heat, it comes alive! The designs that I created look so colorful.
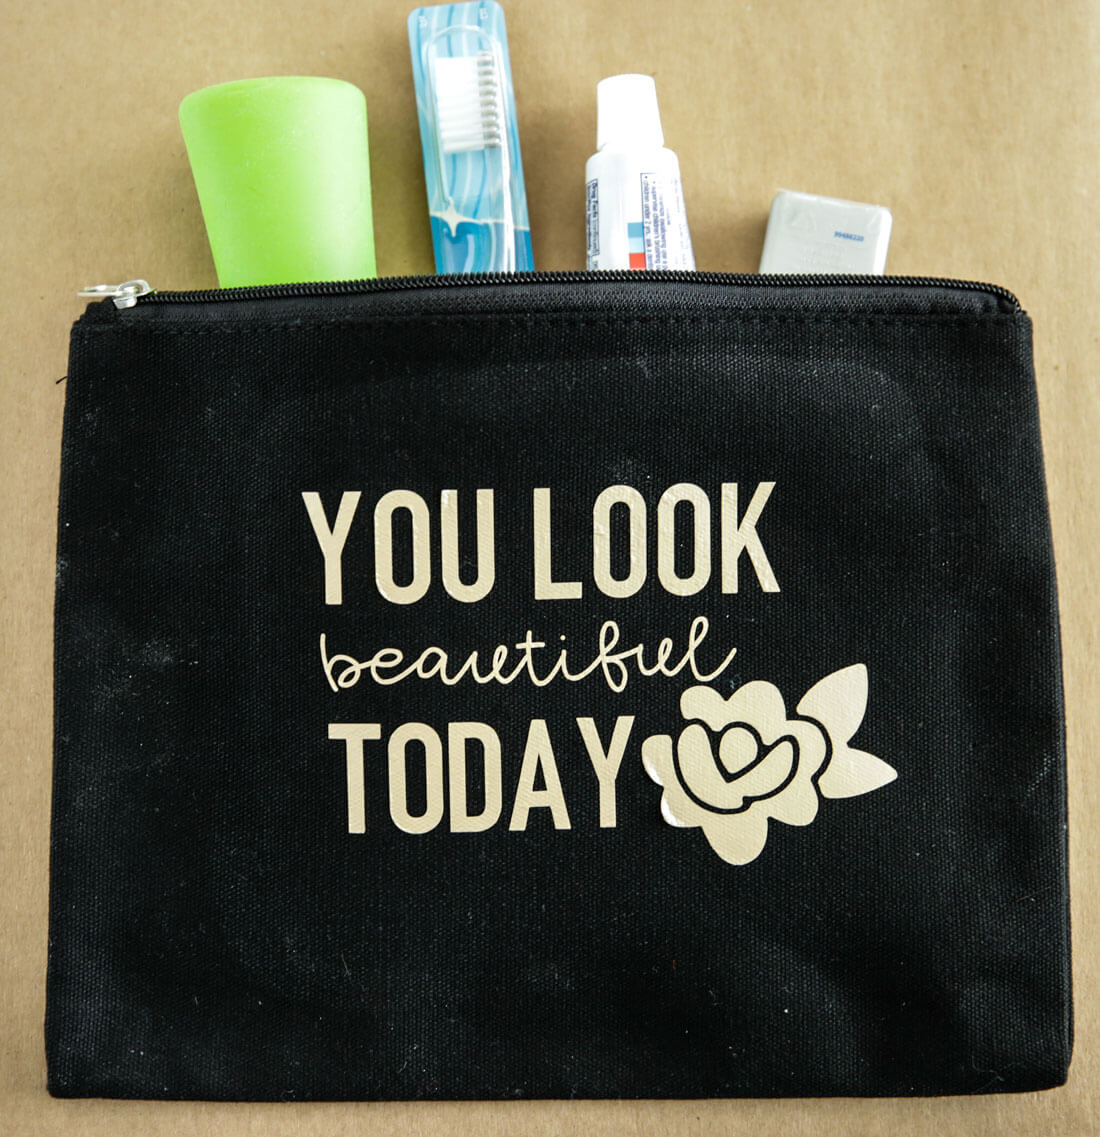
Often times people deliver canned goods but there is a need for toothbrushes and toothpaste as well. I found a small toiletry bag that I knew would be perfect to fit those items in and created this “You look beautiful today” design.
Top 10 Things Things Food Banks Need
When you are delivering items to your local food bank, keep in mind that these are the things they need most:
- Canned meat & chili
- Vegetables
- Canned fruit
- Pasta sauce
- Non-perishable snack items for children (i.e. granola bars, juice boxes, applesauce)
- Macaroni & Cheese
- Low-sugar cereals
- Peanut Butter
- Instant Oatmeal
- Toothbrush & toothpaste
Other Cricut Projects
Do you have a Cricut? Interested in one? Check out all of these projects:
- What Vinyl Should I Use?
- How to Make Labels Using a Cricut Machine
- Cricut Maker vs. Explore Air
- Personalized Tea Towel
- Back to School Organization
- Adding Iron On with Cricut EasyPress
- Medicine Cabinet Organizer
- Emergency Box

